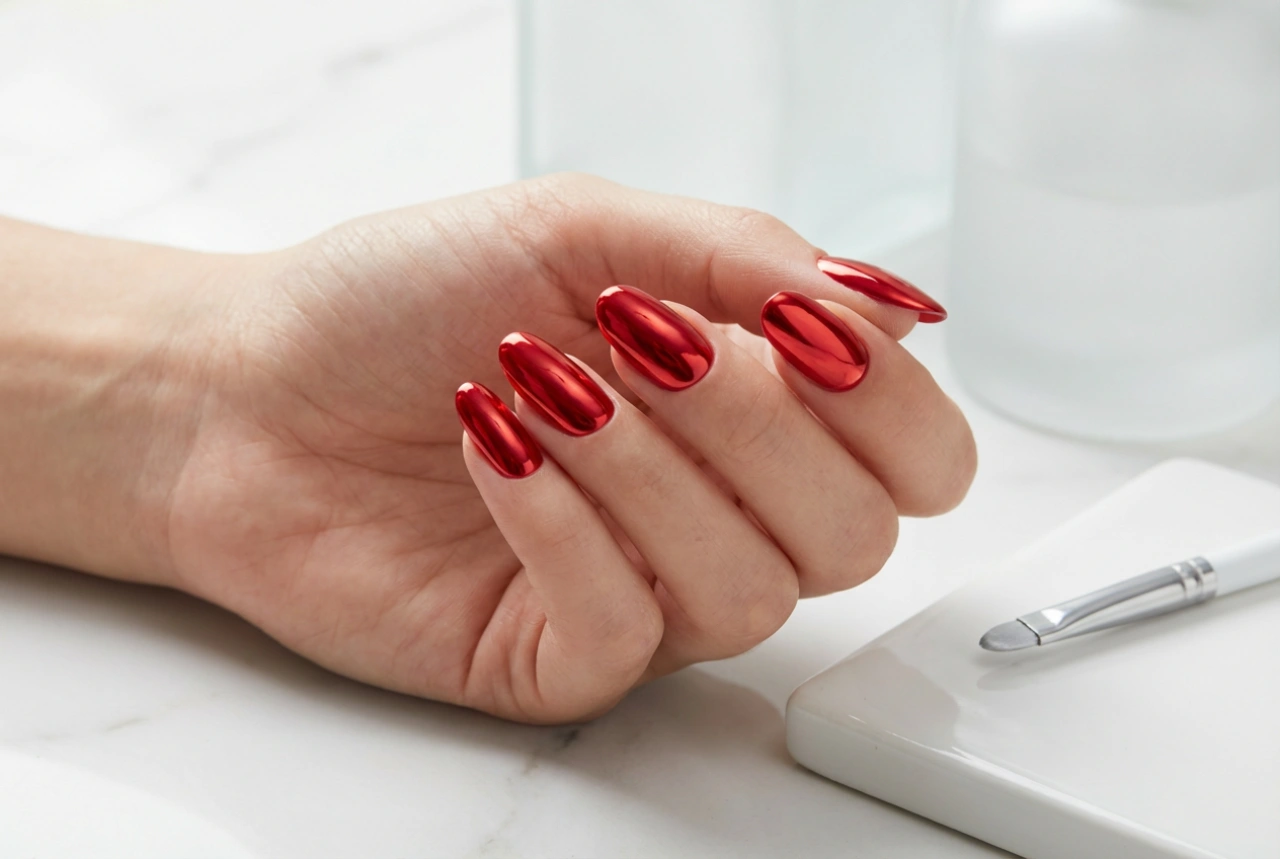


Red nails are a timeless symbol of elegance and confidence, but adding a modern twist can elevate them to a whole new level of glamour. A red ombre effect, which blends different shades of red in a seamless gradient, combined with a touch of glitter, creates a captivating and sophisticated look. This style is perfect for anyone who wants to combine classic colour with contemporary artistry, resulting in a manicure that is both eye-catching and tastefully dazzling.
Understanding the Red Ombre with Glitter Look
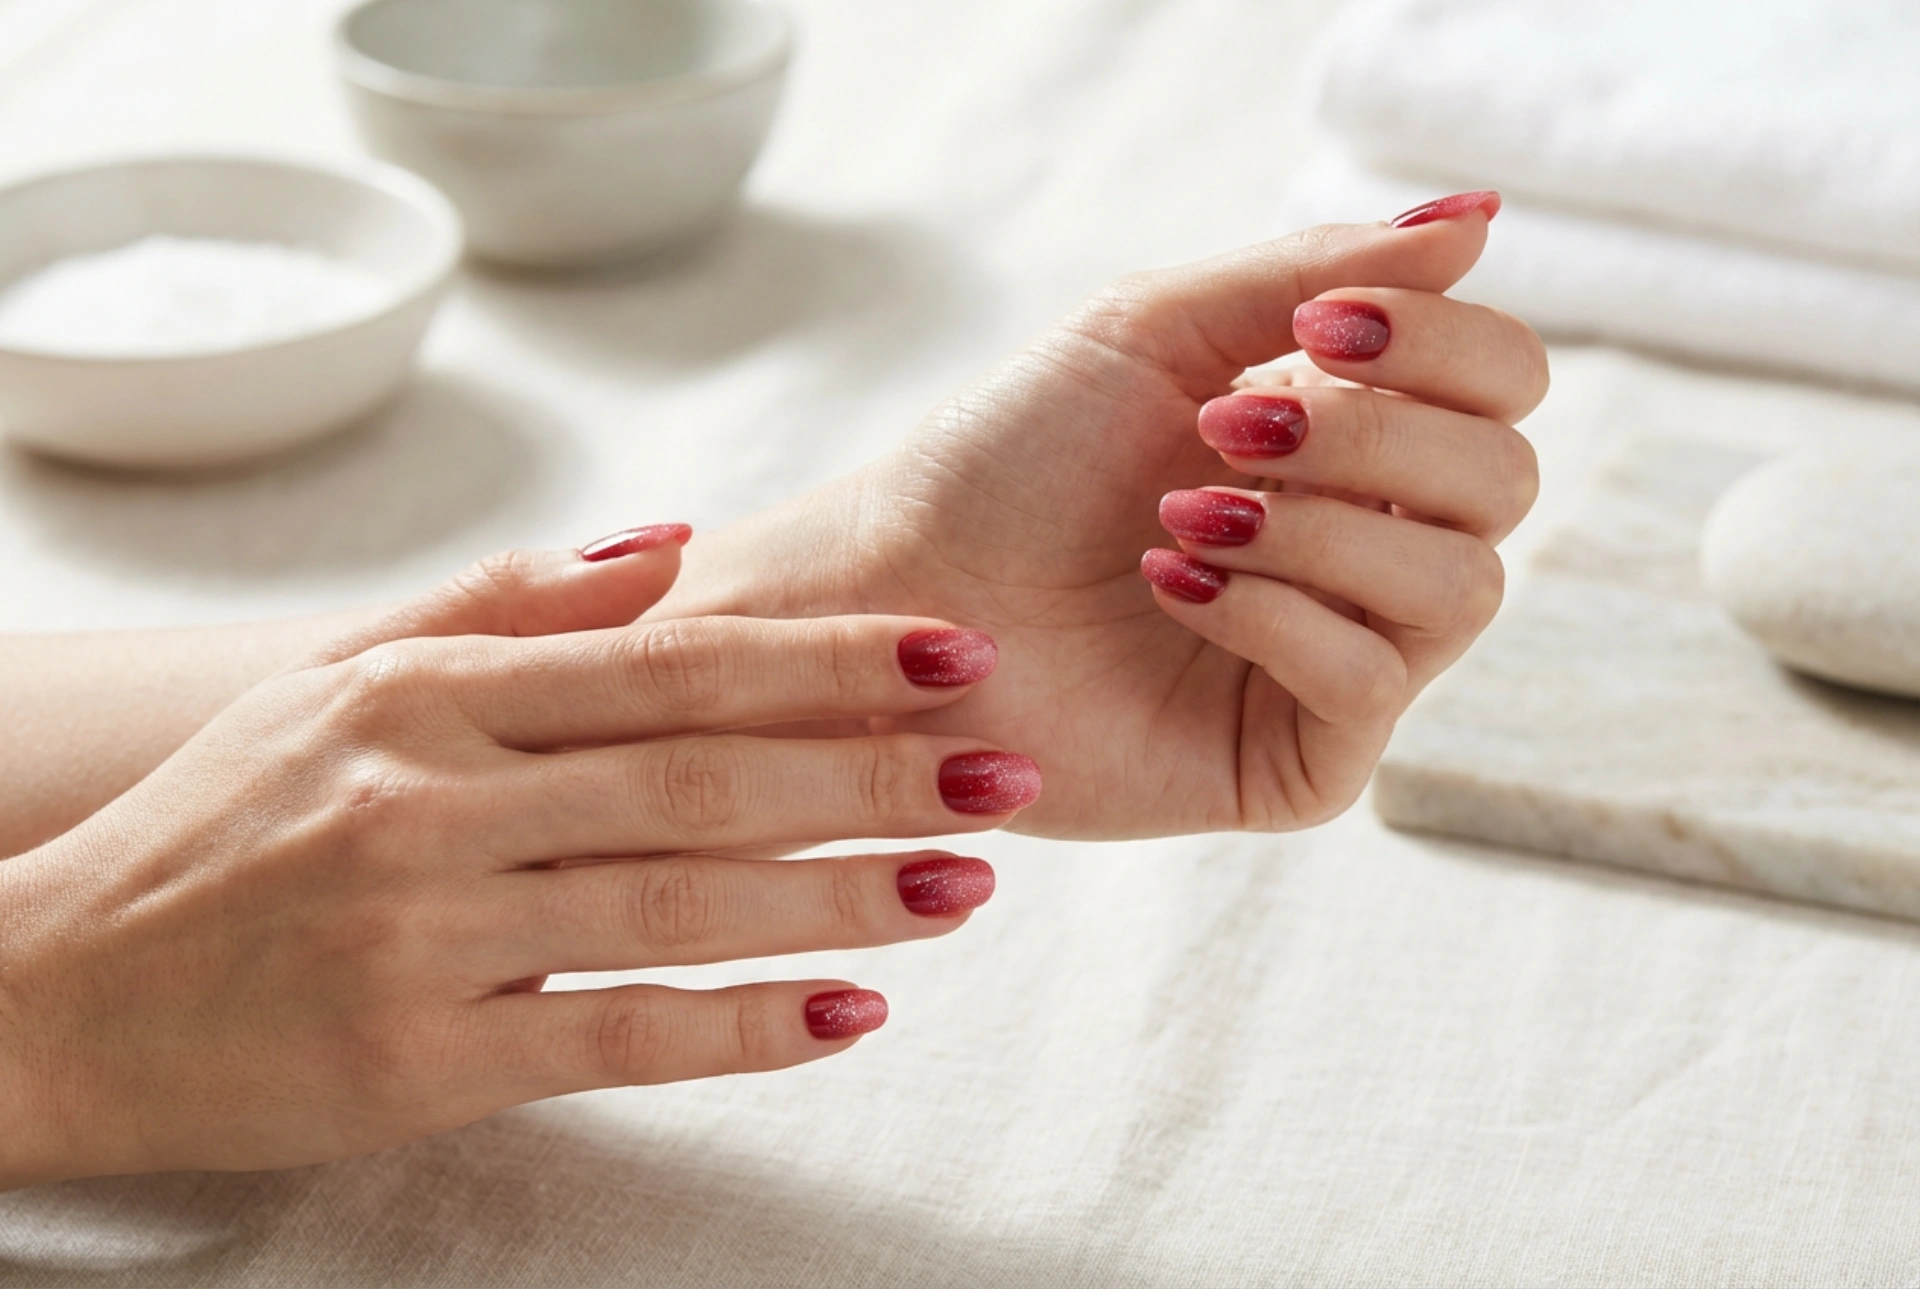
The red ombre with glitter manicure is a nail art design that involves creating a gradient of colour, typically from a darker to a lighter shade of red, or vice versa. This smooth transition is then enhanced with a layer of glitter. The beauty of this design lies in its versatility. You can opt for a dramatic transition from deep burgundy to a vibrant cherry red, or a more subtle blend of similar tones. The glitter can be applied over the entire nail for maximum impact, concentrated at the tip for a sparkling French manicure effect, or faded from the cuticle for a more delicate finish. It's a design that can be adapted for festive occasions, special events, or simply to add a touch of sparkle to your daily life.
How to Create Red Ombre Nails at Home
Achieving a salon-quality ombre effect at home might seem daunting, but with the right tools and techniques, it's entirely possible. The key is patience and a steady hand.
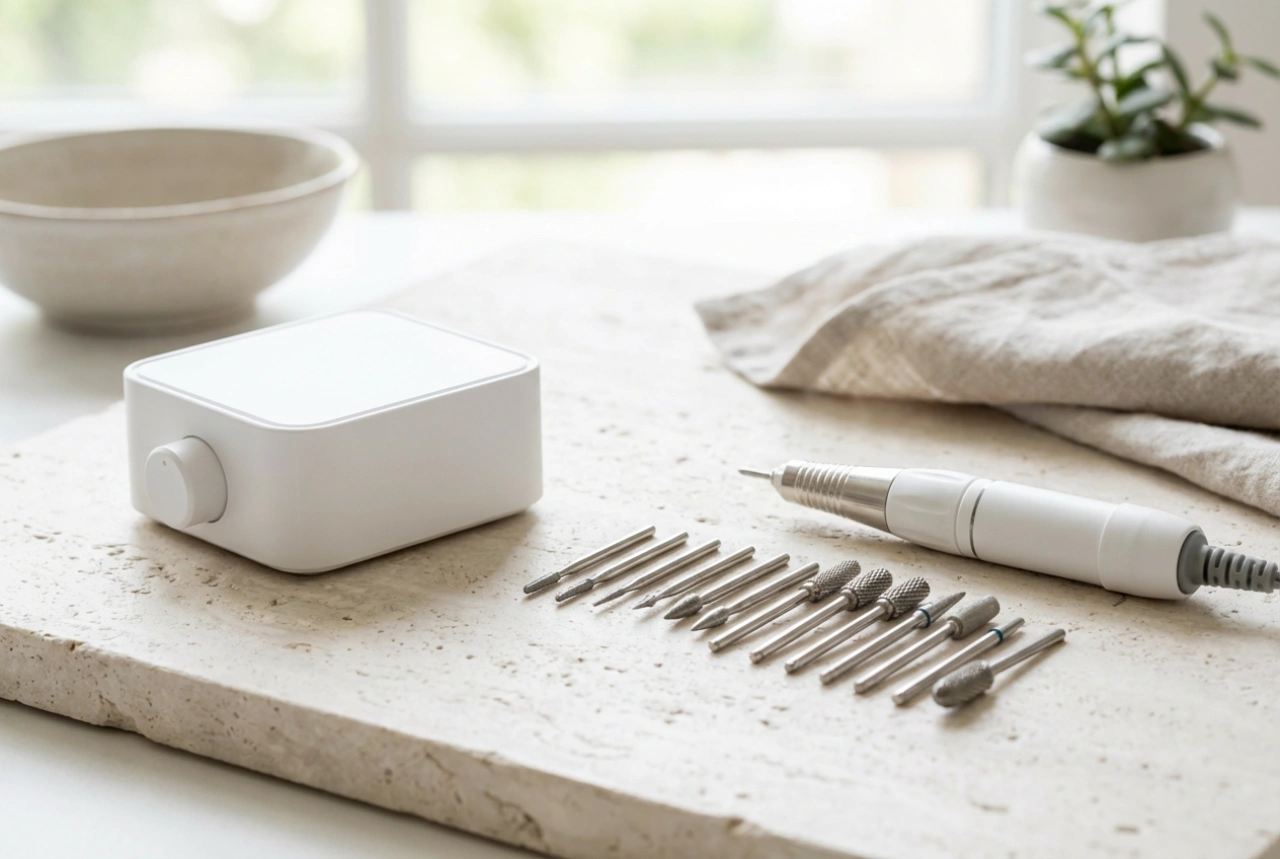
Step 1: Nail Preparation
Before you begin applying any polish, proper preparation is essential for a long-lasting and smooth finish. Start by cleaning your nails and removing any old polish. File and shape them to your desired length and form. Gently push back your cuticles and buff the surface of your nails lightly to create a smooth base for the polish to adhere to. Finally, wipe your nails with a nail polish remover to get rid of any oils or dust, and apply a quality base coat to protect your natural nails from staining and help the manicure last longer.
Step 2: Creating the Ombre Gradient
The most popular method for creating an ombre effect is using a makeup sponge. Choose two complementary red nail polishes – for example, a deep crimson and a bright scarlet. To protect the skin around your nails from polish, apply liquid latex or tape around the cuticle area. Paint stripes of the two colours directly onto the sponge, right next to each other. Gently dab the sponge onto your nail, moving it slightly up and down to blend the colours. You may need to repeat this step two or three times to achieve the desired opacity and blend. Don't worry about the mess on your skin; you'll clean that up later.
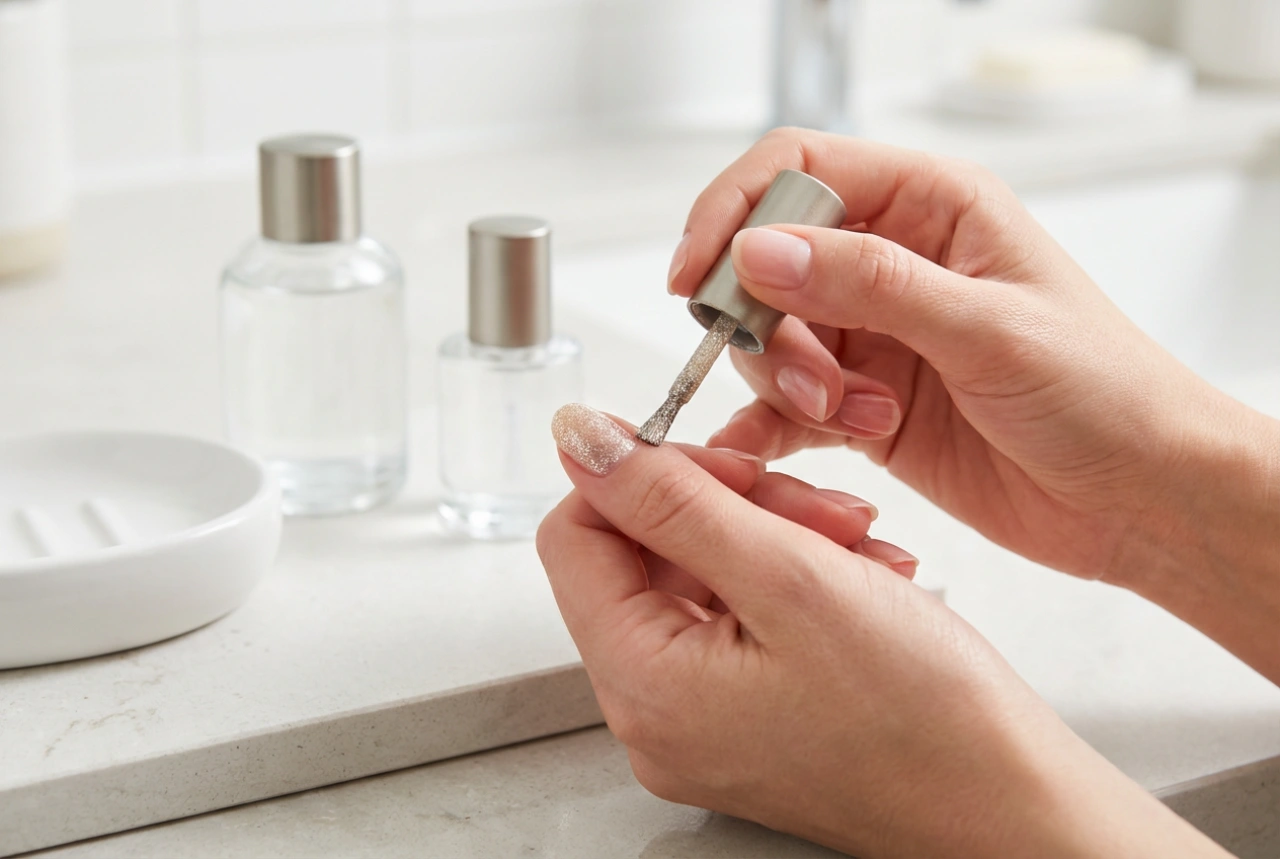
Step 3: Adding the Glitter Without the Mess
Loose glitter can be difficult to control and can result in sparkle everywhere. For a cleaner and more professional application, opt for a glitter nail polish or a glitter top coat. This gives you much more control over the placement and density of the sparkle. You can apply a thin coat of glitter polish over the entire nail to complement the ombre effect. Alternatively, for a more focused sparkle, use a small brush or the polish applicator to dab the glitter polish onto a specific area, such as the tips or the base of the nail. This method contains the glitter within the polish, ensuring a mess-free and dazzling finish.
Tips for a Flawless and Lasting Finish
To ensure your beautiful red ombre glitter nails look their best and last as long as possible, follow these simple tips:
- Seal Your Design: Once you are happy with the gradient and glitter, apply a generous layer of a high-shine, fast-drying top coat. This will smooth out any texture from the sponging technique, protect the design from chipping, and add a beautiful gloss.
- Clean Up Carefully: After the top coat is dry to the touch, carefully remove the liquid latex or tape from around your nails. Use a small, flat brush dipped in nail polish remover to clean up any polish that may have gotten onto your skin for a crisp, professional look.
- Allow Ample Drying Time: Sponged designs often involve thicker layers of polish, so they can take longer to dry completely. Be patient and avoid any activities that could smudge your nails for at least an hour.
- Maintain Your Manicure: To extend the life of your manicure, reapply a thin layer of top coat every two to three days. This will refresh the shine and add an extra layer of protection. Remember to also keep your cuticles hydrated by applying cuticle oil daily.