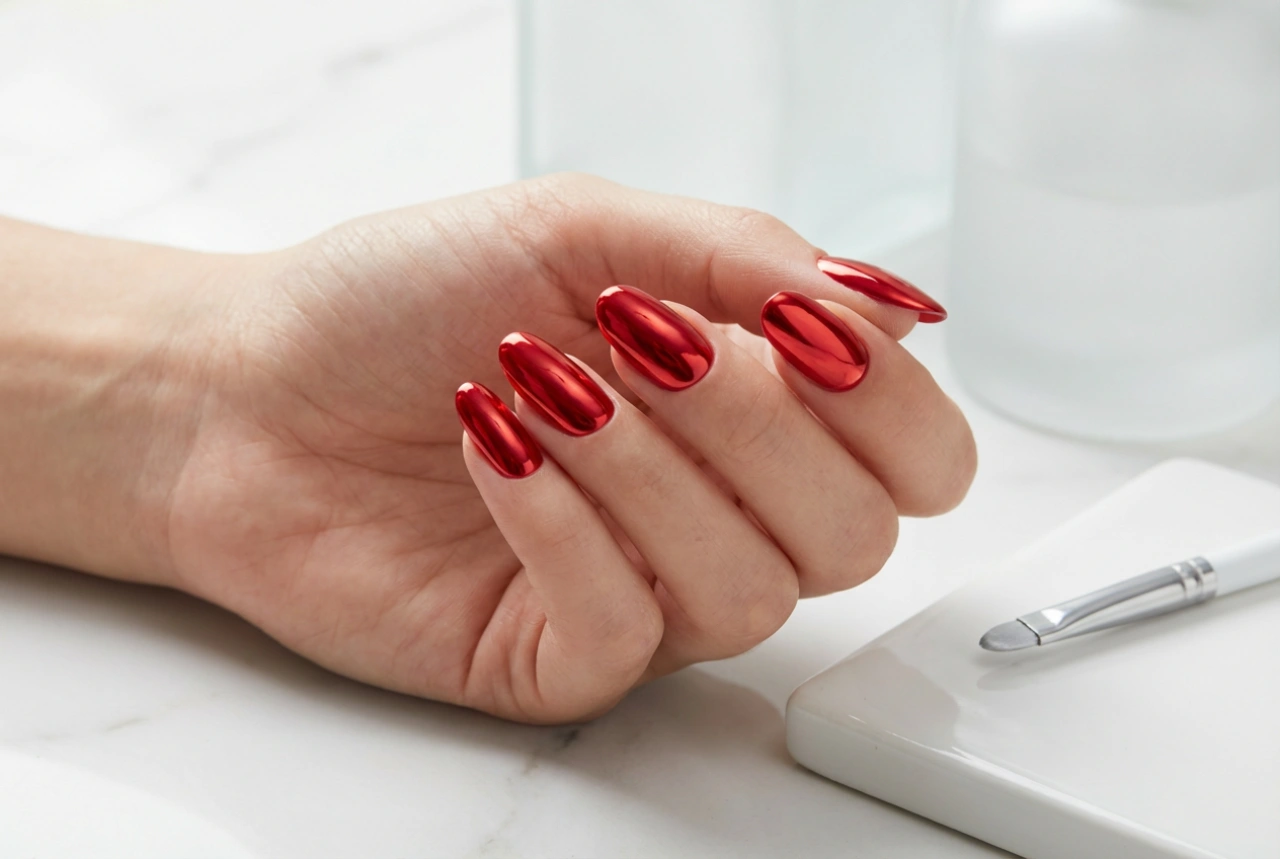


The cat-eye nail effect brings a unique dimension and mesmerising shimmer to any manicure, and when combined with a classic red, it creates a look of pure sophistication and allure. This dynamic style, reminiscent of the captivating depth in a feline's gaze, is achieved using special magnetic particles within the polish. While it may look complex, creating this stunning finish is surprisingly achievable at home with the right tools and techniques. Let's explore how to master the red cat-eye manicure for a flawless, salon-quality result.
Understanding the Cat-Eye Effect
The secret behind this manicure lies in a special type of gel polish or powder that is infused with tiny, metallic magnetic particles. When a magnet is held over the wet polish, it pulls these particles together, concentrating them into a sharp, luminous band of light. This band shifts and moves as the light catches it, creating a captivating illusion of depth. The effect can be customised based on the shape of the magnet and how it is positioned, allowing for creative and personalised designs. A deep red shade serves as the perfect canvas, enhancing the shimmer and creating a look that is both timeless and modern.
Achieving the Perfect Red Cat-Eye Manicure: A Step-by-Step Guide
Creating this look requires precision and working one nail at a time. Follow these steps for the best results.
1. Nail Preparation
Begin with a standard manicure routine. Clean, file, and shape your nails to your desired length. Gently push back or trim your cuticles and lightly buff the nail surface to remove any shine. This ensures the polish adheres properly. Wipe the nail clean with a lint-free cloth and a nail cleanser solution to remove any dust and oils.
2. Applying the Base Layers
Apply a thin layer of a quality base coat to protect your natural nails and create a smooth foundation. Cure it under an LED or UV lamp according to the product's instructions. For an intensely vibrant red cat-eye effect, it is often recommended to apply a dark base colour first. A single coat of black or a deep, opaque red gel polish works wonderfully. Apply the colour evenly and cure it completely.
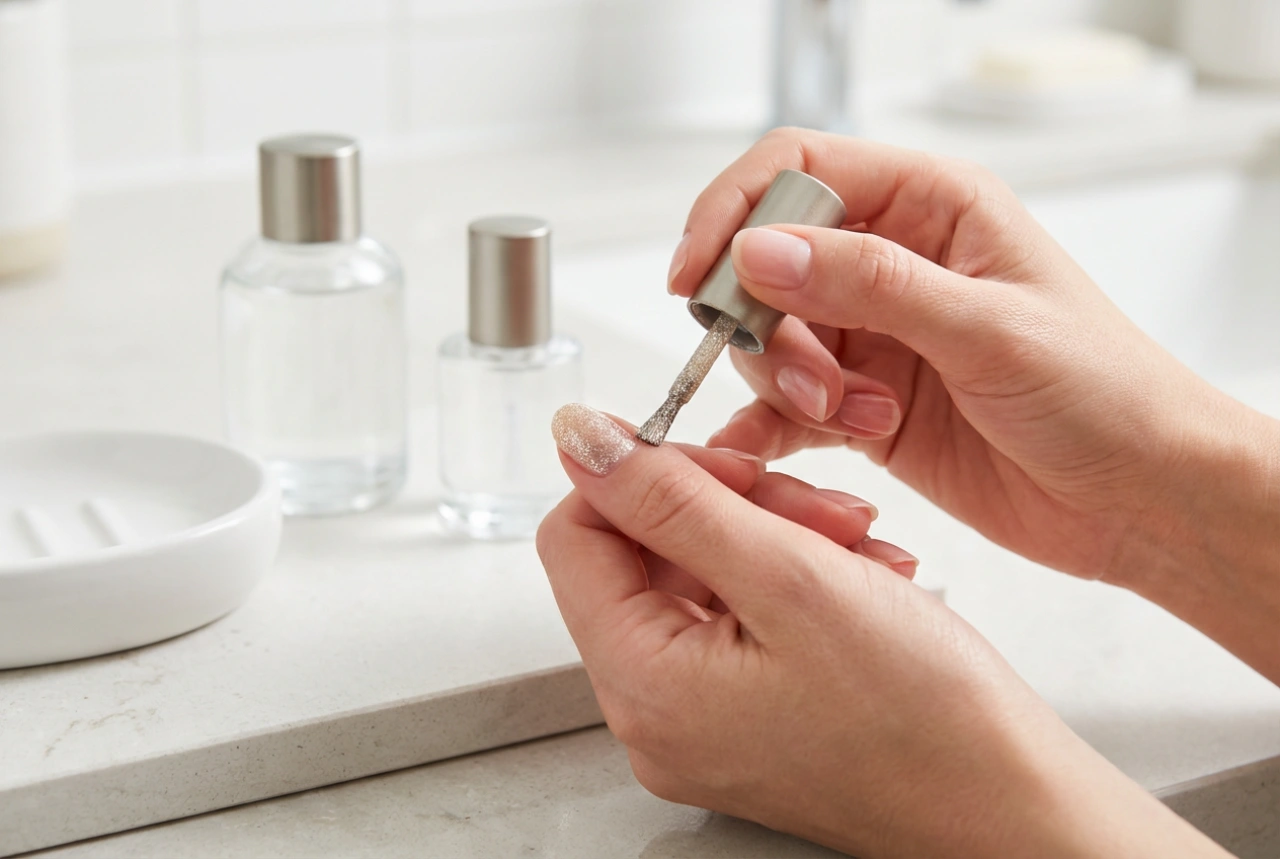
3. The Magnetic Polish Application
Now for the main event. Apply a generous, even coat of your red cat-eye gel polish over the cured base colour. Do not cure it yet. This layer needs to be wet for the magnet to work its magic. Ensure the coverage is smooth and extends over the entire nail.
4. Creating the Effect with a Magnet
Take your nail art magnet and hold it close to the wet polish, about 1-3 millimetres away, without touching the surface. Position it at your desired angle—diagonally, vertically, or horizontally—to create the line. Hold it steady for about 10-15 seconds. You will see the magnetic particles gather into a crisp, shimmering line. For more advanced effects, you can use dual-ended magnets or move the magnet around to create waves or 'S' shapes. Once you are happy with the design, immediately cure the nail under the lamp to lock the particles in place. This step is crucial, as the particles will disperse if the polish is left to sit for too long before curing.
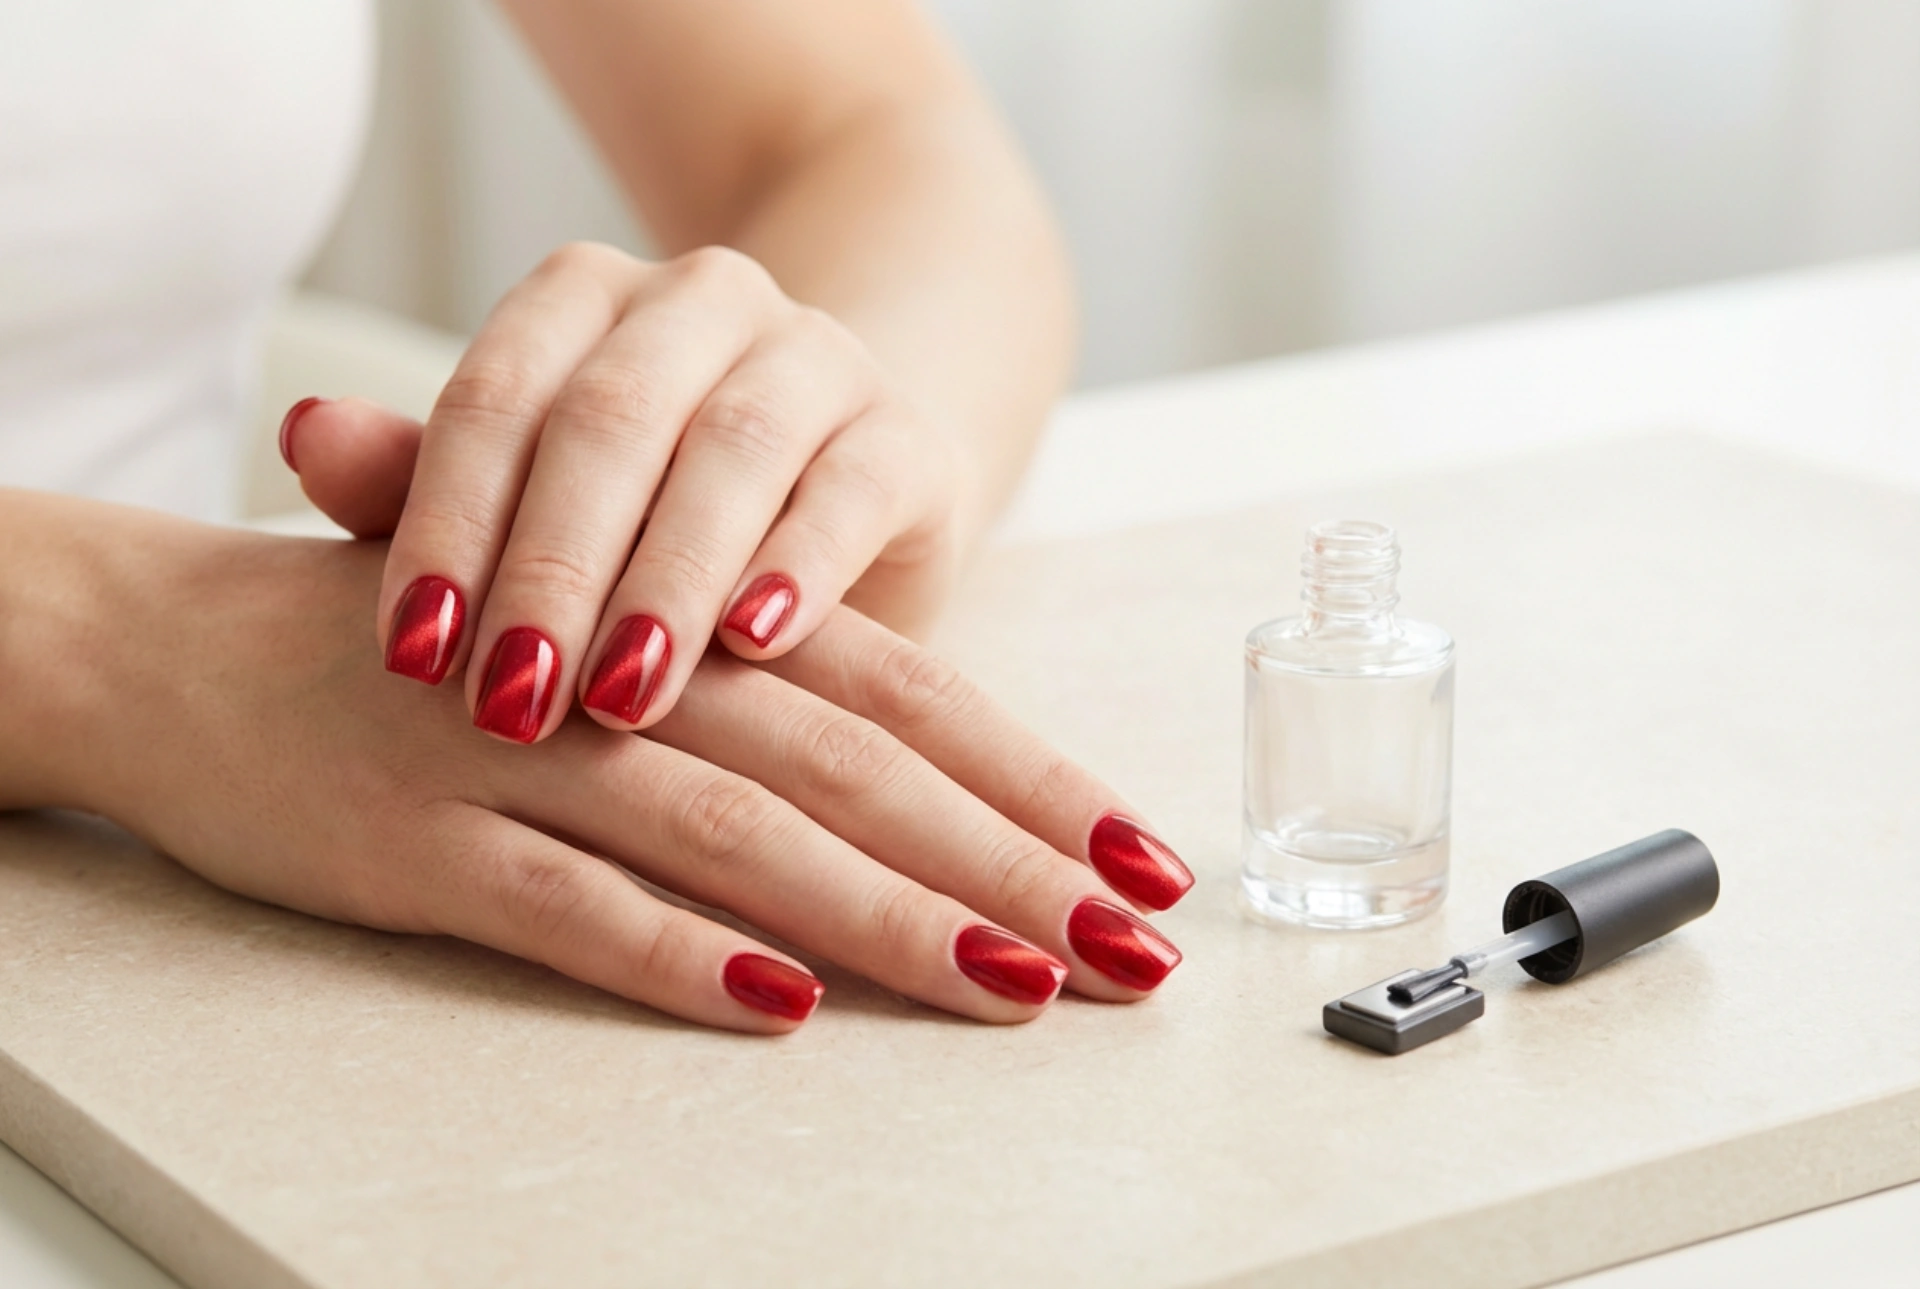
5. Sealing with a Top Coat
To complete your manicure, apply a high-shine, no-wipe top coat. This will protect your design from chipping, add a brilliant gloss, and make the cat-eye effect pop even more. Ensure you cap the free edge of the nail to seal it completely. Cure for the final time as per the top coat's instructions. Once cured, your stunning red cat-eye nails are ready to be admired.
Essential Tips for a Flawless Finish
- Work One Nail at a Time: To prevent the magnetic particles from settling and losing their sharp line, always apply the cat-eye polish, use the magnet, and cure one nail completely before moving on to the next.
- Choose a Strong Magnet: The quality and strength of your magnet will significantly impact the final result. A powerful magnet creates a sharper, more defined line.
- Experiment with Base Colours: While black is a popular choice for making the cat-eye line stand out, using a matching red base colour can create a more subtle, tonal, and deep look.
- Practice Your Technique: Don't be discouraged if your first attempt isn't perfect. Practice holding the magnet at different angles and distances to understand how it manipulates the polish and to find the effect you love most.