


Achieving flawless, long-lasting nail extensions at home can seem like a professional-only skill, but with the right tools and techniques, it is entirely possible. Acrylic gel, a modern hybrid product, combined with the correct use of nail forms, is a game-changer for DIY enthusiasts. The key to a beautiful and durable manicure lies in the preparation and application process. This guide will walk you through the steps to extend your nails using acrylic gel forms, focusing on how to prevent the common issue of lifting, ensuring your manicure looks perfect for weeks.
Understanding Acrylic Gel and Nail Forms
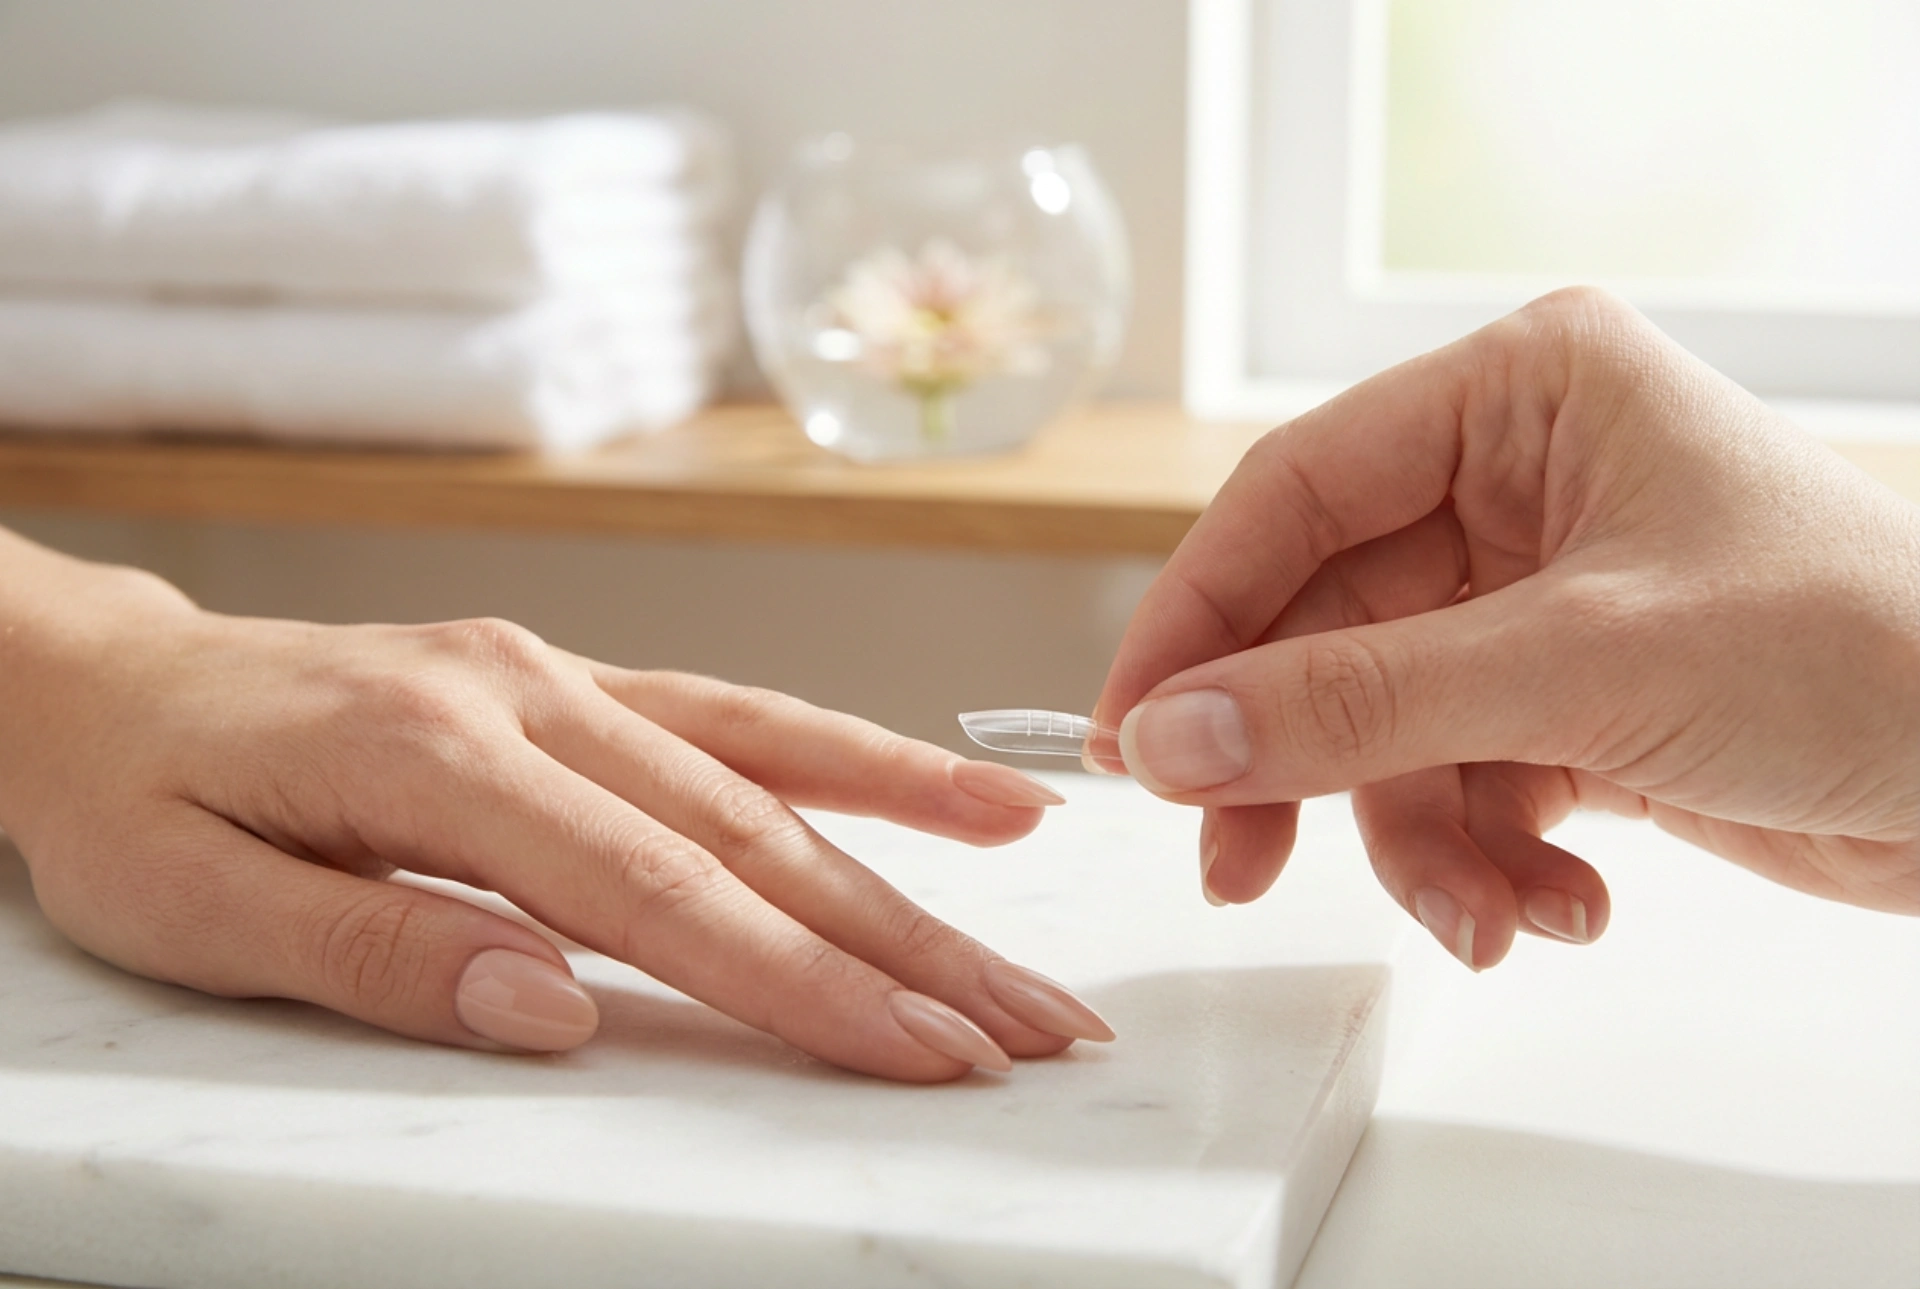
Before diving into the application, it's essential to know your materials. Acrylic gel, often known by various trade names, is a putty-like substance that combines the best qualities of acrylic and hard gel. It doesn't set until cured under an LED or UV lamp, giving you unlimited time to sculpt the perfect nail shape. Nail forms are the templates used to create the extension. The most popular type for acrylic gel are dual forms (or upper forms), which are clear, reusable plastic moulds. You fill the form with the product and press it onto your natural nail. The form guides the shape, resulting in a smooth, perfectly curved extension.
Choosing the Right Form
The success of your extension heavily depends on selecting the correct form size. Dual forms come in various sizes for each finger. A form is the right size if it fits snugly from one sidewall of your nail to the other without pressing into the skin or leaving a gap. If it's too wide, it can lead to product overflowing onto the skin, which is a primary cause of lifting. If it's too narrow, it creates weak points at the sides of the extension. Always take the time to size each nail individually before you begin.
The Crucial Step: Nail Preparation
Proper preparation is non-negotiable for preventing lifting and ensuring adhesion. Rushing this stage will almost certainly lead to a short-lived manicure. A clean, dehydrated nail plate is the perfect canvas for any nail enhancement.
Step 1: Cuticle Care and Nail Shaping
Start by gently pushing back your cuticles with a cuticle pusher. If you have excess non-living tissue, you can carefully trim it with a nipper, but avoid cutting the living skin. Next, file your natural nails to your desired length and shape the free edge. This is also a good time to ensure all nails are of a consistent base length before applying the extensions.
Step 2: Buffing the Nail Plate
Using a fine-grit buffer (180 or 240 grit is ideal), lightly and carefully buff the entire surface of the natural nail. The goal is to remove the natural shine, which is caused by oils, and create a slightly rough texture for the product to grip onto. Be gentle; you do not want to thin or damage your natural nail. After buffing, use a soft brush to remove all the dust. Any dust left behind can interfere with adhesion.
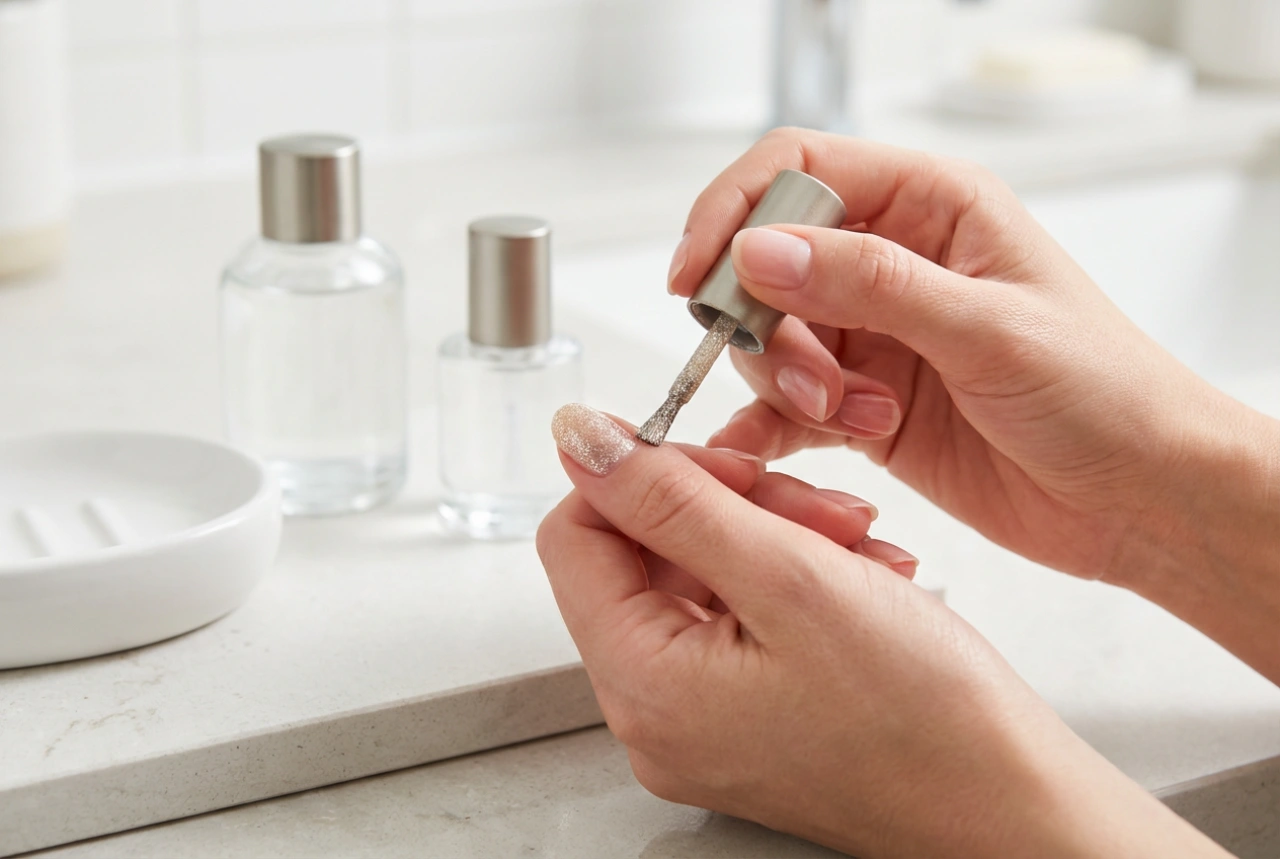
Step 3: Dehydrating and Priming
Once the nail is clean and free of dust, apply a nail dehydrator. This product removes any residual oils and moisture from the nail plate. It evaporates quickly. Following the dehydrator, apply a thin layer of a non-acidic nail primer. Primer acts like double-sided tape, creating a strong bond between your natural nail and the acrylic gel. Allow it to air dry completely before proceeding.
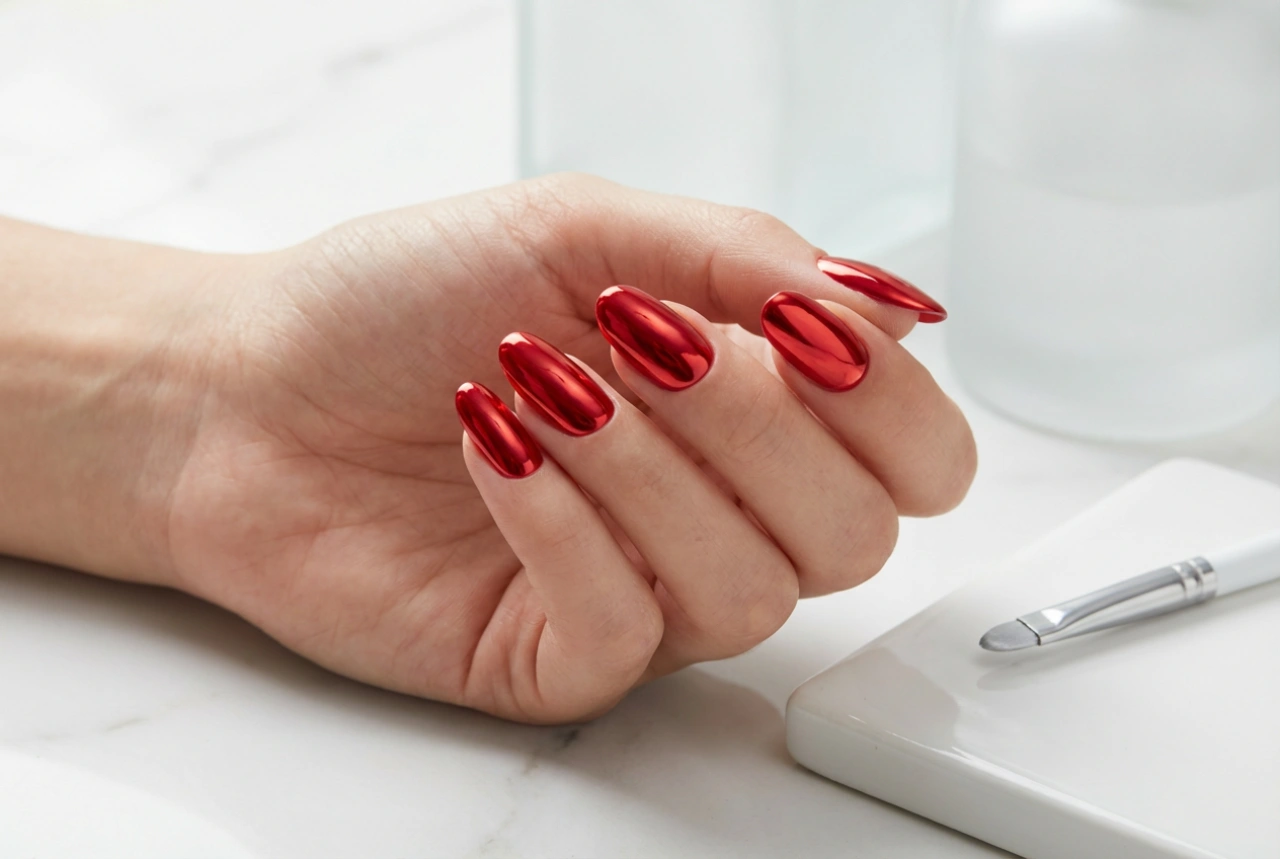
Applying the Acrylic Gel for a Flawless Finish
With your nails perfectly prepped, you are ready to create the extensions. Work on one nail at a time to ensure you have full control over the process.
- Apply Base Coat: Before the acrylic gel, apply a thin layer of a compatible gel base coat and cure it according to the manufacturer's instructions. This adds another layer of adhesion.
- Dispense and Shape the Gel: Squeeze a small, pea-sized amount of acrylic gel directly into the appropriately sized dual form. Dip your brush into a slip solution (a special liquid designed to help move the gel without it sticking to the brush) and pat the gel into an even layer inside the form, making it slightly thinner near the cuticle area and building up an apex (the thickest point) for strength.
- Place the Form: Carefully place the form onto your nail. Start by rocking it down at the cuticle area at a 45-degree angle, then press it firmly onto the rest of the nail plate. Ensure there are no air bubbles trapped underneath and that no product has squeezed out onto the skin. If it has, use your brush with a little slip solution to clean it up meticulously before curing. This is critical for preventing lifting.
- Cure and Remove: With the form held in place, cure the nail under your LED/UV lamp for the recommended time (usually 60-120 seconds). For a thorough cure, you can also flash cure the top for 10-15 seconds, then flip your hand over and cure the underside. Once fully cured, gently pinch the sides of the form and wiggle it to release it from the nail.
- Finishing Touches: Your extension is now formed. Use a 180-grit file to refine the shape of the free edge and sidewalls. Lightly buff the surface to smooth out any imperfections. Cleanse the nail with an alcohol wipe to remove dust, and finish with a layer of gel top coat, curing it for the final time. Your strong, beautiful extension is complete.