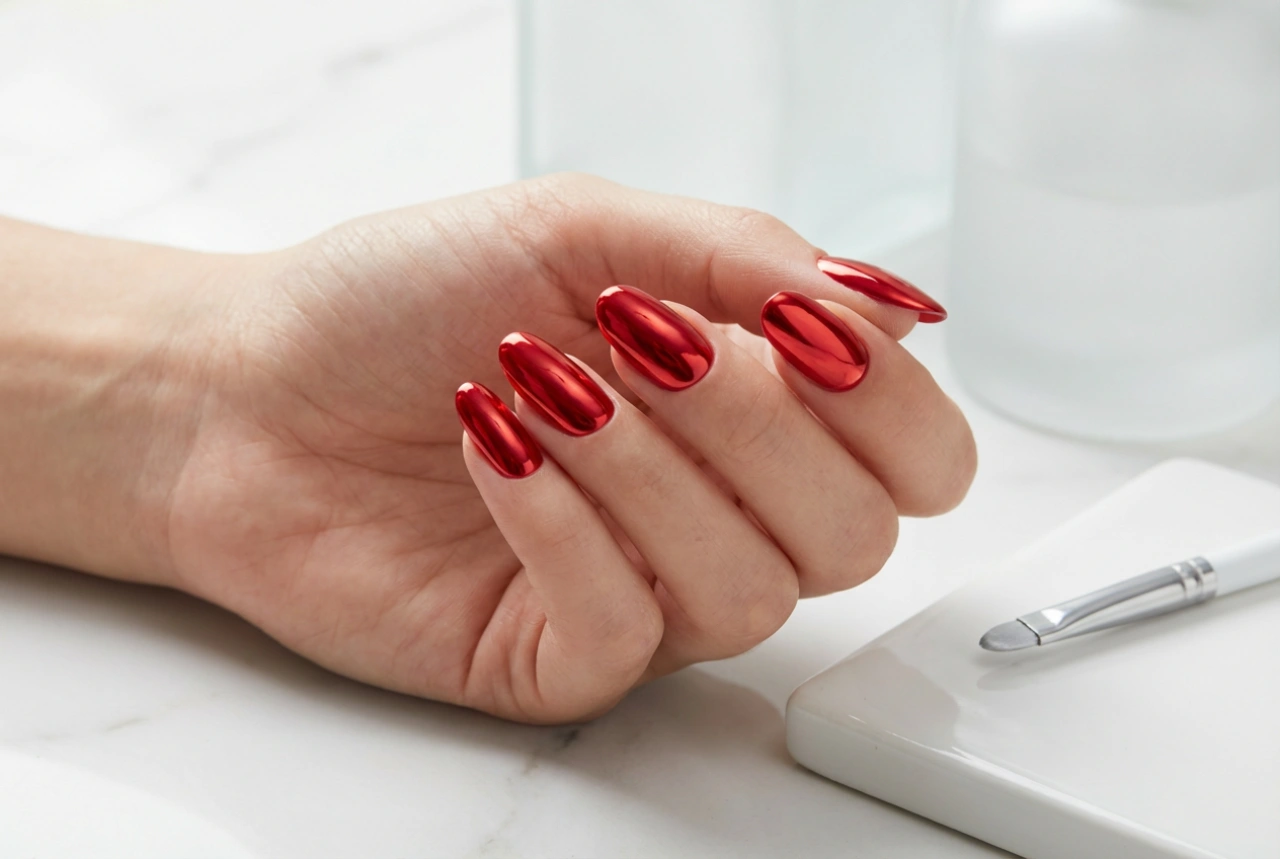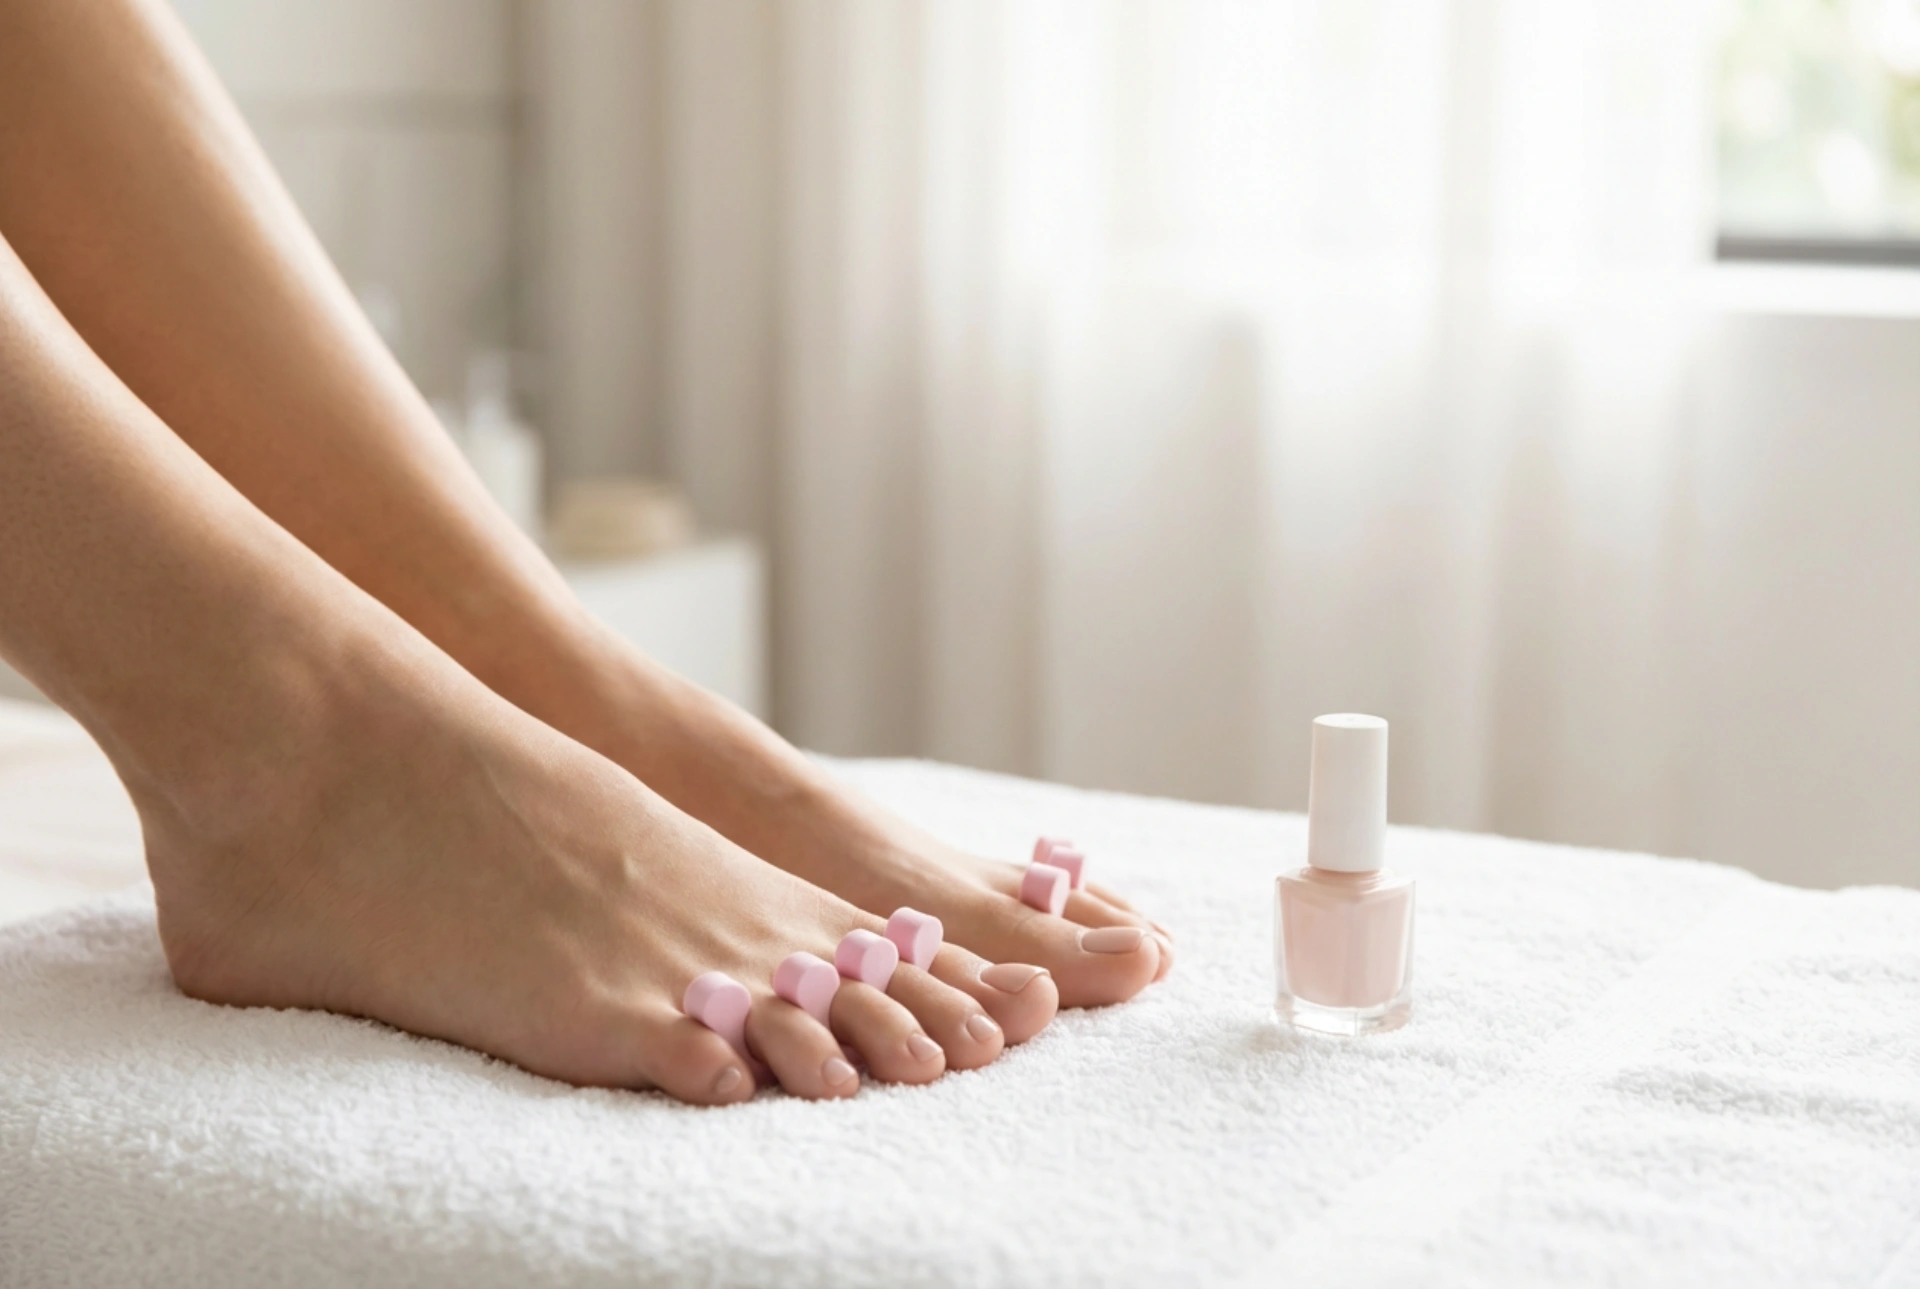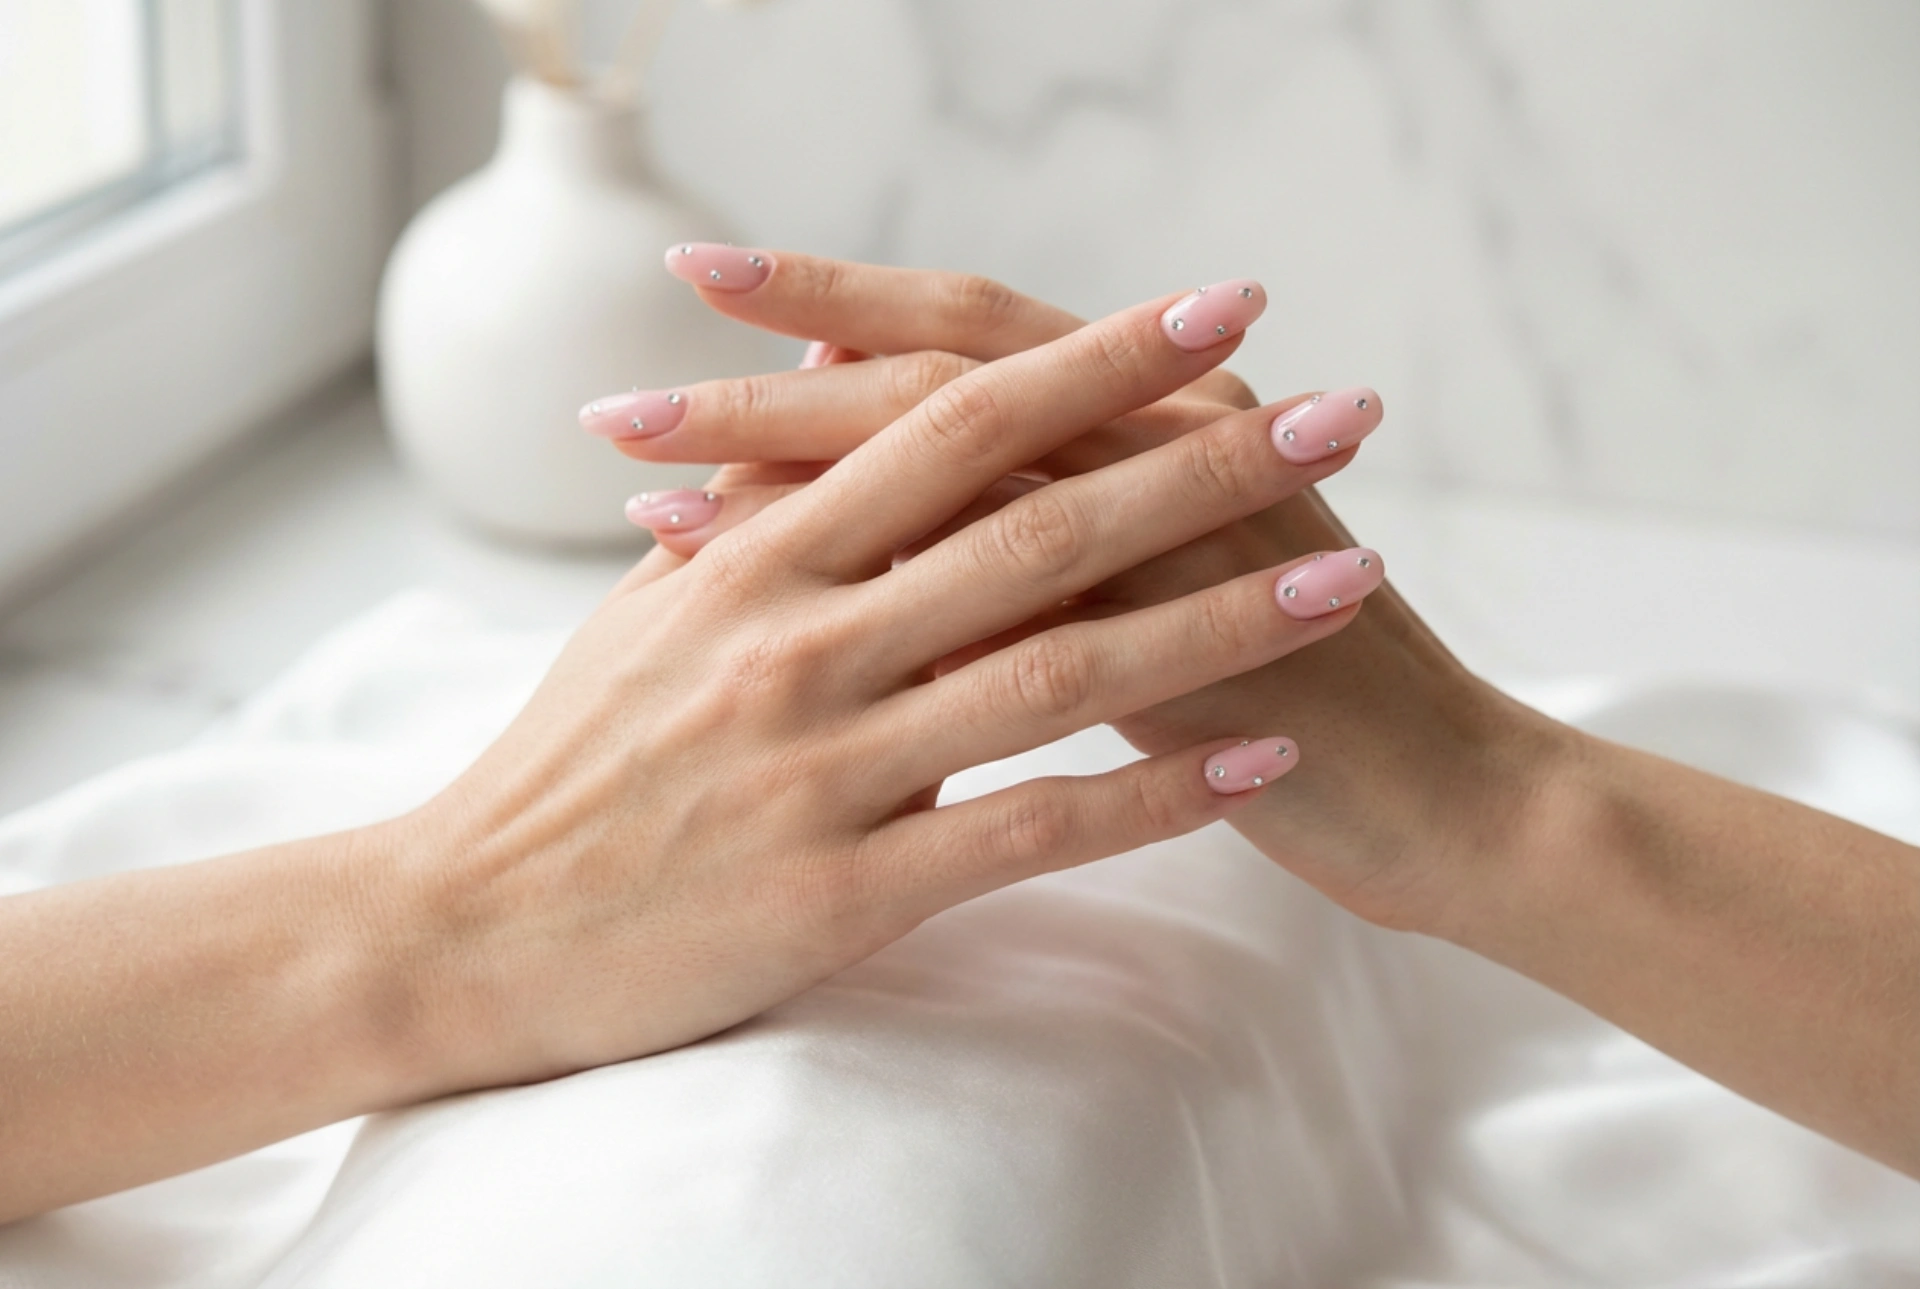


A classic pink manicure is the epitome of elegance and versatility, but adding a touch of sparkle with rhinestones can transform it into a truly eye-catching statement. Achieving a beautiful and long-lasting rhinestone manicure at home is entirely possible with the right techniques. The key lies in careful preparation, precise application, and proper sealing to ensure your delicate gems stay in place. This guide will walk you through the steps to safely adorn your pink nails with rhinestones for a durable and professional-looking finish.
Preparing Your Nails for Rhinestone Application
A flawless foundation is crucial for any nail art, especially when adding three-dimensional elements like rhinestones. A clean, smooth, and properly prepared nail surface ensures better adhesion and longevity for your design.
Step-by-Step Nail Preparation
- Clean and Shape: Start by ensuring your nails are completely clean and free of any oils or old polish. Shape them with a file to your desired look, whether it's square, oval, or almond. Gently buff the nail surface to create a slightly textured base for the polish to grip onto.
- Cuticle Care: Push back your cuticles gently using a cuticle pusher. This creates a larger, cleaner canvas for your polish and prevents lifting. Avoid cutting the cuticles, as this can lead to irritation.
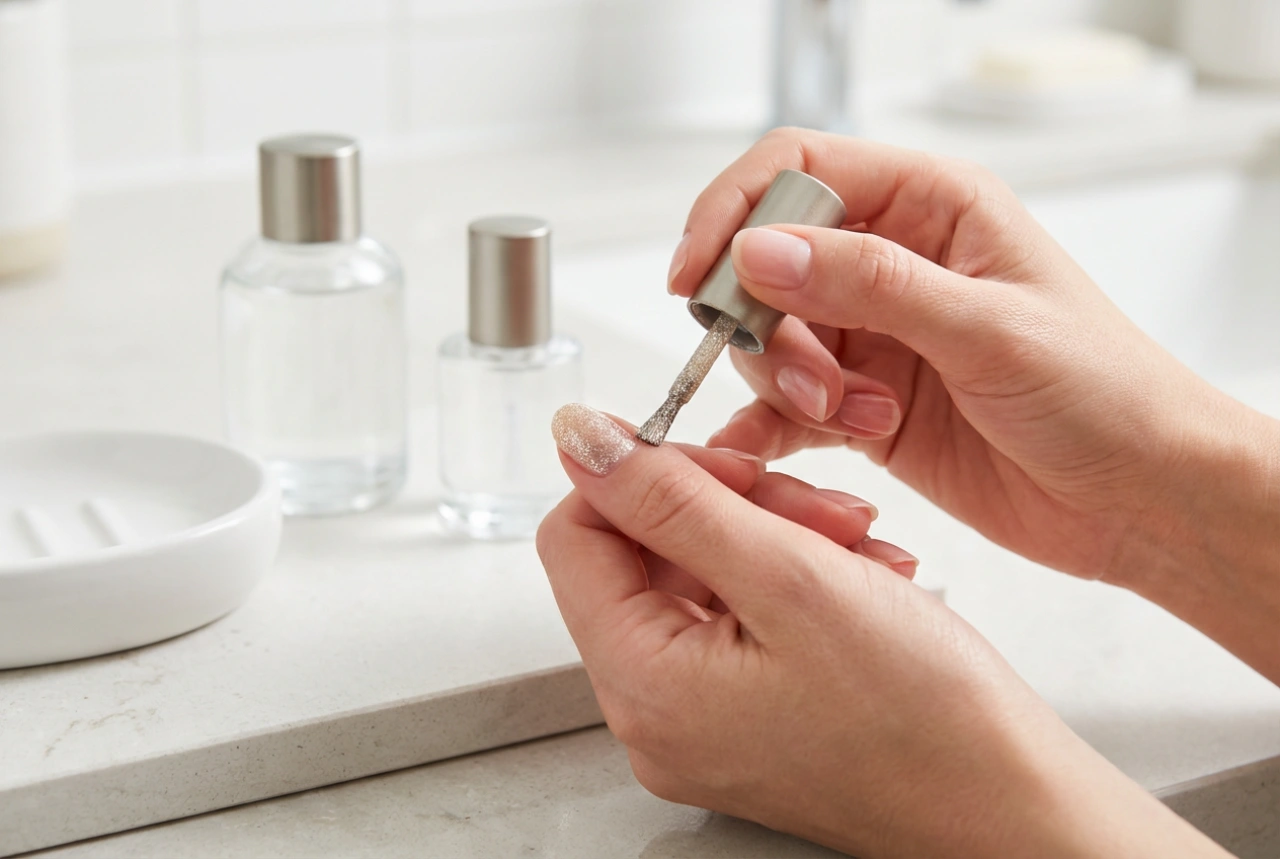
- Base and Colour Coats: Apply a thin layer of a quality base coat to protect your natural nails. Once dry, apply two thin coats of your chosen pink nail polish, allowing each coat to dry completely. For gel-like systems, cure each layer according to the product's instructions. A fully dry or cured colour surface is essential before you begin applying rhinestones.
Choosing the Right Adhesive
The adhesive you choose will determine how long your rhinestones stay on. There are several options suitable for home use, each with its own set of benefits.
- Specialised Nail Glue: For the strongest and most durable hold with regular nail polish, a glue specifically formulated for nail art is the best choice. These glues are designed to bond decorations to the nail surface securely. Use a tiny amount, as a little goes a long way.
- Thick Top Coat: If you are only applying a few small rhinestones, you might be able to use a thick, slow-drying top coat as a mild adhesive. Apply a dab of the top coat where you want the gem, place the rhinestone, and then seal the entire nail. This method is less durable but convenient for temporary accents.
- Gel for Embellishments: For those using gel-based nail systems, a special 'gem gel' or a thick builder gel provides a very secure hold. You apply the gel, place the rhinestones, and then cure it under a lamp to lock them in place. This is often the most durable method available for home use.
Techniques for Precise Rhinestone Placement
Placing tiny rhinestones requires patience and the right tools. Precision is key to creating a neat and intentional design.
Tools and Method
For picking up and placing rhinestones, you can use one of the following tools:
- Wax Pencil or Crayon: This is a popular tool among nail artists. The waxy tip easily picks up a rhinestone without leaving residue.
- Dotting Tool with Wax: You can apply a small amount of beeswax or a waxy balm to the tip of a dotting tool to create a temporary picker-upper.
- Tweezers: Fine-tipped tweezers work well, but can be tricky as they may scratch the rhinestone or slip.
To apply, first decide on your design. Apply a minuscule dot of your chosen adhesive onto the nail where you want the first stone. Pick up the rhinestone with your tool and gently place it onto the adhesive. Press down lightly for a few seconds to ensure it is set. Work one stone at a time to prevent the adhesive from drying out.
Securing the Rhinestones for a Lasting Manicure
Once all your rhinestones are in place, the final and most important step is to seal them. This protects them from getting snagged and falling off.
Sealing Techniques
The method depends on the type of manicure you have created. The goal is to anchor the base of the rhinestone without covering its faceted top, which would dull its sparkle.
- For Regular Nail Polish: Take a clear top coat and, using a thin brush or the tip of the bottle's brush, carefully apply it around the base of each rhinestone. This creates a 'prong' effect that holds the gem in place. Once this is done, you can apply a full layer of top coat over the entire nail, still trying to avoid painting directly over the top of the larger stones.
- For Gel Systems: After curing the gel used to adhere the stones, take a no-wipe top coat and a fine liner brush. Meticulously apply the top coat around the base of each rhinestone, ensuring you seal all the edges to the nail surface. Be careful not to flood the stone. Cure the top coat according to the instructions. This creates a strong, seamless, and durable finish.
By following these steps, you can create a beautiful and durable pink manicure with rhinestones that looks professional and lasts. Proper care, such as being gentle with your hands and avoiding harsh solvents, will further extend the life of your stunning nail art.