


Achieving a durable, glossy manicure that lasts for weeks is no longer exclusive to salon visits. With a comprehensive gel nail kit, you can create a professional-looking finish from the comfort of your own home. The key to success lies in understanding the purpose of each tool and following the application process correctly. A well-organised kit, complete with polishes and a curing lamp, provides everything you need to begin your journey into the world of at-home gel manicures.
What’s Inside a Standard Gel Nail Kit?
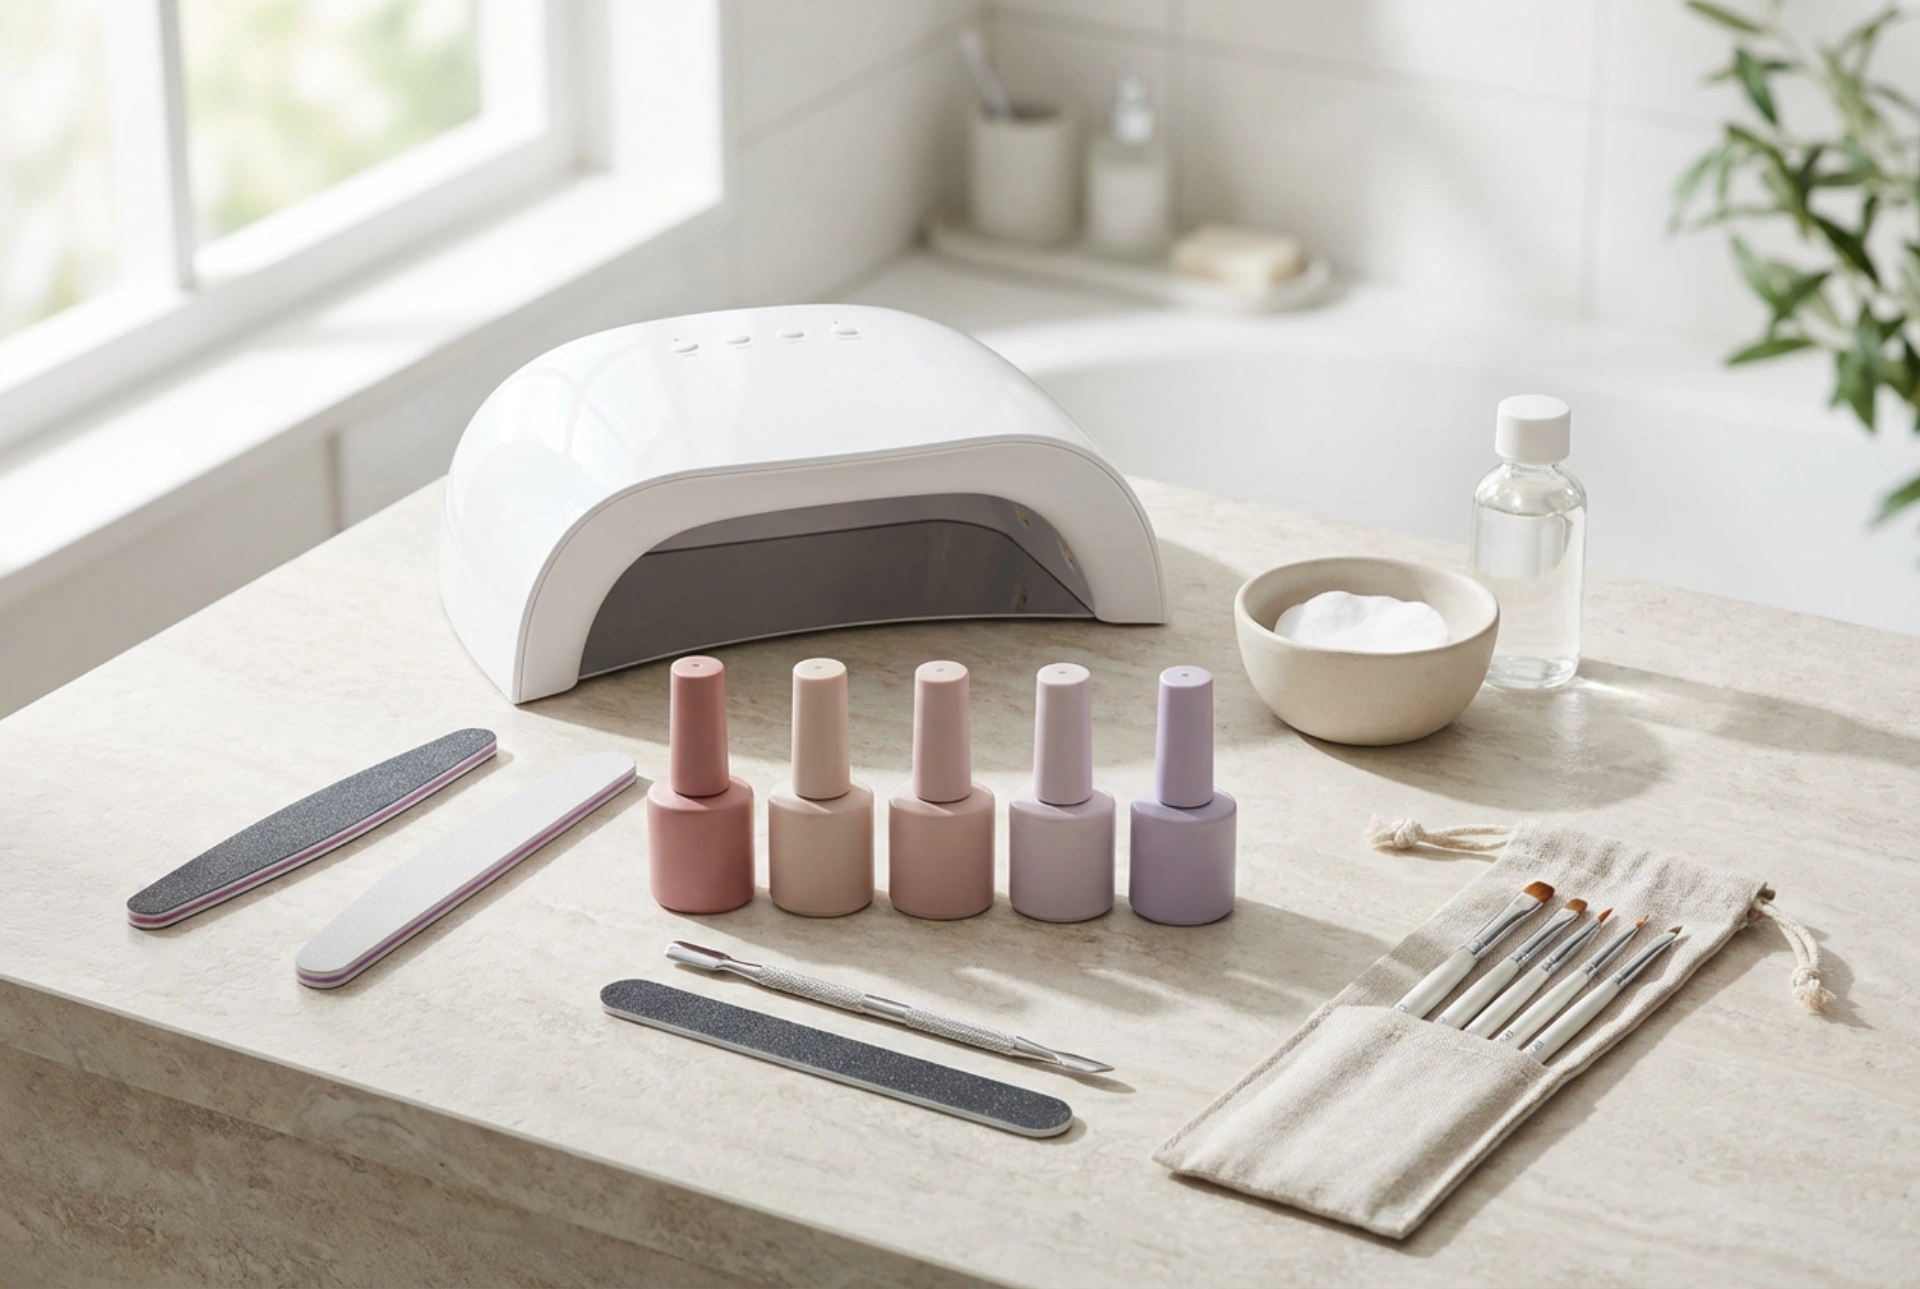
While kits can vary, a professional starter set typically includes all the essentials for completing the entire process from preparation to finish. Understanding each component is the first step towards mastering the technique.
- UV/LED Lamp: This is the most crucial tool. It emits specific wavelengths of light to cure, or harden, the gel polish, making it strong and long-lasting.
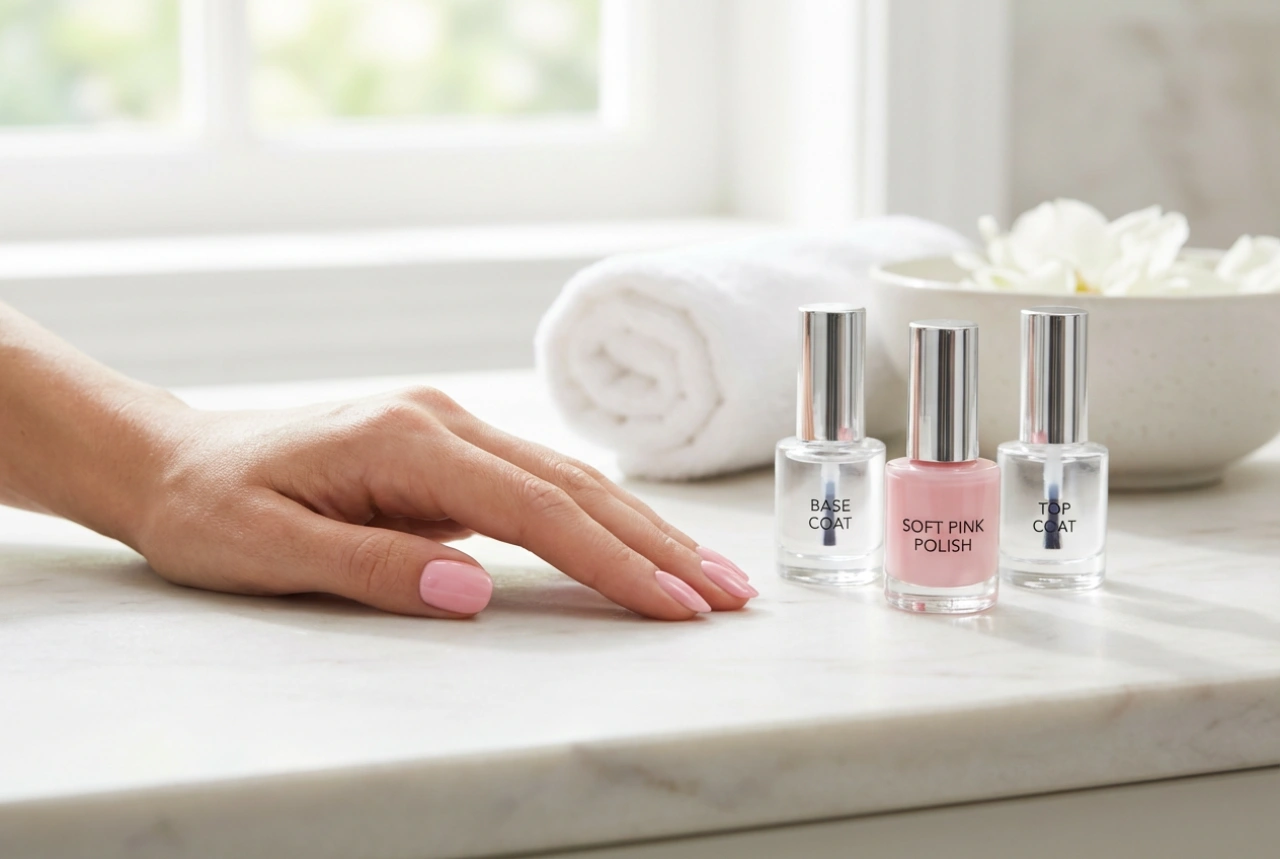
- Base Coat: A clear gel applied as the first layer. It helps the coloured polish adhere to the natural nail and protects the nail plate from staining.
- Top Coat: The final clear layer. It seals in the colour, provides a high-gloss shine, and protects the manicure from chipping and scratching. Some are 'no-wipe', meaning they don't have a sticky residue after curing.
- Coloured Gel Polishes: These are the pigmented gels that give your nails their colour. They are applied in thin layers between the base and top coats.
- Nail Cleanser: An alcohol-based solution used to dehydrate the nail plate before application and to remove the sticky 'inhibition layer' left on some top coats after curing.
- Gel Remover: Typically an acetone-based solution designed to break down the gel polish for safe removal.
- Nail File and Buffer: A file is used to shape the nails, while a buffer is used to gently roughen the nail surface, which helps the gel adhere better.
- Cuticle Pusher or Wooden Sticks: These are used to gently push back the cuticles to create a clean, neat nail bed for polish application.
- Lint-Free Wipes: Essential for use with the cleanser to avoid leaving behind small fibres on the nail surface.
Preparing Your Nails for a Gel Manicure
Proper preparation is non-negotiable for a long-lasting gel manicure. Skipping these steps can lead to lifting and peeling. Take your time to create the perfect canvas.
Step 1: Shape and File
Use a nail file to shape your nails to your desired length and form, whether it's square, oval, or almond. Ensure all nails are uniform. File gently in one direction to prevent splitting.
Step 2: Cuticle Care
Apply a cuticle softening solution if you have one, then gently push back your cuticles using a wooden stick or a metal pusher. Never cut your cuticles at home, as this can lead to issues. The goal is simply to clear the nail plate of any overgrown skin.
Step 3: Buff the Nail Plate
Using the softer side of a buffer block, gently buff the entire surface of each nail. This removes the natural shine and creates a slightly textured surface for the base coat to grip onto. Be gentle; you do not want to thin the nail.
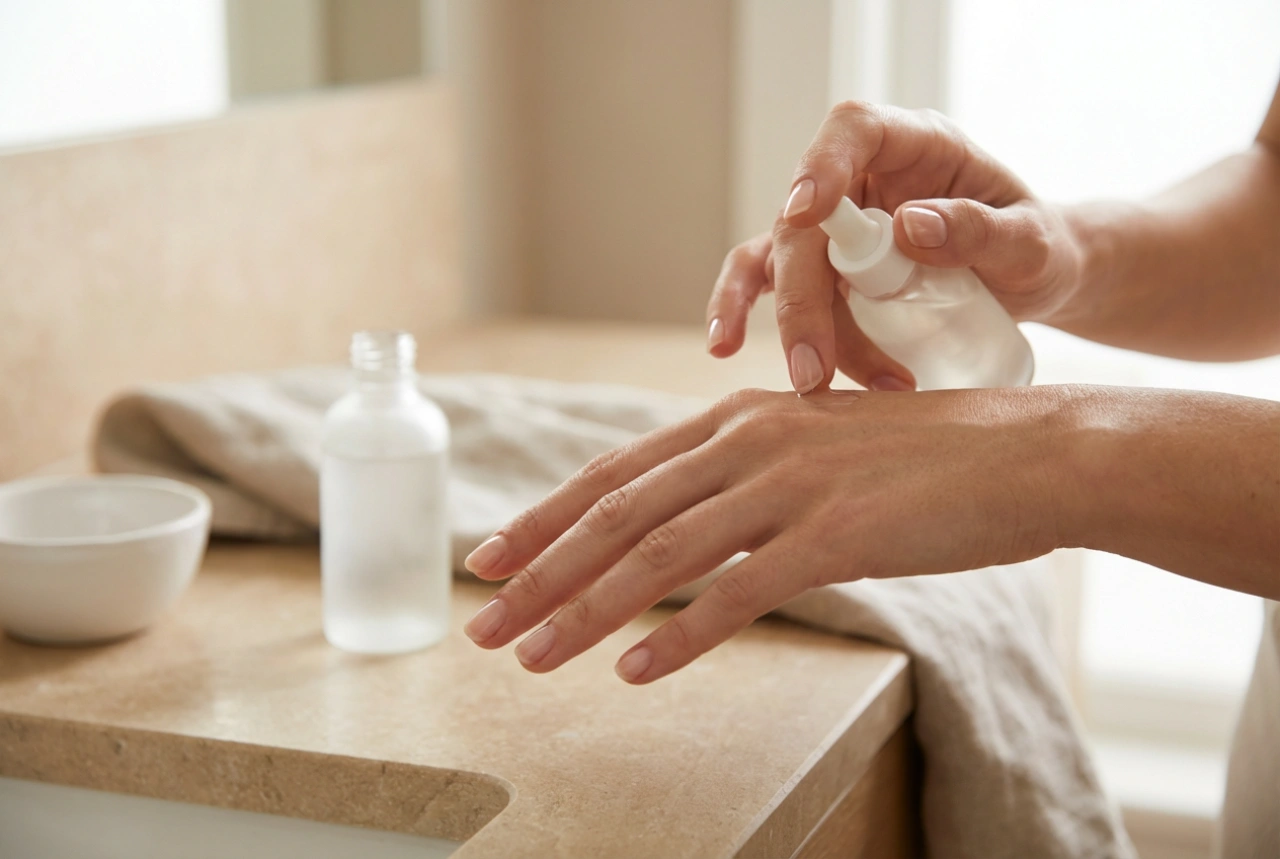
Step 4: Cleanse the Nail
Soak a lint-free wipe with nail cleanser and thoroughly wipe down each nail. This step removes all natural oils, dust from filing, and any other residue, ensuring maximum adhesion.
The Gel Application Process: A Step-by-Step Guide
With your nails prepped, you are ready to apply the polish. The key is to use very thin, even layers. Thick layers will not cure properly and can result in a bulky, uneven finish.
- Apply Base Coat: Paint a very thin layer of base coat onto the nail, being careful to avoid touching the skin or cuticles. 'Cap' the free edge by running the brush along the tip of the nail. Cure under the lamp for the time specified by the product's instructions (usually 30-60 seconds).
- Apply First Colour Coat: Apply a thin layer of your chosen coloured gel polish. Again, avoid the skin and remember to cap the free edge. The first coat may look sheer; this is normal. Cure it under the lamp.
- Apply Second Colour Coat: Apply a second thin layer of colour. This will provide full, opaque coverage. If needed for certain colours, a third coat can be applied. Cure this layer completely.
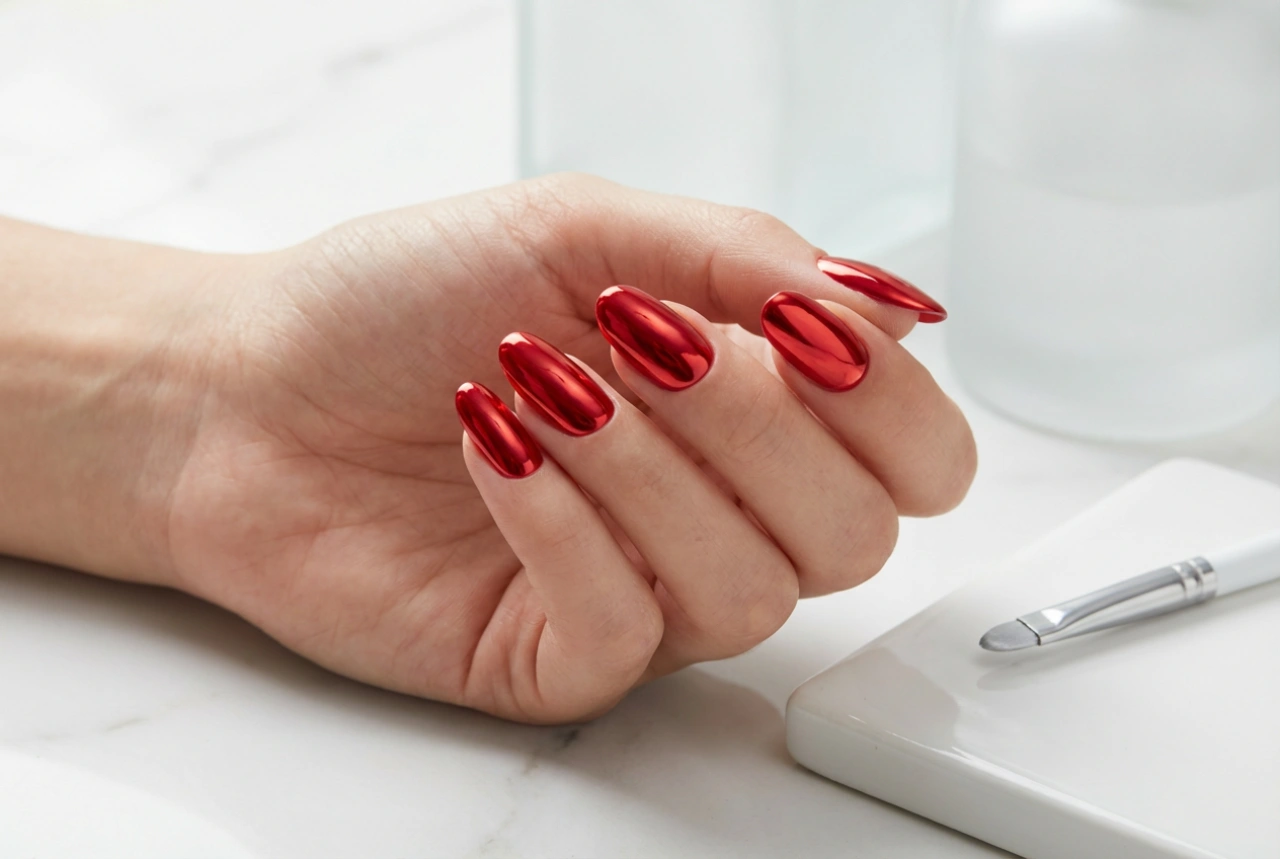
- Apply Top Coat: Apply a thin layer of top coat, ensuring you cover the entire nail and cap the free edge to seal everything in. Cure for the final time, potentially for slightly longer to ensure it's fully hardened.
- Final Cleanse: If your top coat is not a 'no-wipe' formula, it will have a sticky residue after curing. Soak a lint-free wipe in nail cleanser and wipe each nail firmly to reveal the high-gloss shine.
Safe Removal of Gel Polish
To protect your natural nails, always remove gel polish correctly. Never peel or pick it off, as this rips away layers of your natural nail.
First, use a nail file to gently buff away the shiny top coat. This breaks the seal and allows the remover to penetrate the layers. Next, soak a piece of cotton in gel remover, place it on your nail, and wrap your fingertip in a small piece of aluminium foil to hold it in place. Wait for about 10-15 minutes. After soaking, the gel should have softened and started to lift. Use a wooden cuticle stick to gently scrape the loosened gel away. If some spots are stubborn, re-wrap and soak for a few more minutes. Once all the gel is removed, lightly buff your nails and apply a nourishing cuticle oil to rehydrate the area.