


Achieving a flawless, long-lasting manicure that withstands the challenges of daily life is a common beauty goal. The appearance of perfectly polished nails can boost confidence and complete any look. For those who value both beautiful results and efficiency, the world of nail care offers innovative solutions. One such advancement is the 3-in-1 hybrid nail polish, a product designed to deliver a durable, glossy finish without the lengthy, multi-step process of traditional systems. This approach simplifies the at-home manicure, making it more accessible to everyone.
What is a 3-in-1 Hybrid Nail Polish?
A 3-in-1 hybrid nail polish is a revolutionary product that combines three essential components of a traditional hybrid manicure into a single bottle: the base coat, the colour, and the top coat. In a classic hybrid system, each of these is applied as a separate layer, with each layer requiring curing under a special lamp. The 3-in-1 formula streamlines this process significantly. By integrating the properties of all three products, it eliminates the need for separate bottles and multiple application steps, offering a much quicker path to a finished manicure.
How Does It Differ from Traditional Hybrid Polish?
The primary difference lies in the application process and the number of products required. A traditional manicure involves:
- Applying a base coat to protect the nail and improve adhesion.
- Applying one or two coats of coloured polish.
- Applying a top coat for shine and protection.
Each of these steps requires individual application and curing. A 3-in-1 polish condenses this into a single type of application. You simply apply the coloured polish, which already contains the base and top coat elements, and cure it. This not only saves time but also reduces the complexity and cost associated with purchasing and storing multiple products.
The Application Process Step-by-Step
While a 3-in-1 polish is simpler to use, proper nail preparation remains crucial for achieving a durable and professional-looking result. Following these steps will help ensure your manicure looks its best and lasts longer.
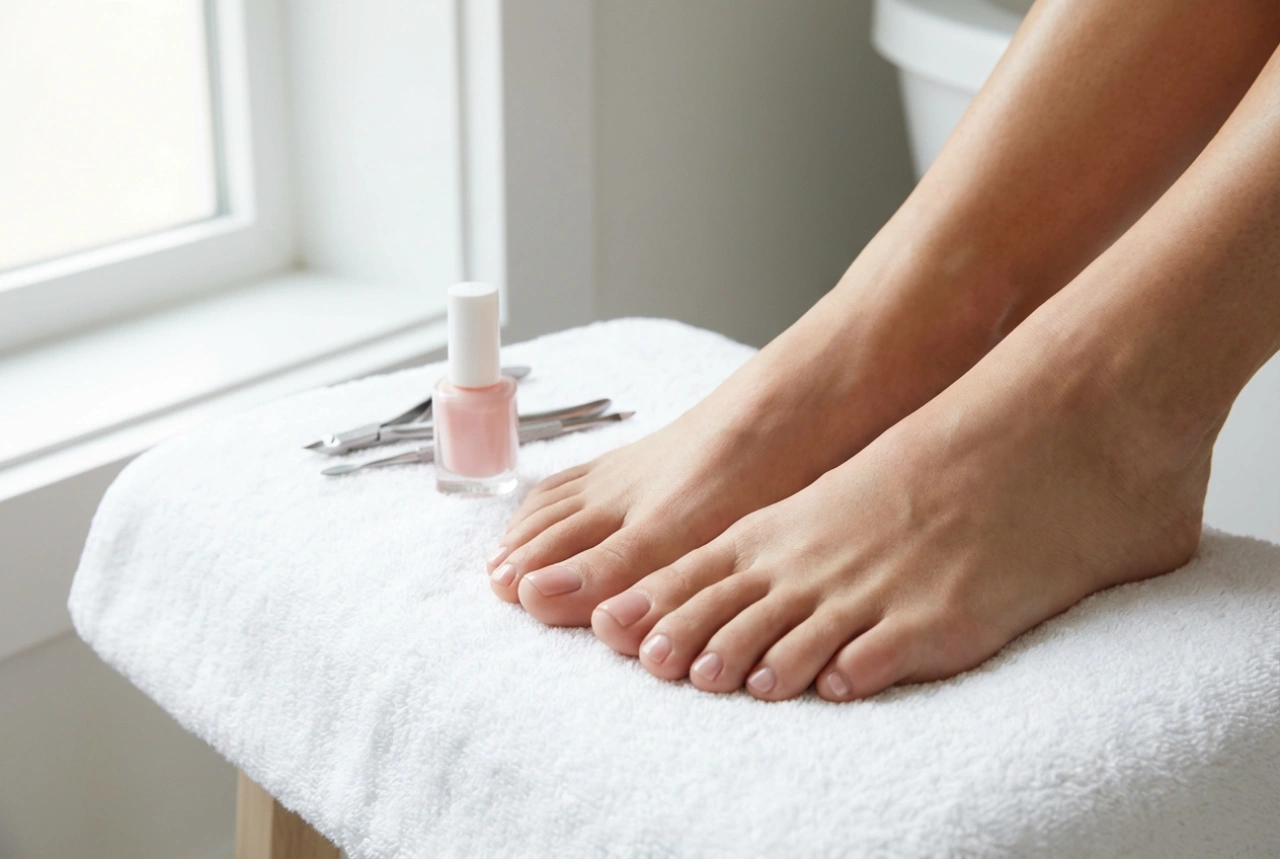
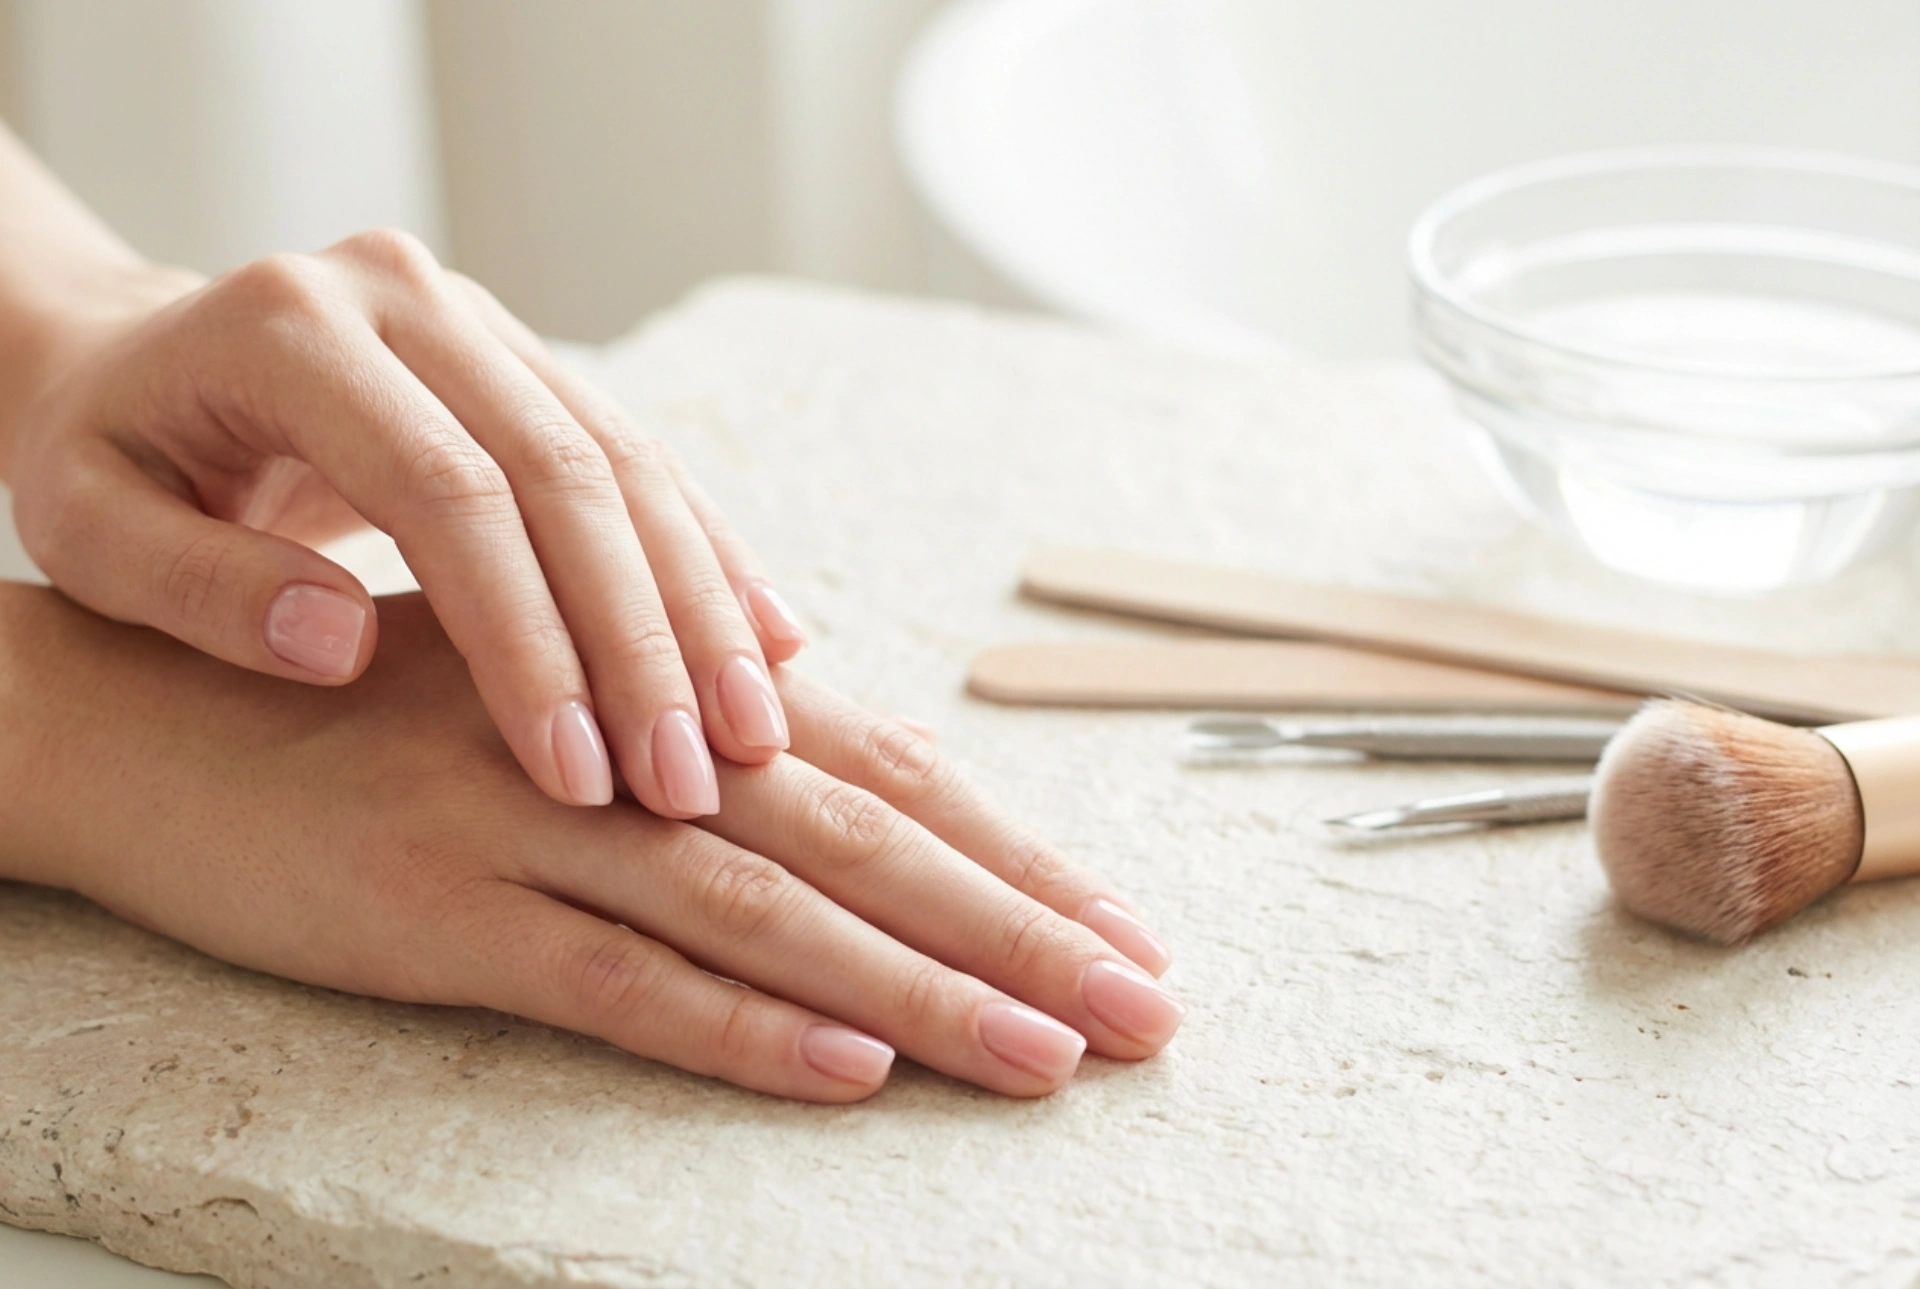
1. Nail Preparation
Start with clean, dry nails. Gently push back your cuticles and shape your nails with a file. To ensure maximum adhesion, lightly buff the surface of the nail plate with a fine-grit buffer to remove any natural oils and shine. Finally, wipe each nail with a nail cleaner or a lint-free pad soaked in a special dehydrating solution to remove any dust and oils.
2. Applying the First Coat
Shake the 3-in-1 polish bottle well to ensure the formula is evenly mixed. Apply a very thin, even coat of the polish to the nail, being careful to avoid flooding the cuticles. A thin application is key to proper curing and preventing the polish from peeling. Remember to 'cap' the free edge of the nail by running the brush along the tip. This helps to seal the manicure and prevent chipping.
3. Curing
Place your hand under a suitable nail lamp to cure the polish according to the product's instructions. The curing process hardens the polish, giving it its characteristic durability and shine. Ensure you follow the recommended curing time for your specific lamp and polish.
4. Applying the Second Coat (Optional)
For a more opaque and intense colour, you may wish to apply a second coat. Repeat the process of applying a thin layer of polish, capping the free edge, and curing it under the lamp for the recommended time. Because the 3-in-1 formula includes a top coat, there is no need to apply a separate finishing layer. Once the final coat is cured, your manicure is complete.
Tips for Achieving Maximum Durability
The longevity of your 3-in-1 hybrid manicure depends heavily on the application technique and aftercare. To get the most out of your polish, consider these tips:
- Proper Prep is Non-Negotiable: Do not skip the nail preparation stage. A clean, properly buffed, and dehydrated nail plate is the best foundation for a long-lasting manicure.
- Thin Coats are Better: Applying thick coats can lead to improper curing, resulting in a soft, pliable finish that is prone to smudging and peeling. Always opt for two thin coats over one thick one.
- Protect Your Manicure: For the first few hours after your manicure, avoid prolonged contact with hot water. When doing household chores, wear protective gloves to shield your nails from harsh chemicals and detergents.
- Nourish Your Cuticles: Apply cuticle oil daily to keep the skin around your nails hydrated. Healthy cuticles contribute to the overall health and appearance of your nails and can help prevent lifting at the base.
Removing 3-in-1 Hybrid Polish
When it's time for a change, 3-in-1 hybrid polish can be removed at home. The process typically involves soaking the polish off. Start by gently filing the shiny top surface of the polish to break the seal. Then, soak a small piece of a cotton pad in a specialised hybrid polish remover, place it on the nail, and wrap the fingertip securely in aluminium foil. After 10-15 minutes, the polish should have softened and can be gently pushed off with a wooden stick or a cuticle pusher. Never force or scrape off the polish, as this can damage the natural nail plate.