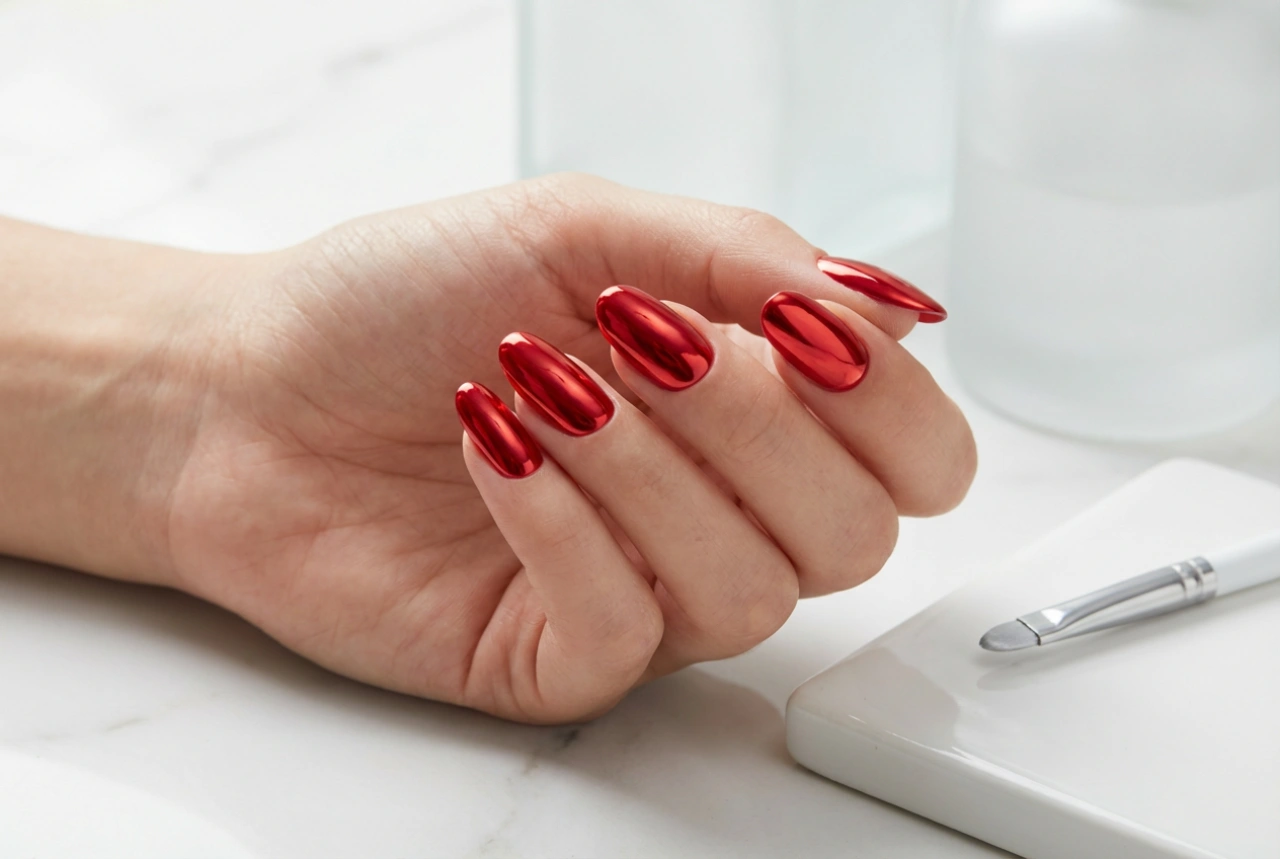


The pursuit of beautiful nails does not always have to involve layers of colourful polish. Sometimes, the most elegant look is one that enhances natural beauty. The Japanese manicure is a centuries-old technique focused on nourishing and strengthening the nail plate, leaving it with a remarkable, healthy-looking pinkish sheen. This treatment is perfect for those who wish to give their nails a break from more intensive styling methods or simply prefer a minimalist, clean aesthetic. Understanding what a proper kit contains and how to use it is the key to achieving salon-quality results at home.
What is a Japanese Manicure?
A Japanese manicure is a unique nail care treatment that differs significantly from conventional manicures. Instead of applying lacquer, this method involves buffing nutrient-rich pastes and powders into the nail plate. The core philosophy is to heal and fortify the nails from within, rather than just covering them. The treatment seals in moisture and nutrients, helps to repair damage, and encourages healthy growth. The result is exceptionally smooth nails with a durable, high-gloss shine that can last for up to two weeks, all without a single drop of polish.
Essential Components of a Japanese Manicure Kit
A traditional Japanese manicure kit is typically minimalist yet highly effective. While packaging may vary, the core components are standardised to ensure the treatment is performed correctly. Here’s what a complete set should contain.
Nourishing Paste
This is the first and most crucial step of the treatment. The paste, often green in colour, is packed with a blend of natural ingredients. Key components typically include vitamins A and E, keratin, beeswax, and silica from the Sea of Japan. When buffed into the nail, this paste deeply nourishes the nail plate, fills in ridges and imperfections, and provides a solid foundation for the next step. Its primary role is to strengthen and condition the nail.
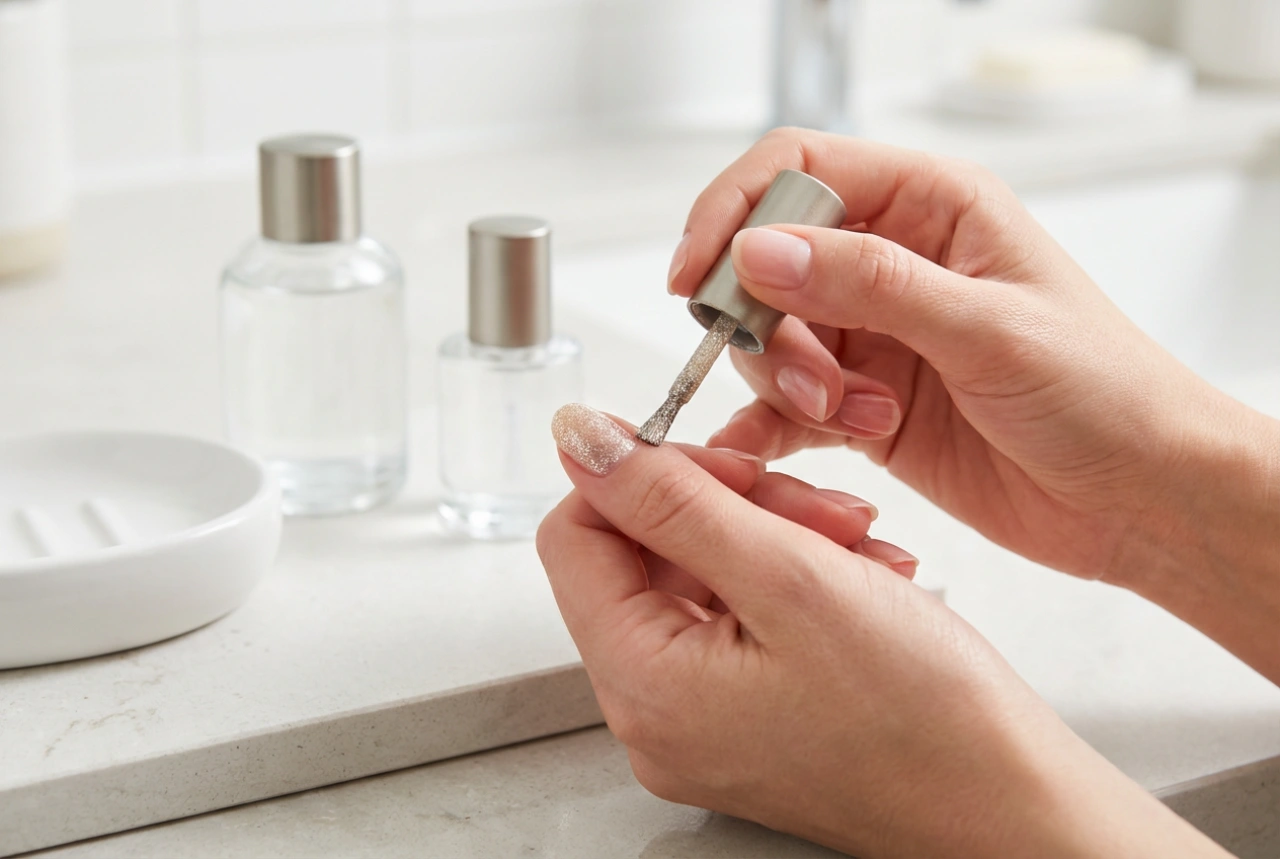
Polishing Powder
The second active product is a fine powder, usually pink or white. This powder is applied after the paste to seal in the nutrients and create the signature glossy finish. It works in tandem with the paste to enhance the pinkish hue of the nail bed and create a protective layer that repels water and detergents. The powder contains ingredients that gently polish the nail surface to a brilliant shine, which looks completely natural.
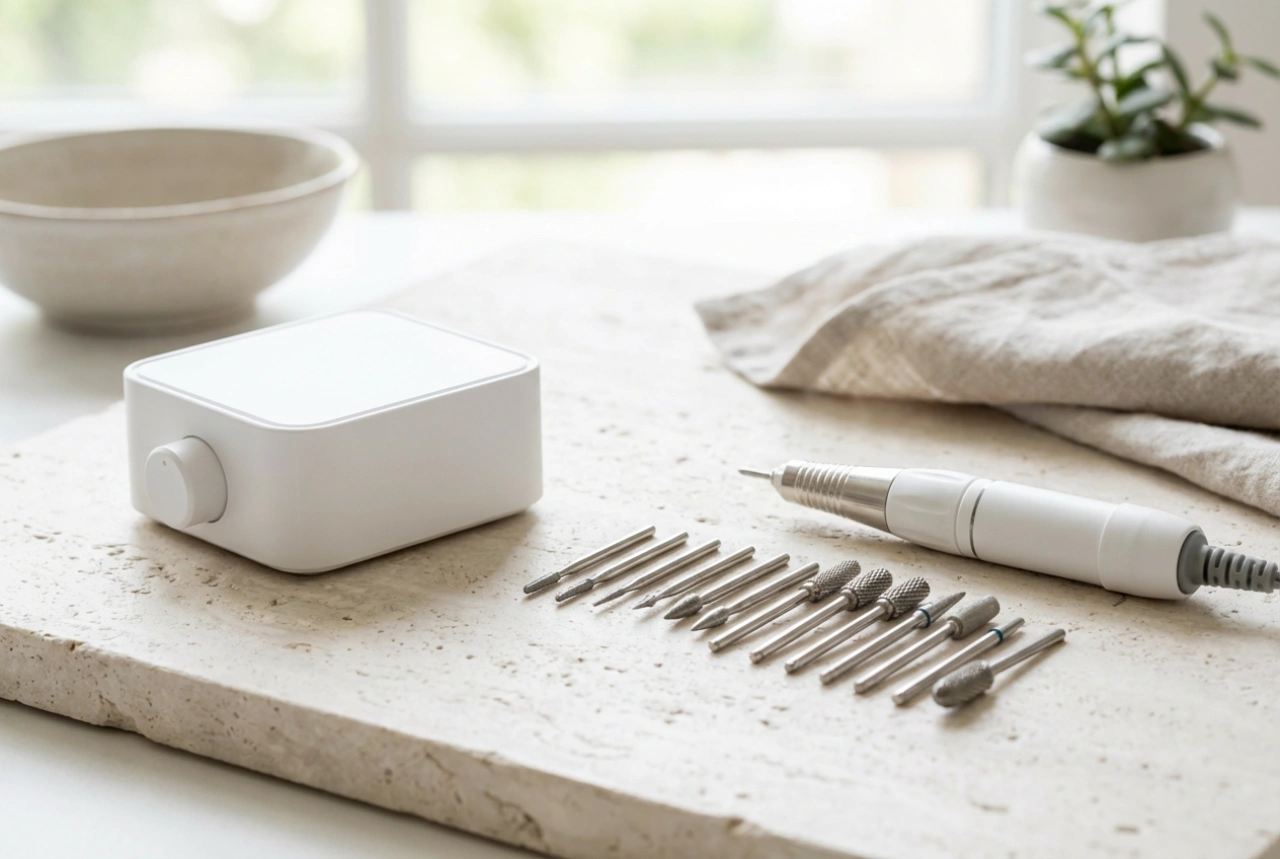
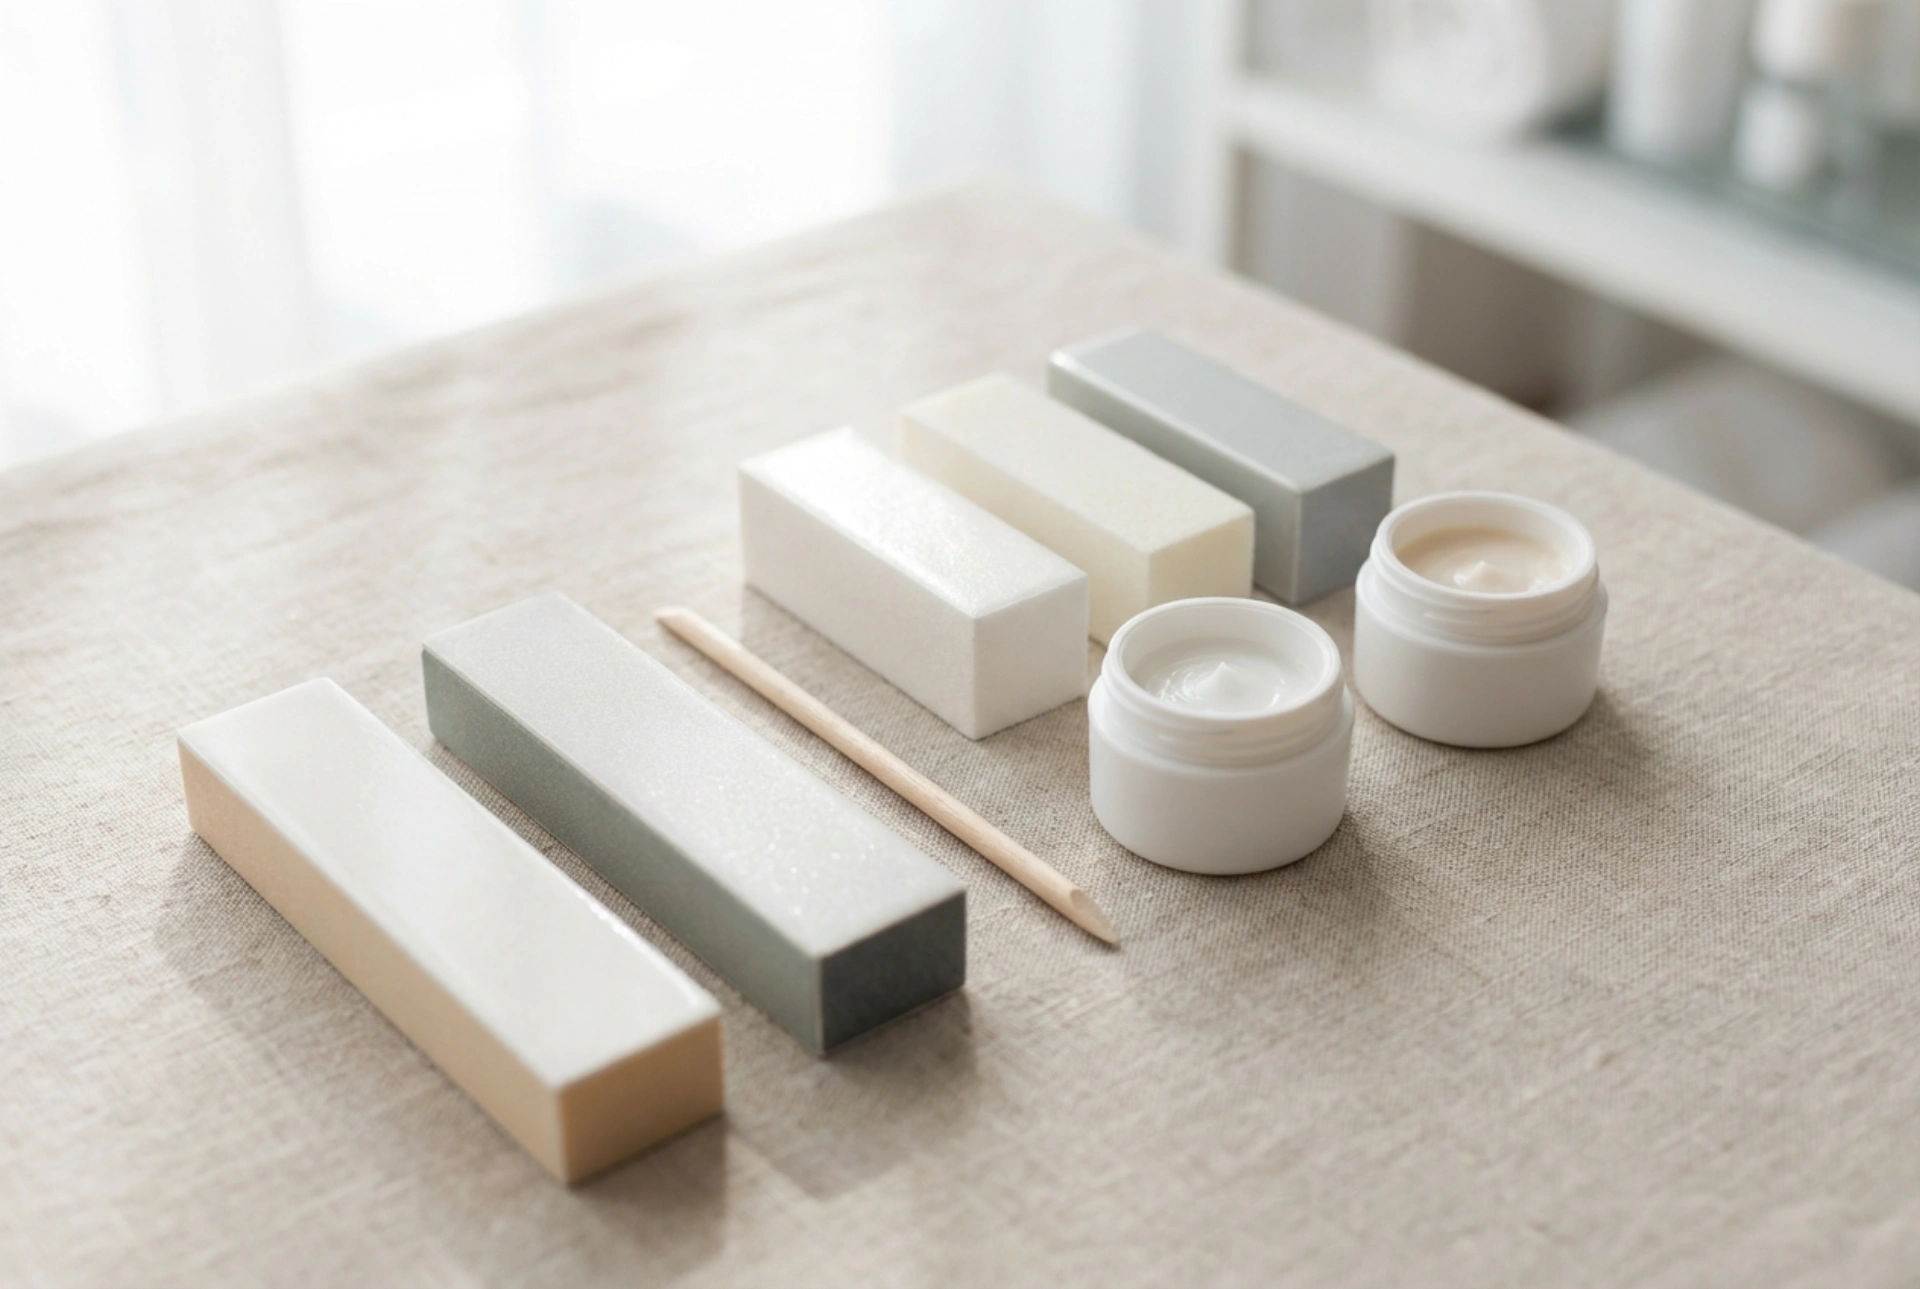
Specialised Buffers
A Japanese manicure kit will include at least two distinct buffers, often colour-coded to correspond with the paste and powder. One buffer, typically made of natural leather like chamois, is designed for working the nourishing paste into the nail plate. Its texture allows for effective absorption without being too abrasive. The second buffer is used to apply the polishing powder, buffing the nail to its final, high-gloss state. It's essential to use the correct buffer for each step to achieve the desired effect.
Accessory Tools
To complete the manicure process, a kit will also contain a few basic tools. These usually include a double-sided file or emery board for shaping the nails and a plastic or wooden cuticle pusher for gently tidying the nail bed. It's important to prepare the nails properly before beginning the treatment for the best results.
Step-by-Step Guide to a Japanese Manicure at Home
Performing a Japanese manicure is a mindful and gentle process. Follow these steps carefully to achieve strong, shiny, and healthy nails.
- Step 1: Preparation. Start with clean, dry hands. Remove any old nail polish. Use the nail file to shape your nails to your desired length and form. Next, use the cuticle pusher to gently push back the cuticles. Avoid cutting them, as this can lead to damage. Lightly buff the surface of the nail plate with the fine side of the file to remove any natural oils and create a slightly matte surface for the paste to adhere to.
- Step 2: Apply the Nourishing Paste. Using the designated applicator or the tip of the correct buffer, take a small amount of the nourishing paste. Apply it across the entire surface of one nail. With the designated buffer (often the green one), use firm, unidirectional strokes to buff the paste into the nail plate. Continue buffing until the nail starts to feel smooth and the paste is mostly absorbed. Repeat for all nails.
- Step 3: Apply the Polishing Powder. Take a small amount of the polishing powder with the second, designated buffer (often the pink one). Apply it to the nail plate over the absorbed paste. Using the same unidirectional buffing motion, work the powder into the nail. You will quickly see a brilliant, pearlescent shine develop. The more you buff, the more intense the shine will be.
- Step 4: Final Touches. Once you have finished all nails, use a soft cloth or brush to wipe away any excess powder. Your nails are now treated and beautifully shiny. For aftercare, avoid exposing your hands to harsh chemicals or detergents for a few hours. The treatment can be repeated every two to three weeks to maintain nail health and shine.