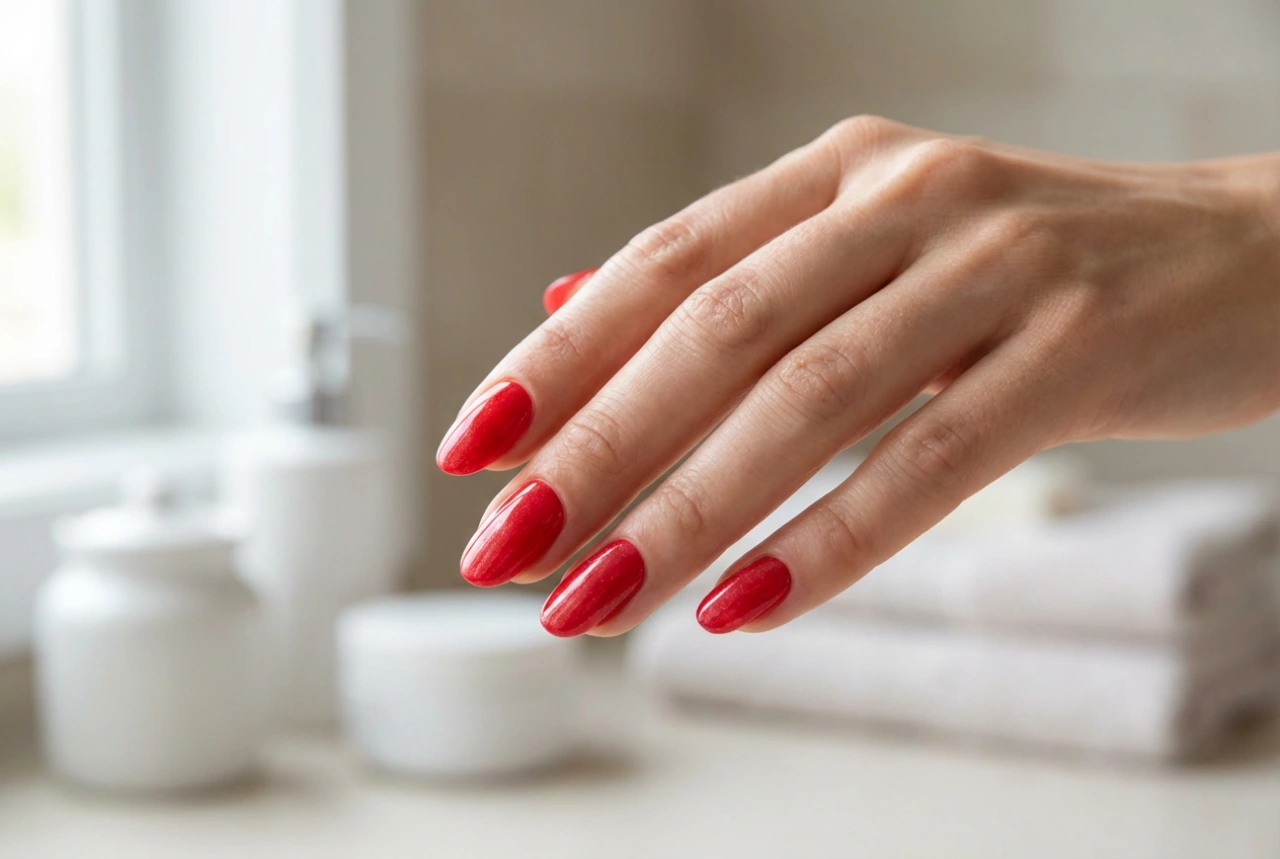


A high-quality nail drill, often seen as the centrepiece of a professional manicure station, is an invaluable tool for achieving flawless nails. Whether you're working with natural nails or enhancements like gels and acrylics, a powerful electric file can save time and deliver precise results. However, selecting the right device and understanding how to use it safely is paramount to protecting your nail health and achieving a beautiful finish. This guide will walk you through the essential features of a powerful nail drill, the various types of bits, and the correct techniques for safe and effective use.
Key Parameters of a High-Performance Nail Drill
When choosing a powerful nail drill, certain technical specifications determine its performance and suitability for different tasks. Understanding these parameters will help you select a machine that meets your needs.
Power and Speed (RPM)
Speed is measured in Revolutions Per Minute (RPM) and indicates how many times the bit rotates in one minute. For home use, a drill with an adjustable speed range of up to 30,000-35,000 RPM is typically sufficient. Lower speeds (around 2,000-15,000 RPM) are ideal for working on natural nails, cuticle care, and polishing. Higher speeds (15,000-35,000 RPM) are reserved for more demanding tasks like removing gel polish, shaping acrylics, or backfill maintenance. Always start at the lowest speed and increase it gradually as you become more comfortable and proficient.
Torque and Motor Quality
Torque is the rotational force of the drill's motor. A drill with good torque will maintain a consistent speed without slowing down or stopping when pressure is applied to the nail. Low-quality drills often have low torque, which means they may stall during use, leading to an uneven finish and potential nail damage. A powerful, high-torque motor is a sign of a professional-grade machine that can handle various tasks smoothly and efficiently.
Forward and Reverse Rotation
The ability to switch the direction of the bit's rotation is a crucial feature. A forward and reverse setting allows for comfortable use by both right-handed and left-handed individuals. It also enables you to work on different areas of the nails from various angles, ensuring a symmetrical and polished result, particularly when working around the cuticles or on both hands.
Vibration, Noise, and Heat
A well-engineered nail drill should operate with minimal vibration and noise. Excessive vibration can make it difficult to control the handpiece, leading to imprecise work and fatigue. Similarly, a quiet motor makes the experience more pleasant. The handpiece should also be designed to dissipate heat effectively, preventing it from becoming uncomfortably hot during extended use.
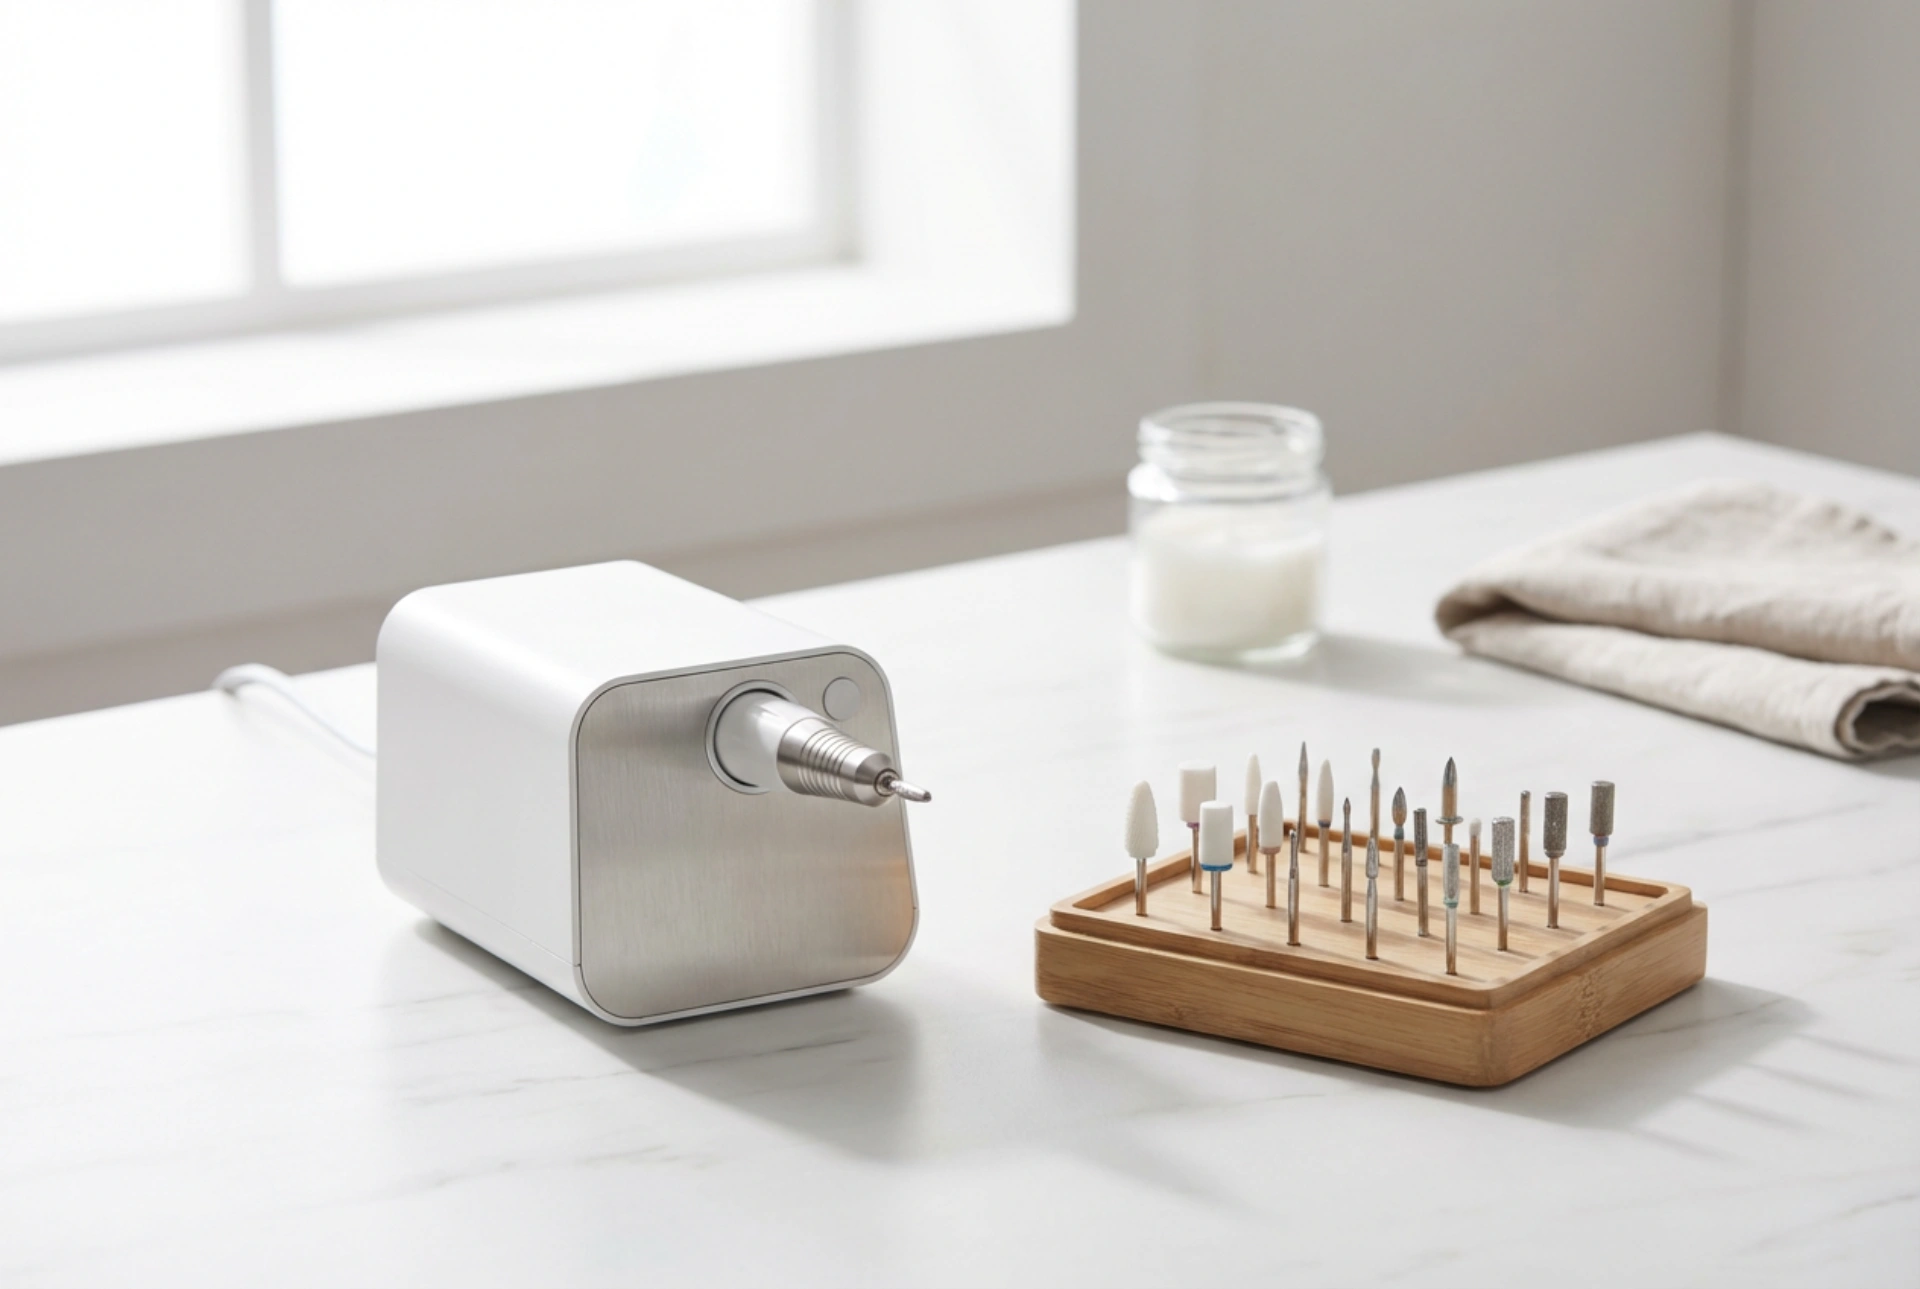
Understanding Different Types of Nail Drill Bits
The versatility of a nail drill comes from its interchangeable bits. Each bit is designed for a specific purpose. Using the right bit is essential for achieving the desired result safely.
- Carbide Bits: Made from a strong metal, these bits are very durable. They have flute-like cuts that shave off product rather than scratching it away. They are excellent for removing gel or acrylic enhancements, shaping thick nails, and cutting in a new smile line. They come in various grits, from fine to extra coarse.
- Ceramic Bits: These bits are known for their durability and excellent heat dissipation, which prevents them from heating up as quickly as metal bits. They are a great choice for removing gel polish, refining the nail surface, and some cuticle work. Their smooth action makes them a popular choice for beginners.
- Diamond Bits: Diamond bits are made by bonding small diamond particles to a metal base. They are used for more delicate and precise tasks. They excel at exfoliating dry skin around the nail, cleaning the cuticle area, preparing the natural nail plate before product application, and refining the nail edges.
- Sanding Bands: These are single-use paper cylinders that slide onto a reusable metal or rubber mandrel bit. They are perfect for preparing the nail surface, shortening the length of natural or artificial nails, and removing product. Because they are disposable, they are a very hygienic option.
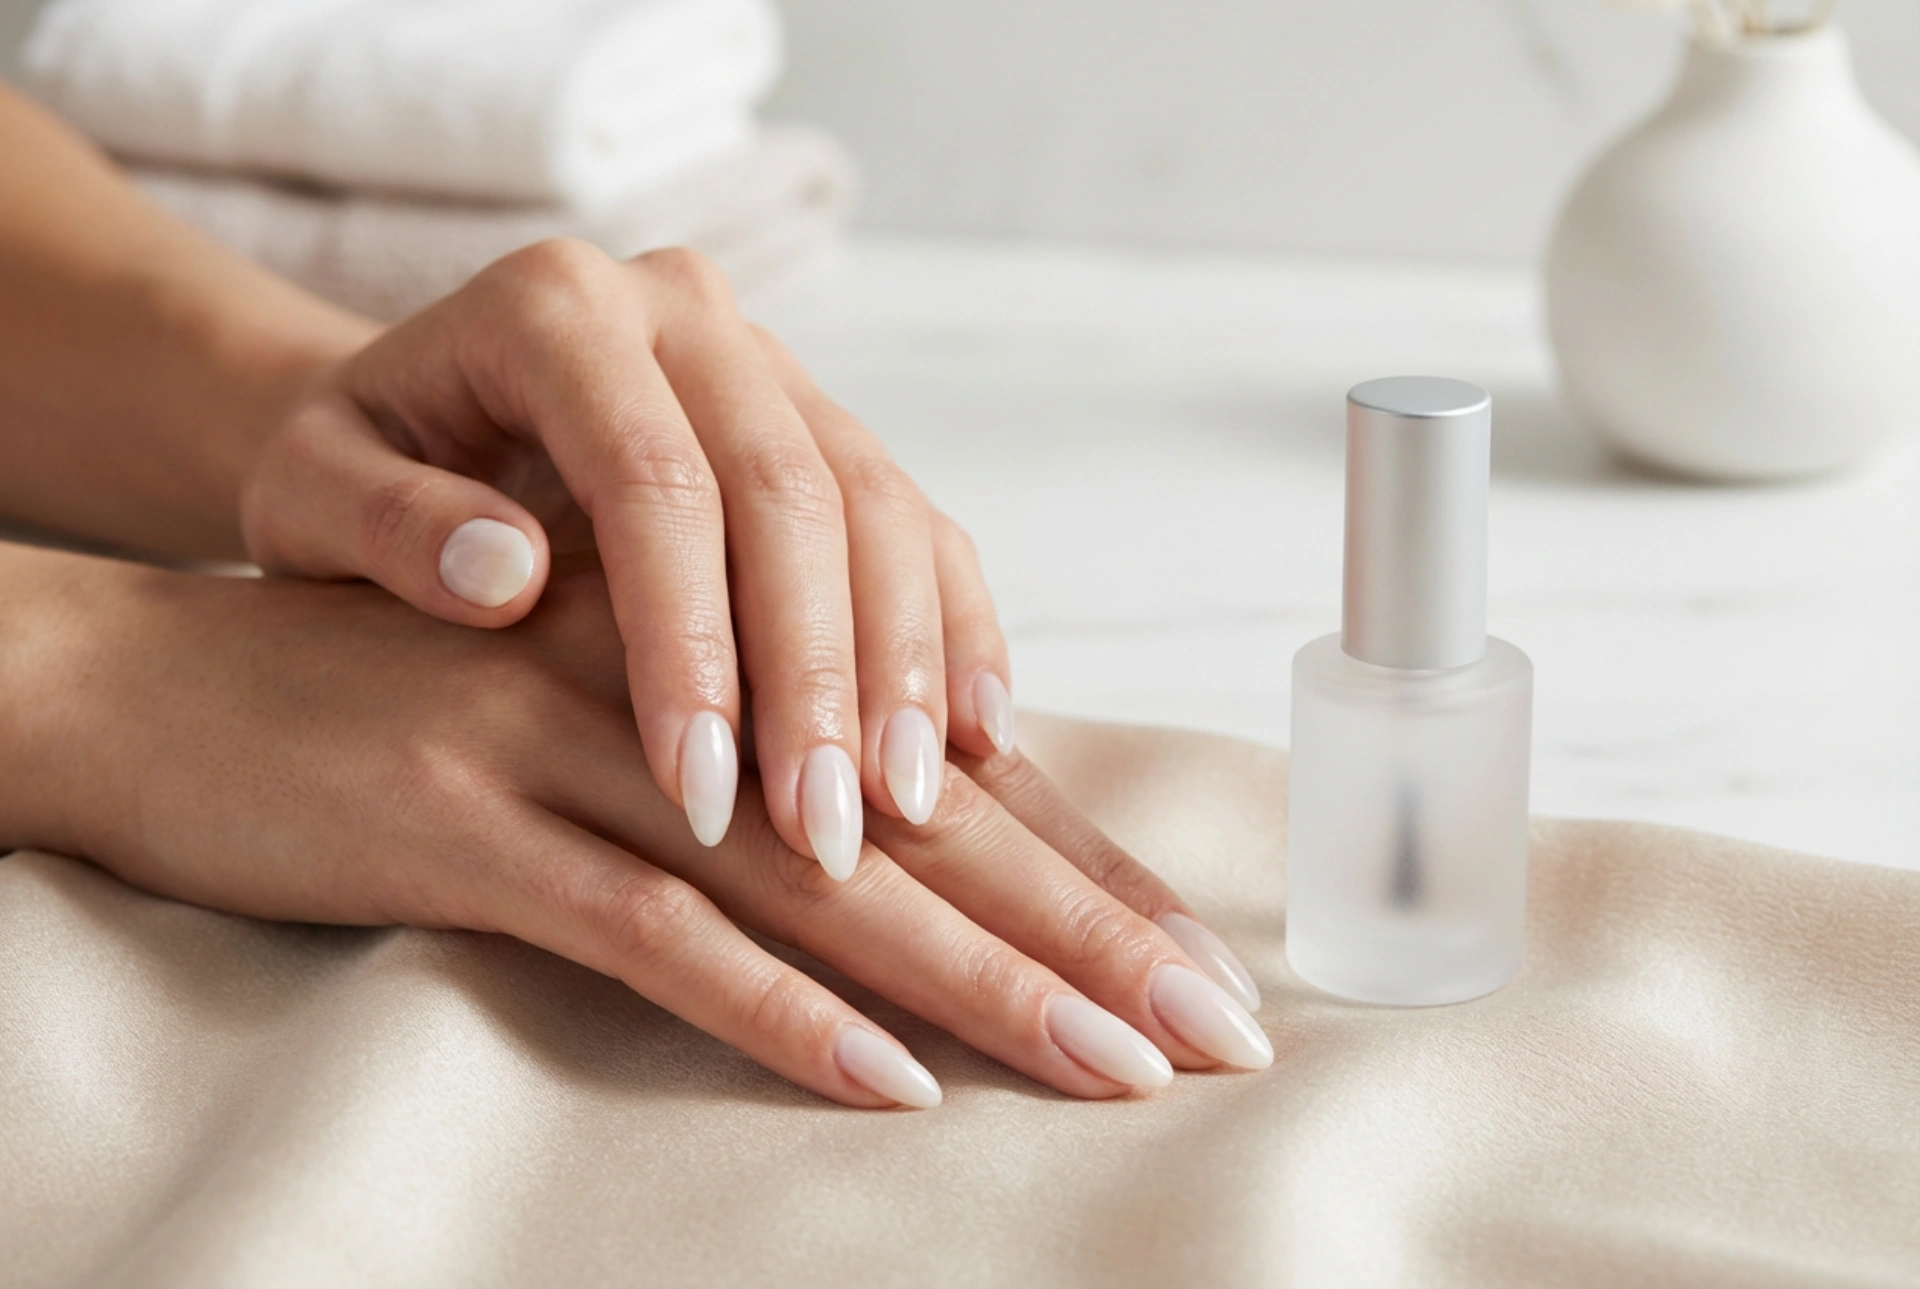
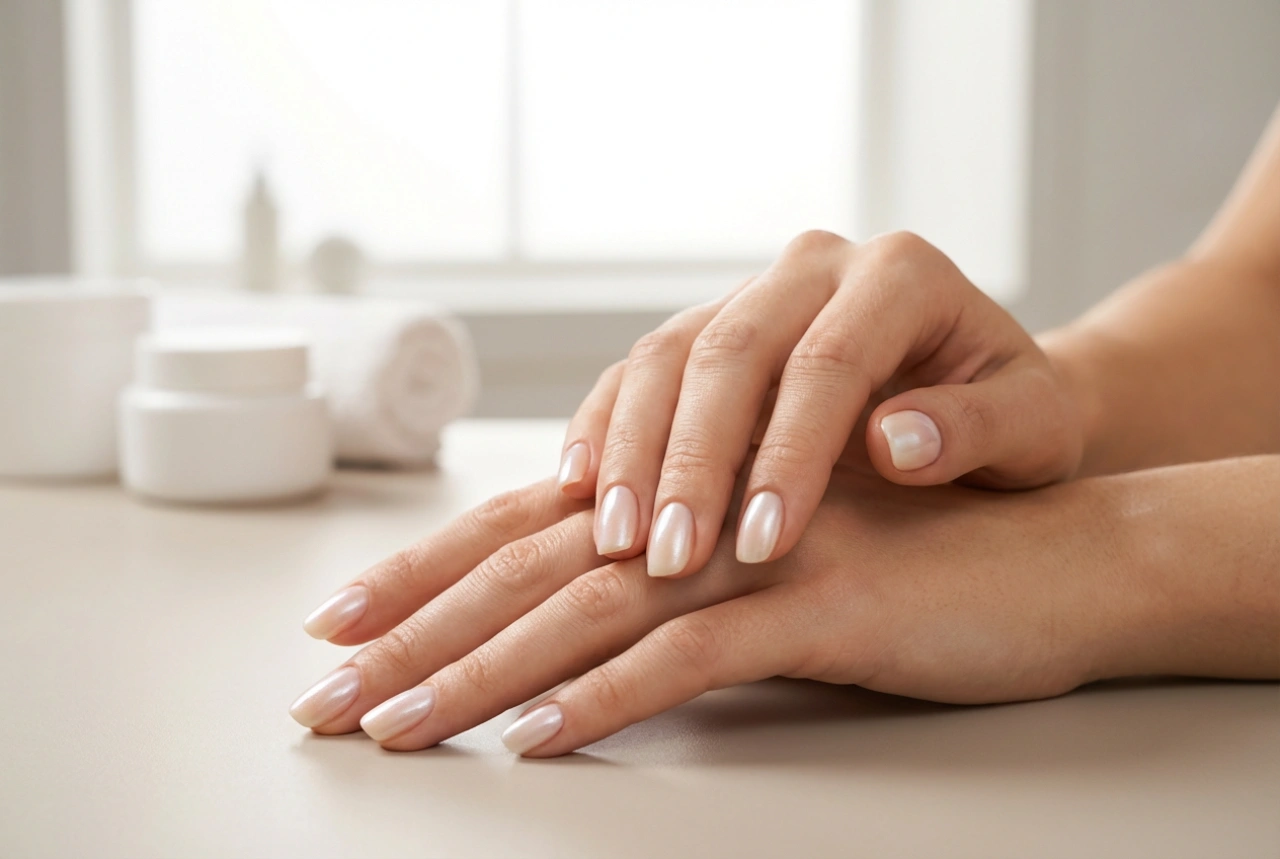
- Polishing and Buffing Bits: Typically made from soft materials like chamois, felt, or cotton, these bits are used as the final step in a manicure. They gently buff the natural nail surface to create a brilliant, long-lasting shine without the need for a top coat.
Safe and Effective Operation of a Nail Drill
Mastering the use of a nail drill requires practice and a focus on safety. Following the correct procedures will prevent damage to the nail plate and surrounding skin.
Start with the Right Bit and Speed
Always select the appropriate bit for the task at hand. Begin with the drill set to its lowest speed and only increase it as needed. Using a speed that is too high for the task can cause a loss of control and lead to damage. Remember to lift the bit from the nail frequently to check your progress.
Maintain Constant Motion and Light Pressure
Never hold a spinning bit in one spot on the nail. This concentrates friction and can quickly cause a painful heat spike, potentially burning the nail bed. Instead, use light, sweeping strokes and keep the bit moving continuously across the nail surface. Let the speed of the drill and the grit of the bit do the work, not heavy pressure from your hand.
Use the Correct Angle
Hold the handpiece like a pen for maximum control. When working on the nail surface, try to keep the bit as parallel to the nail plate as possible. Angling the bit too sharply can dig into the nail, creating divots or