


Achieving a salon-quality manicure at home has become an accessible form of self-care. Among the various methods available, the dip powder system, often referred to as a titanium manicure, stands out for its remarkable durability and glossy finish. This technique offers a long-lasting alternative to traditional nail polish and gel systems, allowing you to create beautiful, resilient nails without the need for a UV or LED lamp. Understanding the components of a kit and the proper application technique is the first step towards mastering this popular nail enhancement method.
What is a Titanium Manicure?
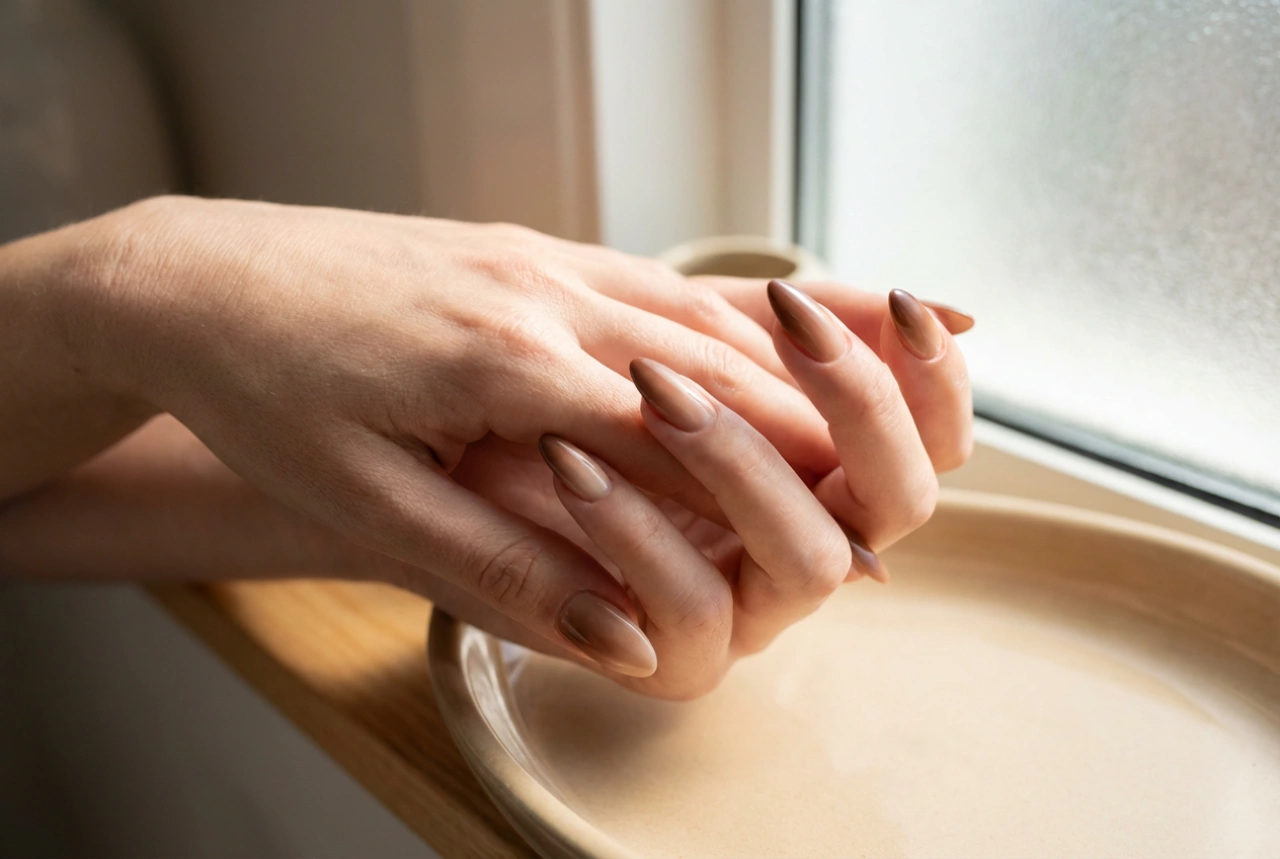
A titanium or dip powder manicure is a nail enhancement technique that involves applying a series of liquid formulas to the nail and dipping it into a finely milled acrylic powder. Unlike traditional acrylics that use a liquid monomer to create a paste, the dip system relies on a resin-based adhesive (the base coat) that reacts with a liquid activator to harden the powder layers. The result is a strong, lightweight, and durable overlay on the natural nail that can last for several weeks without chipping. It's celebrated for its vibrant colour payoff and the strength it imparts to nails, making it an excellent choice for those seeking a resilient and long-wearing manicure.
What's Inside a Typical Dip Powder Manicure Kit?
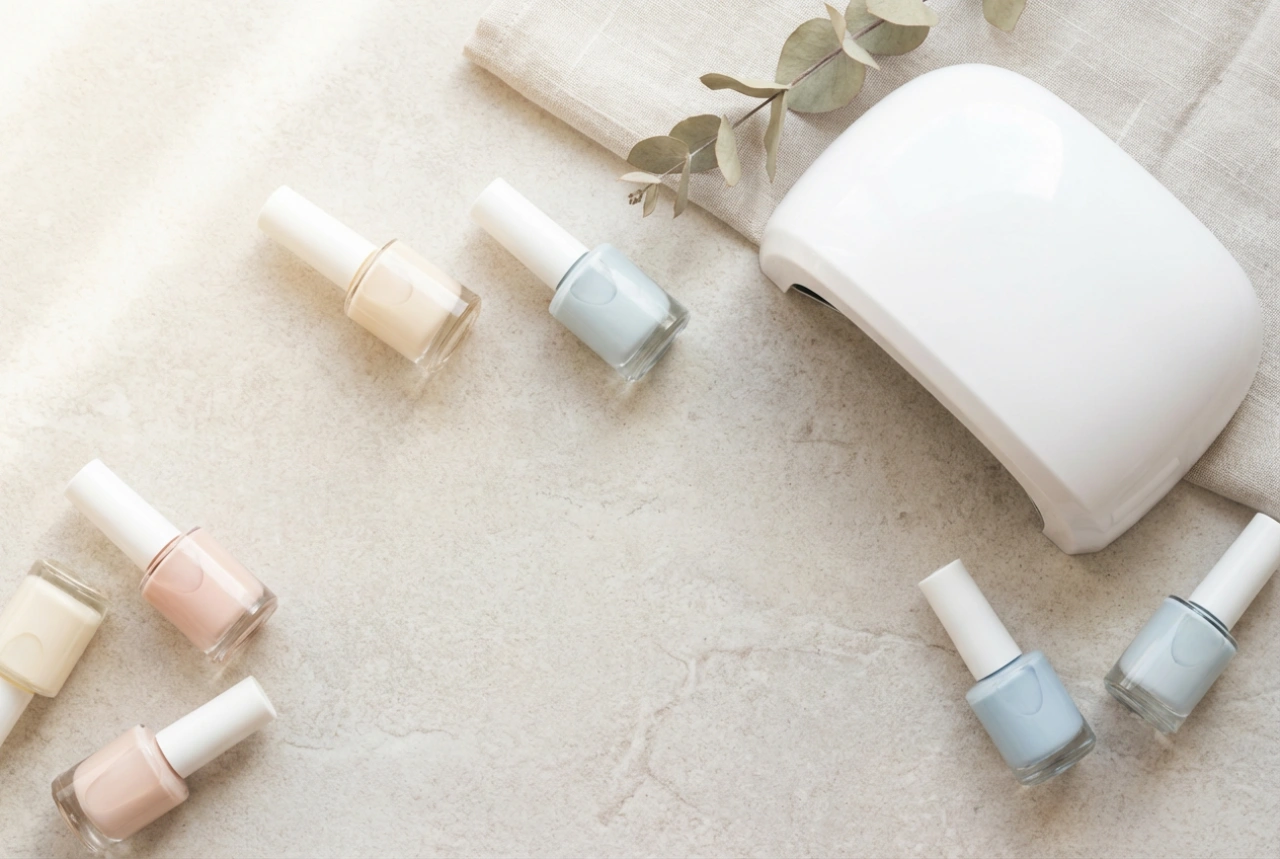
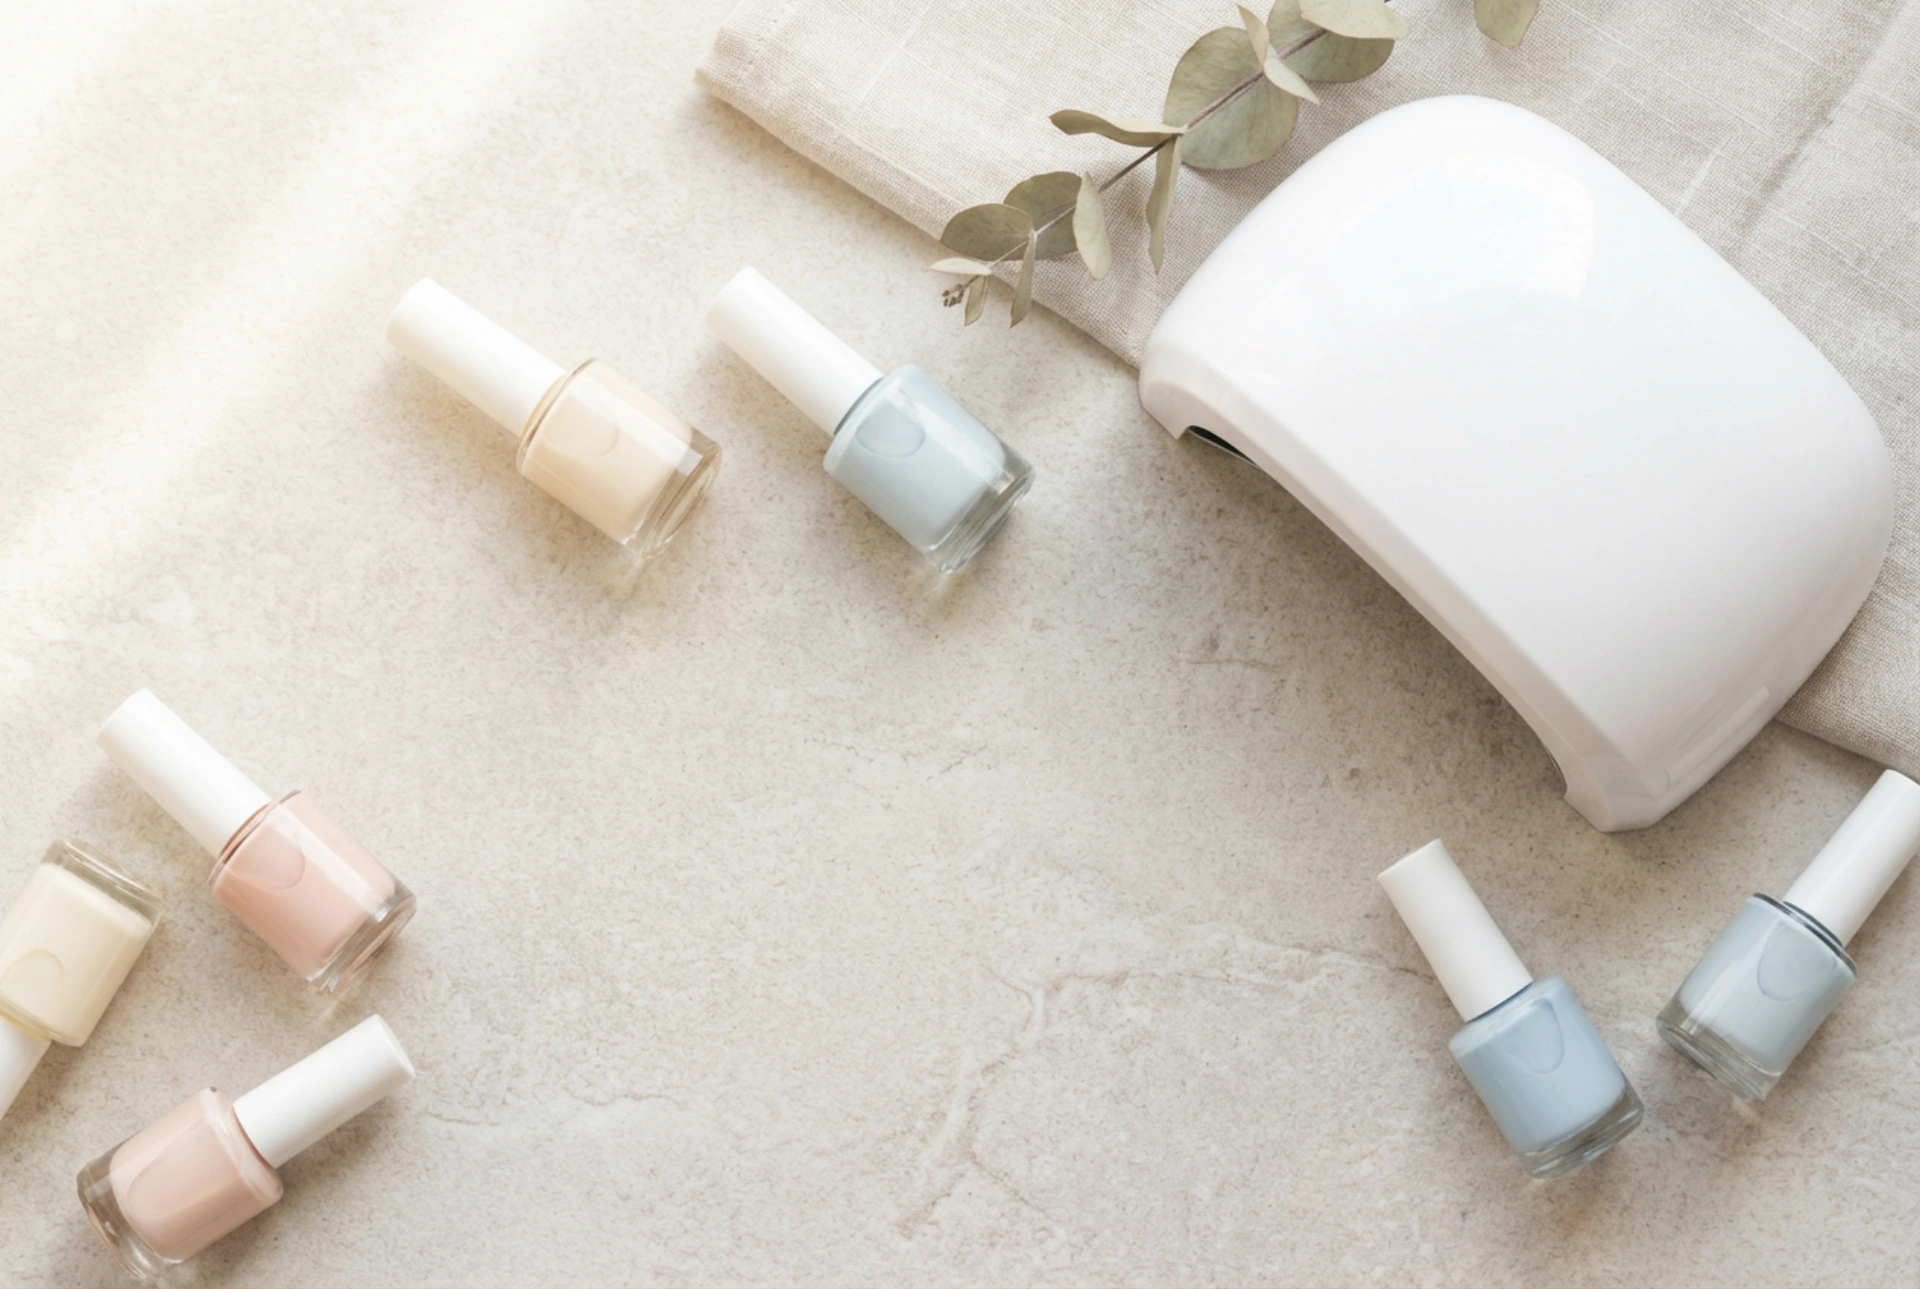
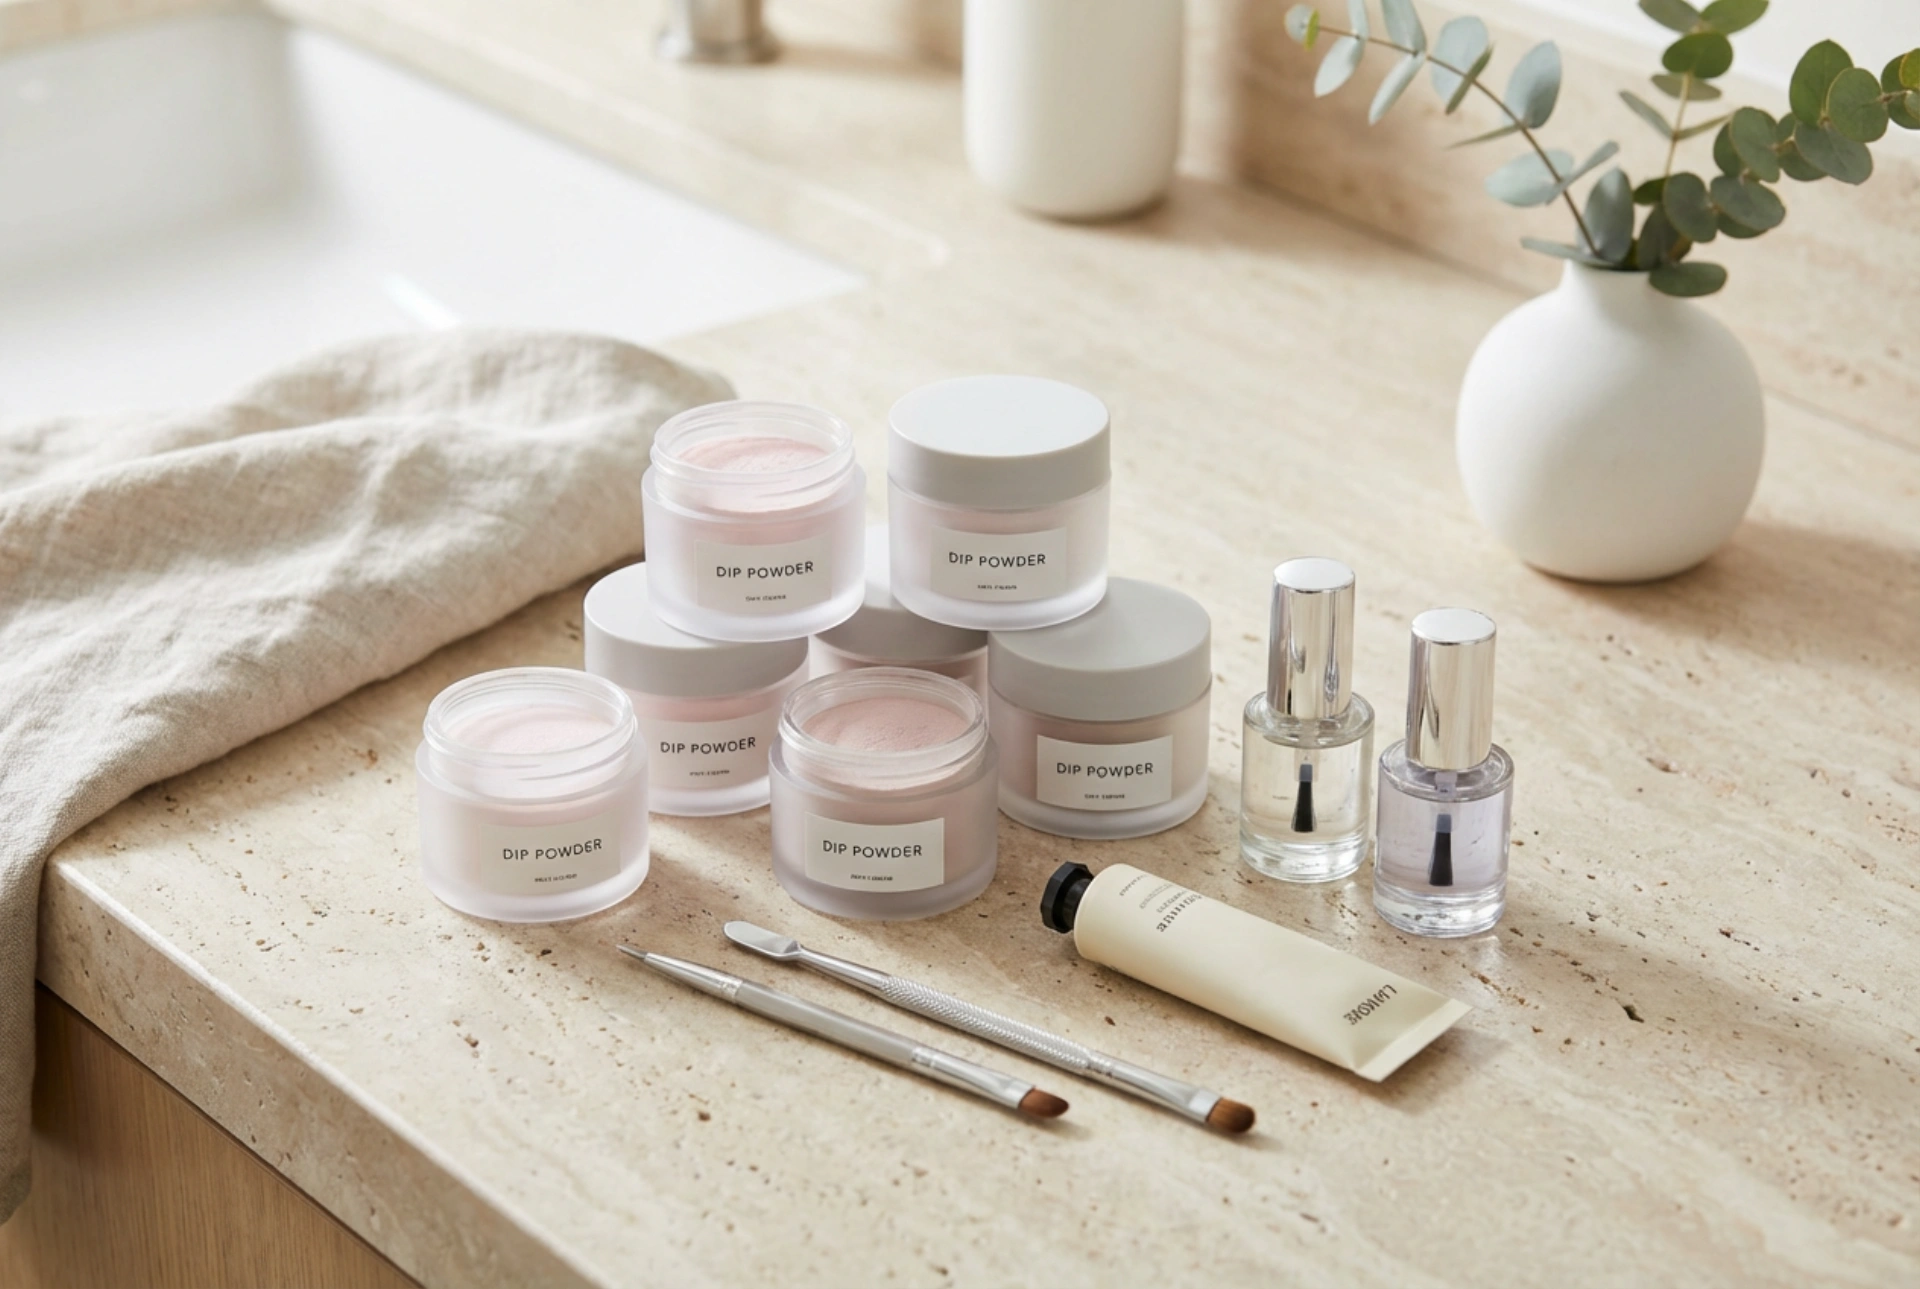
A starter kit for a titanium manicure contains all the essential liquids and tools needed to complete the process from start to finish. While contents can vary slightly, a standard set usually includes the following key items, allowing for a complete and professional-looking application.
The Essential Liquids
- Base Coat: This is a cyanoacrylate-based adhesive, similar to a nail glue, that acts as the bonding agent. It's applied before each dip into the powder, enabling the powder to adhere to the nail.
- Activator: This liquid is crucial for the hardening process. It chemically reacts with the base coat and powder, curing them into a solid, durable layer. It is applied after the powder layers are built up.
- Top Coat: This is the final protective layer. It seals the manicure, providing a high-gloss shine and protecting the colour from fading and daily wear.
- Brush Saver: This solution is used to clean the application brushes. It's essential for preventing the base and top coat brushes from hardening after coming into contact with the activator or powder residue.
Powders and Tools
- Coloured Powder: This is the pigmented acrylic powder that gives the manicure its colour. Kits may come with one or several shades.
- File and Buffer: A nail file is used for shaping the nails before application and refining the shape after the powder is hardened. A buffer is used to smooth the surface of the hardened powder for a flawless finish.
- Small Dusting Brush: A soft-bristled brush is used to gently remove any excess powder from the nail and surrounding skin after each dip, ensuring a clean and neat application.
Step-by-Step Dip Powder Application Guide
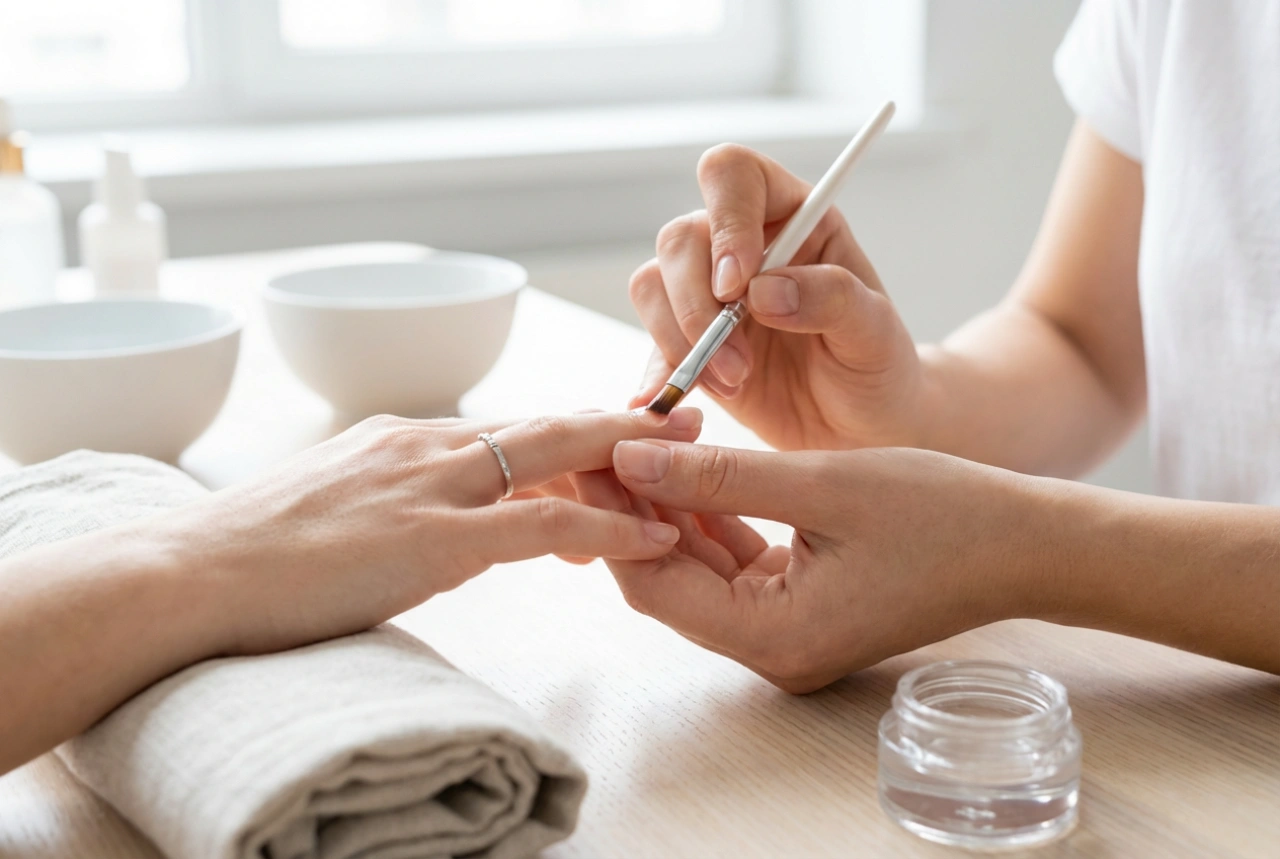
Patience and precision are key to a successful at-home titanium manicure. Working on one nail at a time can help ensure a smooth and even result. Follow these general steps for a beautiful, long-lasting finish.
1. Nail Preparation
Proper preparation is the foundation of any long-lasting manicure. Start by ensuring your nails are completely clean and dry. Gently push back your cuticles and remove any non-living tissue from the nail plate. Lightly buff the entire surface of each nail to remove shine and create a slightly rough texture for the products to adhere to. Finally, wipe each nail with a lint-free wipe soaked in a nail cleanser or isopropyl alcohol to dehydrate the nail plate and remove any oils or dust.
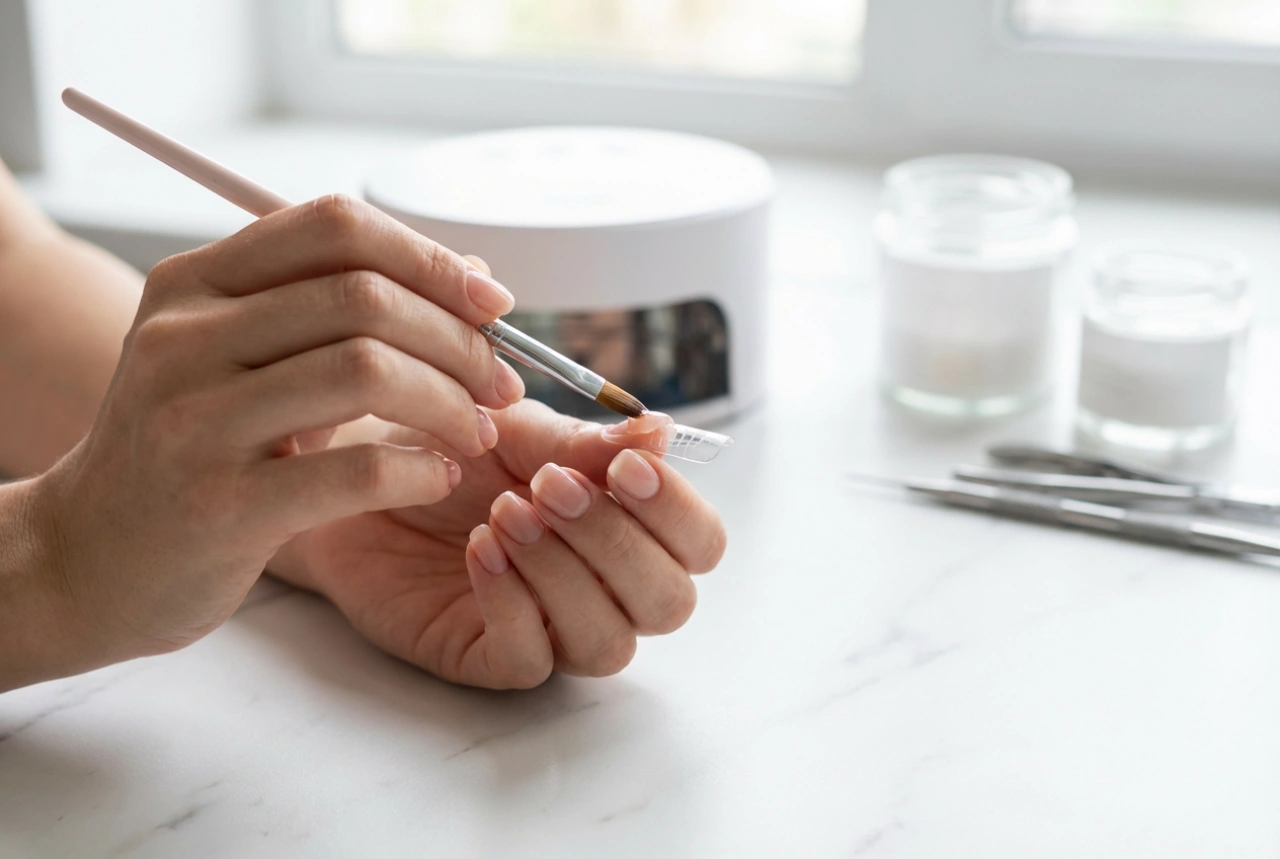
2. Building the Layers
Apply a thin, even layer of the base coat to about three-quarters of one nail, avoiding the cuticle area. Immediately dip the nail into the coloured powder at a 45-degree angle. Remove the nail and tap your finger to shake off any excess powder. Use your soft brush to gently dust away any remaining loose particles. Repeat this process on all nails. For a more opaque and stronger result, apply a second layer of base coat and powder. On the second layer, you can apply the base coat slightly closer to the cuticle line.
3. Activating and Finishing
After building your desired number of colour layers, apply a generous coat of the activator to all ten nails. This will begin the hardening process. Wait for about one to two minutes for the layers to fully cure. The nails will feel hard to the touch. Now, use your file and buffer to shape the nails and smooth out any bumps or imperfections on the surface. Once you are happy with the shape and smoothness, apply another coat of activator and wait for it to dry. The final step is to apply the top coat. Work quickly, applying two thin layers to each nail for a brilliant, glossy shine. Allow the top coat to air dry completely for a few minutes.
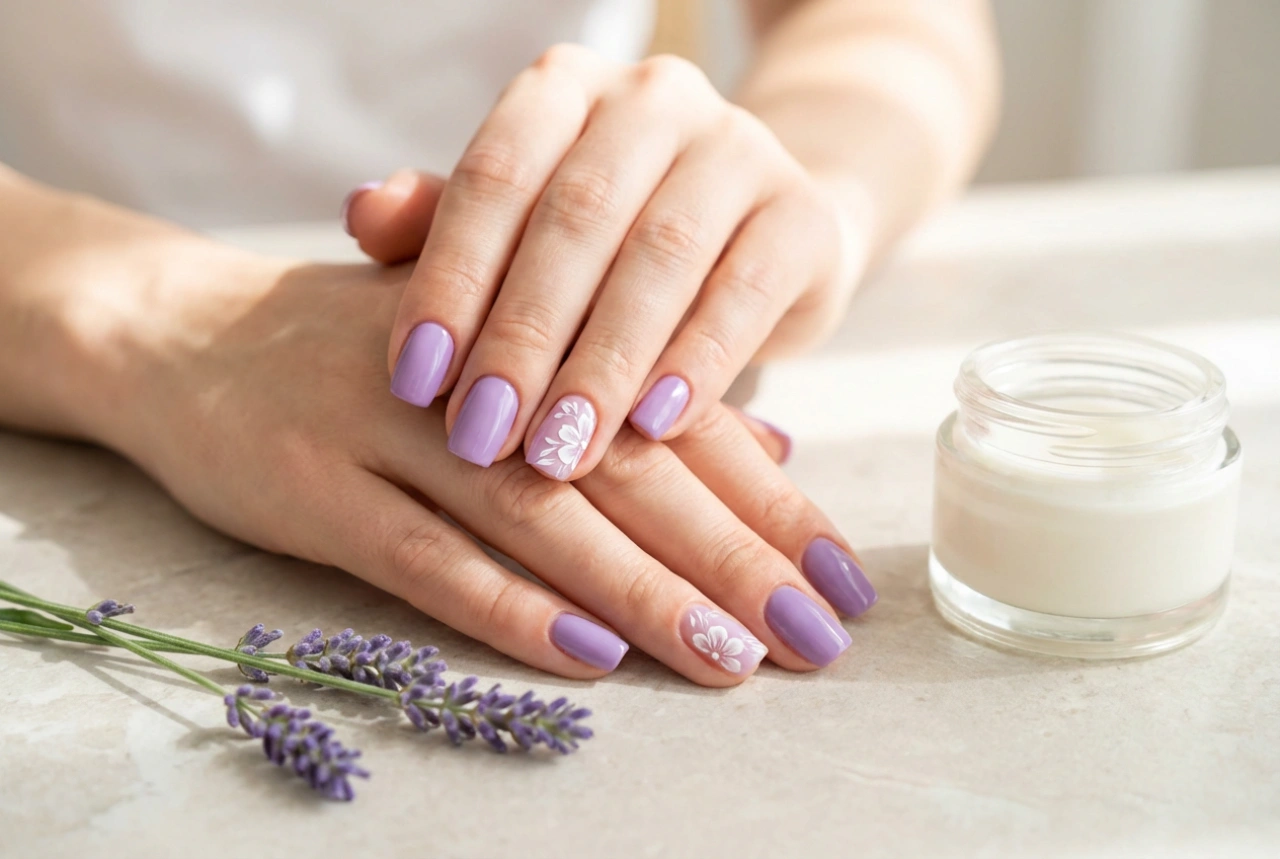
Caring for Your Titanium Manicure
To keep your titanium manicure looking its best and maintain the health of your natural nails, a little aftercare goes a long way. Moisturise your cuticles and the surrounding skin daily with a nourishing cuticle oil or hand cream; this prevents dryness and promotes healthy nail growth. Be mindful of how you use your hands—avoid using your nails as tools to open cans or scrape things, as this can cause lifting or chipping. When cleaning or washing dishes, wear gloves to protect your manicure from prolonged water exposure and harsh chemicals. Proper removal is also critical. Never peel or pry off a dip powder manicure, as this can severely damage your natural nails. The correct method involves soaking the nails in acetone until the product softens and can be gently wiped away.