


Achieving a flawless, long-lasting manicure is a goal for many who appreciate elegant and well-cared-for hands. While traditional polishes offer variety, they often lack the durability needed for a busy lifestyle. A titanium manicure, widely known as the dip powder method, has emerged as a popular alternative, offering impressive strength and a beautiful finish without the need for a UV lamp. This guide will walk you through the process step by step, from initial preparation to the final glossy top coat, helping you understand how to achieve a professional-quality result.
What is a Titanium Manicure?
A titanium manicure is a nail enhancement technique that involves applying a series of resin-based coats to the nail, followed by dipping the nail into a very fine, pigmented powder. The name "titanium" alludes to the strength and durability of the finished result. Unlike gel systems, this method does not require a UV or LED lamp to cure; instead, the layers are hardened by a special liquid called an activator. The result is a smooth, strong, and lightweight overlay that can last for several weeks without chipping, making it an excellent choice for those seeking both beauty and resilience in their manicure.
Step 1: Meticulous Nail Plate Preparation
The foundation of any long-lasting manicure is thorough preparation. Skipping this stage can lead to lifting and a shorter lifespan for your nail enhancement. Dedicate time to this step to ensure the best possible adhesion and a clean, professional look.
- Clean and Sanitise: Begin by washing your hands and nails thoroughly. Ensure your nails are completely dry before proceeding. Use a nail sanitising spray or wipe if you have one.
- Cuticle Care: Gently push back your cuticles using a cuticle pusher. It is important not to be aggressive, as this can damage the delicate skin. If necessary, carefully trim any excess non-living tissue with cuticle nippers.
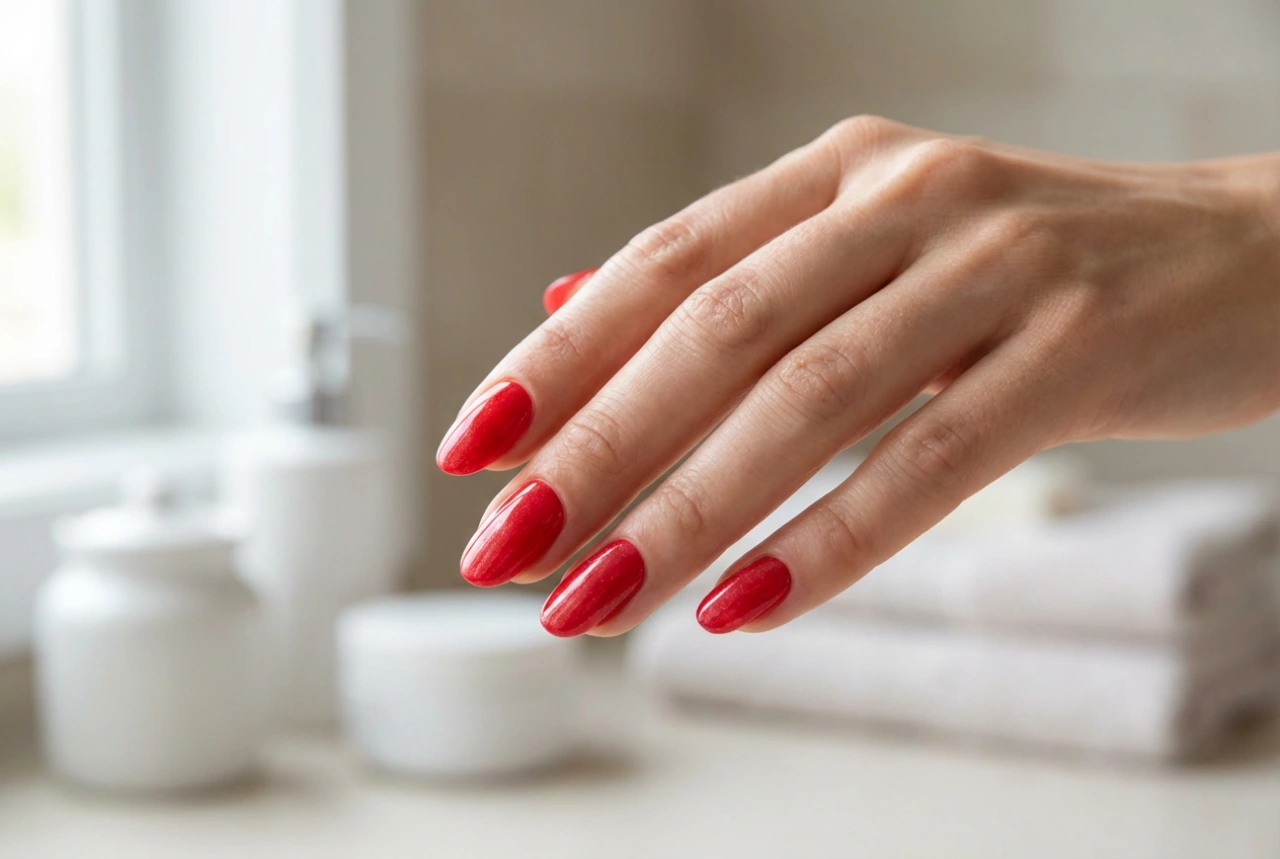
- Shape the Nails: Use a nail file to shape the free edge of your nails to your desired form, whether it be square, round, or almond. Ensure all nails are uniform in length and shape for a cohesive look.
- Buff the Surface: Lightly buff the entire surface of each nail with a fine-grit buffer block. The goal is not to thin the nail, but to remove the natural shine and create a slightly textured surface for the base coat to grip onto.
- Dehydrate and Prime: Brush away all the dust from filing and buffing. Apply a coat of a nail prep dehydrator to remove any remaining oils and moisture from the nail plate. This is a critical step for preventing lifting. Some systems may also include a primer for extra adhesion.
Step 2: The Dipping and Building Process
With your nails perfectly prepped, you are ready for the core of the application process. This stage involves building up layers of the base resin and powder to create the colour and structure of your manicure. Work one nail at a time to prevent the base coat from drying before you can dip it.
- Apply the Base Coat: Brush a thin, even layer of the base coat onto about three-quarters of the nail, staying slightly away from the cuticle area. For subsequent layers, you can apply it closer to the cuticle.
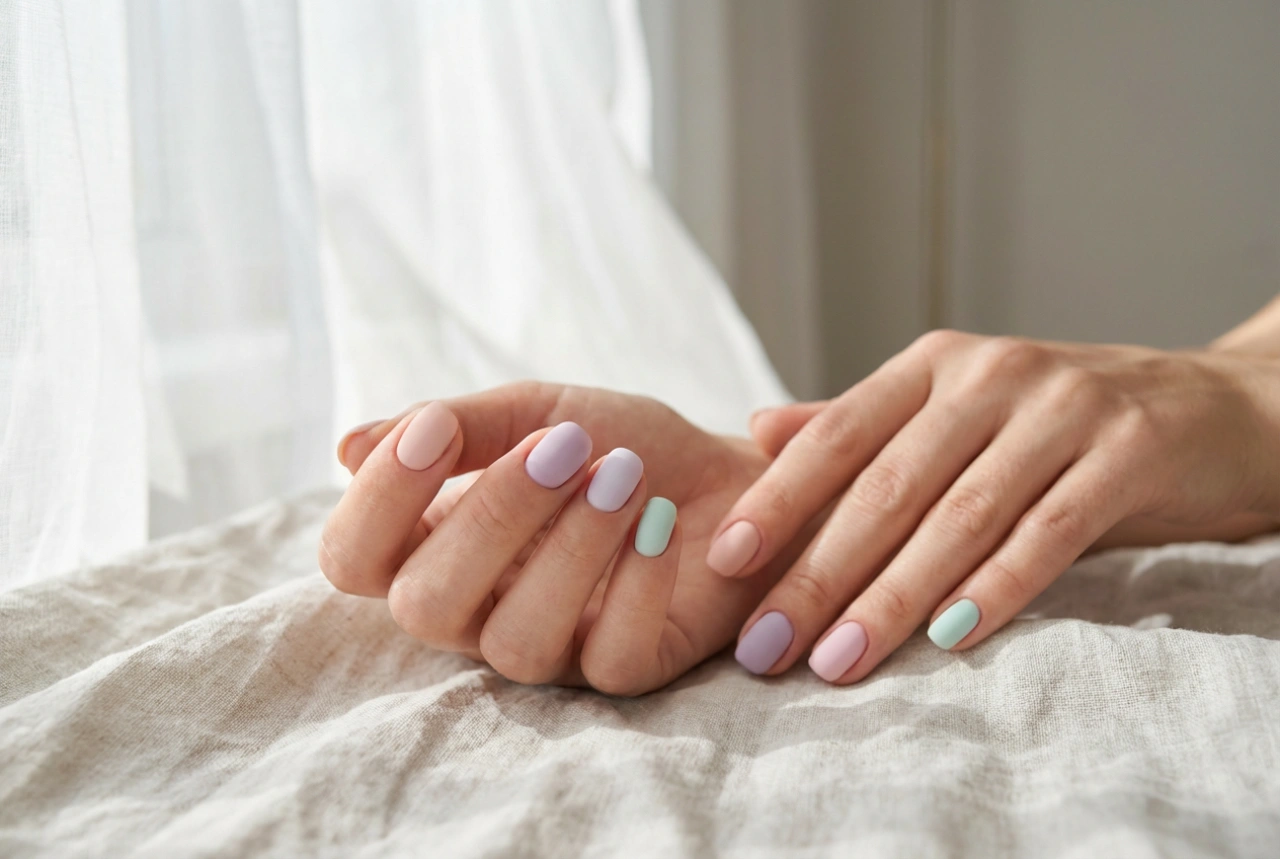
- Dip into Powder: Immediately after applying the base, dip the nail into the jar of coloured powder at a 45-degree angle. Ensure the entire nail is coated. Avoid pressing the nail flat into the powder, as this can create an uneven finish.
- Remove Excess Powder: Gently tap your finger to shake off any loose powder from the nail and surrounding skin.
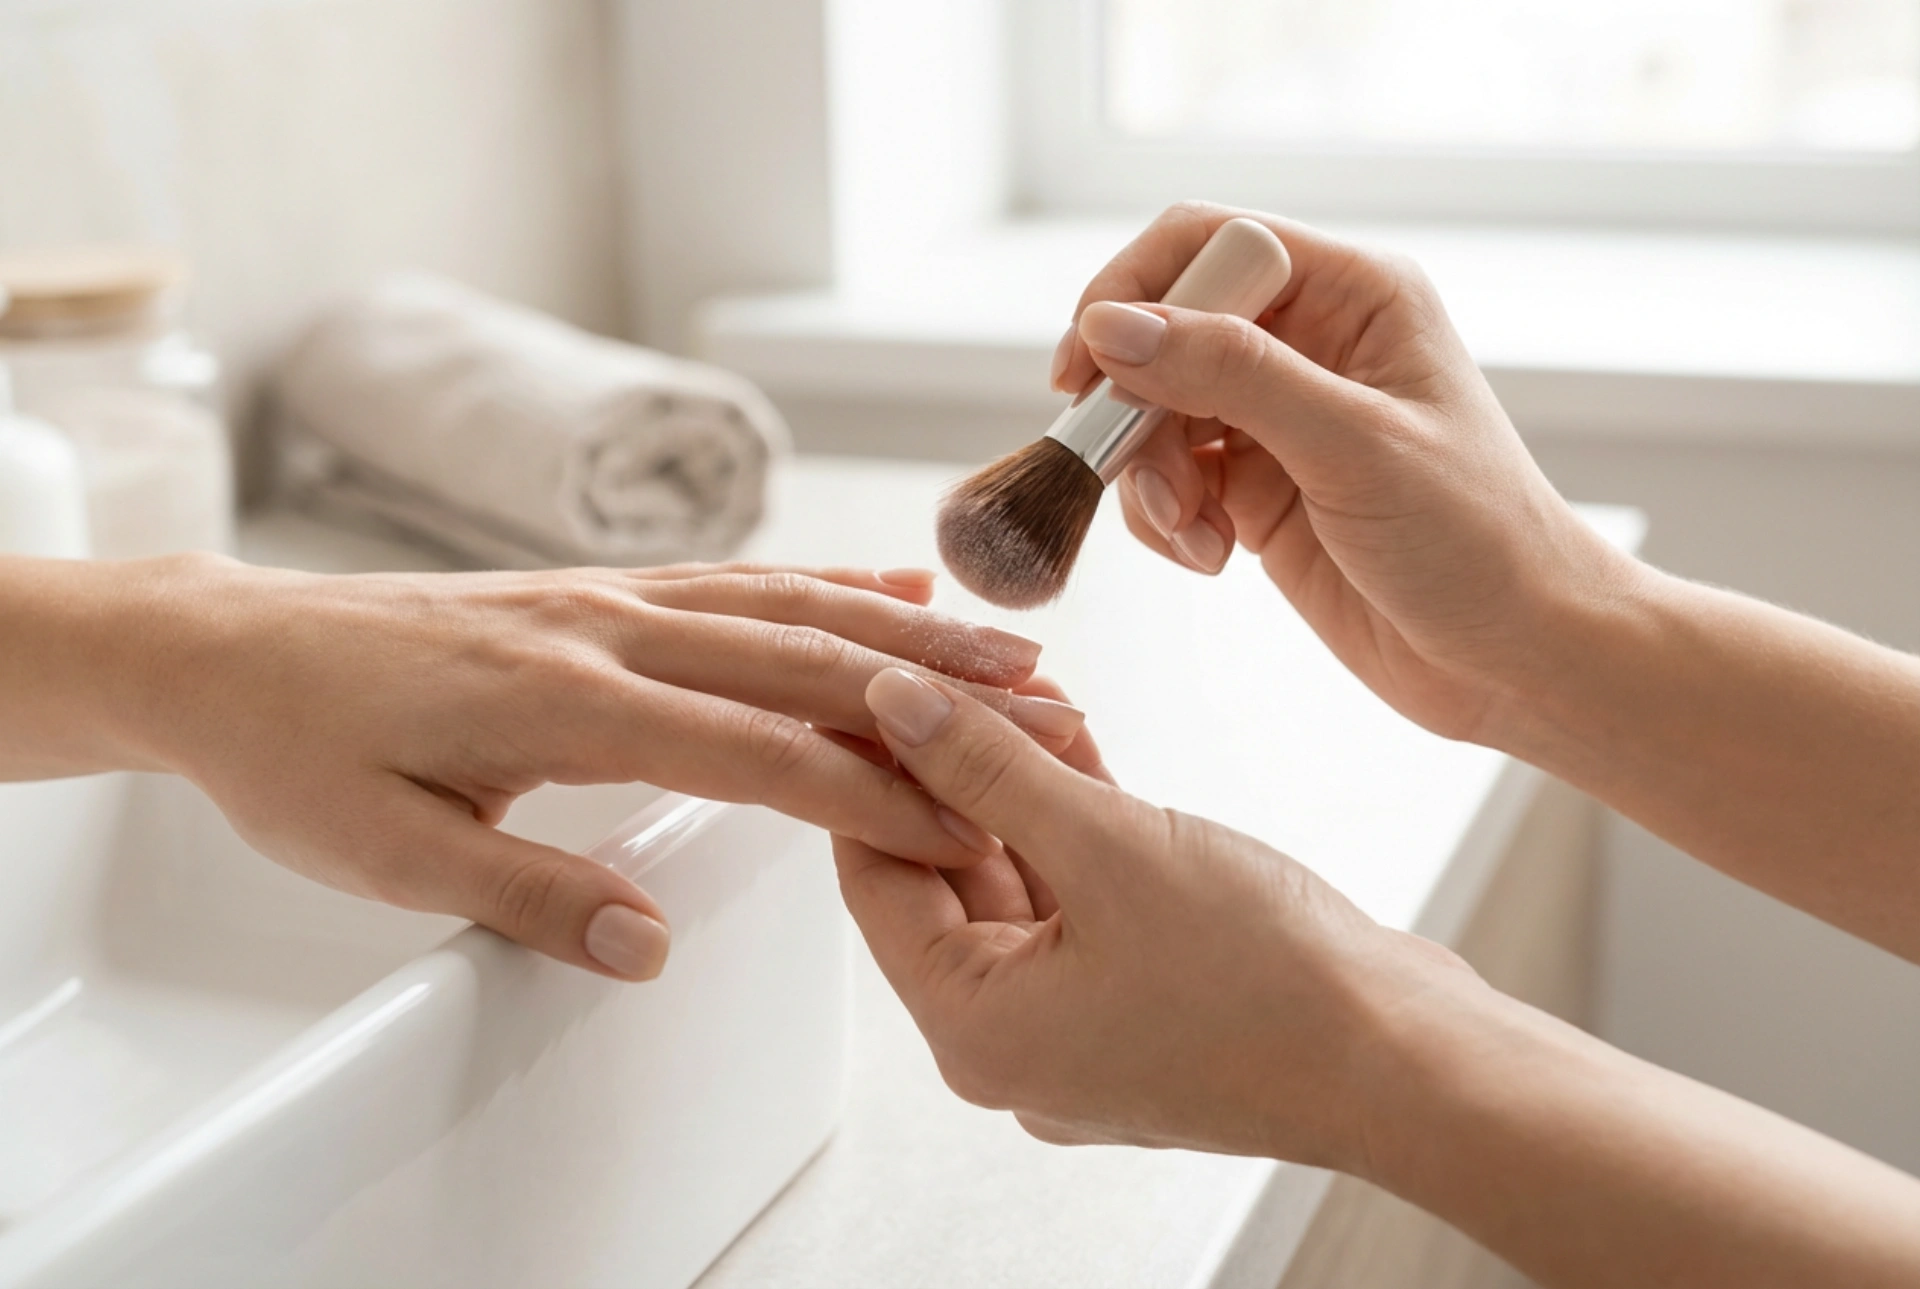
- Brush Away Residue: Use a soft, fluffy brush (like a makeup brush) to gently dust off any remaining excess powder from the nail surface. This ensures a smooth application for the next layer.
- Repeat for Coverage: Repeat these steps on all nails. For a more opaque colour and added strength, apply a second and sometimes a third layer of base coat and powder, following the same dipping and brushing technique.
Step 3: Activating, Shaping, and Sealing
Once you have built up your desired thickness and colour, the next step is to harden the powder and refine the shape before applying the final shiny top coat.
- Apply the Activator: Generously apply the activator liquid to all nails. This chemical is what cures the powder and resin, hardening it into a durable layer. Make sure to cap the free edges. Allow it to air dry completely for a minute or two; the nails will feel hard to the touch.
- Refine the Shape and Surface: After the activator has fully dried, your nails may have a slightly rough or uneven surface. Use a nail file and a buffer to smooth the surface and perfect the shape. Pay attention to the cuticle area and side walls to create a seamless, natural-looking curve.
- Final Activation and Cleansing: After filing, wipe away all the dust. Apply another coat of activator to all nails to ensure the product is fully hardened. Wait for about a minute, then wipe the nails with a lint-free cloth to remove any unreacted activator residue.
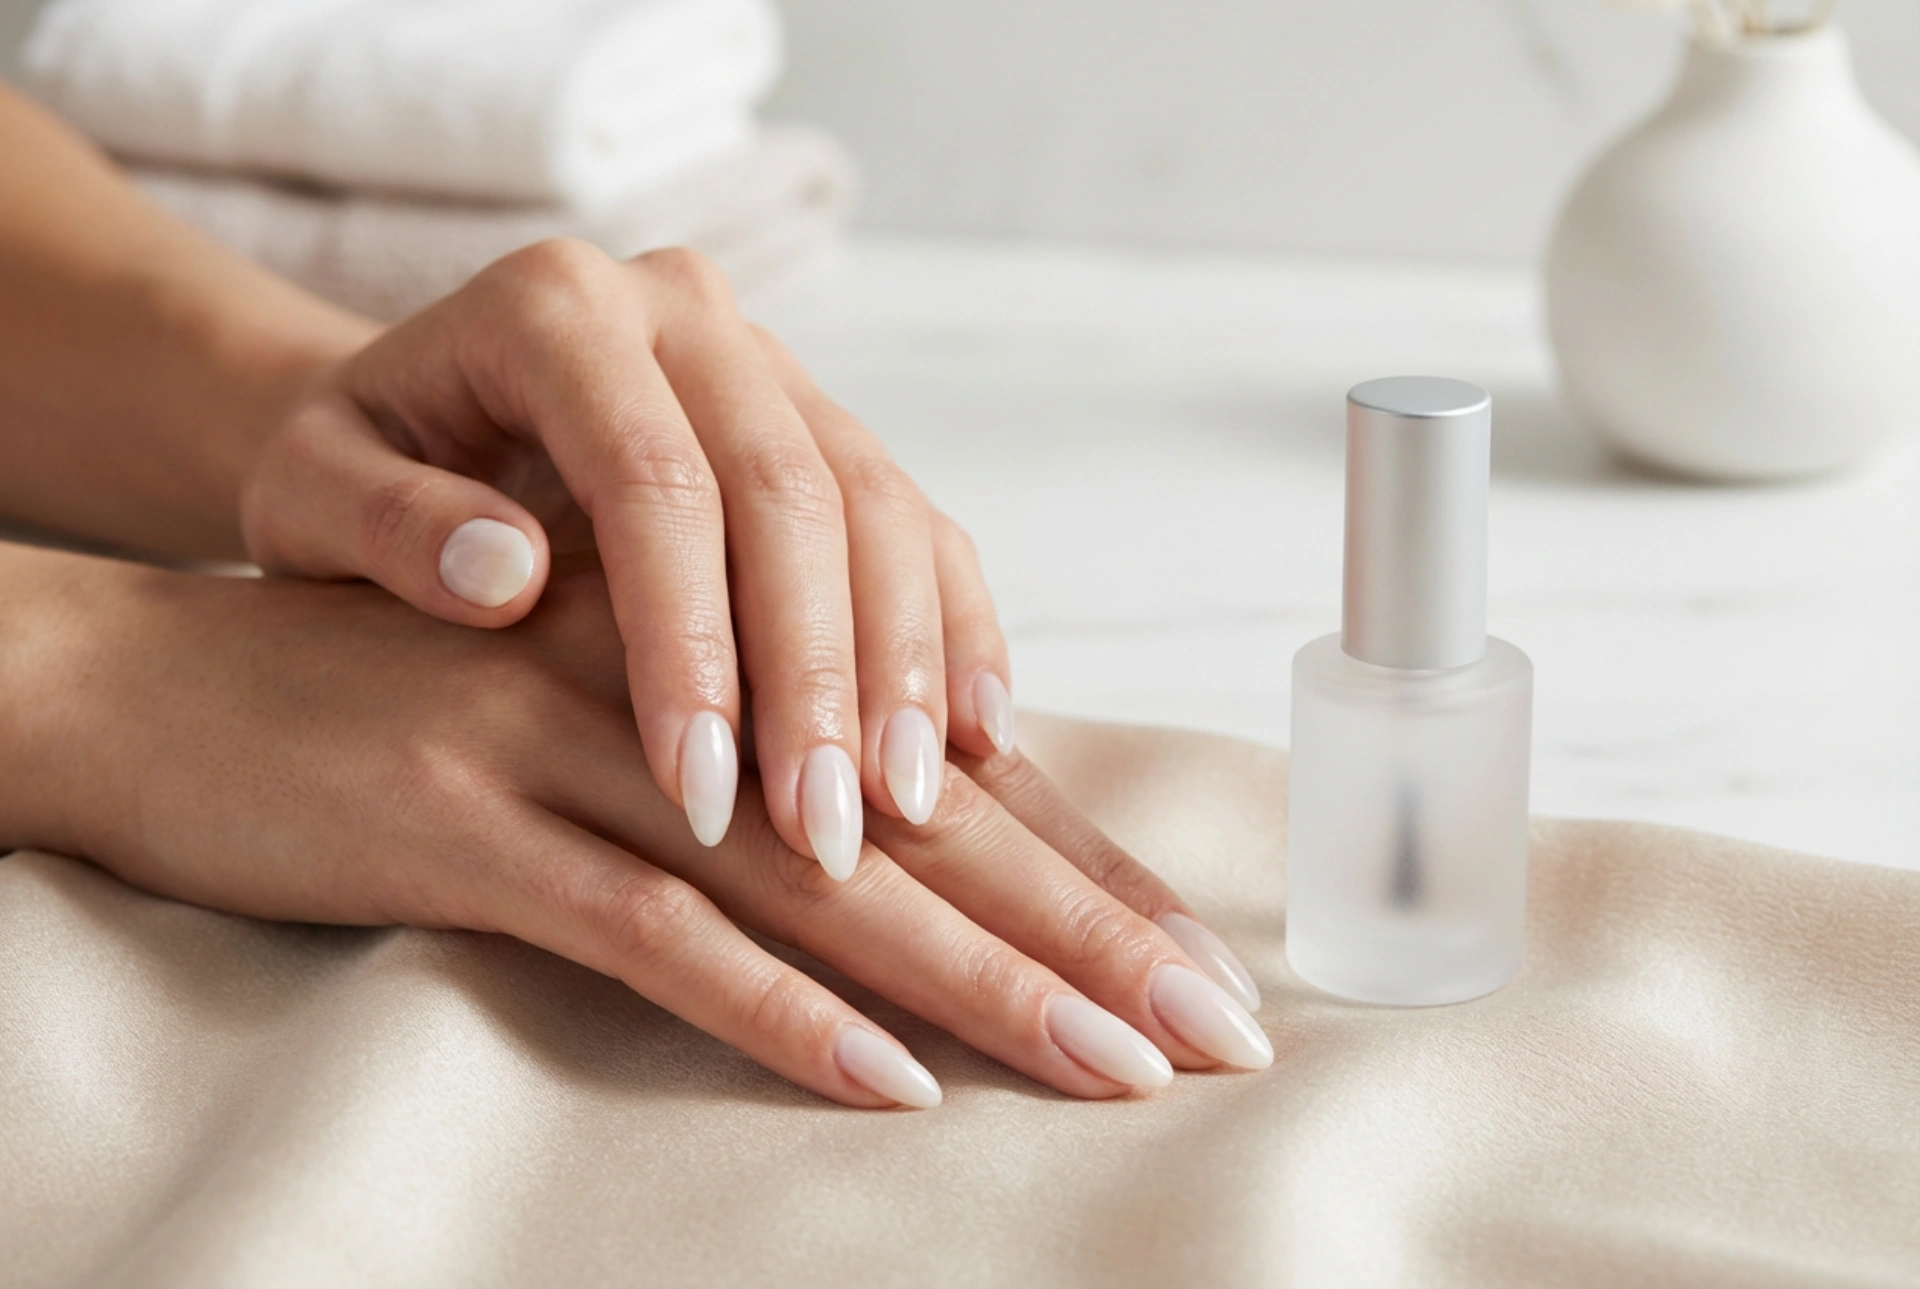
- Apply the Top Coat: The final step is to apply the glossy top coat. Work quickly, applying two thin layers. Apply the first layer to all nails, then go back and apply the second layer. This provides a high-shine, protective seal. Allow the top coat to air dry for several minutes until it is completely hard and no longer tacky.
Aftercare and Gentle Removal
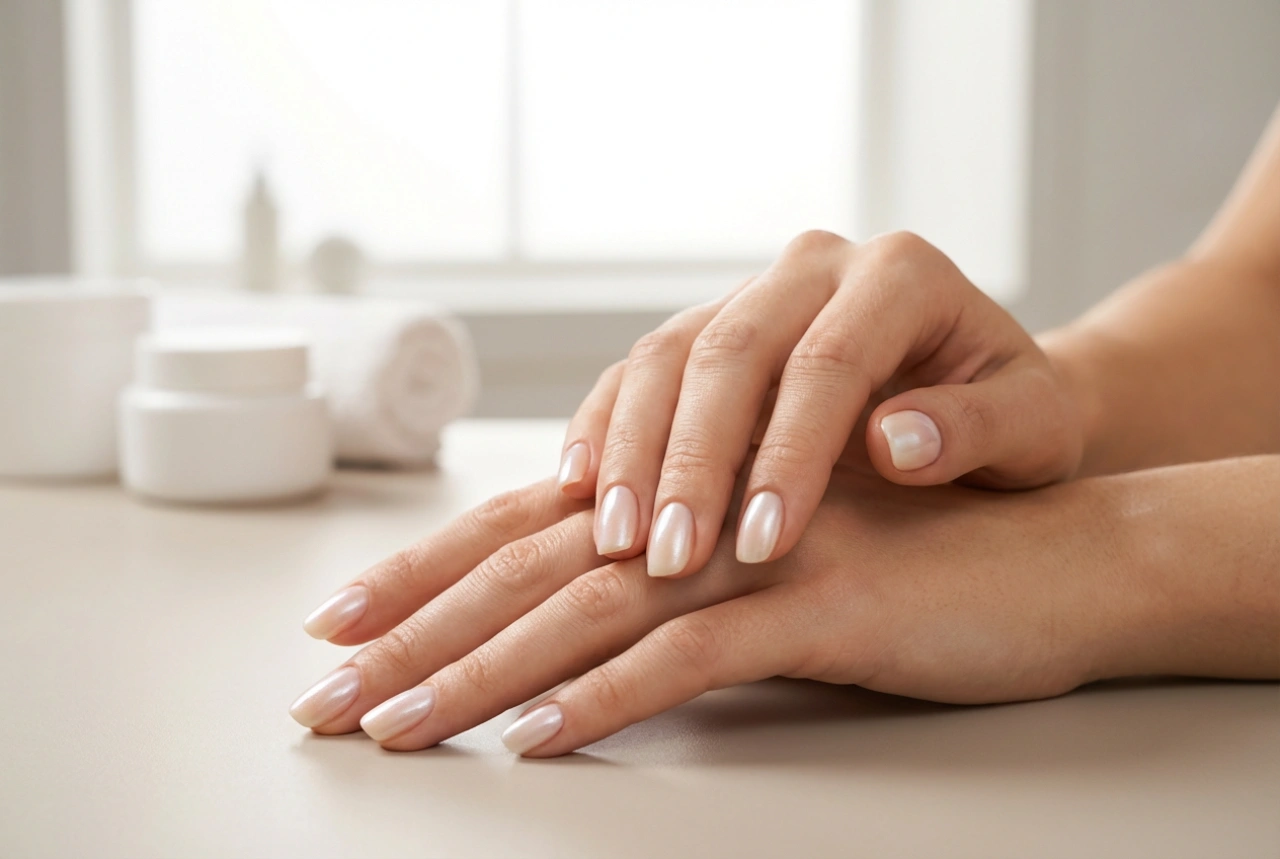
To keep your titanium manicure looking its best, apply cuticle oil daily to nourish the skin around your nails. When it is time for removal, it is crucial to do it gently to avoid damaging your natural nails. The process typically involves filing off the shiny top coat and then soaking the nails in a remover solution. Never pry or peel the product off, as this can take layers of your natural nail with it. Proper care and gentle removal will ensure your nails remain healthy and strong.