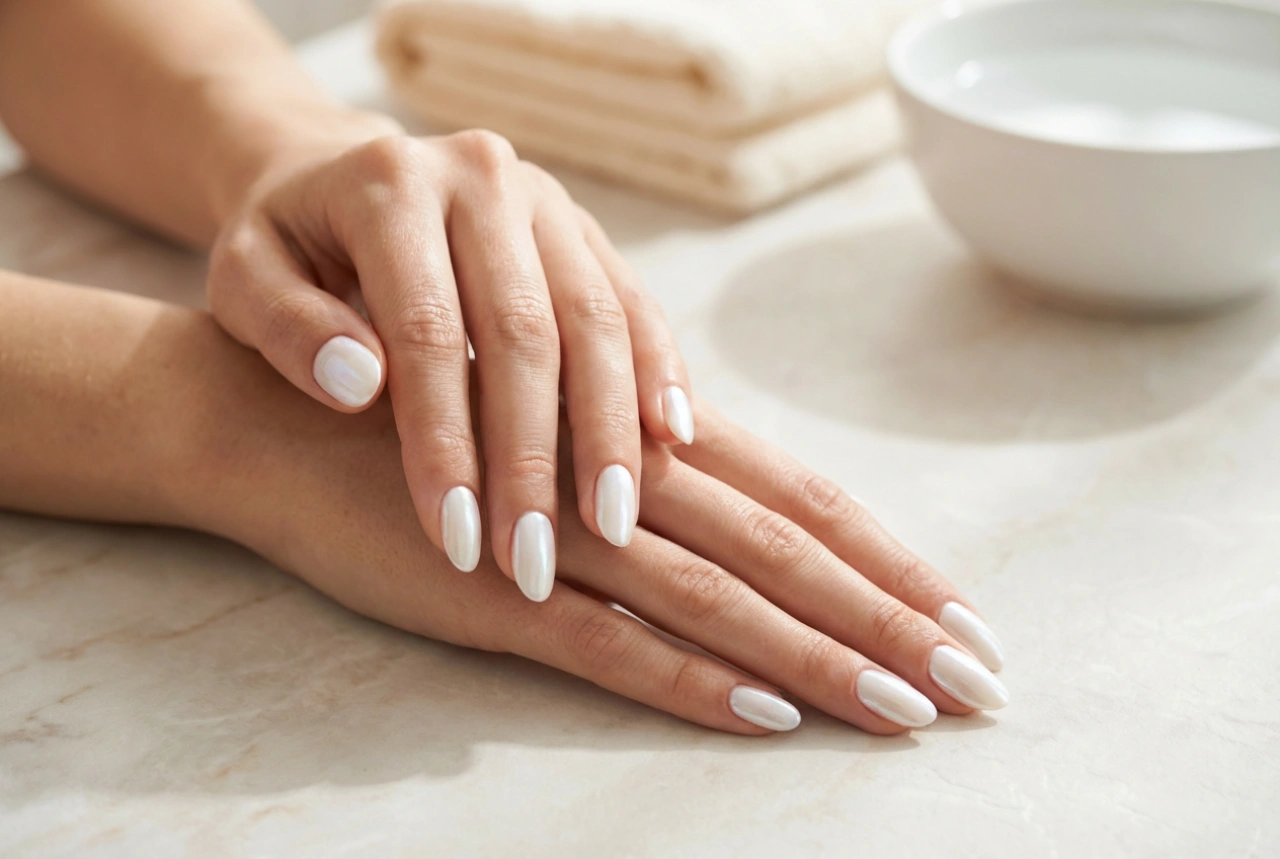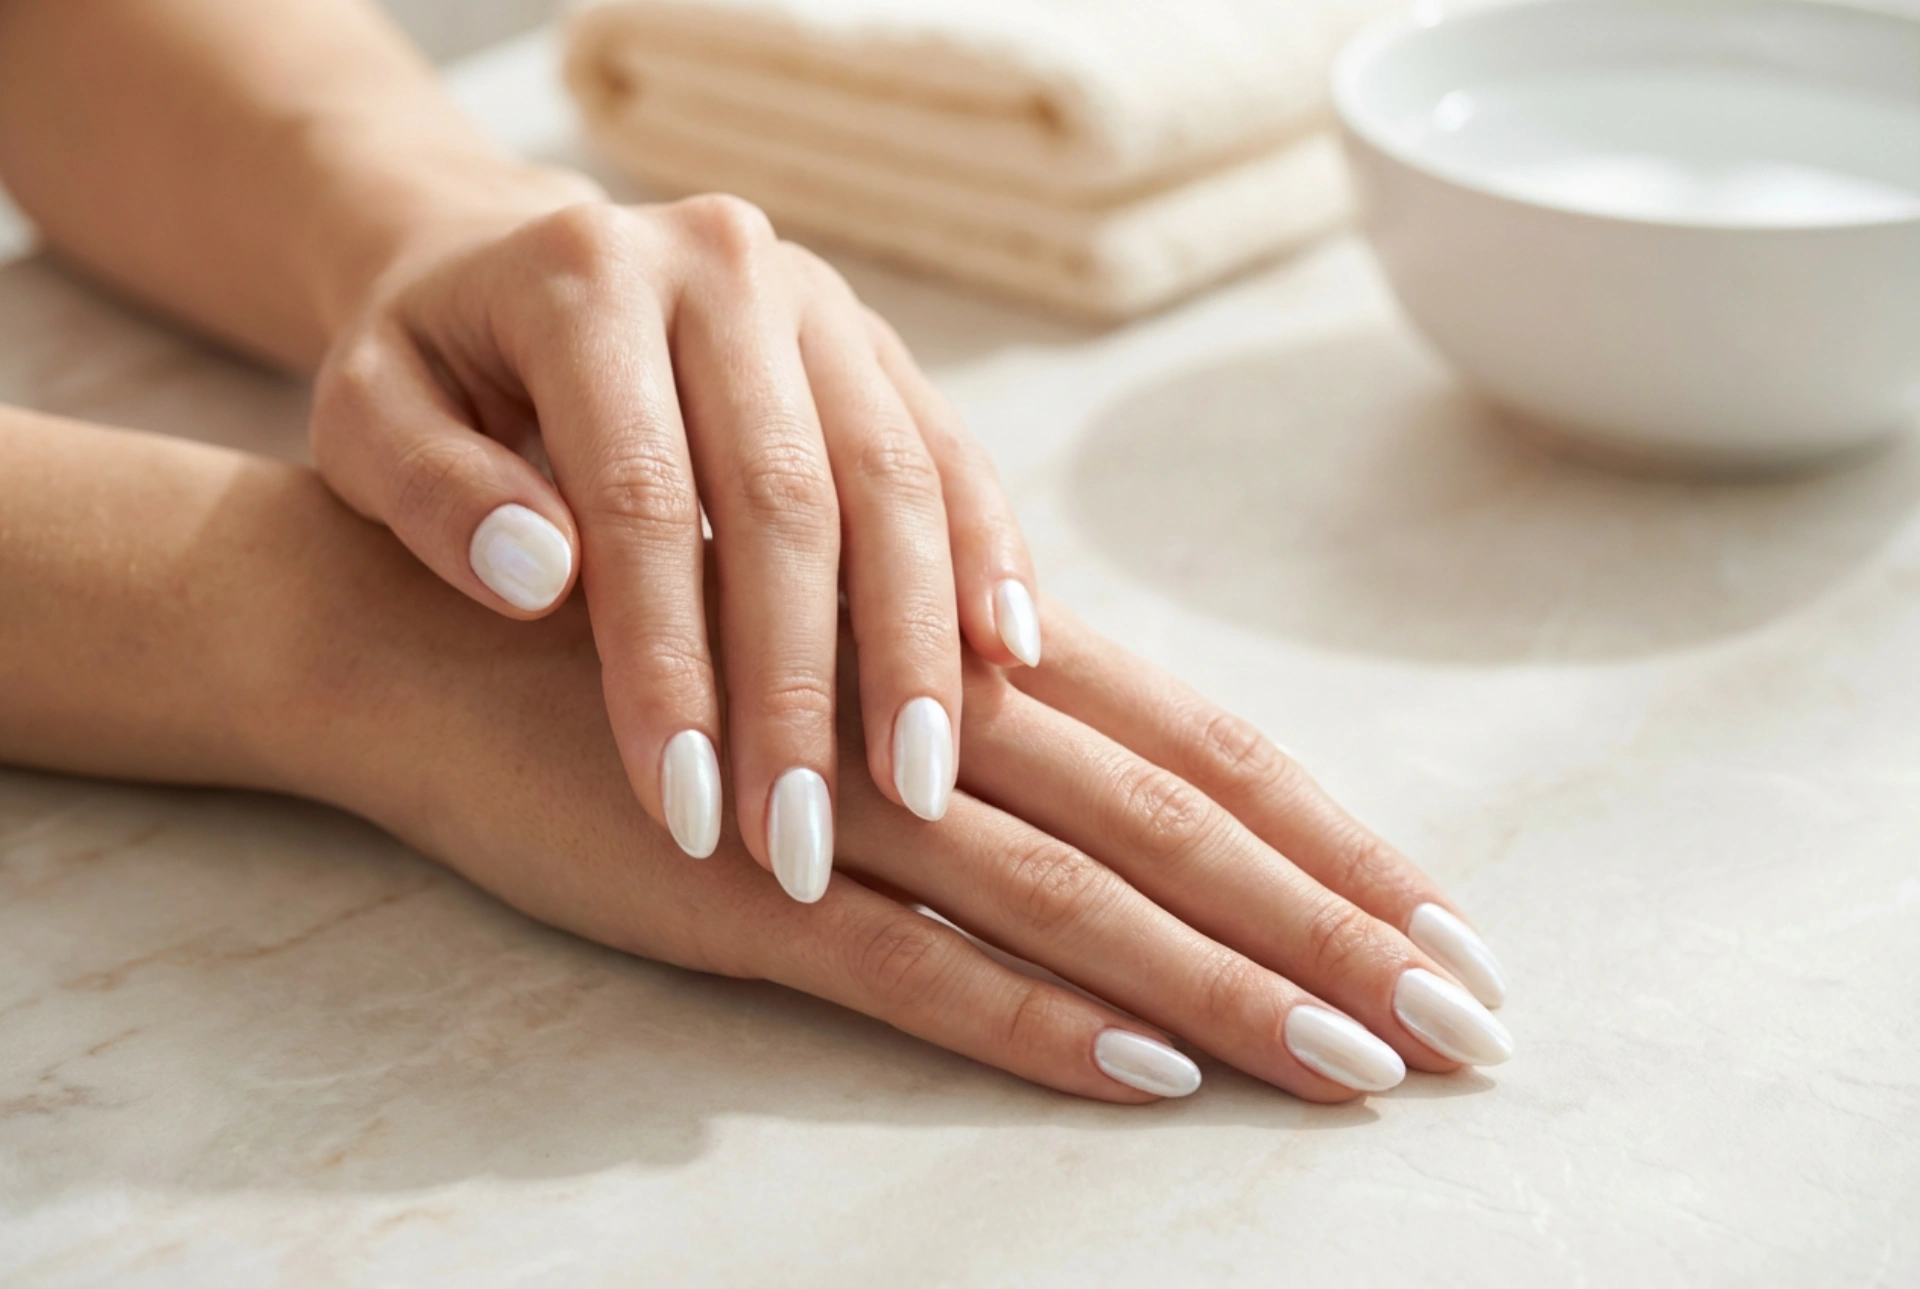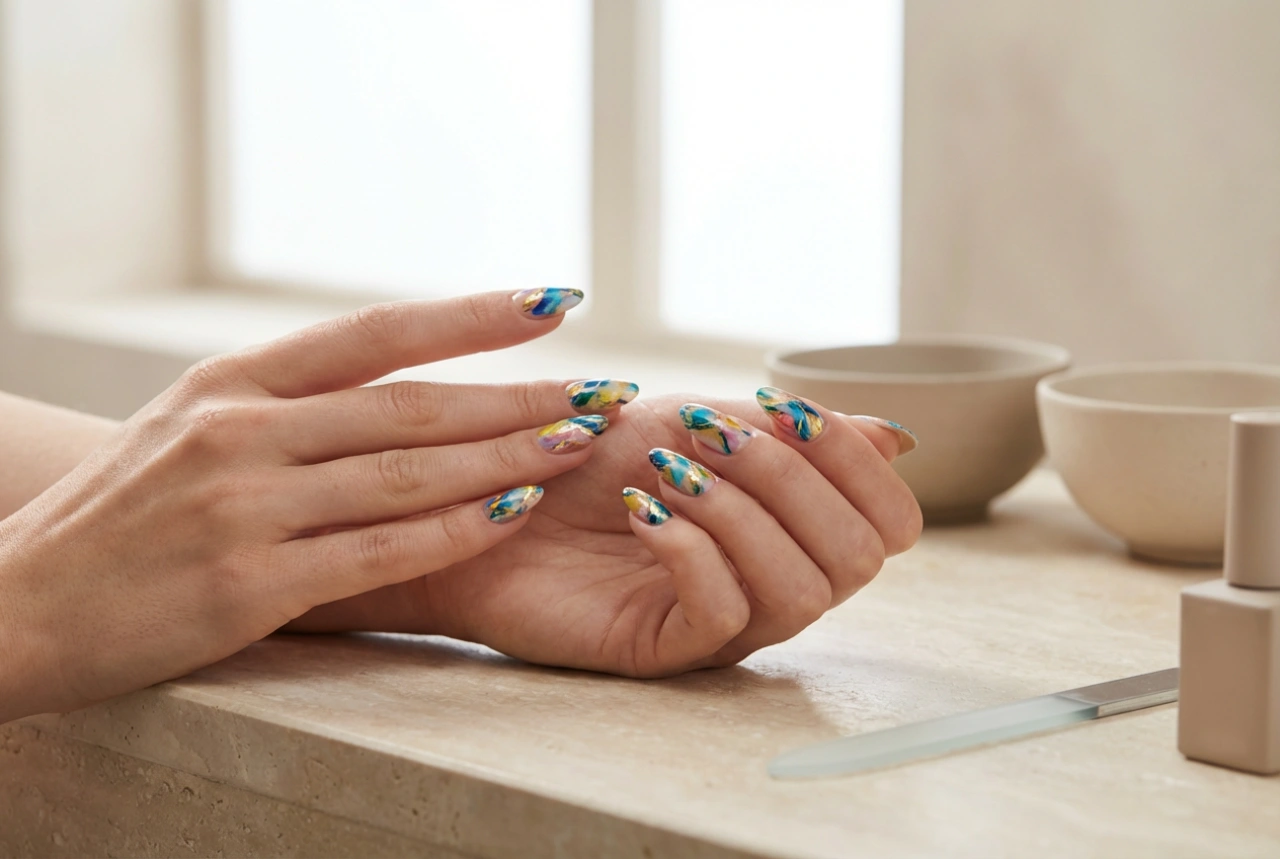


The ombre nail trend continues to captivate with its beautiful, seamless transition of colours. A colourful gradient manicure can be a stunning form of self-expression, offering endless creative possibilities. However, achieving that flawless, streak-free blend can be challenging. The key lies in the right technique and a few essential tools. This guide will walk you through the process of creating a perfect, multi-tonal ombre effect at home, ensuring your nails look polished and professionally done without any unwanted lines or smudges.
Choosing Your Colours for a Flawless Blend
The success of your ombre manicure begins with your colour selection. The right combination will not only look harmonious but also make the blending process much easier. Consider the relationship between the shades you want to use.
Understanding Colour Harmony
For the smoothest transitions, it's often best to work with analogous colours—shades that sit next to each other on the colour wheel (e.g., blue, teal, and green). These colours naturally blend well. If you prefer a more dramatic look with complementary colours (opposites on the colour wheel, like blue and orange), it's a good idea to include a third, transitional colour in between to bridge the gap and prevent a muddy appearance where they meet. For instance, you could blend from yellow to green to blue.
Consistency is Key
Try to use nail polishes that have a similar formula and opacity. Mixing a very sheer polish with a highly pigmented one can create an uneven finish. If you're unsure, you can test the blend on a piece of paper before applying it to your nails. This simple step helps you see how the colours interact and how much they need to overlap for a smooth gradient.
Essential Tools for a Streak-Free Ombre Manicure
You don't need a professional kit to create beautiful ombre nails. The most important tool is surprisingly simple and likely already in your beauty drawer. Having the right supplies ready will make the process cleaner and more efficient.
The Magic of the Makeup Sponge
A dense, disposable makeup sponge is the secret weapon for a perfect ombre effect. Avoid using porous kitchen sponges, as they will absorb too much polish and create a bubbly texture. A wedge-shaped cosmetic sponge works perfectly. Before you start, you can lightly dampen the sponge with water and squeeze out all the excess. This prevents the sponge from soaking up your nail polish, allowing more of it to transfer to your nail.
Your Ombre Toolkit
Gather all your tools before you begin to ensure a smooth workflow. Here's what you will need:
- A protective base coat.
- A light, neutral polish (like white or beige) to use as a canvas, which makes the ombre colours appear more vibrant.
- Your chosen nail polishes for the gradient effect.
- A disposable makeup sponge.
- A fast-drying, high-shine top coat.
- Liquid latex, peel-off base coat, or tape to protect the skin around your nails.
- A small, flat brush and nail polish remover for clean-up.
Step-by-Step Guide to the Perfect Ombre
With your colours chosen and tools ready, it's time to create the gradient. Patience and a gentle touch are crucial for achieving that airbrushed look.
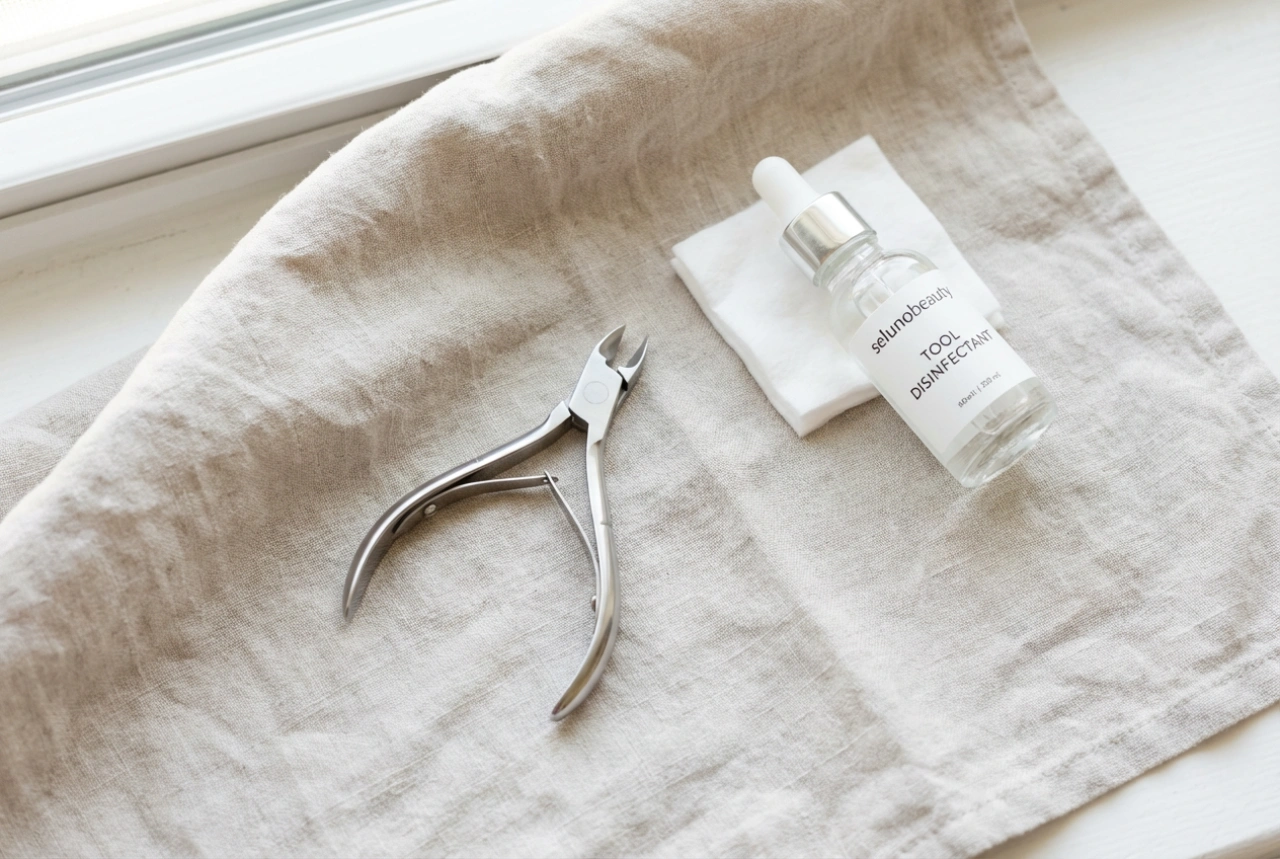
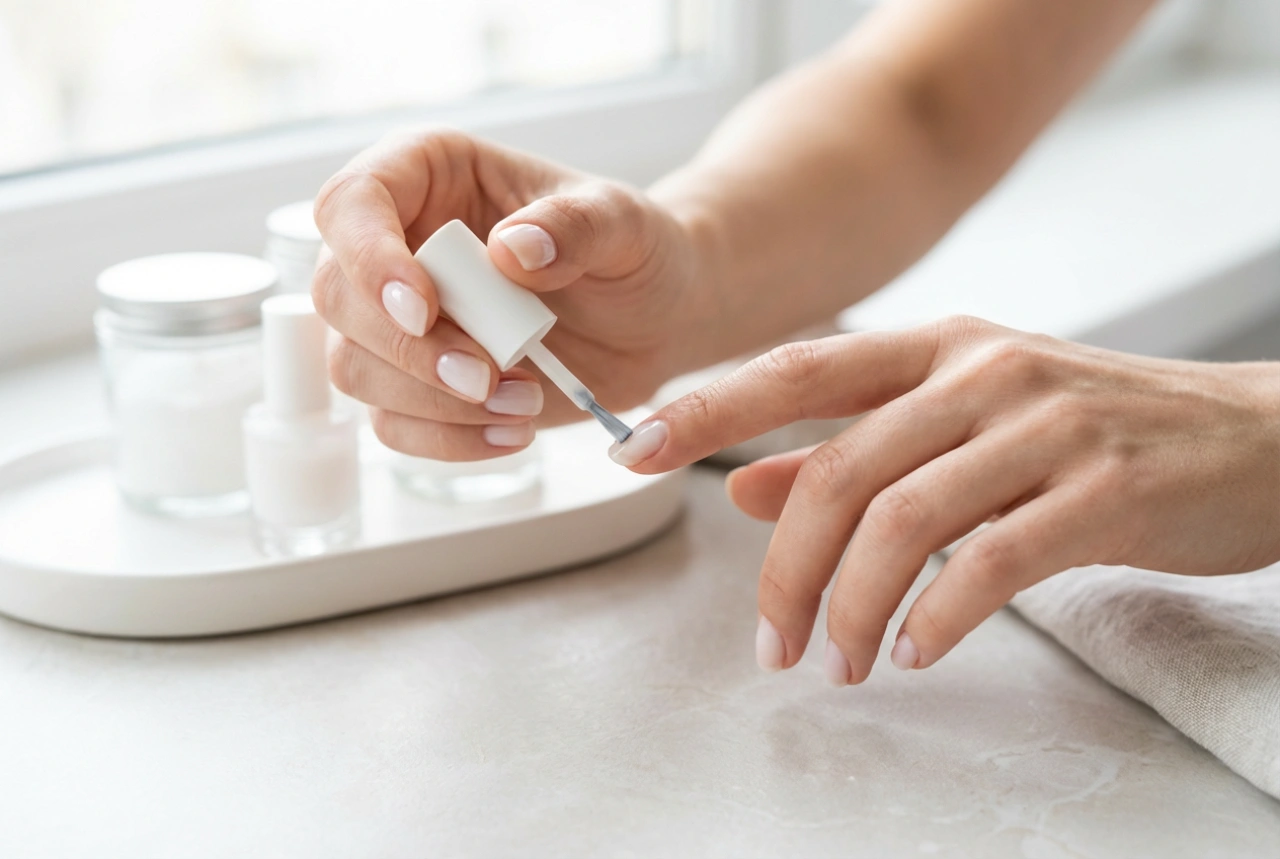
Step 1: Prep Your Nails
Start with clean, filed nails. Push back your cuticles and wipe your nails with a nail polish remover to get rid of any oils. Apply a thin layer of base coat to protect your nails from staining and help your manicure last longer. Follow this with one or two coats of your light base colour. Let it dry completely.
Step 2: Protect Your Skin
The sponging technique can be messy. To make clean-up easier, apply liquid latex or small pieces of tape to the skin around your nail. This creates a barrier that you can simply peel off later, taking the excess polish with it.
Step 3: Apply Polish to the Sponge
Paint your chosen colours in horizontal stripes directly onto the flat surface of your makeup sponge. The stripes should be right next to each other, slightly overlapping where they meet to encourage blending. Make the stripes wide enough to cover your entire nail.
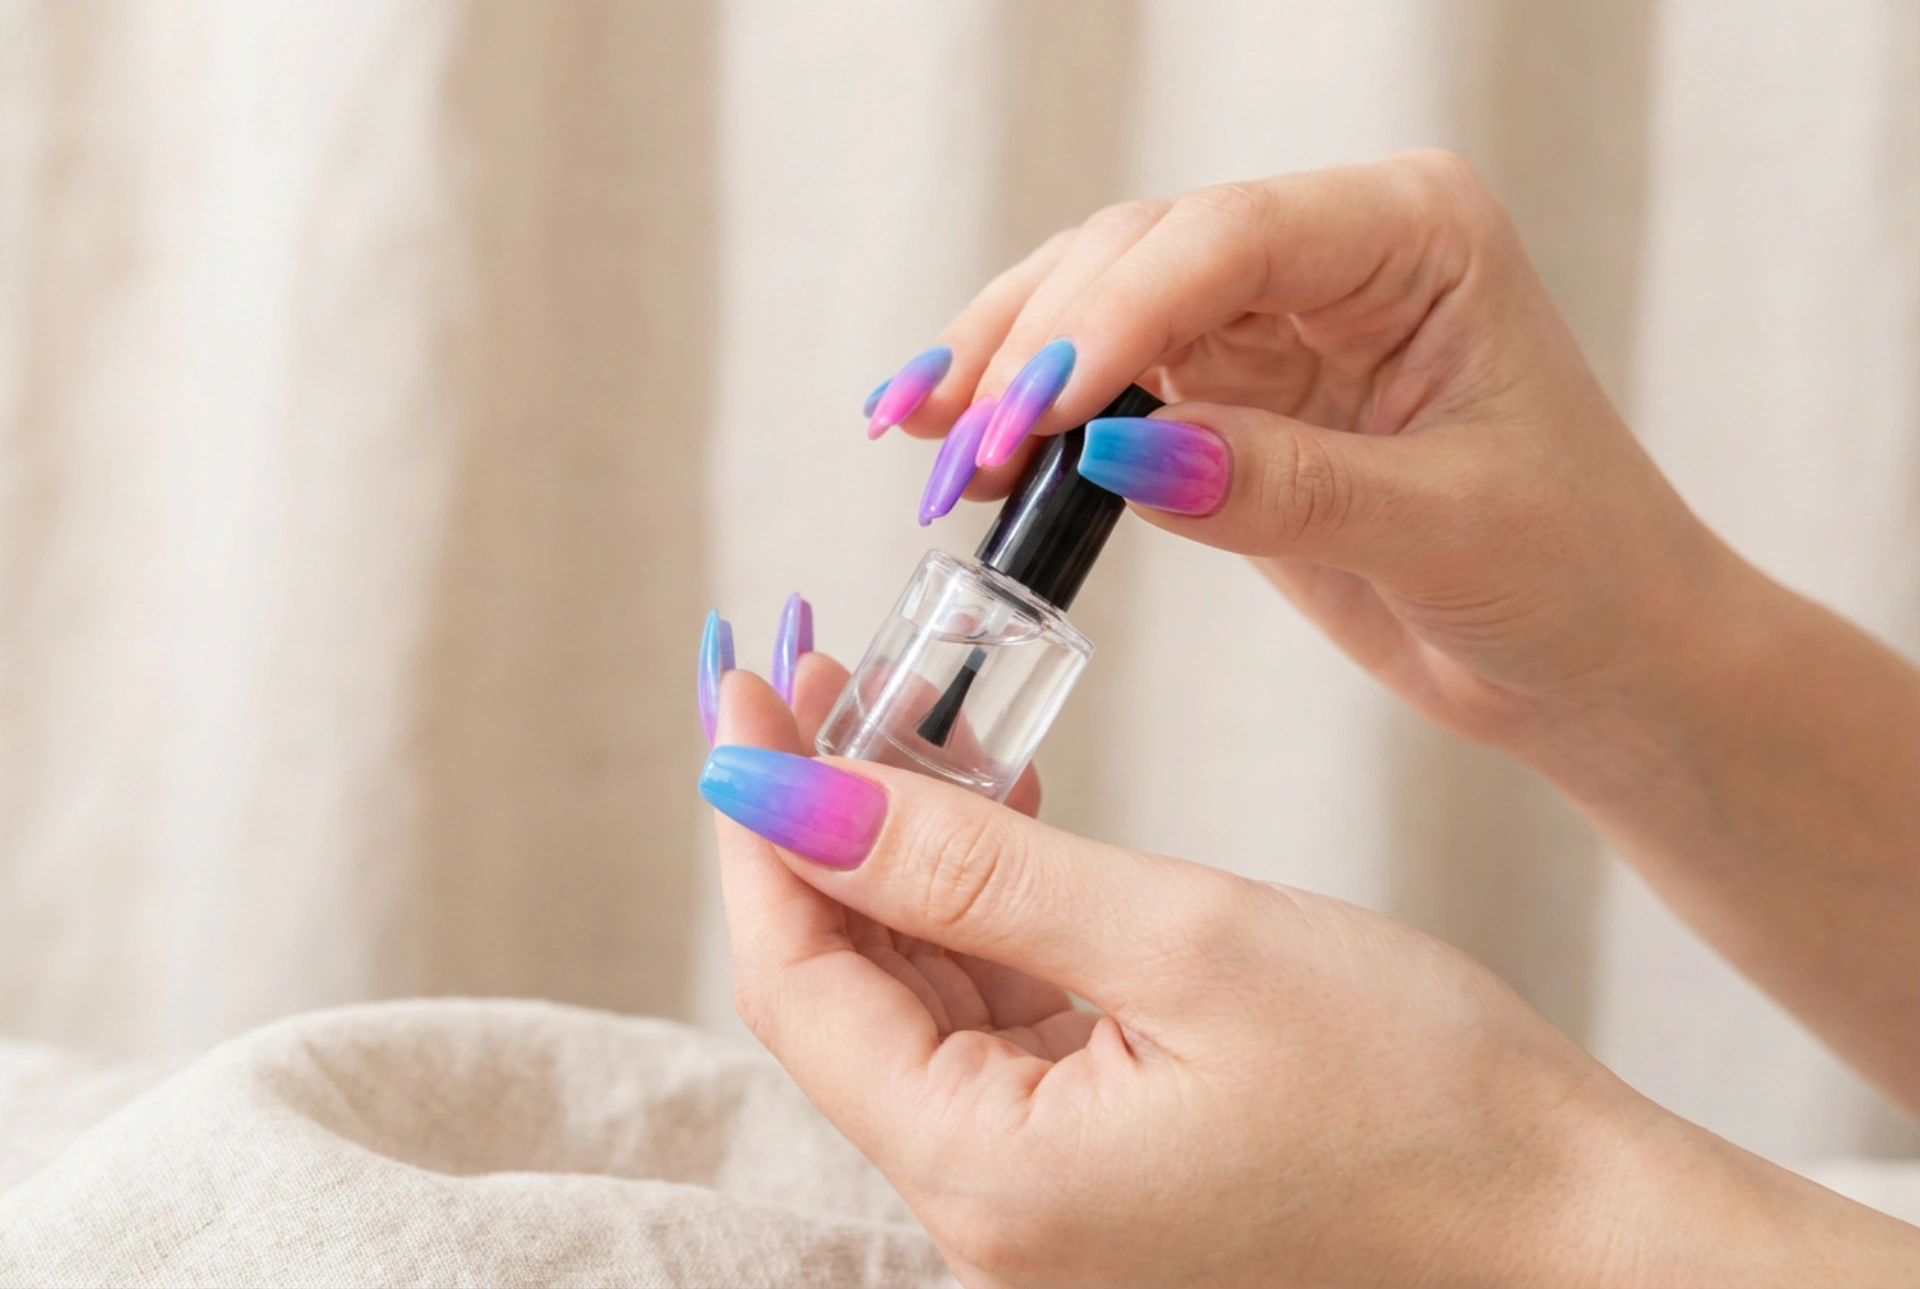
Step 4: Create the Gradient
Gently dab the polish-covered sponge onto your nail. For the first coat, you can press a little more firmly. For subsequent coats, use a lighter dabbing or rolling motion. This motion is key to blending the colours without creating streaks. Don't worry if the first layer looks sheer or uneven; the effect builds with each layer. Reload the sponge with polish and repeat the dabbing process 2-3 times on each nail, allowing a minute of drying time between layers, until you are happy with the opacity and blend.
Finishing Touches: Securing Your Design for Longevity
The final steps are just as important as the application itself. They seal in your hard work, smooth out the texture, and give your nails a glossy, professional finish.
The Power of a Top Coat
Once the gradient is almost dry but still slightly tacky, apply a generous layer of a good quality top coat. The top coat works wonders to further meld the colours together, blurring any minor imperfections and smoothing out the slightly bumpy texture left by the sponge. It also adds a beautiful shine and protects your manicure from chipping. You can reapply the top coat every two to three days to extend the life of your ombre nails.
Perfecting the Edges
After the top coat is dry to the touch, carefully remove the liquid latex or tape from around your nails. There will likely still be some polish on your skin. Dip your small, flat brush into nail polish remover and carefully trace around your cuticle line and the sides of your nail to create a clean, sharp edge. This final detail makes a huge difference and elevates your DIY manicure to a professional level.