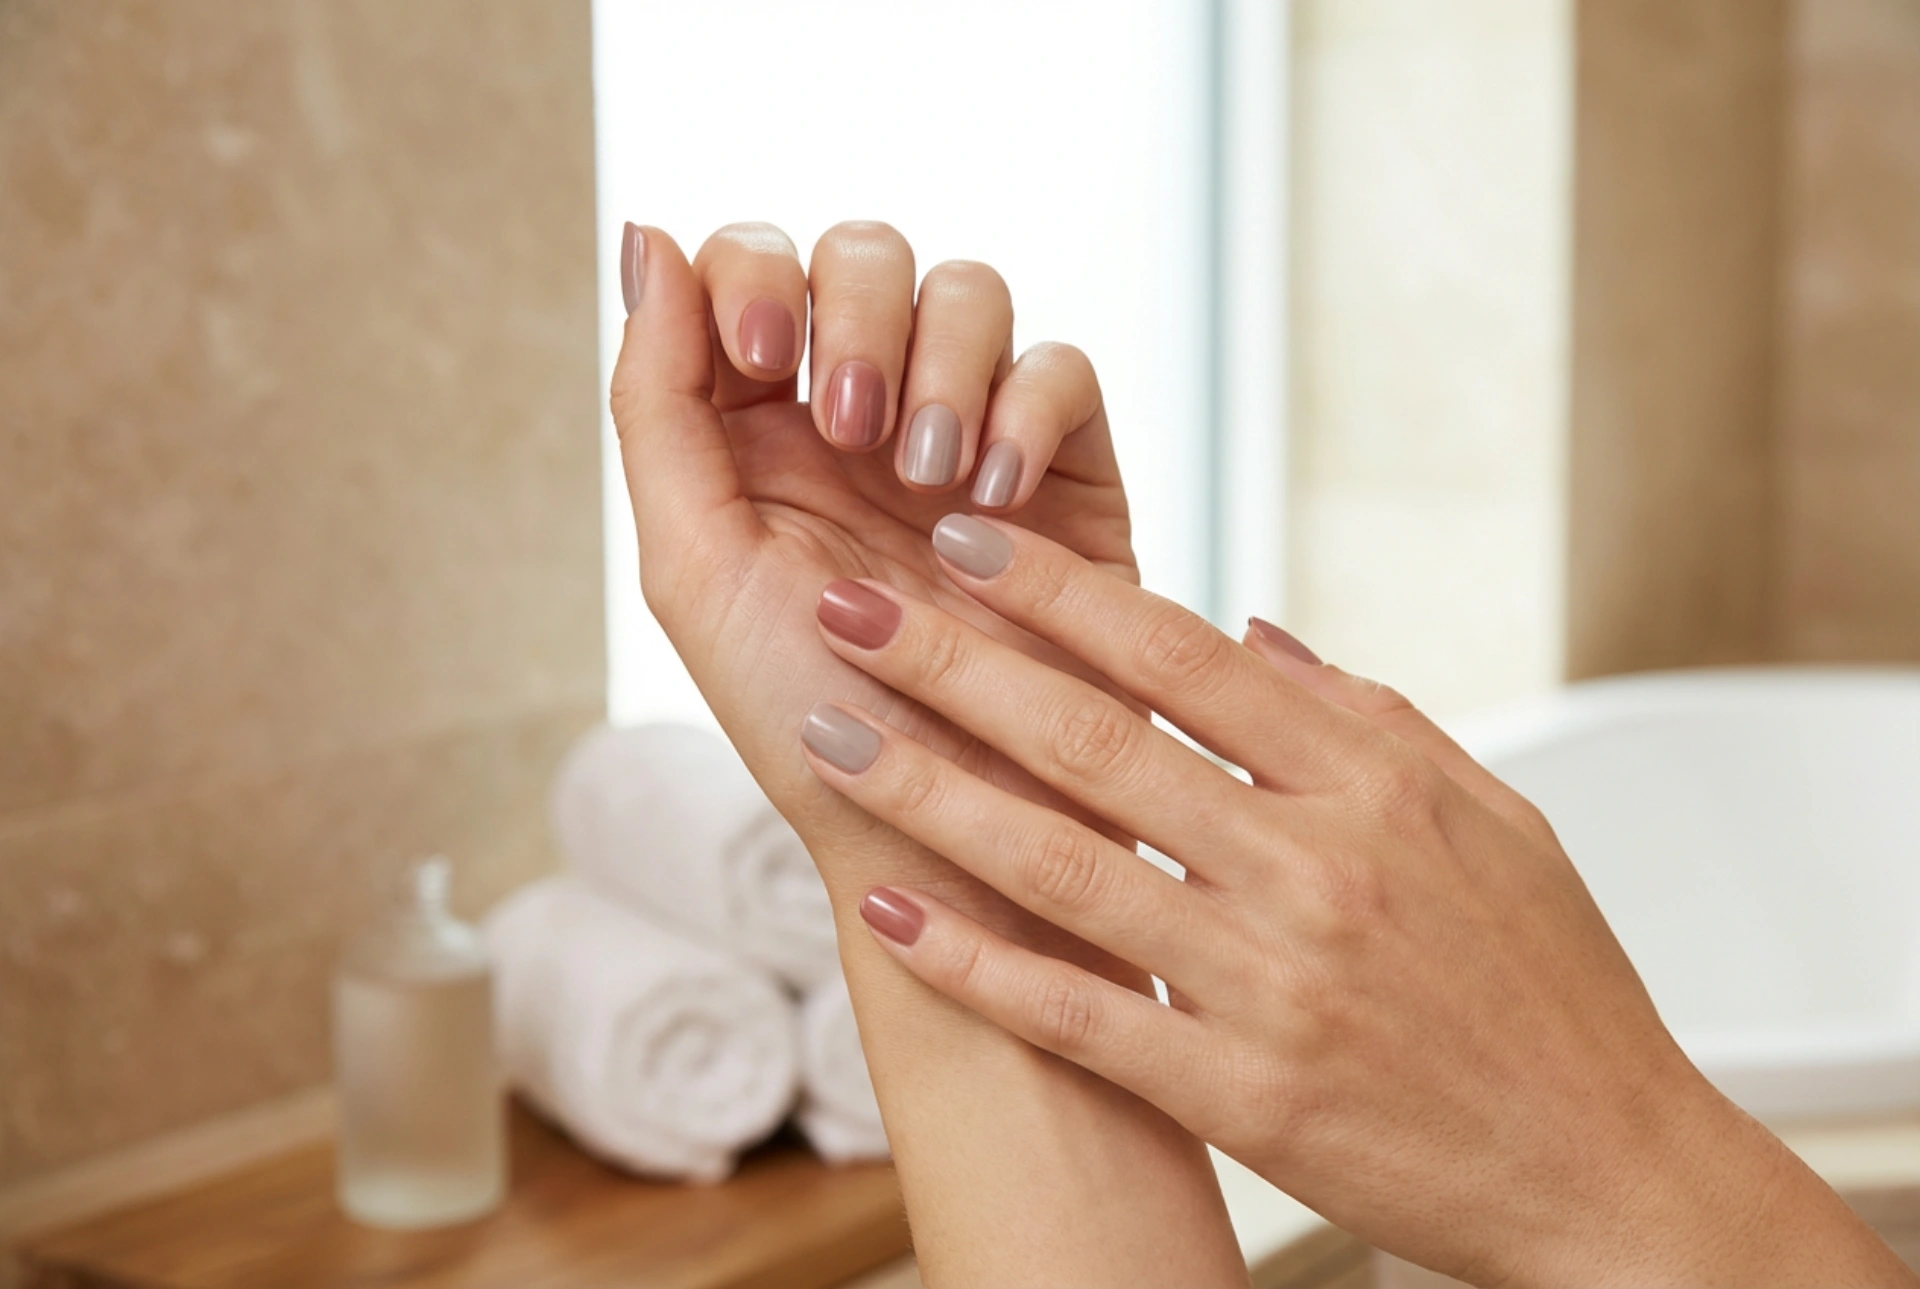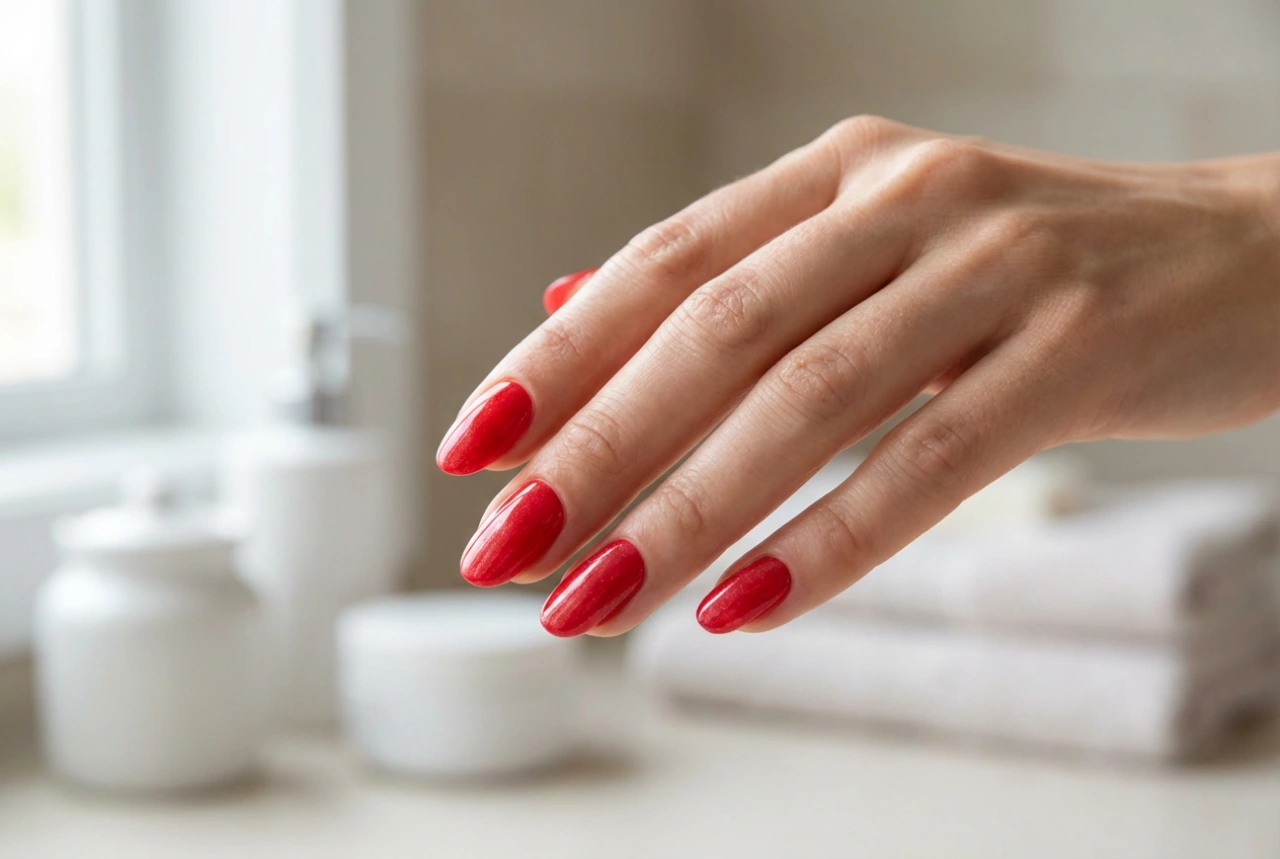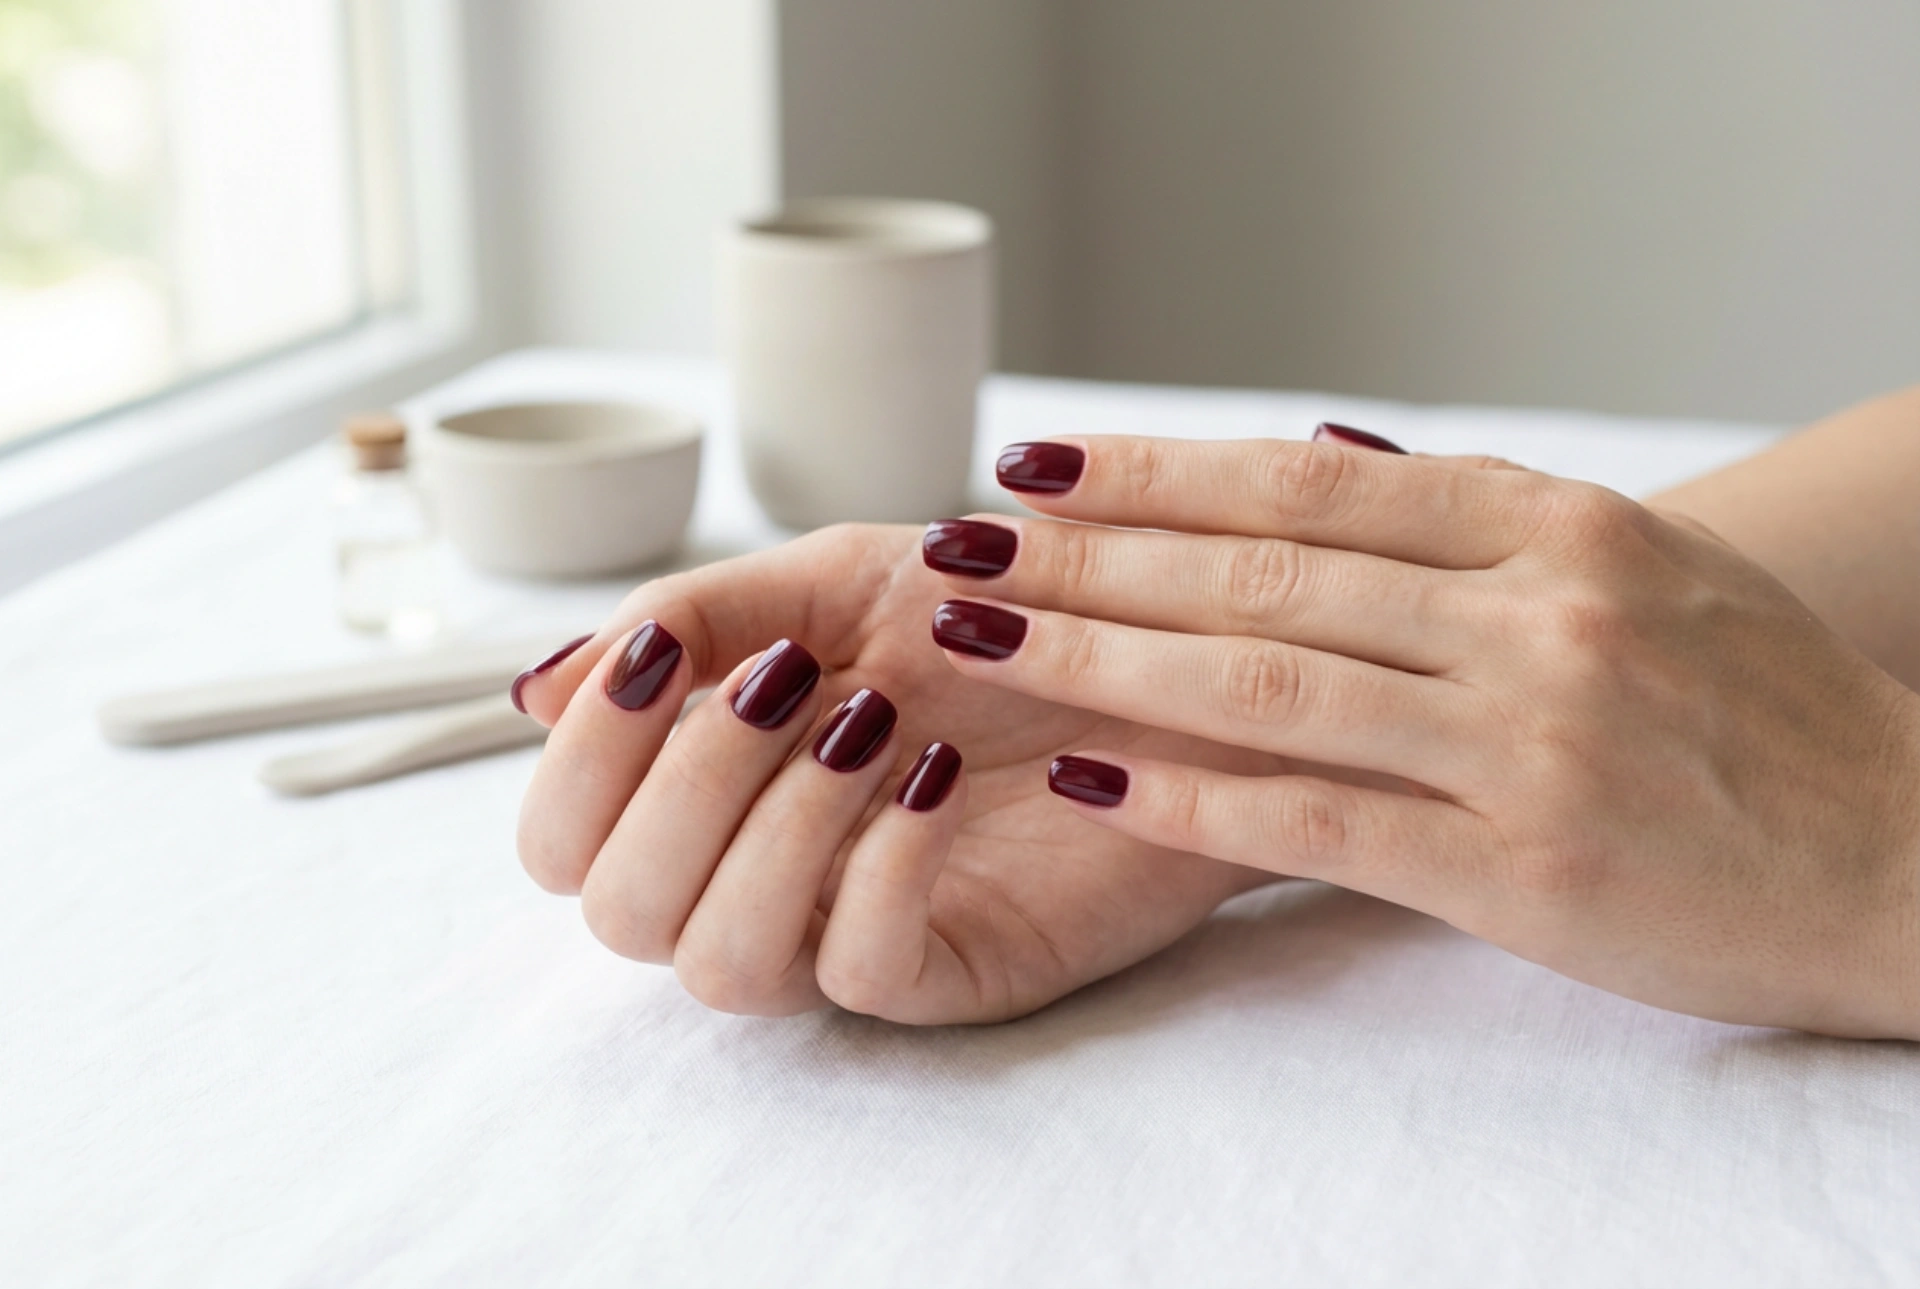


A deep bordeaux manicure exudes elegance and sophistication, but achieving that flawless, streak-free finish at home can seem challenging. The key to a professional-looking application lies not in the polish itself, but in the technique. With careful preparation and a patient approach to layering, you can create perfectly smooth nails with immaculately clean edges. This guide will walk you through the essential steps to master the application of this timeless and rich colour for a durable and beautiful result.
Preparing the Nail Plate: The Foundation for a Flawless Finish
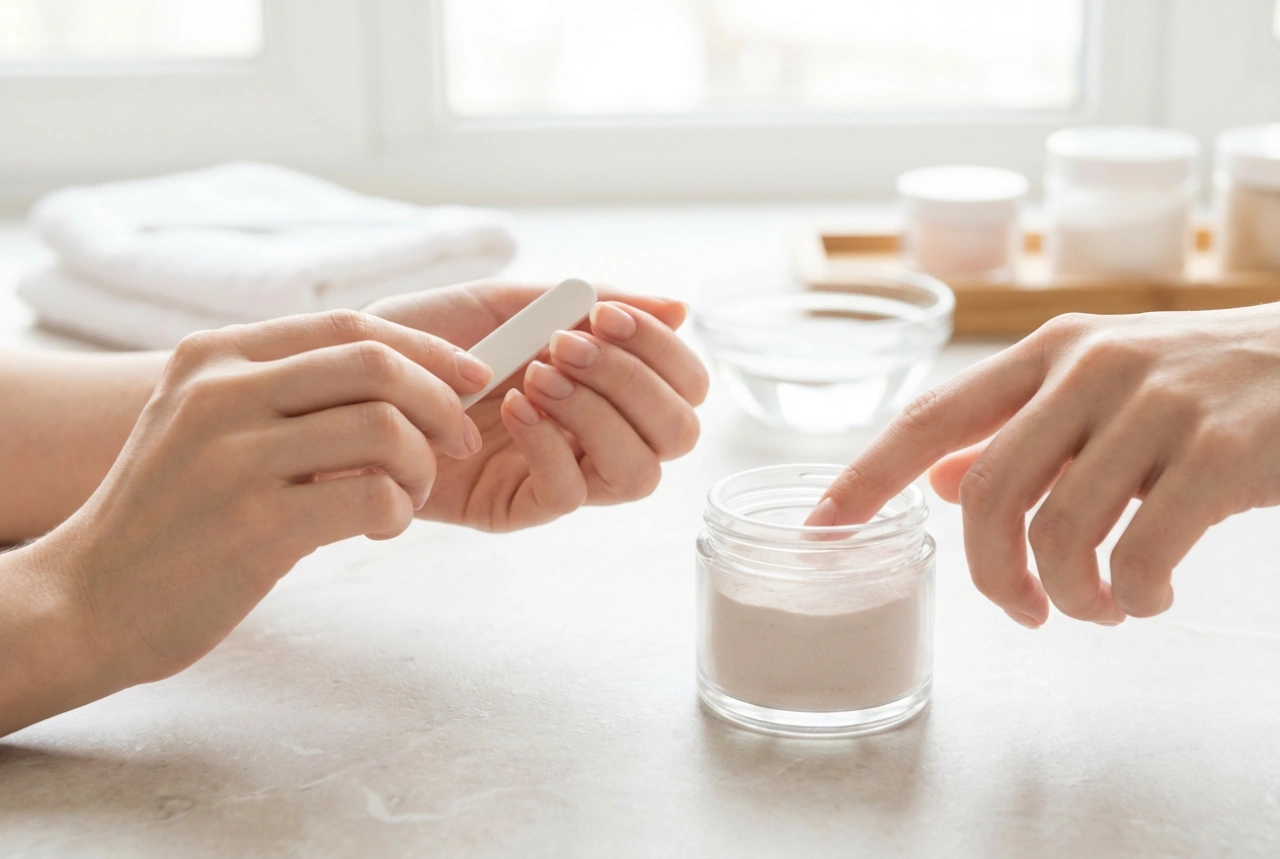
Before you even think about opening the polish bottle, proper nail preparation is paramount. A clean and well-prepped surface ensures the polish adheres correctly and lasts longer without lifting or peeling. This foundational step is crucial for preventing streaks and achieving a smooth canvas.
Key Preparation Steps:
- Cuticle Care: Gently push back your cuticles using a cuticle pusher. Avoid cutting them, as this can lead to irritation. Removing excess cuticle from the nail plate prevents the gel polish from lifting.
- Shape and Buff: File your nails into your desired shape. Afterwards, lightly buff the entire surface of each nail with a fine-grit buffer. This removes any natural shine and creates a slightly rough texture for the base coat to grip onto. The goal is to texturise, not thin the nail.
- Cleanse and Dehydrate: After buffing, your nails will have dust on them. It is essential to cleanse them thoroughly. Use a lint-free wipe saturated with a specialised nail surface cleanser. This step removes oils, moisture, and debris, ensuring maximum adhesion of the gel products.
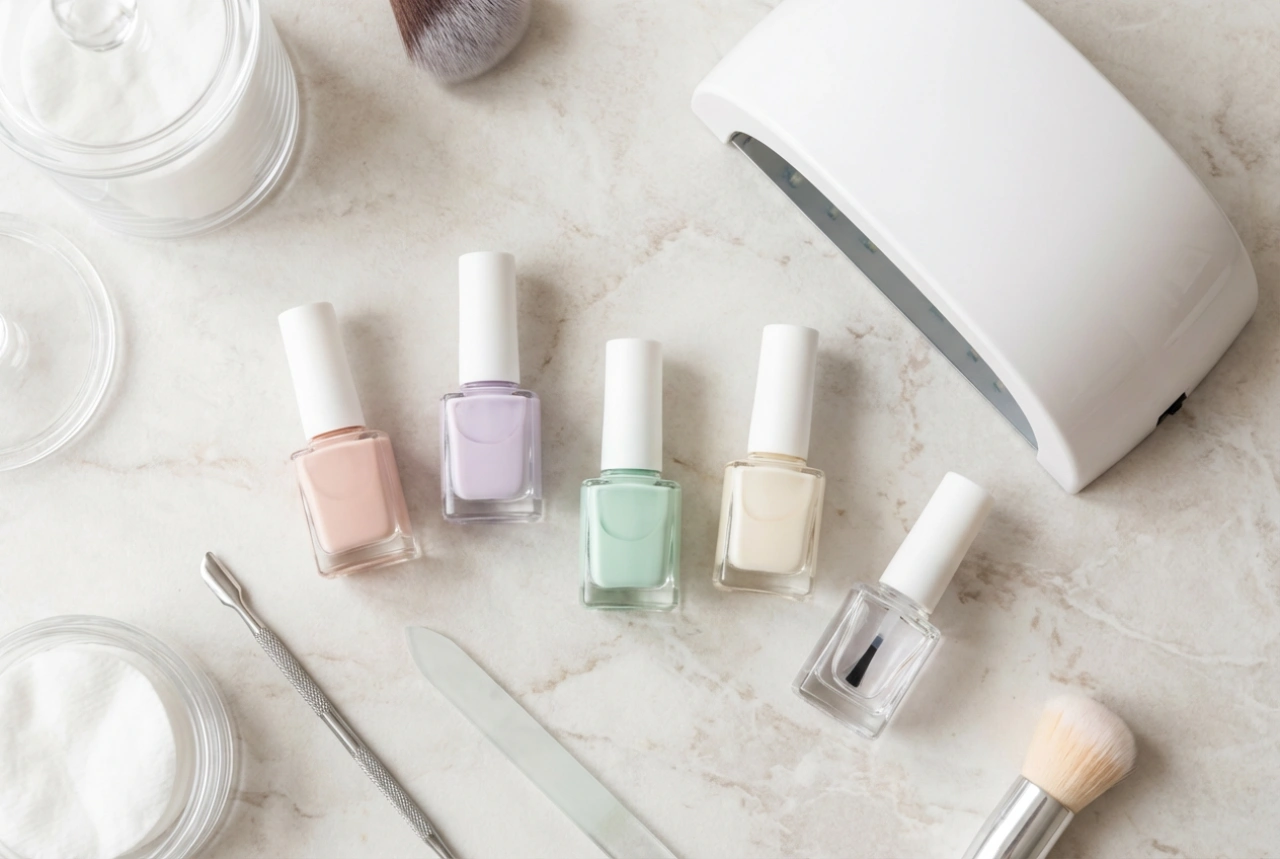
The Art of Layering: Thin Coats are Key
The most common mistake when applying dark, pigmented polishes like bordeaux is trying to achieve full opacity with one thick coat. This leads to uneven curing, wrinkling, and pooling near the cuticles. The secret is to build the colour with multiple, very thin layers.
The Layering Process:
- Base Coat Application: Apply a very thin layer of base coat, making sure to cover the entire nail without touching the surrounding skin. A thin base coat provides a strong foundation and protects your natural nail. Cure it under the lamp according to the product's instructions.
- First Colour Coat: Shake your bordeaux polish bottle well. Apply the first coat of colour in a thin, even layer. It will likely look sheer and possibly a little patchy—this is completely normal. The aim of this coat is to establish a base colour, not to achieve full coverage. Cure this layer fully.
- Second Colour Coat: The second coat is where the magic happens. Apply another thin layer, which will deepen the colour and even out any streaks from the first application. Your movements should be deliberate and smooth, from the cuticle to the tip. Cure this layer completely. For most high-quality polishes, two coats are sufficient for a rich, opaque finish. If the colour is still not quite perfect, a third ultra-thin coat can be applied.
Achieving Clean Edges and a Professional Look
A flawless manicure is defined by its clean, crisp edges. Flooded cuticles not only look untidy but can also cause the gel polish to lift prematurely. Precision is your best friend during this stage.
Techniques for Clean Cuticles:
- Leave a Tiny Gap: When applying the polish, aim to leave a minuscule gap between the polish edge and the cuticle line—about the width of a human hair. This creates a buffer zone and prevents the polish from touching the skin, which is what causes flooding.
- Clean Up Before Curing: Keep a small, clean brush (an old lip brush or a fine art brush works well) and a small dish of nail cleanser nearby. If you accidentally get any polish on your skin or cuticle, dip the brush in the cleanser, wipe off the excess, and carefully trace around the cuticle to remove the misplaced polish. It is vital to do this *before* you cure each layer, as gel polish is impossible to remove from the skin once cured.
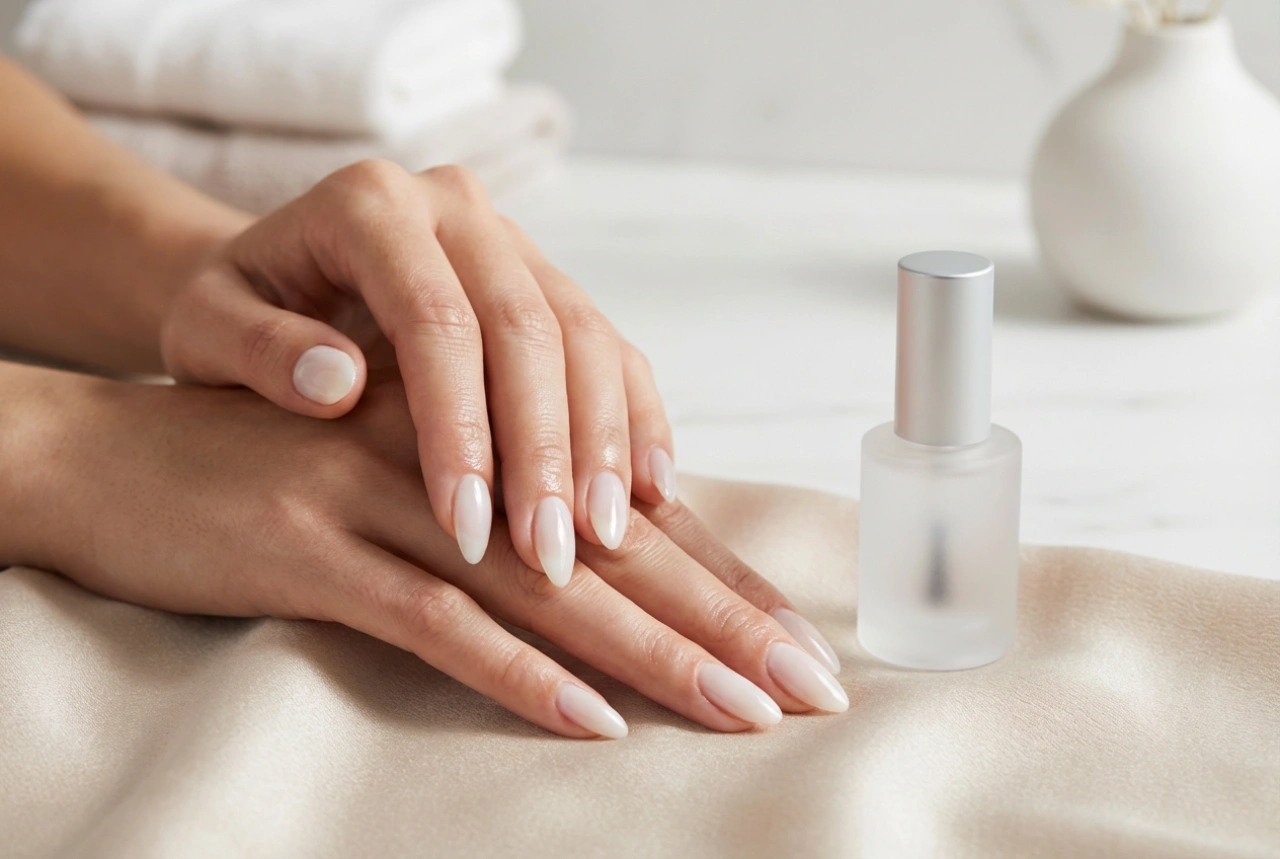
Sealing the Deal: The Top Coat and Final Touches
The final step is to seal your work with a top coat. This protects the colour from chipping, adds incredible shine, and ensures the longevity of your manicure.
Finishing Your Manicure:
- Apply the Top Coat: Apply a thin, even layer of top coat over the entire nail. Be sure to cover all of the colour to prevent it from fading or becoming dull.
- Cap the Free Edge: This is a crucial step for preventing chips. After painting the nail surface, gently swipe the top coat brush along the free edge (the very tip) of your nail. This creates a seal that protects the most vulnerable part of the manicure.
- Final Cure and Cleanse: Cure the top coat according to the manufacturer's directions. If you are using a traditional top coat (not a 'no-wipe' formula), it will have a sticky inhibition layer after curing. Simply take a lint-free wipe with nail cleanser and wipe each nail firmly to reveal the hard, glossy finish. Finally, apply a drop of cuticle oil to nourish the skin around your nails.