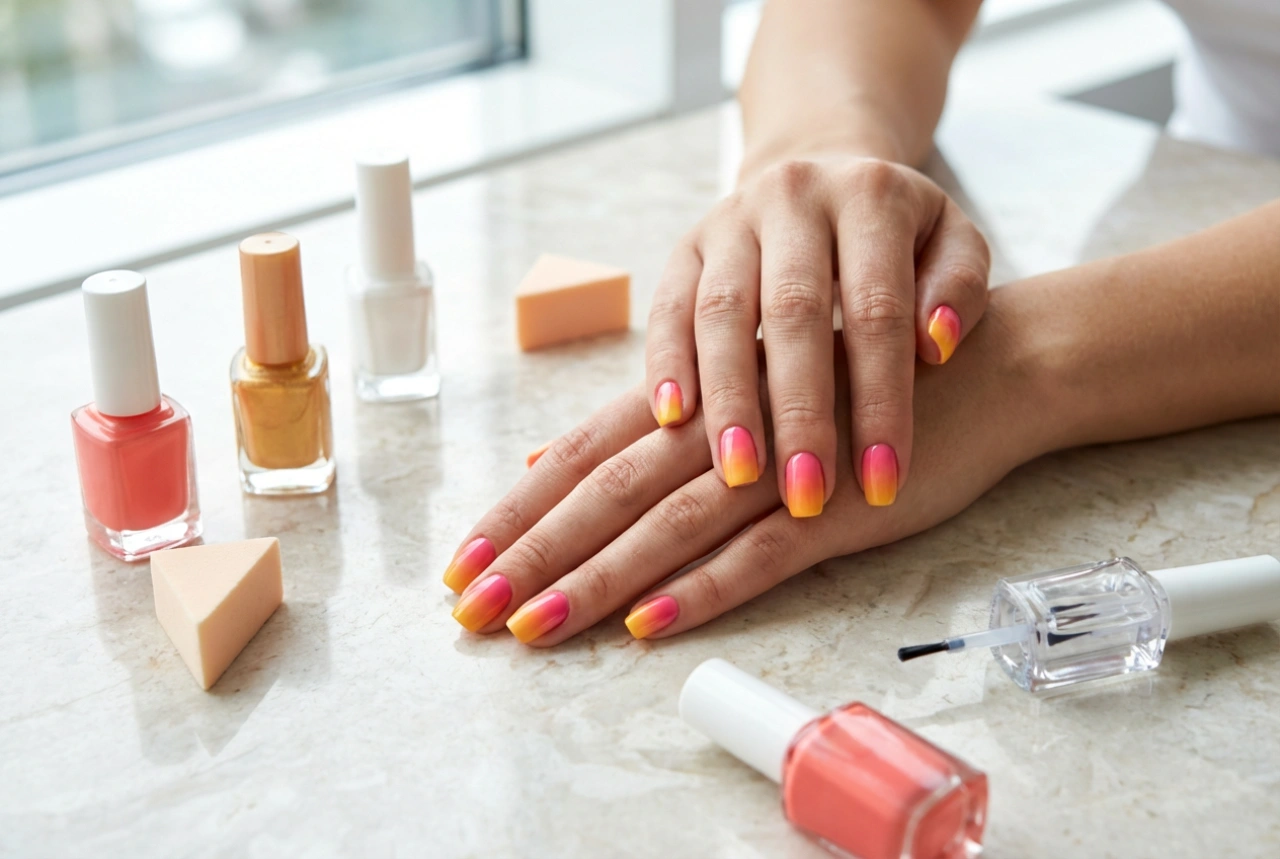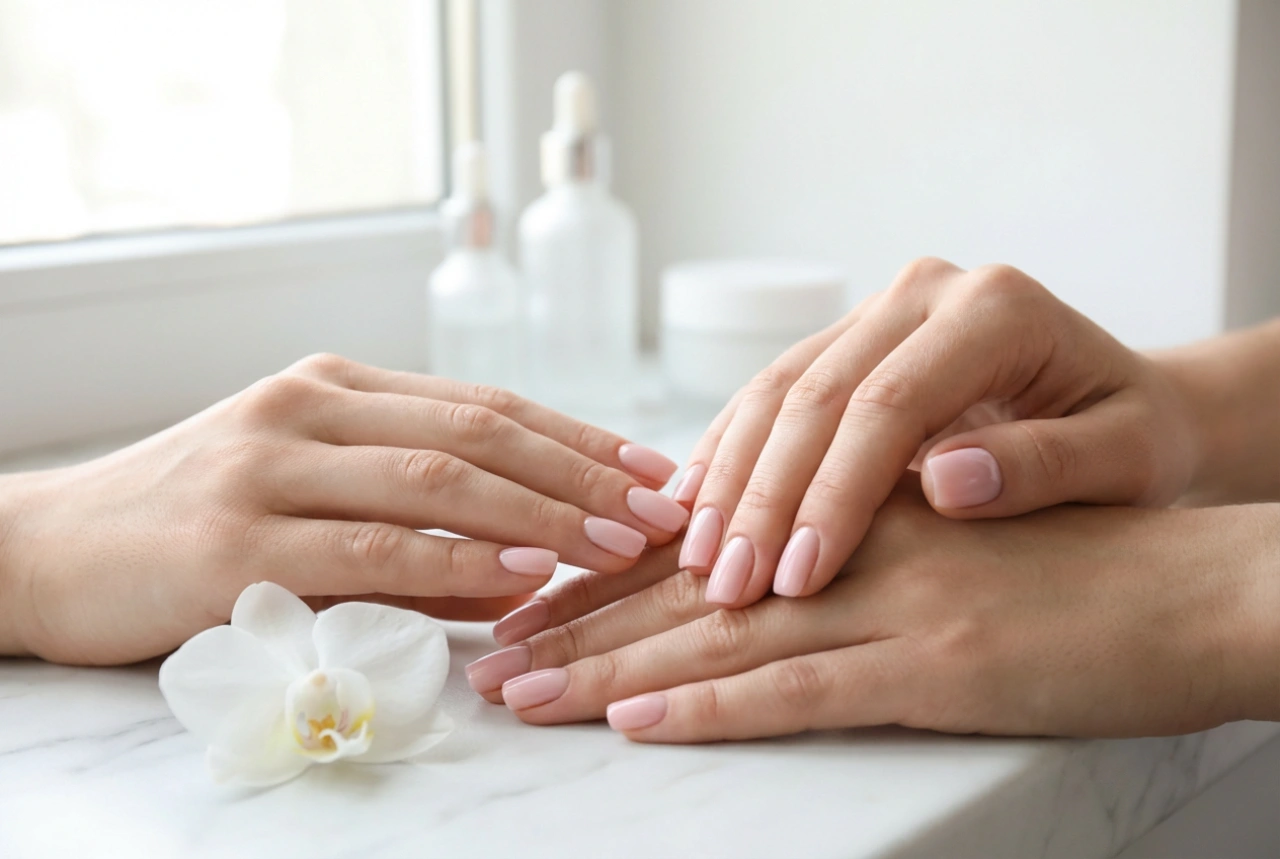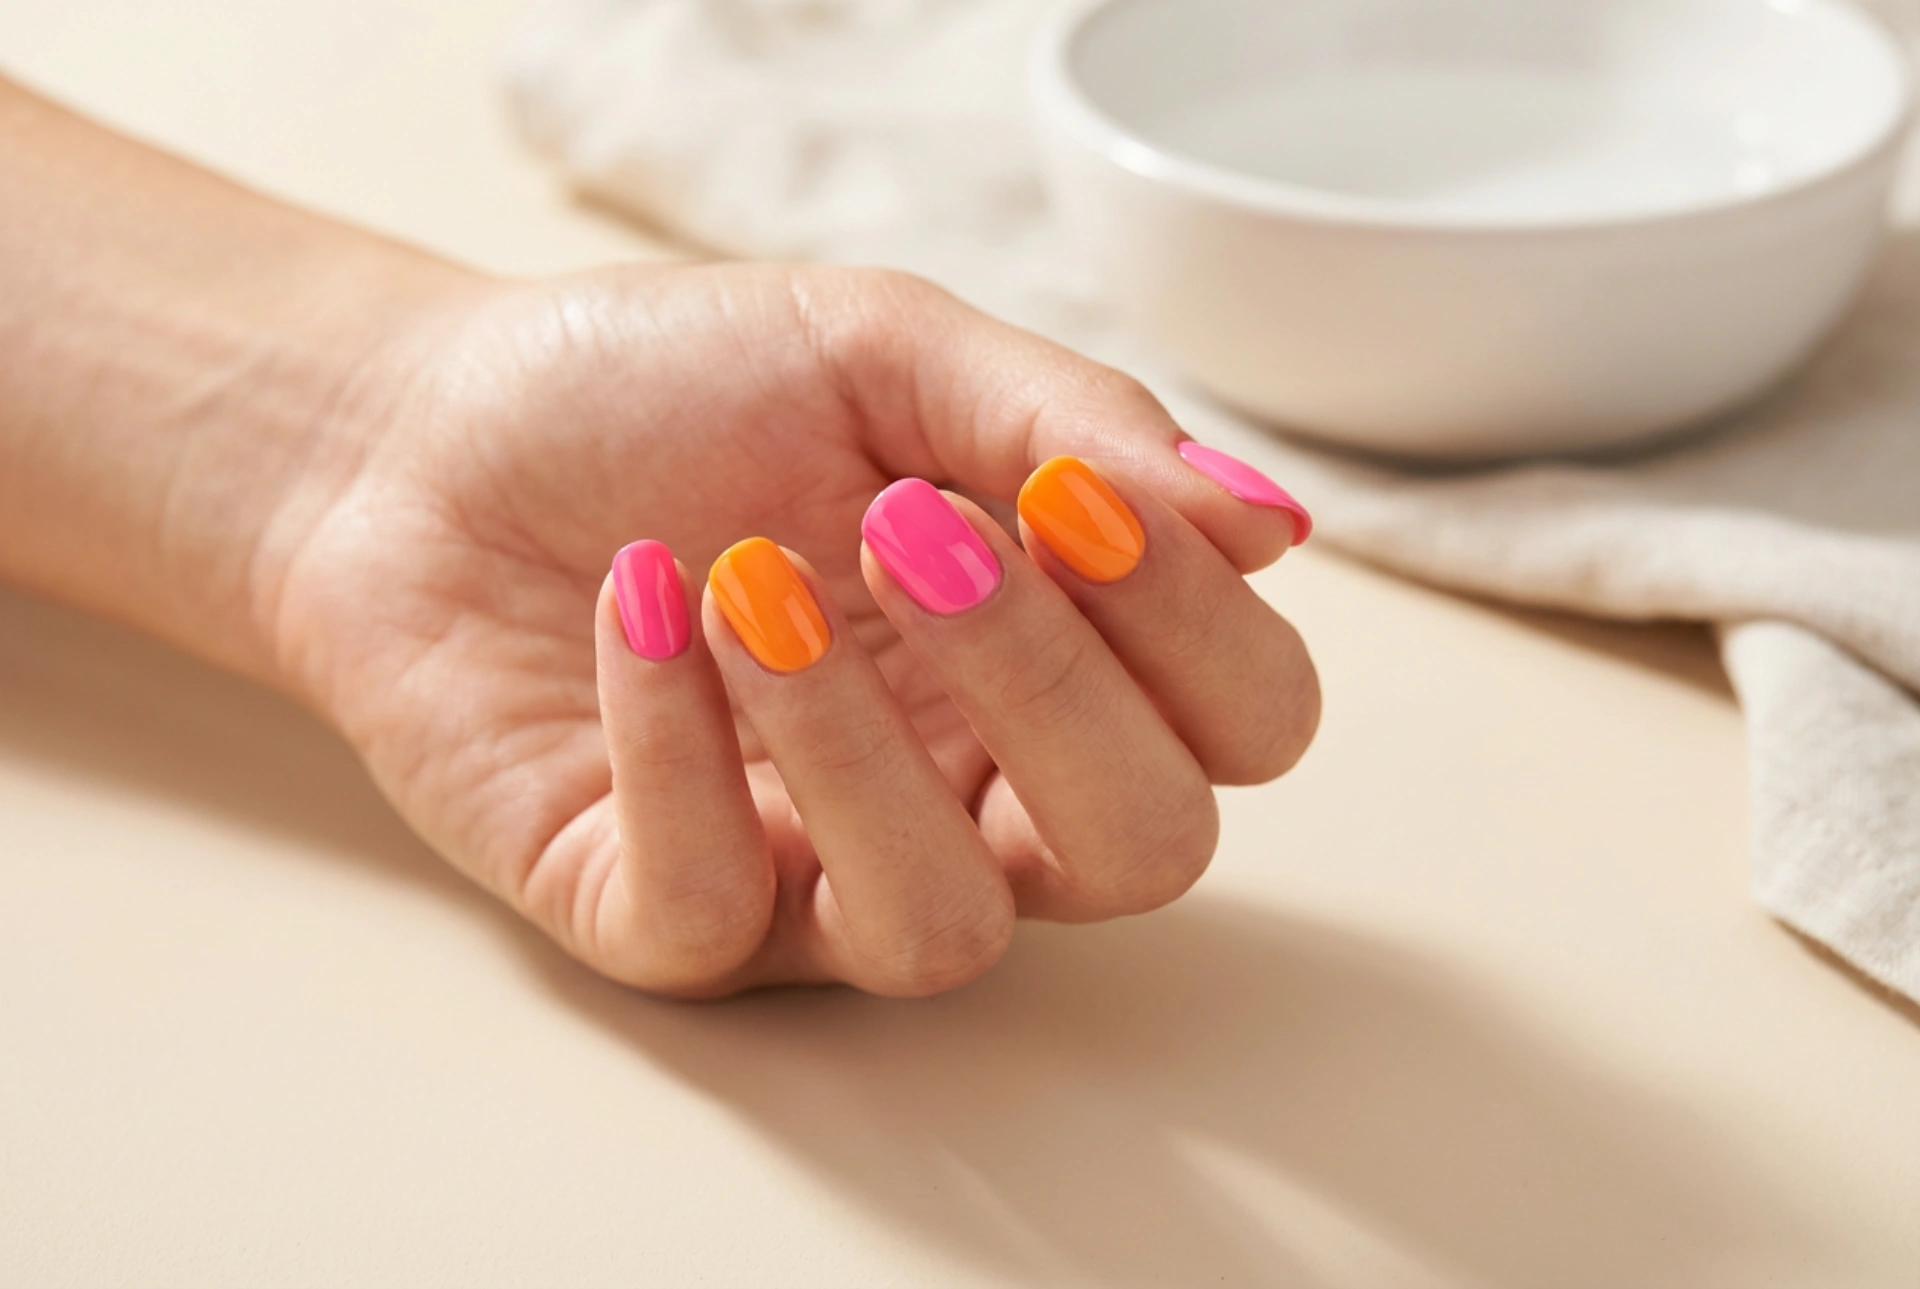


Vibrant, eye-catching neon nails are a quintessential part of any summer look, instantly adding a playful and energetic touch. Achieving that flawless, glossy finish seen in professional photos, however, requires more than just a swipe of colour. The key to a perfect neon manicure lies in meticulous preparation and the right application technique. This guide will walk you through the essential steps to ensure your neon nails are smooth, vibrant, and long-lasting.
The Foundation: Preparing Your Nail Plate
Proper preparation is the most critical step for any manicure, but it's especially important for neon polishes, which can be unforgiving and highlight any imperfections on the nail surface. A smooth canvas ensures the colour goes on evenly and adheres better.
Cleaning and Shaping
Start with a clean slate. Ensure all previous nail polish is thoroughly removed using a gentle remover. Next, focus on your cuticles. Instead of cutting them, which can lead to issues, gently push them back using a wooden or rubber-tipped cuticle pusher. Afterwards, shape your nails with a file. Whether you prefer a square, oval, or almond shape, file in one direction to prevent splitting and weakening the nail. Finally, cleanse the nail plate with a cotton pad soaked in rubbing alcohol to remove any natural oils or residue, which can interfere with polish adhesion.
Key Preparation Steps
- Remove all old polish completely.
- Gently push back your cuticles, do not cut them.
- File your nails into your desired shape, moving the file in one direction.
- Wipe each nail with a nail cleanser or rubbing alcohol to dehydrate the surface.
- Lightly buff the nail surface with a fine-grit buffer to smooth out ridges.
The Secret to True Vibrancy: The Base Coat
Never skip the base coat, especially with highly pigmented neon shades. A good base coat serves two primary functions: it protects your natural nail from staining, and it creates a tacky surface for the colour to grip onto, extending the life of your manicure. For neon polishes, there's an extra trick: use a solid white or very pale, opaque polish as your base. Applying one or two thin coats of white before the neon will make the colour appear significantly brighter and truer to how it looks in the bottle. It acts as a blank canvas, allowing the fluorescent pigments to pop without being muted by the natural tone of your nail.
Mastering Application for Flawless Coverage
Neon formulas can sometimes be streaky or thin, which makes the application technique crucial for an even, professional-looking result. Patience and precision are your best tools here.
Thin Coats are Essential
The single most important rule for applying neon polish is to use multiple thin coats rather than one or two thick ones. A thick coat is difficult to control, takes a very long time to dry, and is prone to smudging, bubbling, and peeling. Apply the first coat as thinly as possible. It will likely look streaky and uneven—this is normal. Allow it to dry for at least two to three minutes. Apply a second thin coat, which will build up the opacity. If needed, apply a third thin coat for full, even coverage. This layering method results in a smoother finish and a much more durable manicure.
The Three-Stroke Method
For a clean application, use the three-stroke method. Dip your brush in the polish and wipe one side of it on the bottle's neck to remove excess. Place the brush in the centre of your nail, slightly away from the cuticle, and push back gently before stroking forward to the tip. Then, return to the base and paint one stroke down the left side and another down the right side. This technique helps you cover the entire nail evenly without flooding the cuticles.
Sealing the Look: The Top Coat
Once your final colour coat is touch-dry, it's time to seal your work. A high-quality top coat is non-negotiable. It protects the vibrant colour from chipping and fading due to sun exposure, which is particularly important for neons. Furthermore, it adds a beautiful, high-gloss shine that makes the colour look even more intense and provides a smooth finish, evening out any minor imperfections in the layers below. For extra protection, run the top coat brush along the free edge of your nail tip. This 'capping' technique helps to prevent chips and extends the wear of your manicure. Allow your nails to dry completely for a truly durable and stunning summer look.