


The red manicure is a timeless classic, symbolising elegance and confidence. But what if you could give this iconic look a modern, sophisticated twist? The ombre effect, with its seamless gradient of colour, offers just that. Creating beautiful red ombre nails might seem like a task reserved for salon professionals, but with the right technique and a little patience, you can achieve a stunning result at home. This guide will walk you through a simple method using a cosmetic sponge to create that coveted fade from one shade of red to another.
Preparing Your Nails for the Perfect Ombre
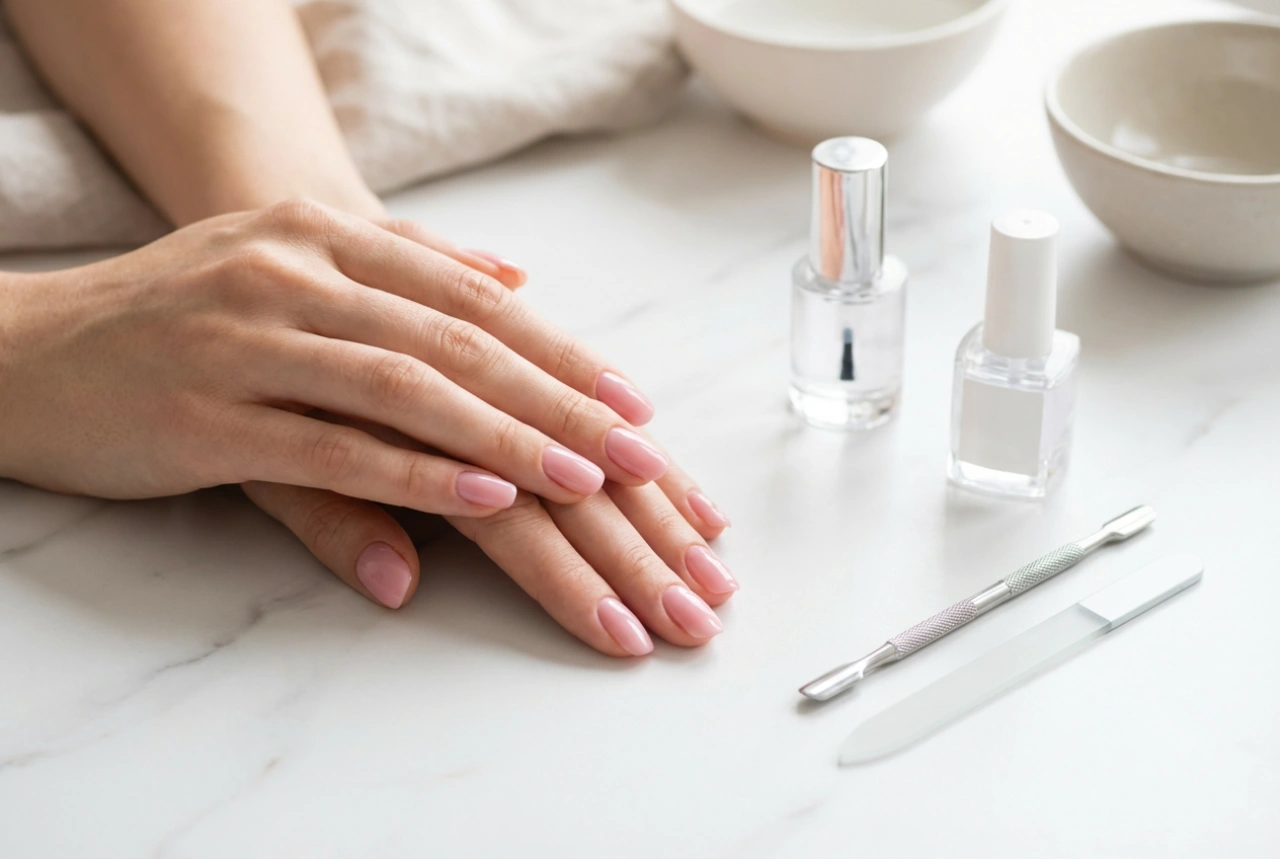
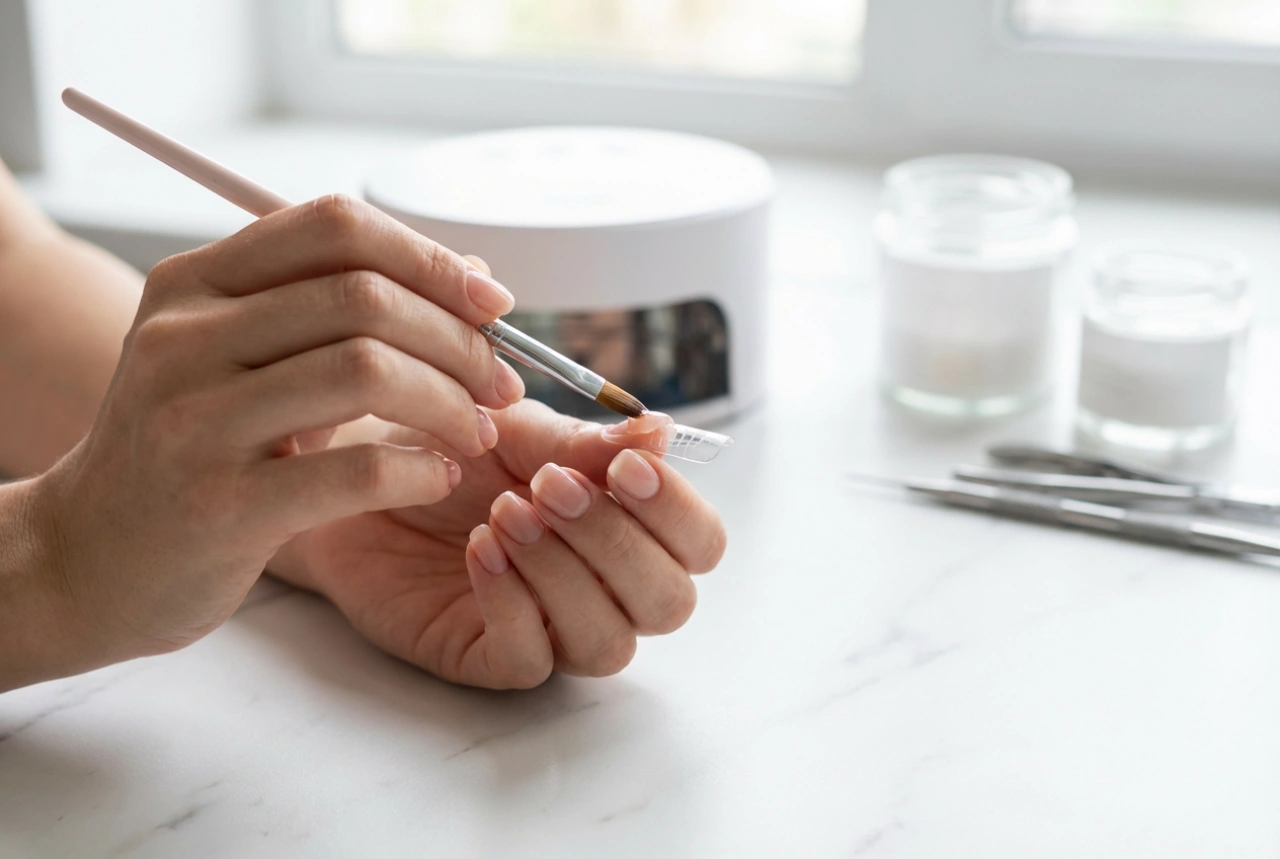
A flawless manicure begins with well-prepped nails. Before you even think about polish, take the time to create a clean and smooth canvas. This initial step is crucial for ensuring the ombre effect looks polished and professional, and it helps your manicure last longer.
Start by removing any old nail polish completely. Next, gently push back your cuticles using a cuticle pusher. Avoid cutting them, as this can lead to irritation. Shape your nails with a file, moving in one direction to prevent splitting. Whether you prefer a square, oval, or almond shape, ensure they are all uniform. Finally, buff the surface of your nails lightly to remove any natural oils and create a slightly textured surface for the polish to adhere to. Wash your hands and dry them thoroughly, then apply a thin layer of a clear base coat. This protects your natural nails from staining and helps the colour last longer. Let it dry completely.
What You'll Need for Red Ombre Nails
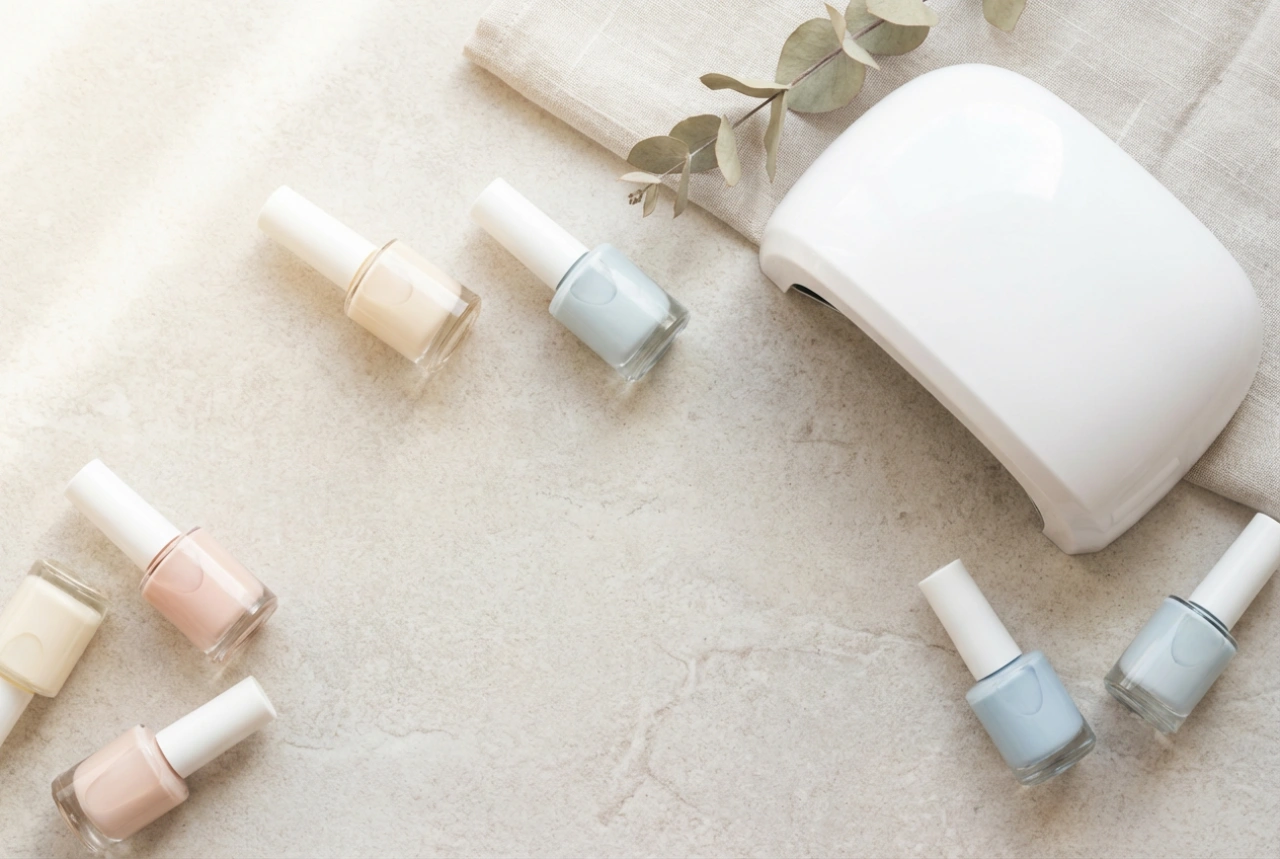
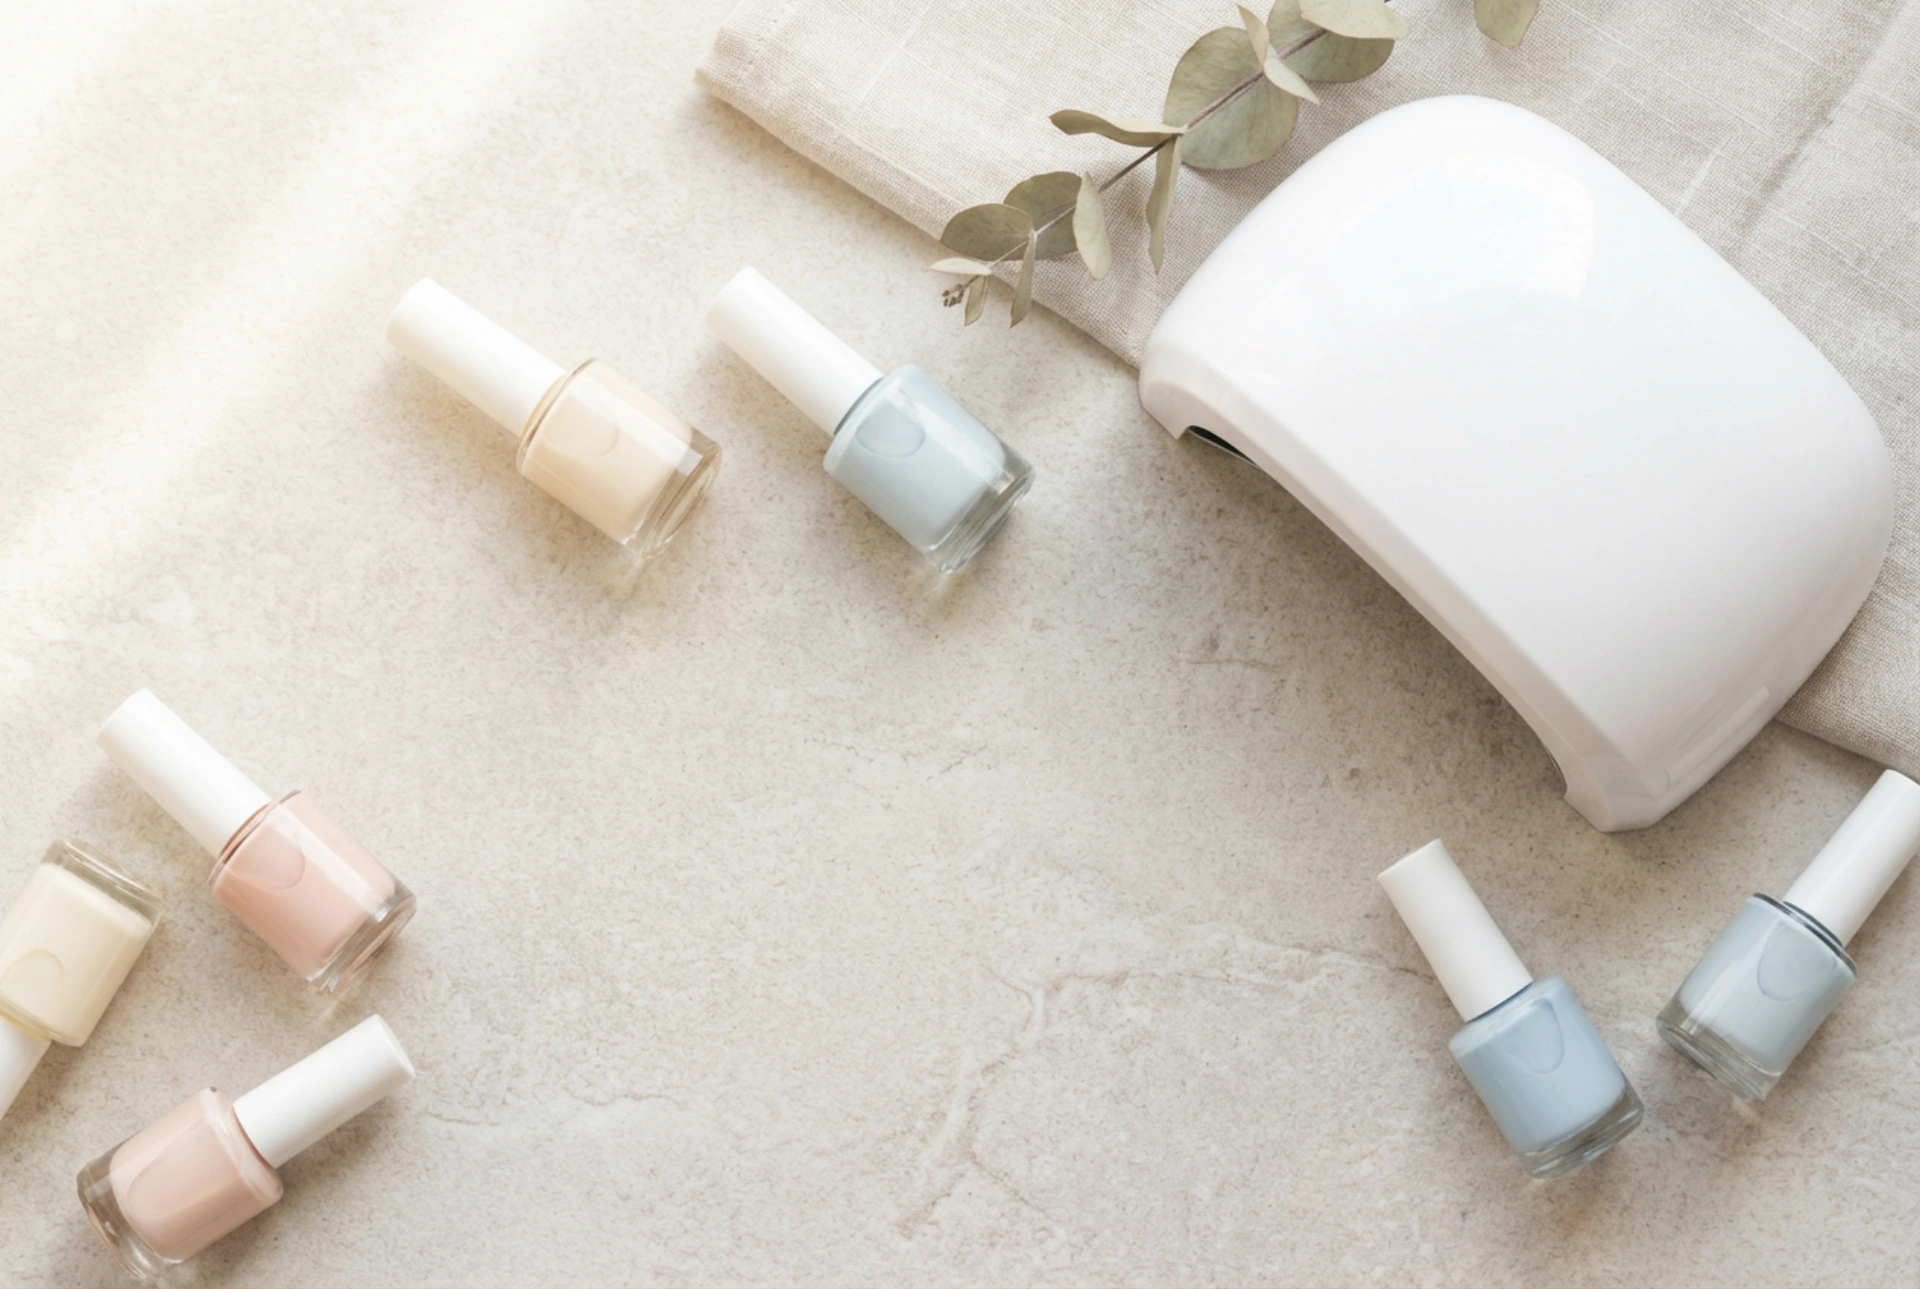
Gathering your tools beforehand will make the process much smoother and more enjoyable. You don't need a lot of specialised equipment; most items are standard manicure tools. Here’s a list of what you should have ready:
- A clear base coat
- A light red or pinkish-red nail polish
- A darker, rich red nail polish
- A clear, high-shine top coat
- A small, disposable makeup sponge (a new washing-up sponge cut into small pieces also works)
- A flat, non-porous surface for mixing, like a piece of foil or a ceramic tile
- Nail polish remover and small cotton buds or a fine-tipped brush for clean-up
Choosing Your Colours
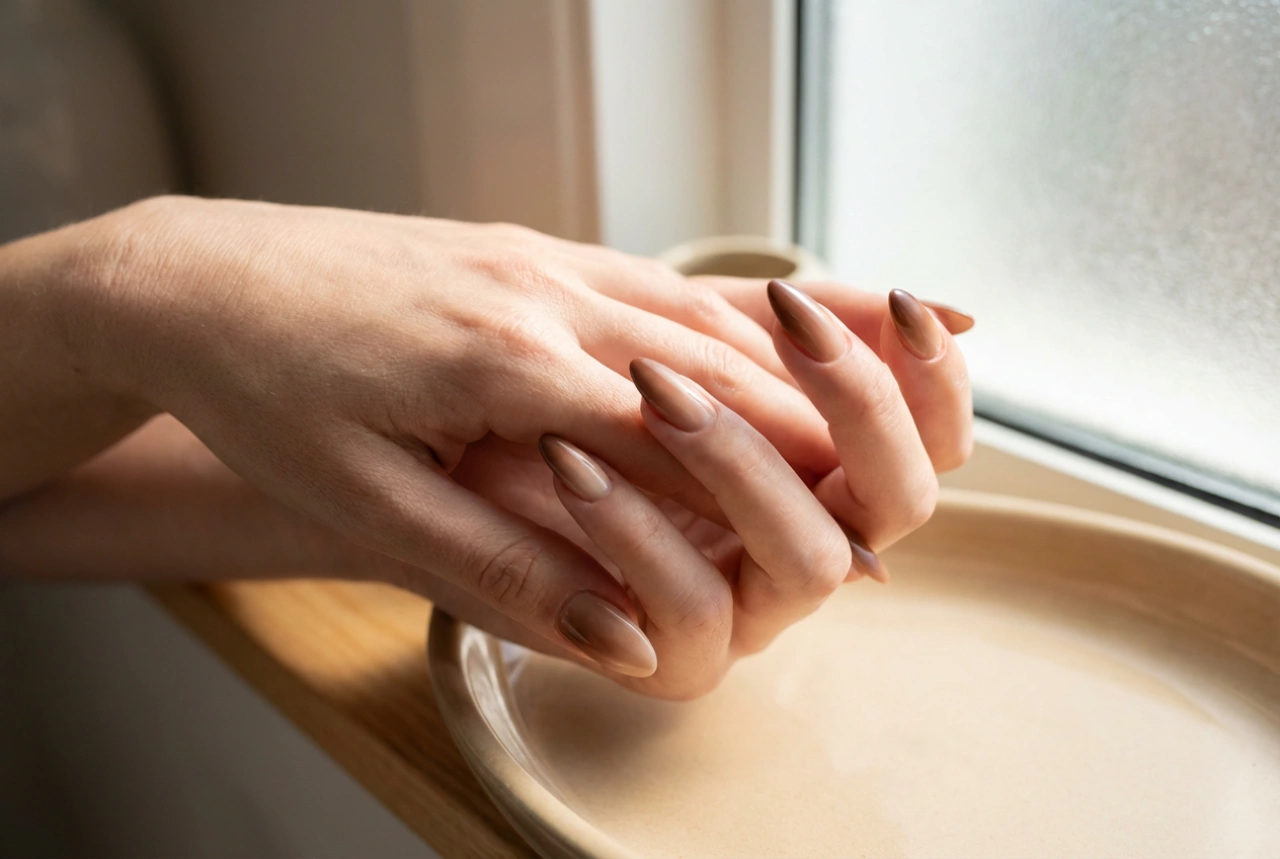
The key to a beautiful ombre is selecting colours that blend well together. For a classic red ombre, choose two shades from the same colour family. For a subtle effect, you might pair a cherry red with a deep burgundy. For a more dramatic look, you could combine a bright, almost-orange red with a dark, vampy wine colour. Swatching them next to each other on a piece of paper can help you visualise the final gradient.
The Step-by-Step Ombre Technique
This is where the magic happens. The sponge is the essential tool for creating a soft, blended transition between your chosen colours. Work on one hand at a time, and don't worry if it gets a bit messy around the nail—that's easy to clean up later.
1. Apply the Base Colour
Start by applying two thin coats of your lightest red shade to all of your nails, allowing each coat to dry thoroughly. This lighter colour will serve as the base of your gradient, ensuring the transition looks bright and seamless, especially near the cuticle area.
2. Create the Gradient on the Sponge
Take your flat surface and paint two thick, horizontal stripes of your chosen nail polishes right next to each other. The lighter shade should be on top and the darker shade below. The stripes should slightly overlap where they meet. Now, take your makeup sponge and gently dab it directly onto the polish a few times to pick up the colour and help blend the line between the two shades.
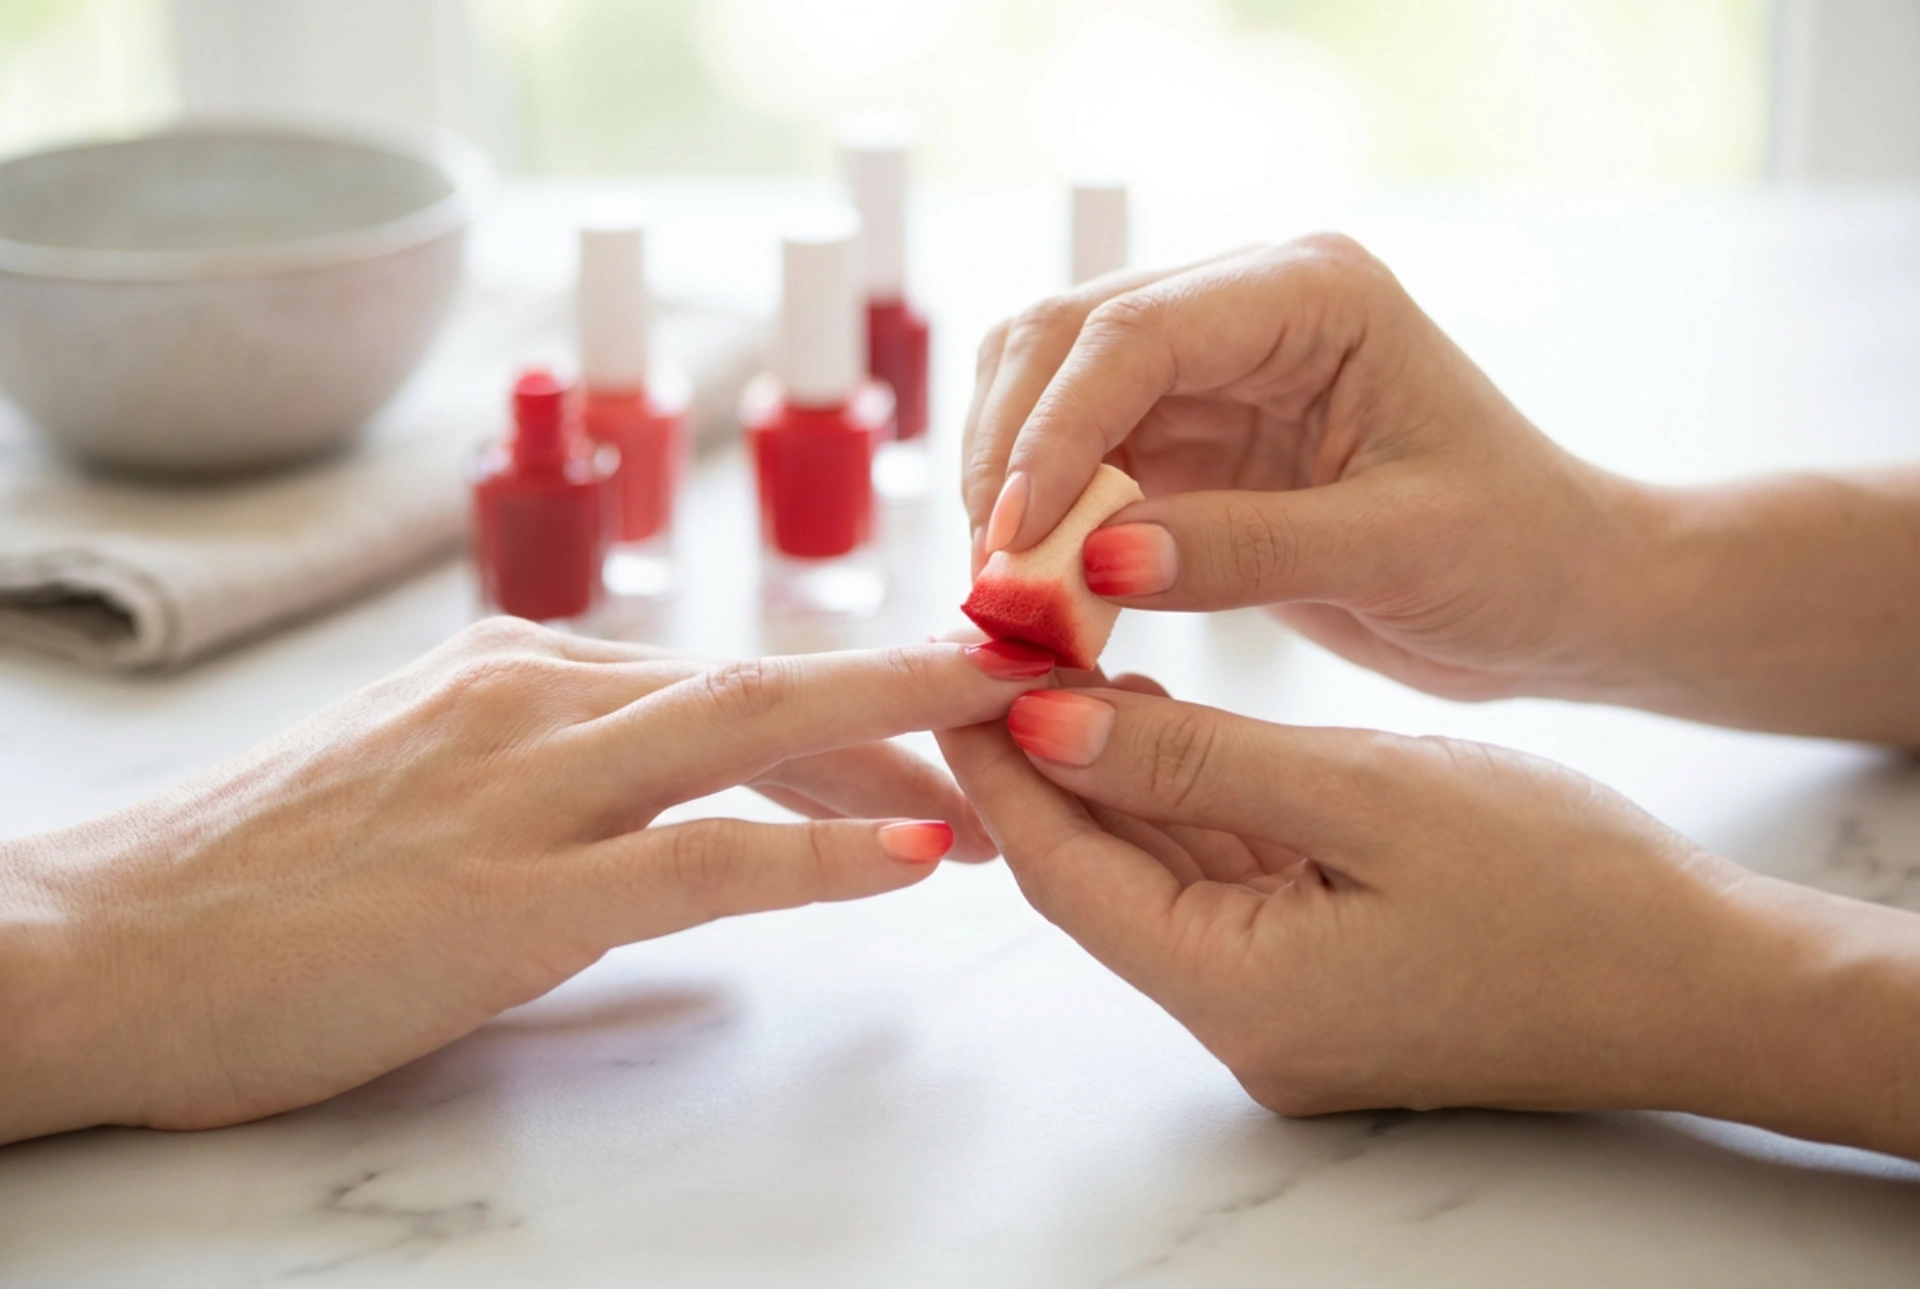
3. Apply the Gradient to Your Nails
Working quickly before the polish on the sponge dries, press and dab the sponge onto your nail. You can gently roll the sponge from side to side to help blend the colours further. The first layer might look a bit sheer; this is normal. Reapply the polish stripes to your mixing surface, dab the sponge again, and apply a second or even third layer to your nail until you achieve the desired opacity and blend. Repeat this process for all your nails. The skin around your nails will inevitably get covered in polish, but don't worry about it yet.
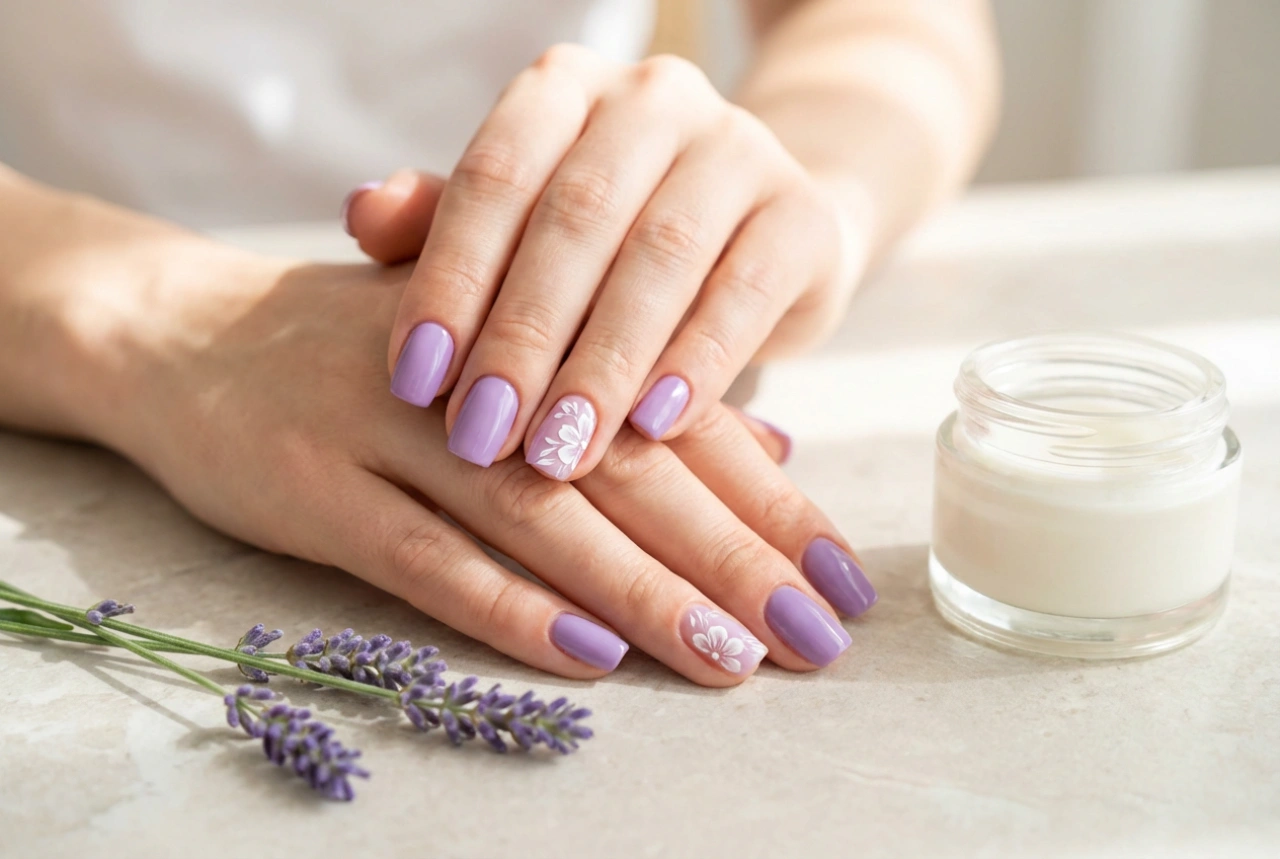
Finishing Touches and Aftercare
The final steps are what elevate your DIY manicure to a professional level. A clean finish and a protective top coat are non-negotiable for a perfect red ombre.
Once the ombre polish is completely dry to the touch, it's time to clean up. Dip a small brush or a cotton bud into nail polish remover and carefully trace around your cuticles and the sides of your nails to remove any excess polish from your skin. Take your time with this step for a crisp, neat outline. Once you're happy with the clean-up, apply a generous layer of a fast-drying, glossy top coat. This will not only protect your design and prevent chipping but also smooth out any texture left by the sponge, melting the colours together for a truly seamless gradient. To prolong the life of your manicure, reapply the top coat every two to three days and keep your cuticles hydrated with a nourishing oil.