


Achieving a salon-quality blowout at home is no longer a secret reserved for professional stylists. With a high-quality hair dryer and the right knowledge, you can transform your hair drying routine from a daily chore into a styling session that leaves your hair smooth, shiny, and perfectly coiffed. The key lies in understanding your tool's features, from its various settings to its essential attachments. This guide will walk you through how to master your professional hair dryer for faster, healthier, and more beautiful results every time.
Understanding Your Hair Dryer's Settings
Professional hair dryers come with multiple heat and speed options for a reason. Using them correctly is the first step towards protecting your hair from unnecessary heat damage and achieving your desired style. Customising the settings to suit your hair type and the stage of drying is crucial.
Heat Settings
Most dryers offer at least three heat levels: high, medium, and low. High heat is designed to remove significant moisture from very thick or coarse hair quickly. However, it should be used sparingly. Medium heat is the most versatile setting, ideal for the main drying process for most hair types. It provides effective drying without exposing the hair to extreme temperatures. Low heat is perfect for fine, delicate, or damaged hair. It is also the best choice for the final stages of styling when you need more control.
Speed Settings
Like heat, speed settings allow for a tailored approach. The high-speed setting is excellent for quickly removing excess water at the beginning of your routine, especially if you have a lot of hair. The low-speed setting offers more precision, making it ideal for styling. When you are working with a brush to smooth sections or create curls, a lower airflow prevents the hair from being blown around, reducing frizz and giving you greater control over the final look.
The Cool Shot Button
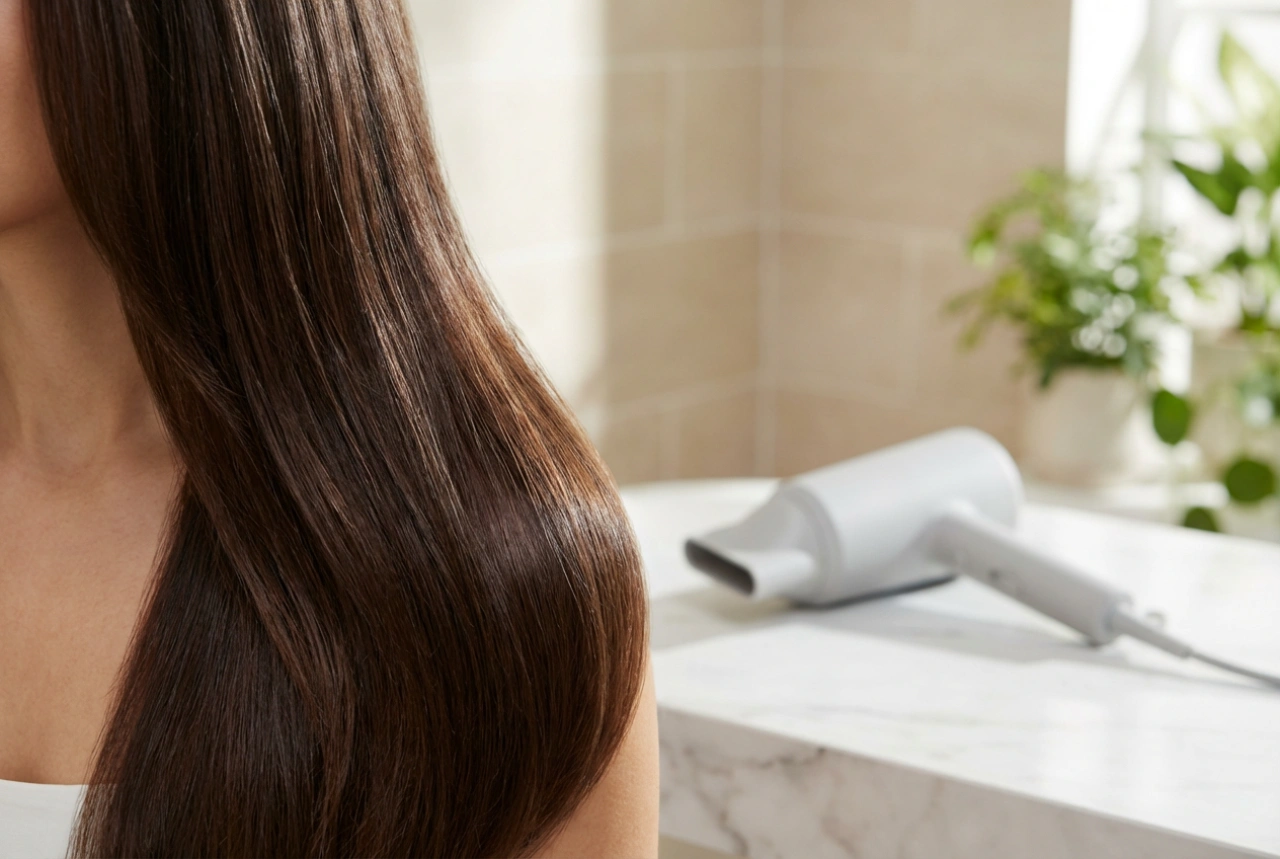
Often overlooked, the 'cool shot' button is a stylist's secret weapon. A blast of cool air at the end of drying a section of hair helps to rapidly cool it down and set the style in place. This process seals the hair's cuticle, which is the outermost layer of the hair shaft. A sealed cuticle lies flat, resulting in smoother hair that reflects more light, giving it a beautiful, healthy shine and helping your style last longer throughout the day.
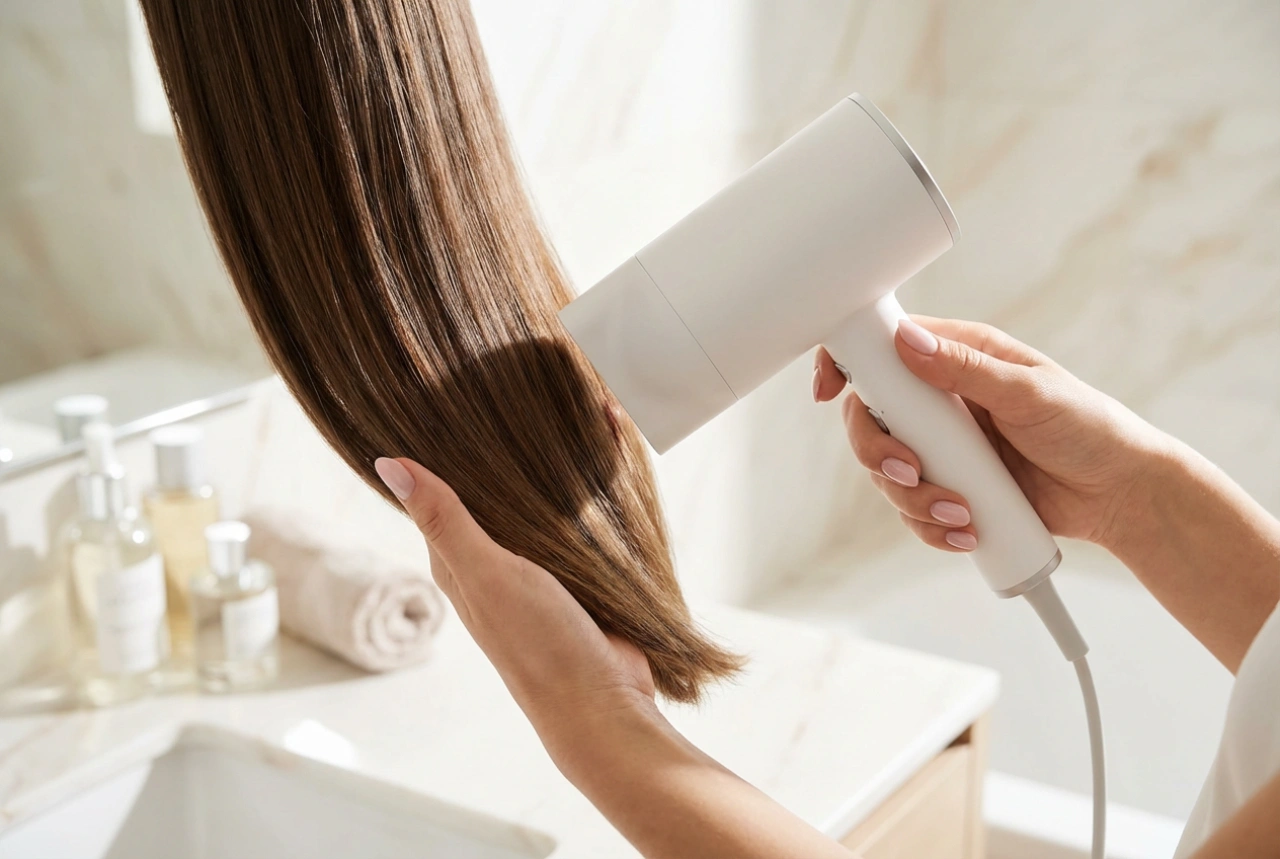
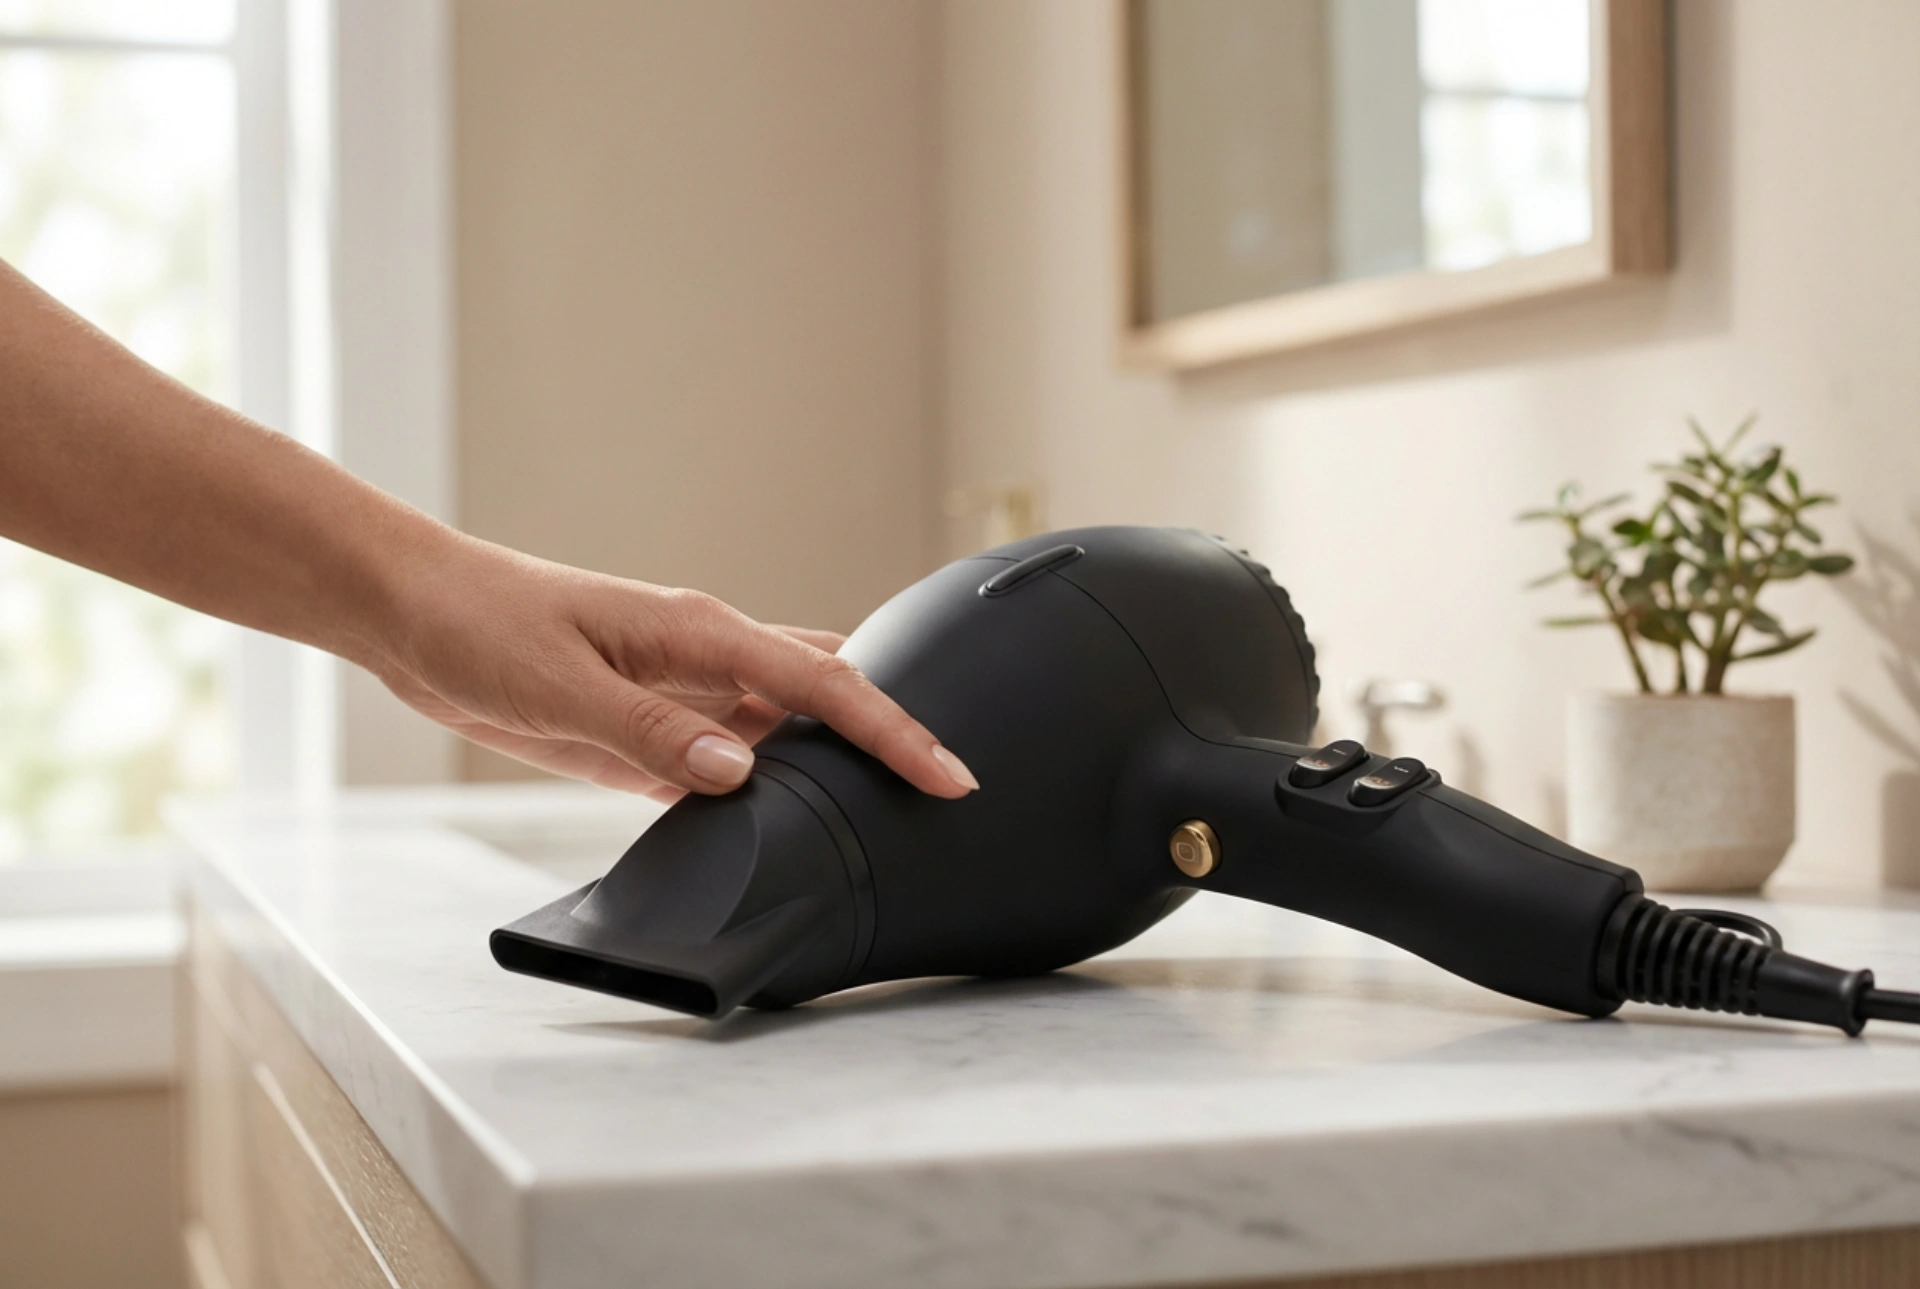
The Importance of the Concentrator Nozzle
That flat, narrow attachment that comes with your dryer is called a concentrator nozzle, and it is essential for a polished finish. Without it, the air blows out in a wide, unfocused stream, which can rough up the hair cuticle and create frizz. The concentrator focuses the airflow into a direct, controlled stream. This precision allows you to target specific sections of hair, directing heat and air exactly where you want it to go. For a smooth, sleek finish, always point the nozzle downwards along the hair shaft. This encourages the cuticles to lie flat, resulting in exceptionally smooth and shiny hair.
Mastering the Drying Technique
The right technique is just as important as the right tools. How you prepare and handle your hair during the drying process will make a significant difference to the final outcome and the long-term health of your hair.
Start with Damp, Not Soaking, Hair
Never begin blow-drying sopping wet hair. It takes much longer and exposes your hair to prolonged heat, increasing the risk of damage. Instead, gently towel-dry your hair first by squeezing out excess water—never rubbing, as this causes friction and frizz. Allow your hair to air-dry until it is about 70-80% dry before reaching for the hair dryer. This simple step dramatically cuts down on heat exposure.
Work in Manageable Sections
Drying your hair all at once is inefficient and leads to uneven results, with some parts over-dried and others still damp. Use clips to divide your hair into at least four to six manageable sections. By working on one section at a time, you ensure that each part is dried thoroughly and styled properly, giving you a much more professional and consistent result from root to tip.
Maintain Distance and Keep Moving
To prevent heat damage, always keep the hair dryer about 15-20 centimetres (6-8 inches) away from your hair. Holding it too close can scorch the hair strands. It is also vital to keep the dryer in constant motion. Never focus the heat on one spot for more than a few seconds. Continuously move the dryer over the section you are working on to distribute the heat evenly.
Adapting the Technique for Your Hair Type
Different hair types have different needs. For the best results, tailor your blow-drying method accordingly.
For Fine or Thin Hair
If you have fine hair, your main goal is often to create volume. Use a lower heat and speed setting to avoid overwhelming your delicate strands. Concentrate on lifting the roots as you dry. Flipping your head upside down to dry the roots can add instant lift and body.
For Thick or Coarse Hair
Thick hair can handle a higher initial heat setting to remove the bulk of the moisture. However, once you begin styling with a brush, switch to a medium heat setting for better control. Sectioning is non-negotiable for thick hair to ensure it dries evenly and thoroughly.