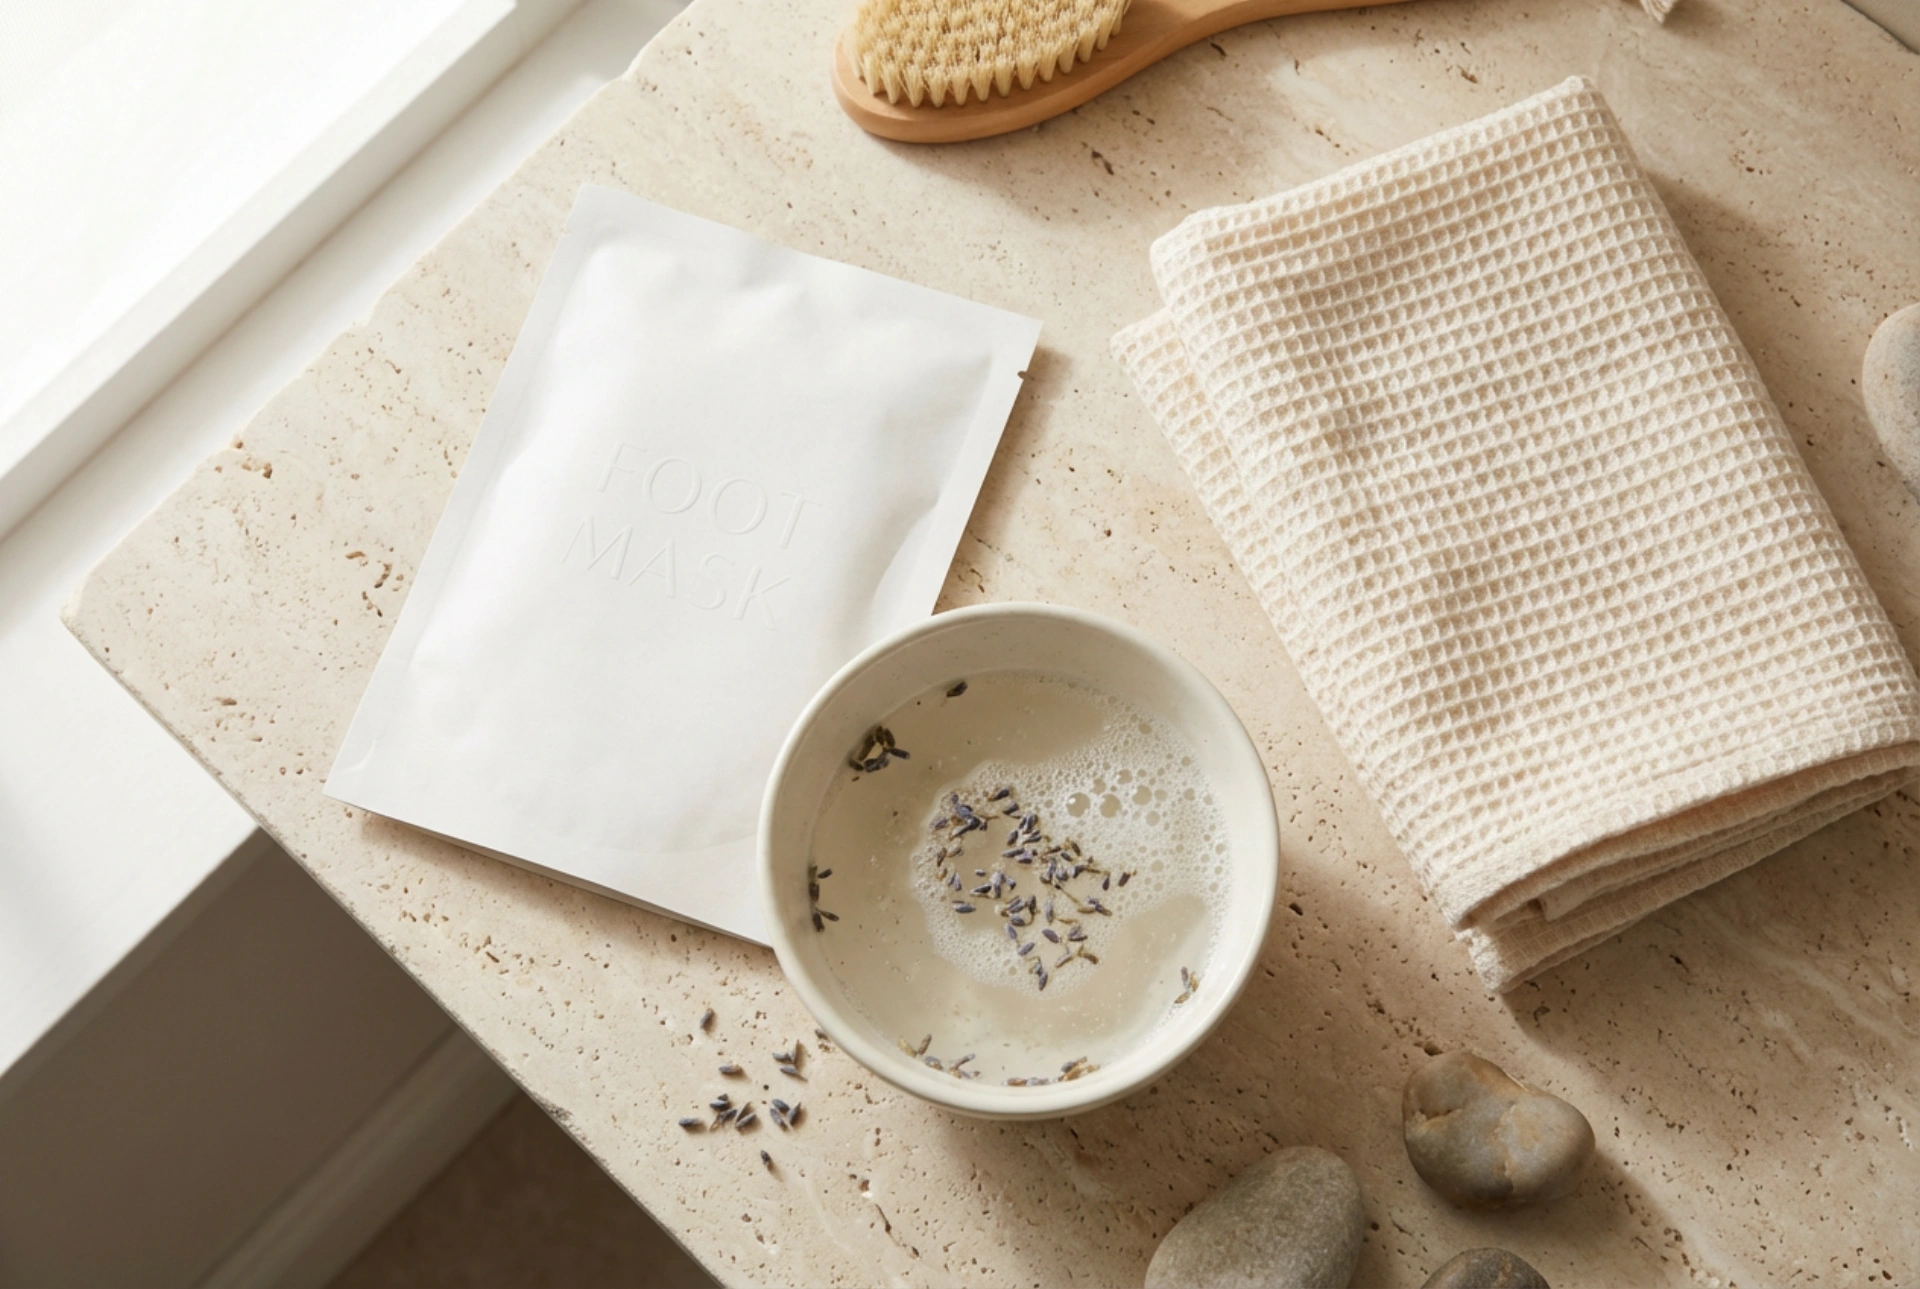


Achieving soft, smooth feet is a common beauty goal, yet our feet are often the most neglected part of our bodies. An exfoliating foot mask, sometimes called a foot peel, is a popular at-home treatment designed to gently remove layers of dead, dry skin and calluses, revealing the softer skin beneath. While the process requires a bit of patience, it offers a straightforward way to rejuvenate your feet. This guide will walk you through the essential steps of preparation, application, and aftercare to ensure you get the best possible results from your foot treatment.
How Does an Exfoliating Foot Mask Work?
Exfoliating foot masks utilise a blend of mild acids, such as alpha-hydroxy acids (AHAs) and beta-hydroxy acids (BHAs), suspended in a liquid or gel. These ingredients work by penetrating the outermost layer of the skin, the stratum corneum, which is primarily composed of dead skin cells. The acids gently break down the proteins that act as 'glue' holding these cells together. This process doesn't produce immediate results; instead, it triggers a natural shedding process that begins several days after the treatment. Over the course of a week or two, the old, hardened layers of skin will start to peel and flake away, revealing the smoother, newer skin underneath without the need for harsh scrubbing or scraping.
Preparing Your Feet for the Treatment
Proper preparation is crucial for the mask to work effectively and safely. Taking a few preliminary steps will enhance the penetration of the active ingredients and help you avoid potential irritation.
Cleansing and Soaking
Begin with clean feet. Wash them thoroughly with a mild soap and water to remove any surface dirt or oils. The most important preparatory step is to soak your feet in warm water for about 15-20 minutes. This helps to soften the tough, calloused skin, allowing the exfoliating solution to absorb more deeply and evenly. After soaking, be sure to pat your feet completely dry with a soft towel, paying attention to the areas between your toes.
The Importance of a Patch Test
Before committing to a full application, it is highly recommended to perform a patch test. This is especially important if you have sensitive skin or are using a particular product for the first time. Apply a small amount of the exfoliating liquid to a discreet area on your foot, such as the top of your foot or the arch. Leave it for the recommended application time, rinse it off, and wait for 24-48 hours. If you experience no signs of excessive redness, itching, or irritation, you can proceed with the full treatment.
Step-by-Step Application Guide
Most exfoliating foot masks come in the form of plastic 'booties' or 'socks' that you wear for a set period. Always read and follow the specific instructions included with your chosen product, as timings can vary. The general process is as follows:
- Step 1: Open the packaging and carefully separate the two booties. If the exfoliating liquid comes in a separate sachet, pour the contents evenly into each bootie before wearing.
- Step 2: Gently slide one foot into each bootie. Ensure your feet are comfortably positioned inside and that the solution is in contact with the soles and sides of your feet.
- Step 3: Use the adhesive tabs provided to secure the booties around your ankles. This prevents the liquid from leaking and keeps the booties in place.
- Step 4: For a snugger fit and to help keep the solution in close contact with your skin, you can wear a pair of regular cotton socks over the plastic booties.
- Step 5: Relax and leave the mask on for the duration specified in the product's instructions, which is typically between 60 and 90 minutes. It's best to remain seated and elevate your feet during this time to avoid walking around and potentially slipping.
- Step 6: Once the time is up, carefully remove the booties and discard them. Thoroughly rinse your feet with warm water to remove all residual solution, and pat them dry. Do not apply any moisturiser at this stage.
What to Expect and Essential Aftercare
The experience doesn't end when you rinse the mask off. The most significant part of the process—the peeling—is yet to come, and proper aftercare is key to a smooth and satisfactory outcome.
The Peeling Process
Do not expect to see immediate peeling. The skin shedding process typically begins 3 to 7 days after the initial treatment. Your feet may feel dry during this waiting period. Once it starts, the skin on your soles and toes will begin to flake and peel, sometimes in large sheets. This can look quite dramatic, but it is a normal and expected part of the process. The entire peeling phase usually lasts for about one to two weeks.
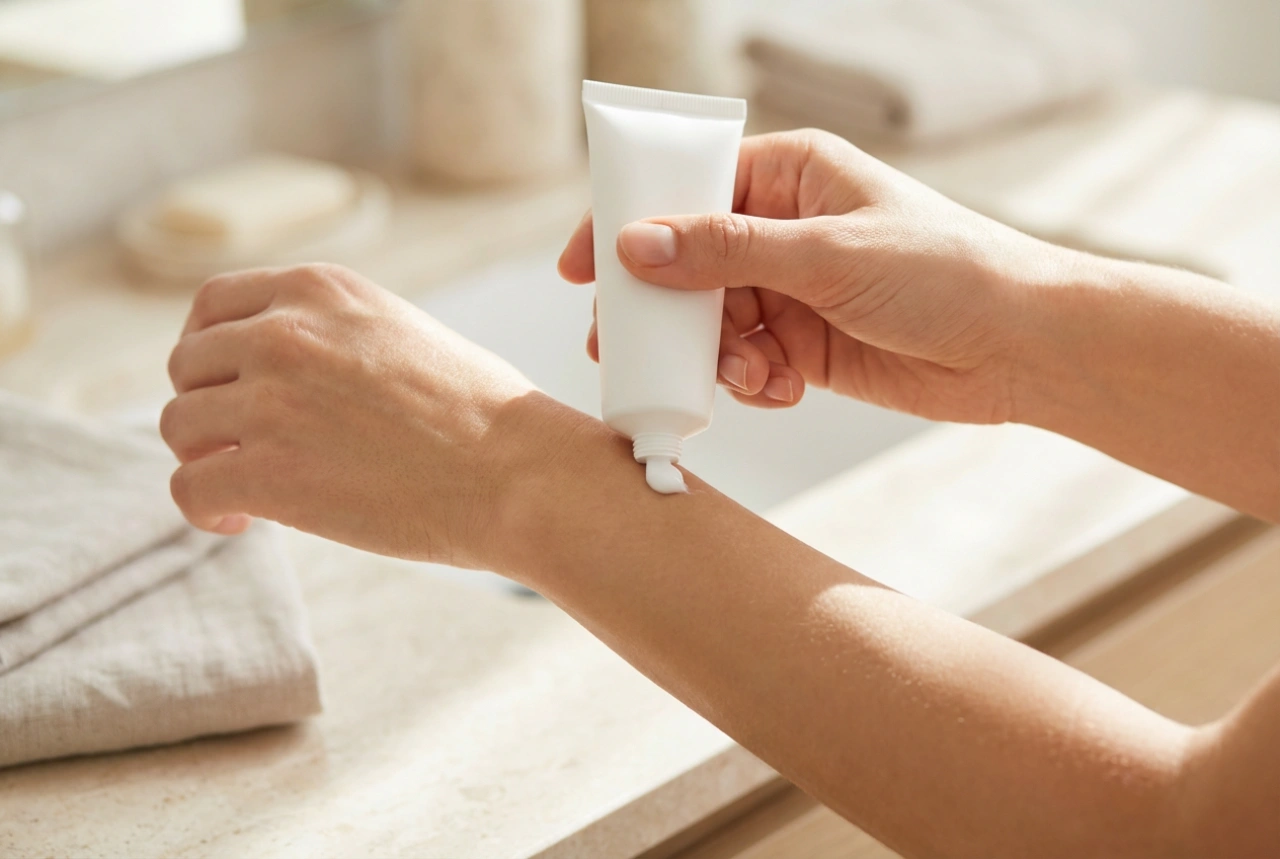
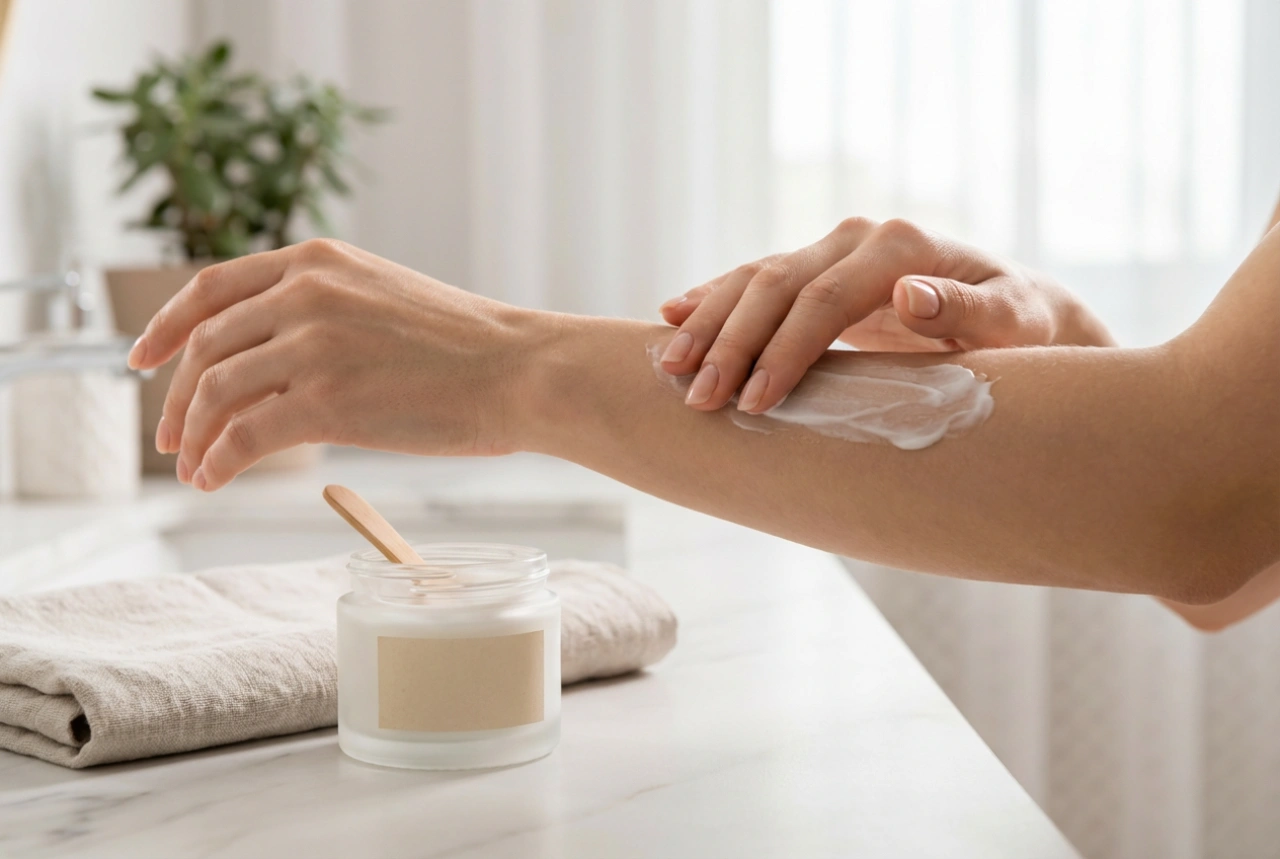
Post-Treatment Care
To manage the peeling phase, follow these simple guidelines. Soaking your feet in warm water for 10-15 minutes each day can help to gently encourage and speed up the shedding process. The most important rule is to resist the urge to pick, pull, or scrub at the peeling skin. Forcibly removing it can damage the new, delicate skin underneath and lead to soreness or irritation. Let the skin shed naturally. Also, avoid using any foot creams, lotions, or moisturisers during the peeling period, as this can interfere with the process. Once the peeling has completely stopped and all the dead skin has come away, you can begin a regular moisturising routine to keep your newly revealed soft feet hydrated and smooth.