

Achieving a salon-quality, long-lasting manicure at home is a refined ritual that combines precision with the right technique. The secret to flawless, durable nails isn't just in the polish itself, but in the careful preparation and application process. By following a structured, step-by-step method, you can significantly extend the life of your manicure, preventing chips and maintaining a vibrant shine. This guide will walk you through each essential stage, from preparing the nail plate to the final protective top coat.
The Crucial First Step: Nail Preparation
Before you even think about opening a bottle of polish, proper nail preparation is paramount. A clean and well-prepared canvas ensures better adhesion and a smoother finish. Rushing this stage is often the primary reason for a manicure that chips quickly.
Key Preparation Actions:
- Clean the Nails: Start by removing any old polish thoroughly. Wash your hands and ensure your nails are completely dry. Any moisture or oil on the nail surface will prevent the polish from adhering correctly.
- Shape and File: Gently file your nails to your desired shape. Always file in one direction to avoid weakening the nail and causing splits. A smooth edge is less likely to snag and chip.
- Cuticle Care: Soften your cuticles with a specialised remover or by soaking your fingertips in warm water for a few minutes. Then, gently push them back with a wooden or rubber-tipped cuticle pusher. Avoid cutting your cuticles, as they serve as a protective barrier against external factors.
- Buff the Surface: Lightly buff the surface of your nails with a fine-grit buffer. This creates a slightly textured surface for the base coat to grip onto, but be gentle to avoid thinning the nail.
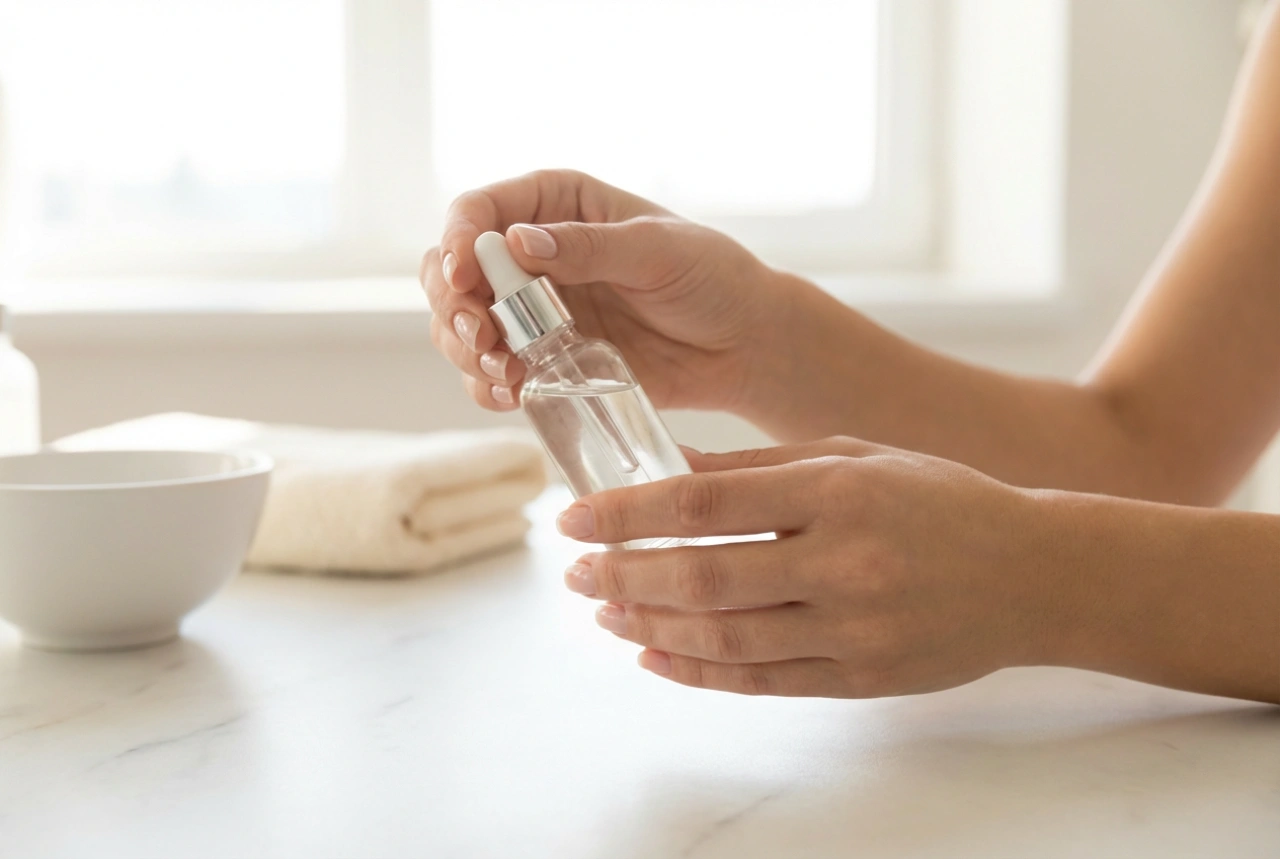
- Degrease the Plate: The final and most important preparation step is to wipe each nail with a lint-free pad soaked in a nail degreaser or isopropyl alcohol. This removes all residual oils and debris, creating the perfect surface for your manicure.
The Foundation: Applying the Base Coat
A base coat is a non-negotiable step for a durable manicure. It acts as a double-sided adhesive, sticking to your natural nail on one side and gripping the coloured polish on the other. It also provides a protective barrier, preventing dark pigments from staining your nails and helping to create an even surface for the colour application.
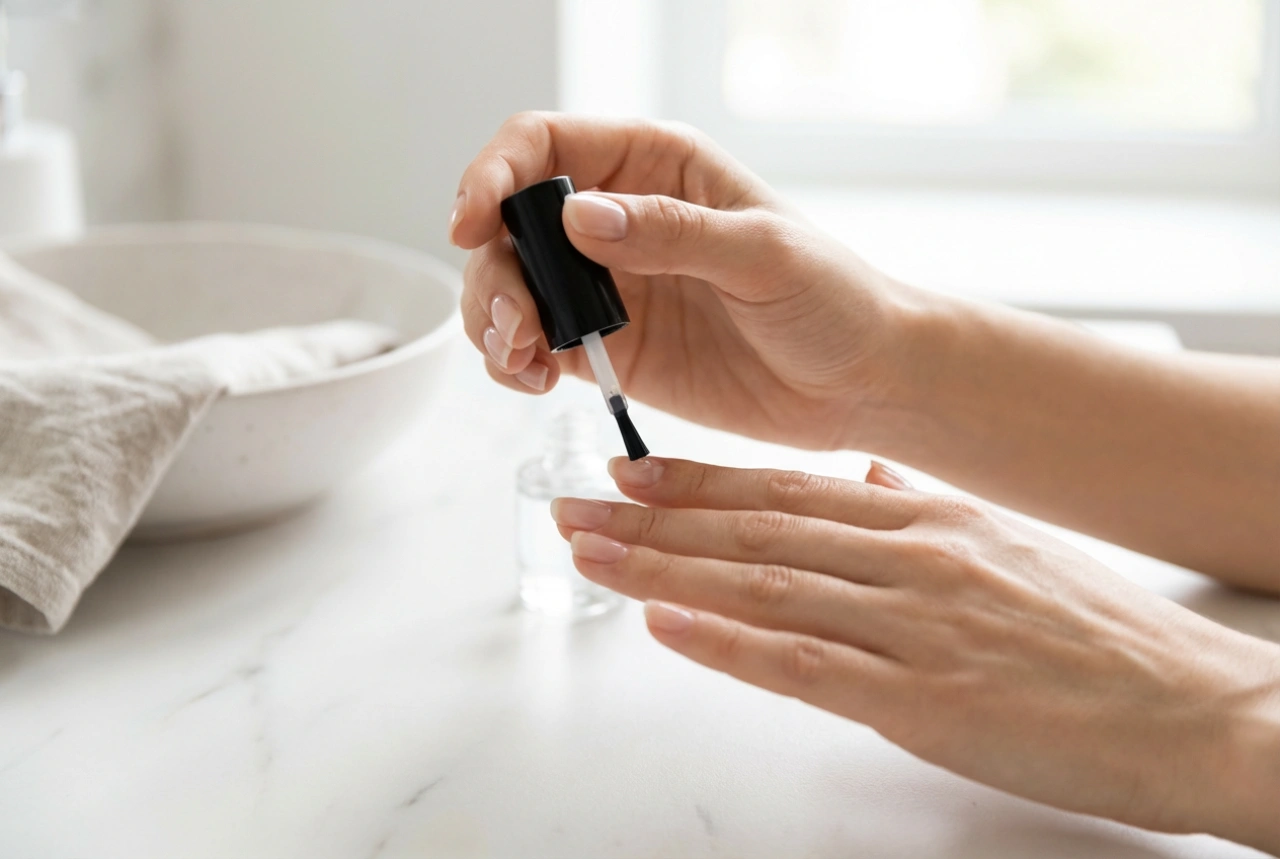
Apply one thin, even layer of base coat to each nail, starting from the cuticle and moving towards the tip. Be sure to cover the entire nail plate. Allow it to dry completely before proceeding to the next step; this usually takes one to two minutes. Patience here is key.
The Art of Colour Application
When it comes to applying the coloured polish, the mantra is 'thin to win'. Two or three thin coats are far superior to one thick, goopy layer. Thick coats take much longer to dry, are prone to bubbling, and chip more easily.
The Three-Stroke Technique:
- Wipe one side of the brush on the neck of the bottle to remove excess polish.
- Place the brush in the centre of your nail, slightly away from the cuticle. Gently push back towards the cuticle, leaving a tiny gap.
- Pull the brush in a straight line down to the tip of the nail.
- Return to the base of the nail and sweep the brush down the left side.
- Repeat on the right side to cover the entire nail.
Let the first coat dry for at least two to three minutes, or until it is dry to a light touch. Then, apply a second thin coat using the same technique. This second layer will provide full opacity and a rich, even colour. If the polish is very sheer, you may need a third coat.
The Final Seal: The Top Coat
The top coat is the armour for your manicure. It seals in the colour, provides a high-gloss or matte finish, and creates a durable shield that protects against chips, scratches, and daily wear and tear. Wait until your final colour coat is sufficiently dry before applying the top coat to avoid smudging.
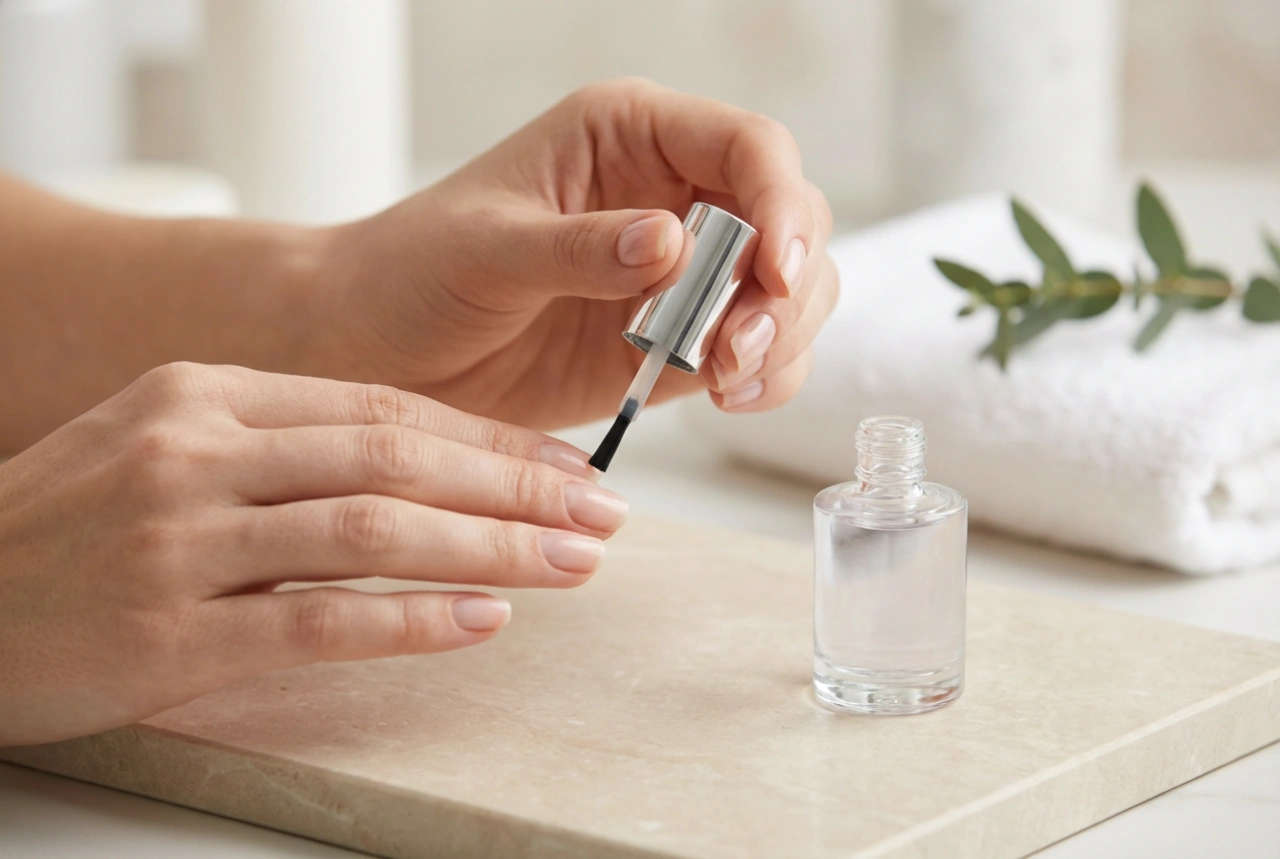
Apply one even layer of top coat over the entire nail. For maximum protection, be sure to 'cap the free edge'. This involves running the brush horizontally along the very tip of your nail. This simple action seals the most vulnerable part of the manicure and can dramatically reduce chipping. Allow your manicure to dry completely. While some top coats dry quickly, it's best to avoid any strenuous activity with your hands for at least an hour to allow all layers to harden fully.