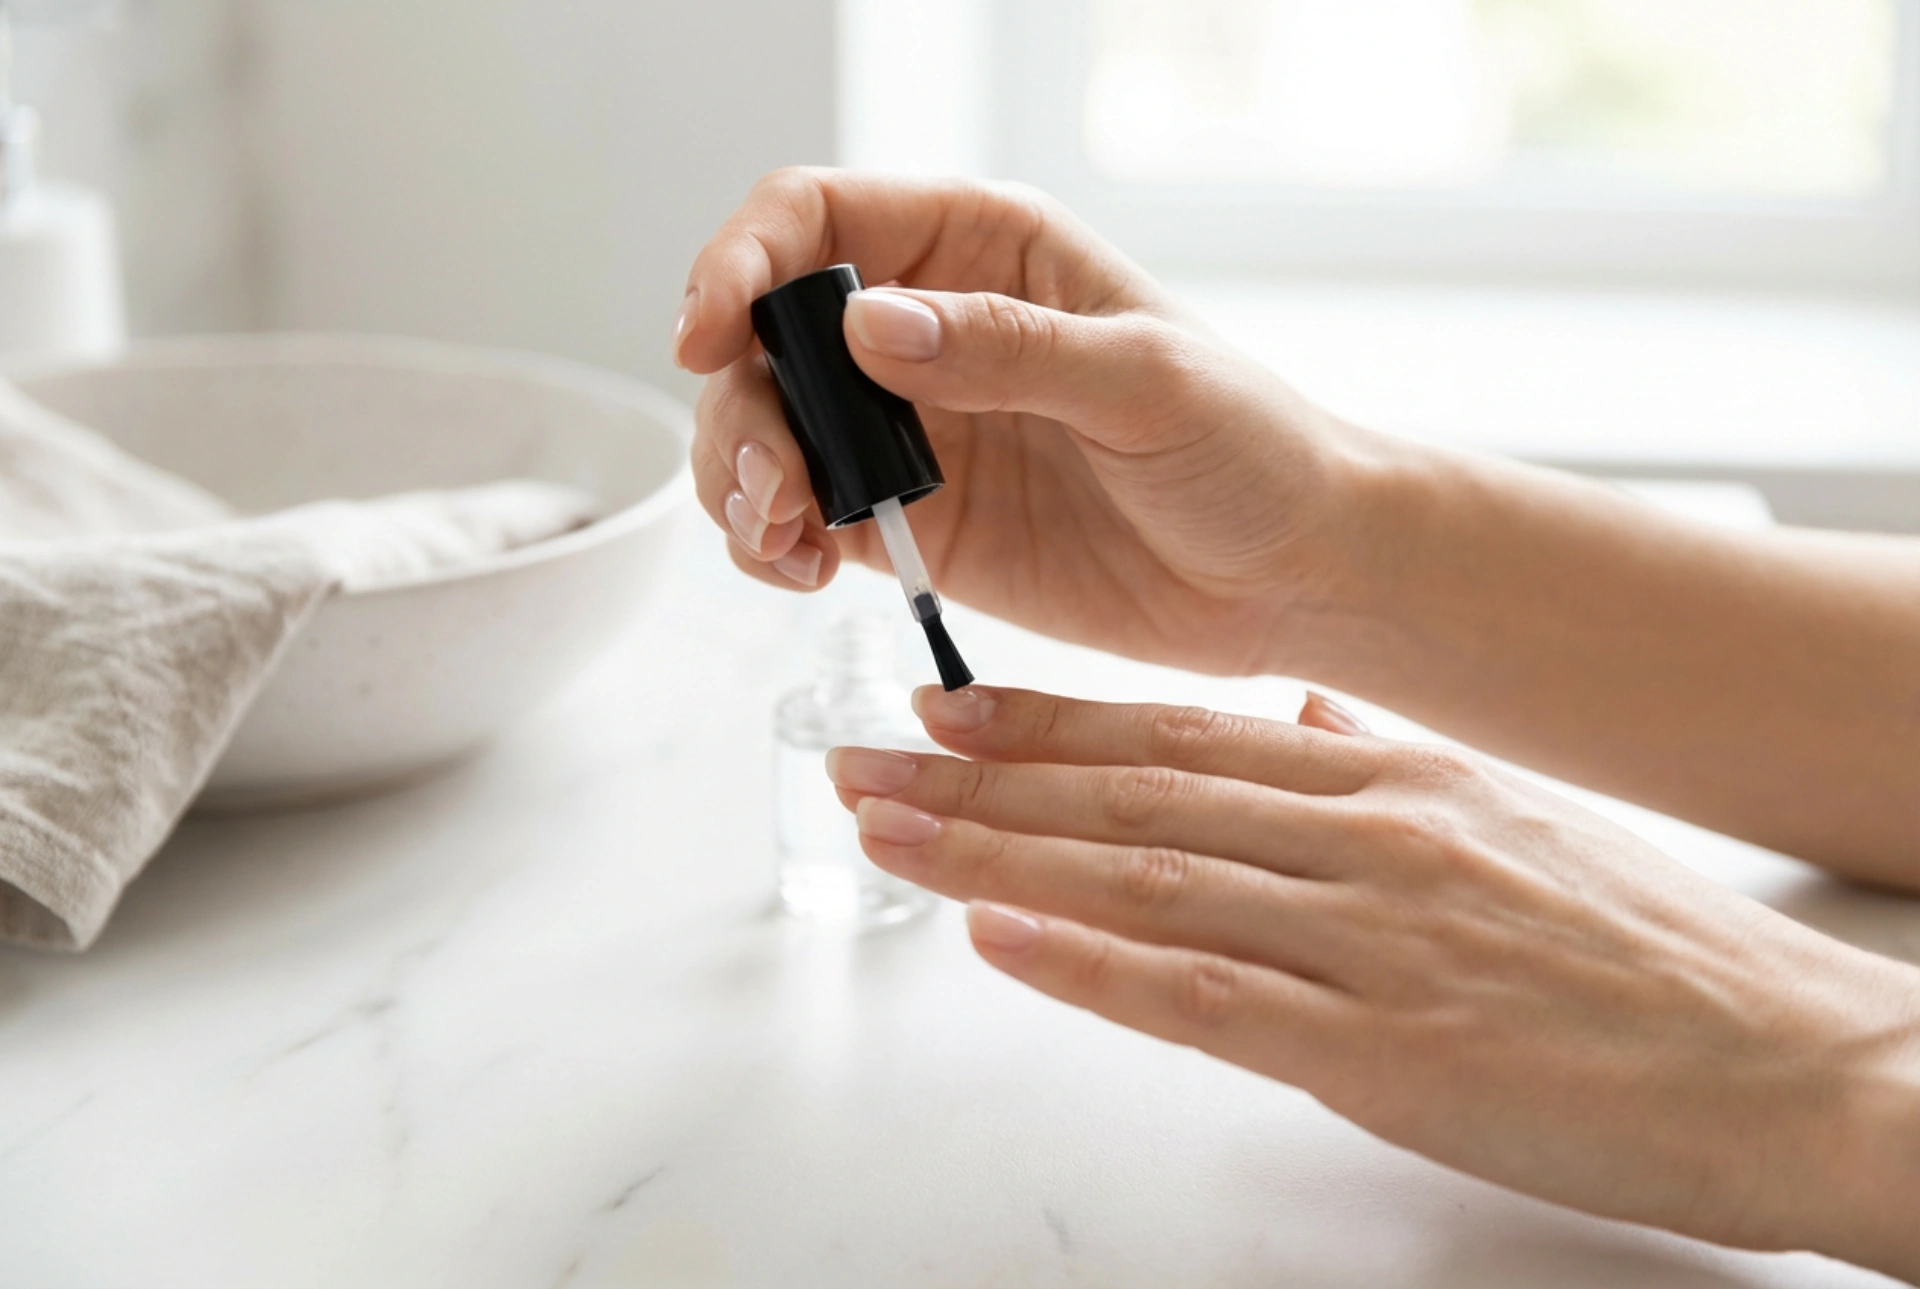


An elegant, precise manicure starts with a flawless foundation. When looking at professional nail care, the application of a clear base coat is the defining step that ensures longevity and aesthetic perfection. Applying the product with absolute precision, keeping the brush tip just hovering above the nail plate to avoid touching the surrounding skin, is an art that anyone can master at home. Understanding your tools and the products you use is key to achieving a clean, modern look that lasts for weeks.
Understanding the Different Types of Gel Polish Base Coats
Not all base coats are created equal. The modern beauty market offers various formulations designed to address different nail needs and styling goals. Selecting the right one is crucial for the durability of your manicure.
Classic Gel Base Coat
This is the standard, thin-consistency formula. It is perfect for healthy, hard, and naturally smooth nail plates. It creates a thin, flexible adhesive layer between the natural nail and the colour coat, ensuring minimal thickness and a very natural look.
Rubber Base Coat
Characterised by its high elasticity and medium-to-thick consistency, the rubber base is ideal for flexible, thin, or brittle nails. It works in harmony with the natural movement of the nail plate, preventing mechanical cracking and chipping.
Building and Fiber Base Coats
These formulas are enriched with strong synthetic fibres or thicker polymers that allow for slight extensions, strengthening, and levelling of uneven nail plates. They are excellent for repairing minor imperfections or reinforcing naturally weak nails that require extra support.
How to Match the Base Coat to Your Nail Plate
Choosing the wrong base coat is one of the most common reasons why gel manicures lift or peel prematurely. To find your perfect match, you must first assess the condition of your nails:
- For strong, hard nails: A classic, thin base coat will suffice, keeping the manicure lightweight and flexible.
- For soft, bending nails: A rubber base coat provides the necessary flexibility to bend along with the nail without losing adhesion.
- For bumpy or uneven plates: A building base allows you to self-level the surface, creating a smooth reflection of light before applying colour.
- For brittle, splitting nails: A fibre-infused base offers maximum structural support, acting as a protective shield against splits.
Step-by-Step Guide to Precise Base Coat Application
Perfect preparation and careful application technique are the secrets to a long-lasting manicure that looks like it was done in a high-end salon. Follow these essential steps to achieve a flawless finish:
Preparation of the Nail Plate
Before any product touches your nail, the plate must be thoroughly cleaned, shaped, and dehydrated. Gently push back the cuticles using a wooden stick, remove any invisible dead skin from the nail surface, and lightly buff the shine away with a soft buffer. Cleanse the plate with a dehydrating solution to remove oils and dust.
Controlling the Amount of Product
One of the most frequent mistakes is using too much product. Wipe the brush against the neck of the bottle so that only a small drop remains on one side of the brush. It is always better to apply two paper-thin layers than one thick, uncontrollable layer.
The Application Technique
Place the brush in the centre of the nail plate, slightly away from the cuticle line. Gently push the brush towards the cuticle, stopping about a millimetre before the skin. Then, pull the brush down towards the free edge in a smooth, fluid motion. Paint the sides of the nail with the remaining product, ensuring the entire plate is covered without touching the lateral nail folds.
Pro Tips to Avoid Flooding the Cuticles
Flooding the cuticles not only looks untidy but also causes the gel polish to lift within days as the nail grows. To prevent this, implement these professional habits into your routine:
First, always work with good lighting. Soft, bright, natural-looking light helps you clearly see the boundary between the nail plate and the surrounding skin. Second, control your hand position. Tilt your finger downwards so that gravity naturally pulls any excess product away from the cuticle area towards the free edge of the nail.
If you accidentally touch the skin, do not cure the nail immediately. Use a clean wooden stick or a precise brush dipped in a small amount of cleanser to wipe away the excess product before placing your hand under the lamp. Taking this extra moment ensures a clean, professional, and durable result.