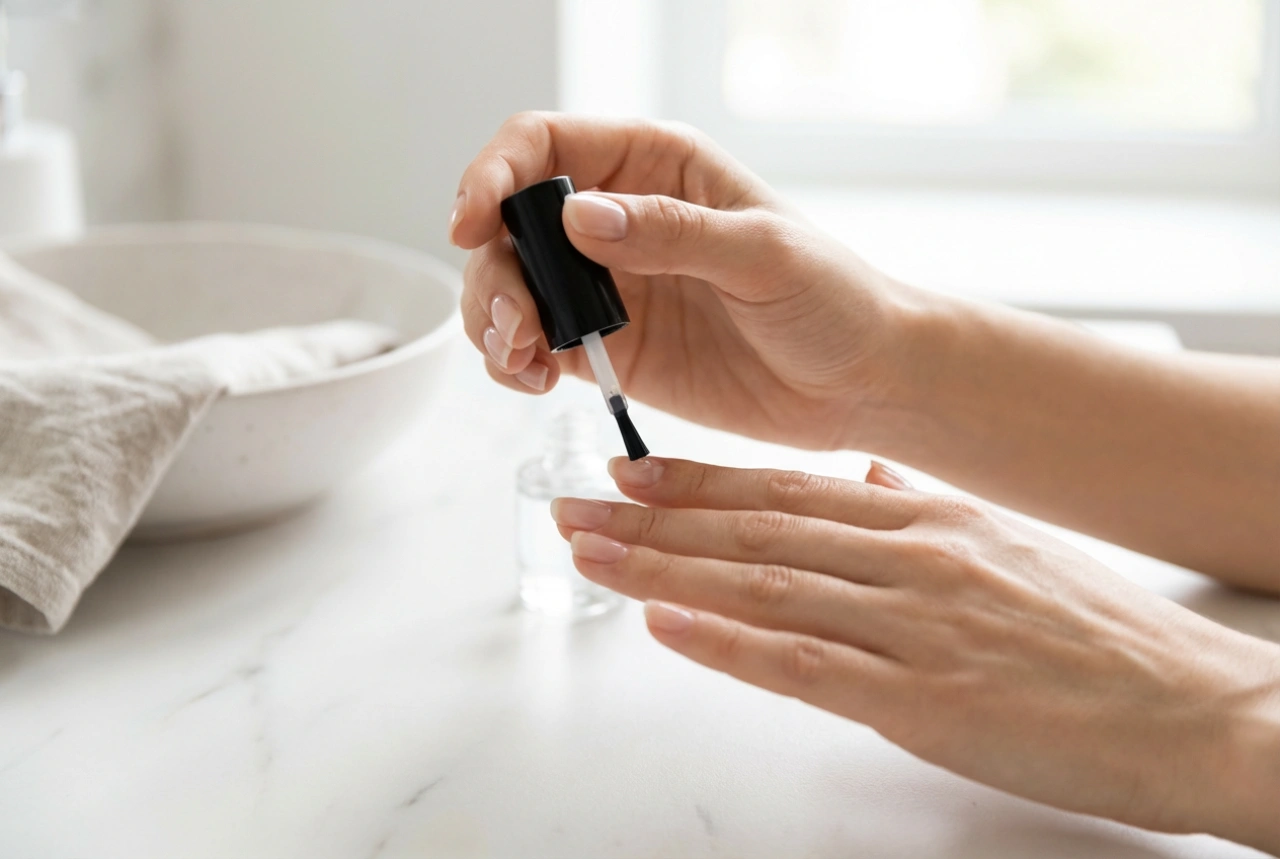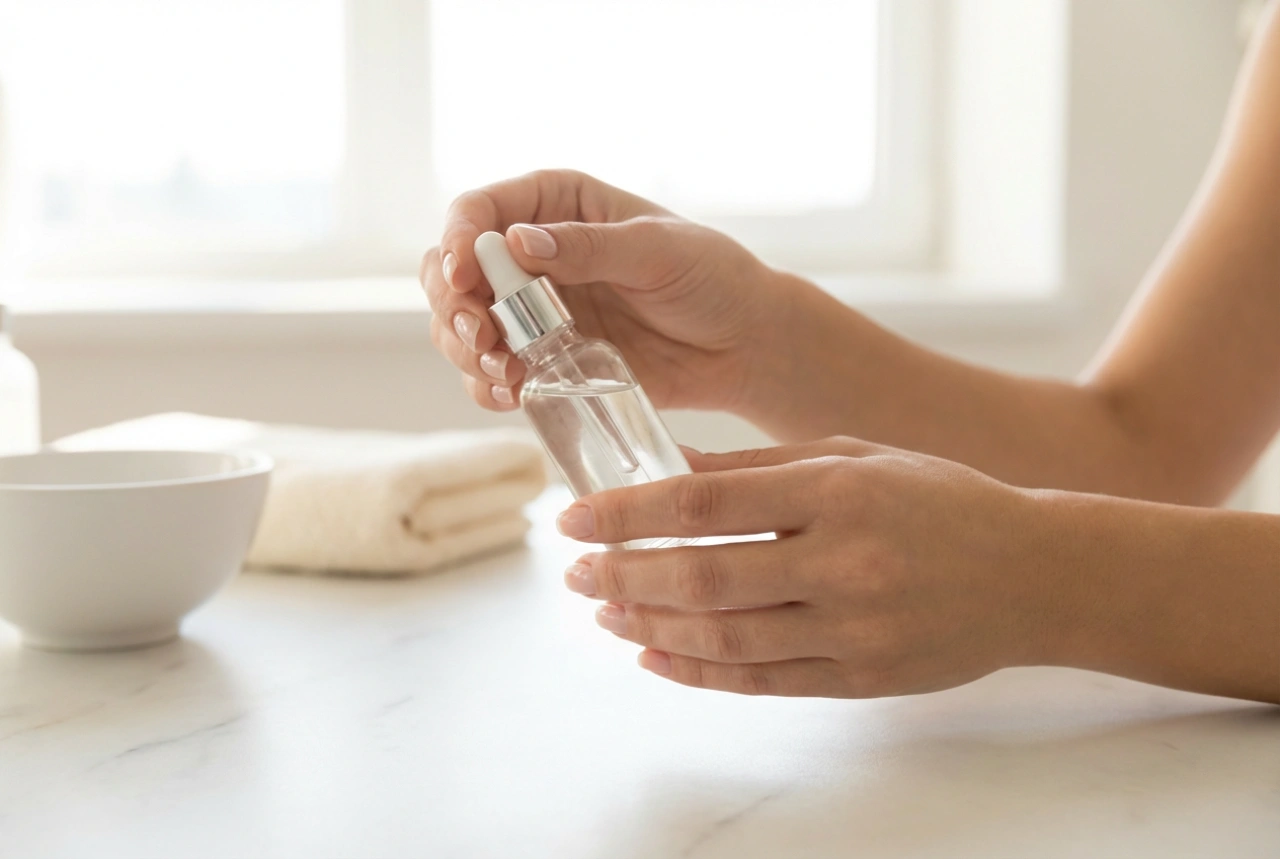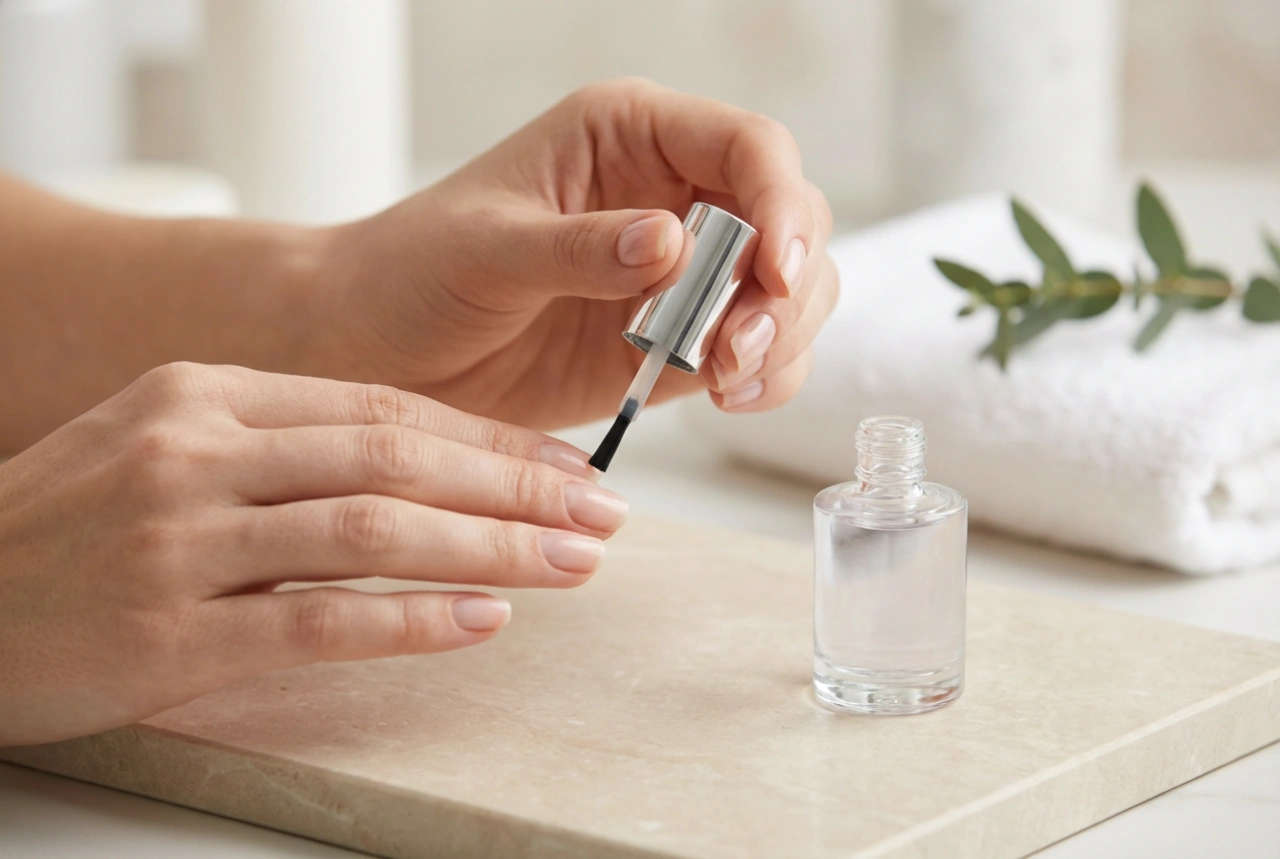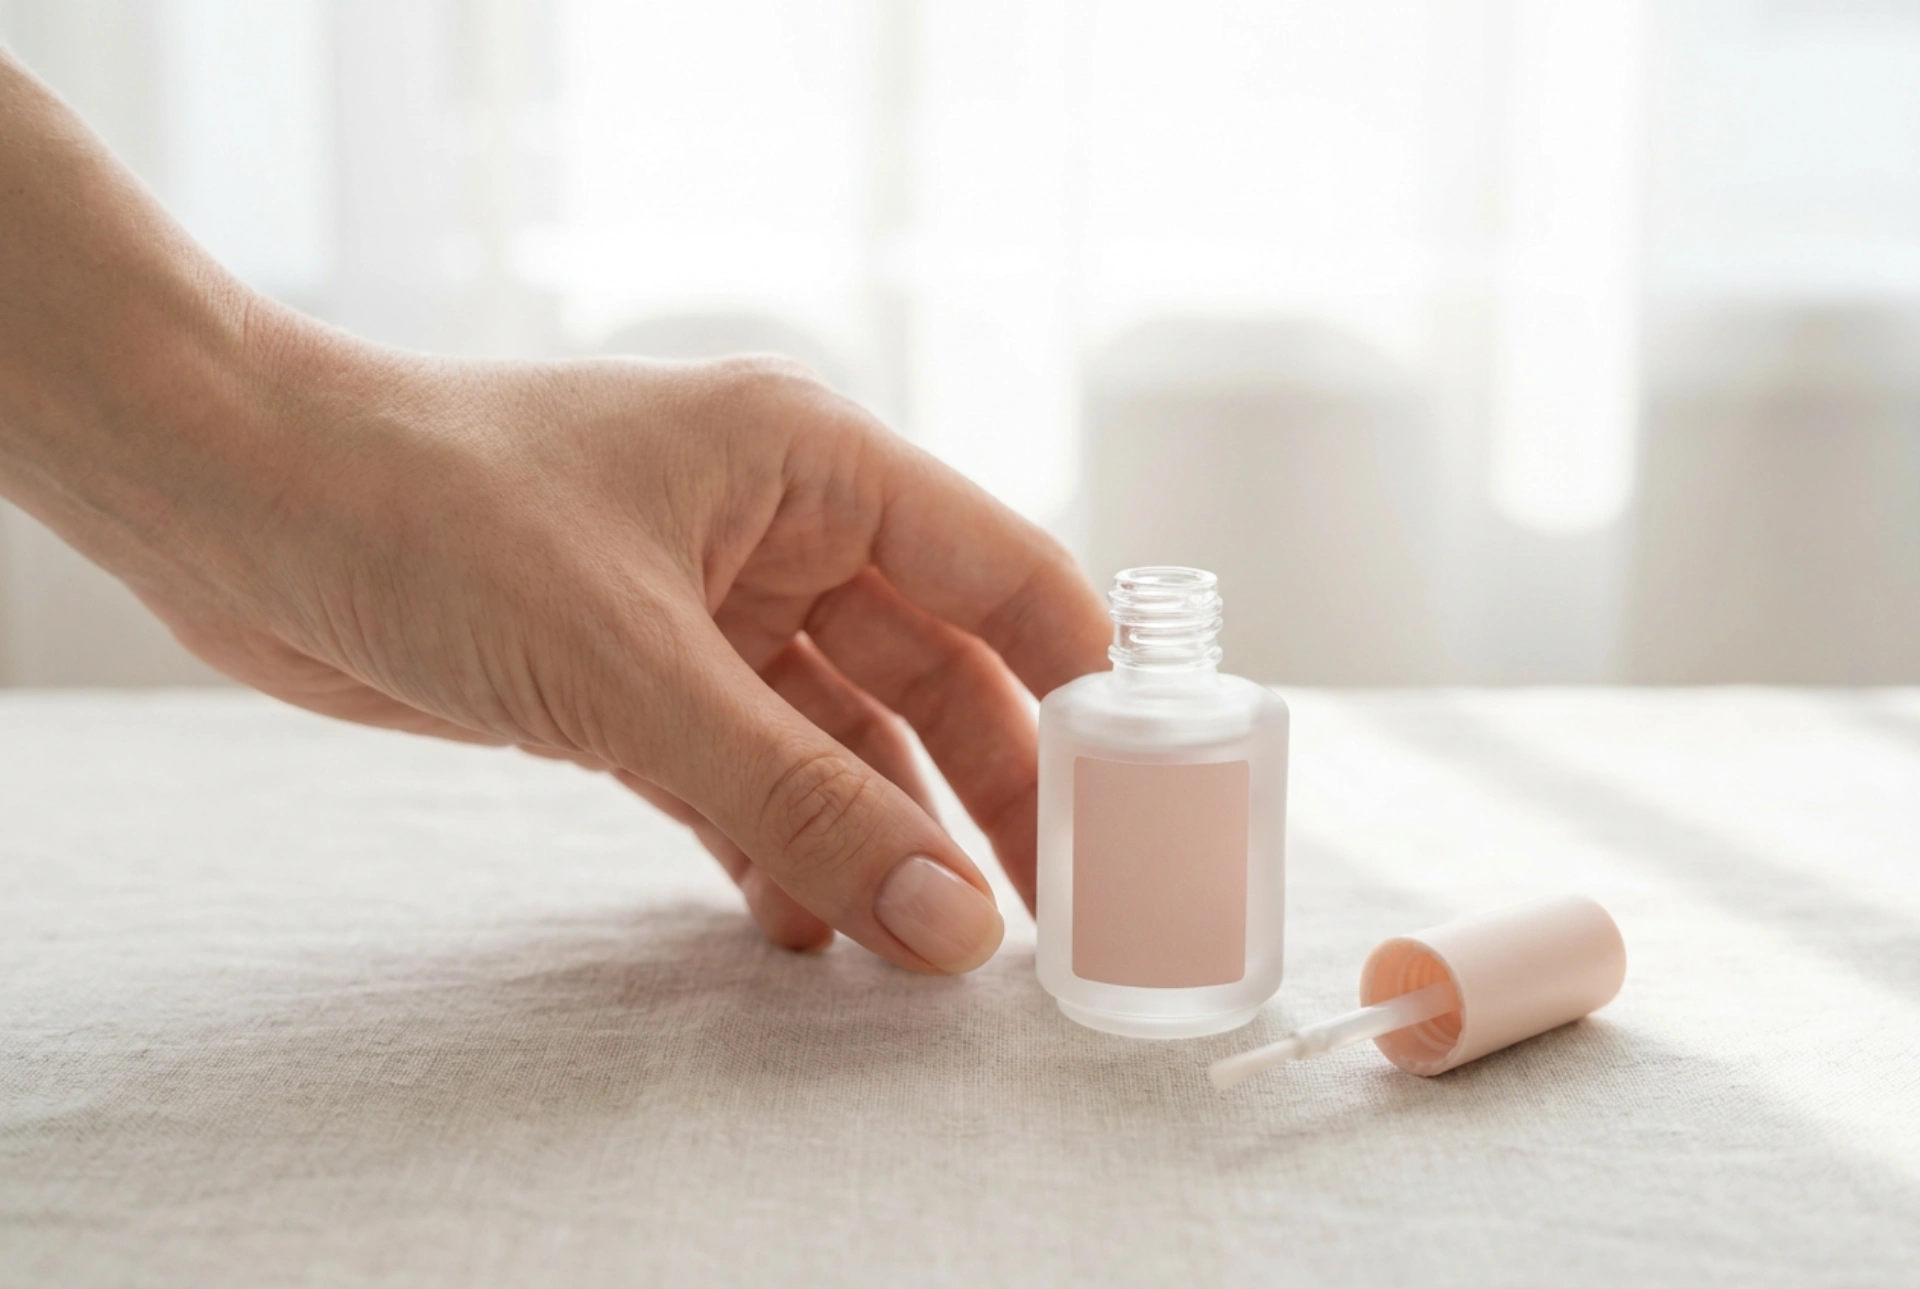


Achieving a flawless, long-lasting manicure at home requires meticulous preparation. In the quiet glow of natural light, holding a minimalist brush and preparing the nail plate is a satisfying ritual. While many focus on selecting the perfect gel polish shade, the secret to longevity lies in the base layers. A nail primer is one of the most crucial yet frequently misunderstood products in nail care. Understanding when to use it and how to apply it correctly can elevate your manicure from a temporary polish to a durable, professional-looking finish.
Understanding the Role of a Nail Primer
A nail primer acts as a double-sided adhesive between the natural nail plate and the subsequent base coat. Its primary function is to dehydrate the nail plate, strip away residual oils, and alter the pH level of the nail surface to ensure optimal adhesion. Without this step, natural oils and moisture can become trapped under the gel, leading to premature lifting, peeling, or chipping. There are two main types of primers used in home manicure routines: acid-free and acid-based.
Acid-Free vs. Acid Primers: Choosing the Right Option
Selecting the right primer depends heavily on your unique nail plate characteristics. Most enthusiasts benefit from knowing the distinct differences between these two formulations:
- Acid-Free Primer: This is the most common and versatile choice for everyday home manicures. It works like double-sided tape, creating a sticky layer that chemically bonds the natural nail to the gel base coat. It is gentle on the nail plate and ideal for normal, dry, or slightly weak nails.
- Acid Primer: Containing a higher concentration of active ingredients, this type is designed for problematic nails that are naturally oily or have severe adhesion issues. It deeply dehydrates the nail plate. Unlike the acid-free variant, it dries completely matte and does not leave a sticky residue.
Step-by-Step: How to Apply Primer in a Thin Layer
Correct application is vital. Applying too much product is a common mistake that can actually cause the gel polish to lift rather than adhere. Follow these steps for a perfect application:
- Preparation: Begin by shaping your nails, gently pushing back the cuticles, and buffing the surface with a fine-grit buffer to remove shine. Wipe the dust away with a lint-free wipe soaked in a gentle prep solution.
- Wiping the Brush: Open the bottle and thoroughly wipe the brush against the neck of the bottle. You need an incredibly small amount of liquid. The brush should look almost dry before it touches your nail.
- The Dabbing Method: Place the brush near the centre of the nail plate and let the product spread naturally. For an acid-free primer, apply it in thin, sparse strokes, avoiding the cuticles and skin. For an acid primer, apply a tiny drop to the centre of the nail; it will quickly spread across the surface on its own.
- Drying Time: Allow the primer to dry. Acid-free primers will remain slightly shiny and tacky—do not touch this layer. Acid primers will turn chalky white and completely matte within 30 to 60 seconds, indicating they are dry and ready for the base coat.
Common Mistakes and How to Avoid Them
Even with the right tools, minor errors can compromise your manicure. One major error is flooding the cuticles. Nail primer should never come into contact with the surrounding skin, as it can cause irritation and lead to product lifting at the edges. Always maintain a tiny gap between the product and your cuticle line. Another mistake is applying the base coat too quickly. Ensure the primer has fully bonded and dried according to its type before proceeding. Lastly, remember that a primer is not a substitute for a thorough physical nail prep; buffing and dehydrating are still essential steps in the process.