

Achieving a salon-quality manicure that lasts is a goal for many beauty enthusiasts. The secret often lies not just in the colour polish but in the foundation you create. A crucial component for a durable and flawless finish is the base coat, and one type that has gained significant popularity is the rubber base. Its unique properties can help address common nail issues and extend the life of your manicure. Understanding what it is and how to use it correctly is key to unlocking its full potential.
What Exactly is a Rubber Base?
A rubber base is a type of base coat for gel manicures that is distinguished by its thicker consistency and exceptional flexibility. Unlike traditional, thinner base coats, it contains a higher concentration of plasticisers, which give it a 'rubbery' feel. This allows it to bend and flex with the natural nail, reducing the likelihood of chipping or lifting. Its viscosity also means it has self-levelling properties, making it excellent for creating a perfectly smooth and even surface on the nail plate before applying colour.
When is a Rubber Base the Right Choice?
While a rubber base can be used for most manicures, it is particularly beneficial in specific situations. Its unique characteristics make it an ideal solution for nails that require a bit of extra support and correction.
For Weak, Brittle, or Flexible Nails
If your nails are prone to breaking, peeling, or bending, a rubber base can provide much-needed reinforcement. It adds a protective, durable layer that strengthens the natural nail, allowing it to grow longer without damage. Its flexibility is a key advantage, as it absorbs impact and moves with the nail, preventing the manicure from cracking under pressure.
To Correct an Uneven Nail Plate
Not all nails are perfectly smooth. Ridges, dents, or other imperfections on the nail surface can affect the final look of your manicure. Thanks to its thick, self-levelling formula, a rubber base can fill in these irregularities, creating a flawless canvas. This ensures that your colour polish applies smoothly and looks perfectly uniform.
To Extend the Durability of Your Manicure
The primary goal of any base coat is to improve adhesion and longevity. The rubber base excels in this area. Its flexible nature creates a strong bond between the natural nail and the gel polish, effectively acting as a shock absorber. This significantly reduces the risk of chipping and helps the manicure last for weeks without losing its pristine appearance.
How to Apply Rubber Base: A Step-by-Step Guide
Proper application is essential to get the most out of your rubber base. Following these steps will help you achieve a professional and long-lasting result.
- Step 1: Nail Preparation. Begin by preparing your nails as you would for any gel manicure. File them into your desired shape, gently push back and trim your cuticles, and lightly buff the entire nail surface to remove any shine. Clean the nail plate with a lint-free wipe soaked in a nail cleanser or isopropyl alcohol to remove dust and oils.
- Step 2: Apply a Primer (Optional). For nails that are particularly prone to lifting, you can apply a thin layer of a non-acidic primer. This will enhance adhesion. Allow it to air dry completely.
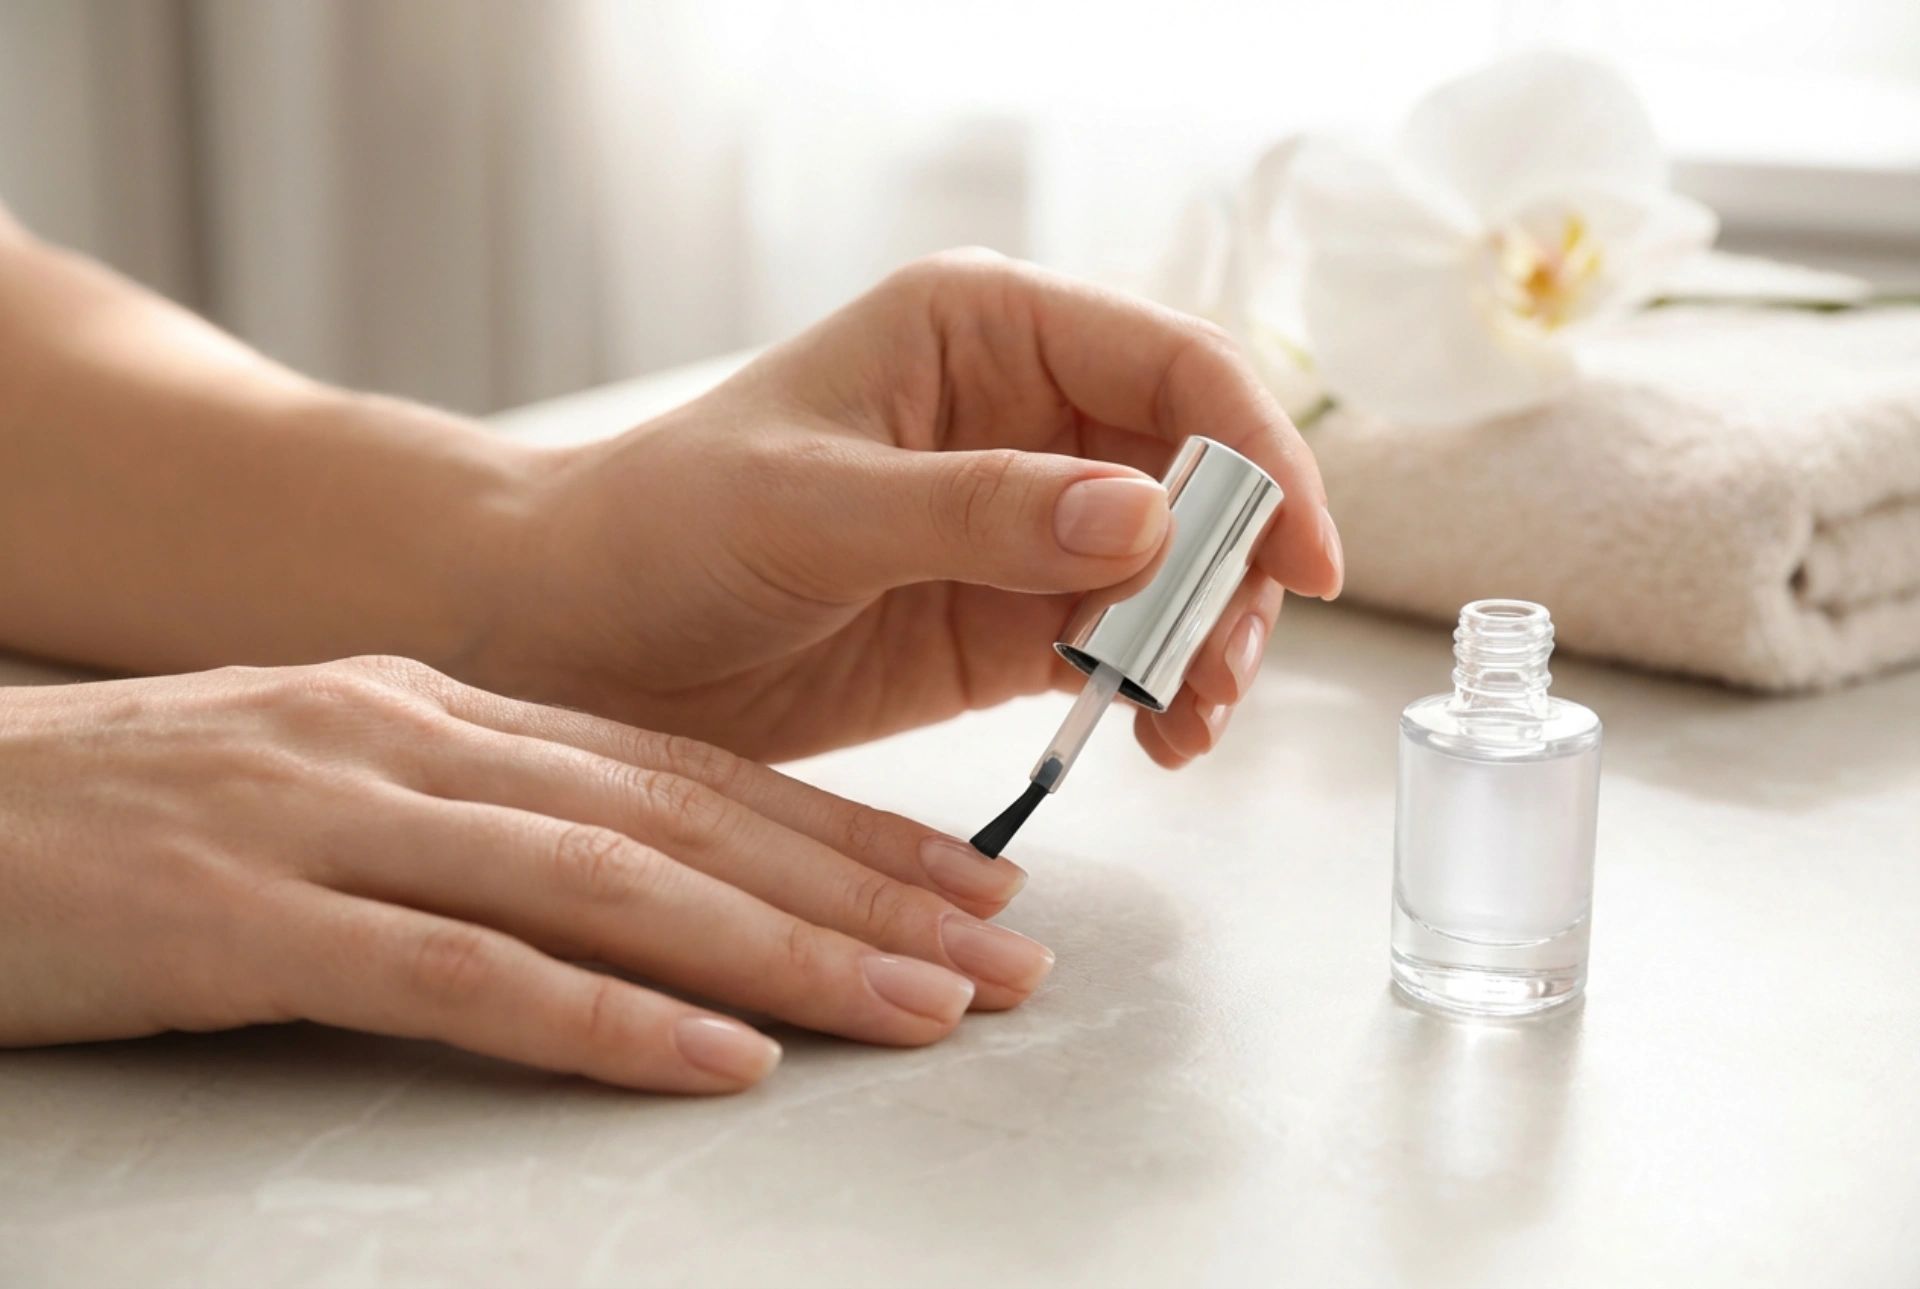
- Step 3: Apply a Thin 'Slip Layer'. Apply a very thin, even layer of the rubber base over the entire nail, much like you would a traditional base coat. Do not cure it yet. This initial layer helps the next, thicker layer to self-level more effectively.
- Step 4: Build the Apex. Take a small bead of the rubber base on your brush and place it in the centre of the nail, slightly away from the cuticle. Gently guide the product towards the cuticle and free edge, allowing it to self-level and create a slight curve or 'apex'. This is the highest point of the nail, providing it with strength and a beautiful shape. You can turn the finger upside down for a few seconds to help gravity pull the product into the perfect shape.
- Step 5: Cure Under the Lamp. Once you are happy with the shape, cure the nail under a UV/LED lamp according to the manufacturer's instructions, typically for 60 seconds.
- Step 6: Proceed with Your Manicure. After curing, you can either wipe away the sticky inhibition layer and refine the shape with a file or proceed directly to applying your chosen gel colour polish. Finish with a top coat and a final cure.
Summary
A rubber base is a versatile and highly effective product for anyone seeking a more durable, stronger, and smoother manicure. It is especially transformative for those with weak or uneven nails. By providing both flexibility and strength, it creates the perfect foundation for a flawless, long-lasting gel polish application that can rival the results of a professional salon, all from the comfort of your home.