A long-lasting and aesthetically pleasing hybrid manicure is the result of several key factors, but it all begins with a crucial, often underestimated step: the application of a base coat. The right base not only ensures the durability of your styling but also protects the natural nail plate. Understanding the differences between various types of bases and mastering their application is the foundation for achieving salon-quality results at home.
What is a Hybrid Base Coat and Why is it Essential?
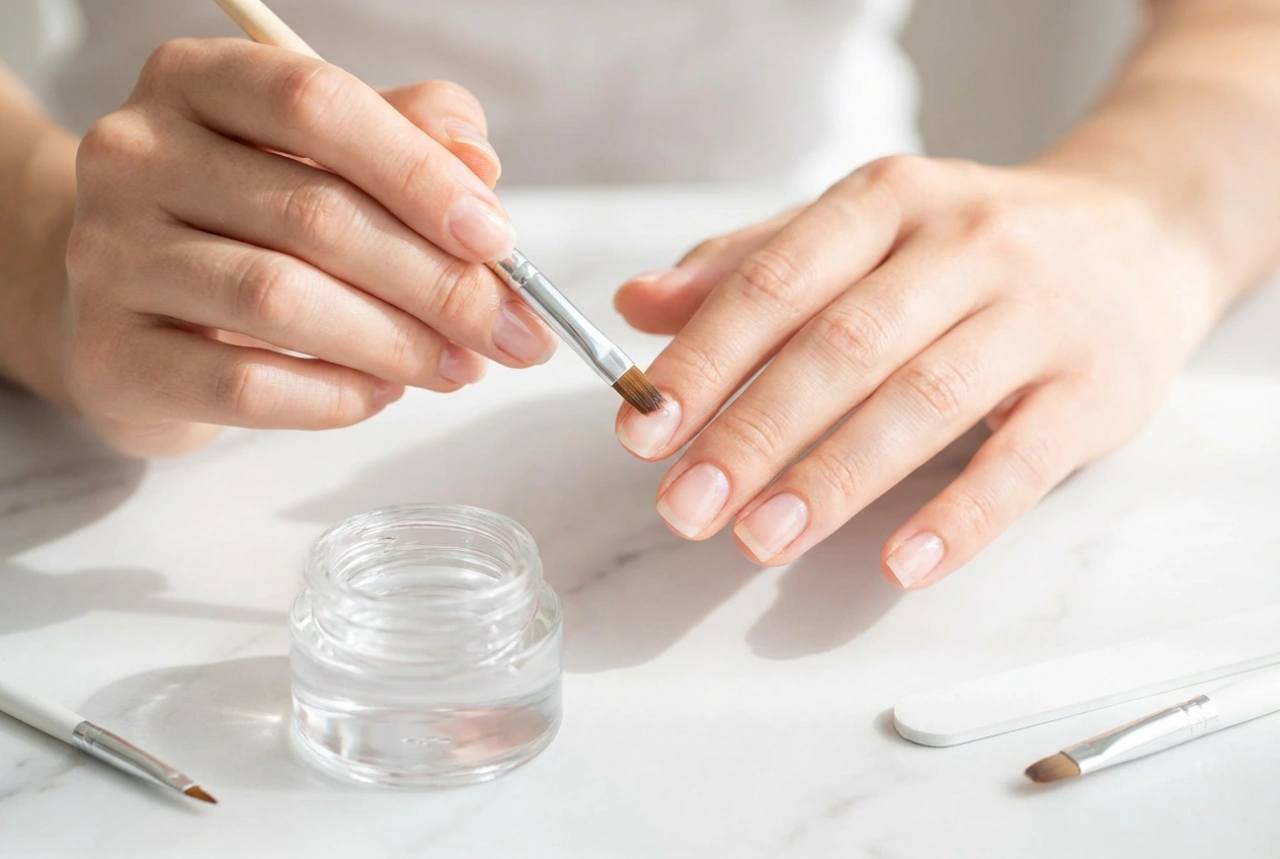
A hybrid base coat is a light-cured product that acts as the foundational layer of a hybrid manicure. It is applied directly onto the prepared natural nail plate before the application of coloured hybrid polish. Its primary role is to create a strong adhesive bond between the nail and the subsequent layers of polish, significantly extending the life of the manicure. Without a proper base, the coloured polish would be prone to chipping, lifting, and peeling much faster. Furthermore, the base coat serves as a protective barrier, preventing the pigments from the coloured polish from staining the natural nail plate. It also helps to even out minor imperfections and ridges on the nail surface, creating a smooth canvas for a flawless colour application.
Exploring the Different Types of Hybrid Base Coats
The market offers a wide array of base coats, each with unique properties designed to meet different needs. Choosing the right one depends on your nail condition and the desired effect. Here are the most common types:
Classic or Standard Bases
This is the most universal and traditional type of hybrid base. It typically has a thin, liquid consistency, making it easy to apply in a very thin layer. Its main function is to maximise adhesion. It's an excellent choice for individuals with healthy, strong, and problem-free nails who simply need a reliable foundation for their manicure. It provides good durability without adding extra thickness to the nail.
Builder or Hard Bases
Builder bases, also known as hard bases, are characterised by a much thicker, denser consistency. This allows them not only to act as a base but also to build up, strengthen, and even slightly extend the natural nail (typically by 1-2mm). They are ideal for people with weak, brittle, or thin nails that need extra support and reinforcement. With a builder base, you can create a perfect "C-curve" and an apex, which is the highest point of the nail extension that provides structural strength and a beautiful shape. They are also fantastic for repairing a broken corner or filling in ridges.
Rubber Bases
Rubber bases are known for their unique flexibility. They have a dense, yet elastic, self-levelling consistency that works in harmony with the natural nail plate. This flexibility makes them exceptionally resistant to mechanical stress and helps prevent the manicure from cracking or chipping, especially on thin and flexible nails that tend to bend. Their thick texture also allows for some building and shaping, similar to builder bases, providing a great combination of strength and elasticity. They are a popular choice for those whose manicures tend to lift at the free edge.
Conditioning and Vitamin-Enriched Bases
Some base coats are formulated with added cosmetic ingredients, such as proteins, keratin, or vitamins. These bases aim to provide an extra layer of cosmetic care for the nail plate while being worn. While they do not "treat" nail conditions, they can help improve the cosmetic appearance and feel of the nails. They function similarly to classic or rubber bases but with the added benefit of these conditioning agents. They can be a good option for those looking to give their nails some extra cosmetic support between manicures.
Cover or Coloured Bases
Cover bases combine the function of a base coat with a hint of colour. They are typically available in various shades of nude, pink, and milky white. These products are perfect for creating a quick, natural-looking manicure, often referred to as a "manicure no-manicure." They can be worn on their own, with just a top coat over them, or used as a beautiful, uniform background for French manicures or intricate nail art. They effectively conceal discolouration and imperfections on the natural nail plate, providing a flawless finish in one step.
How to Choose the Right Base for Your Nail Type
Selecting the perfect base is simple once you assess your nails' condition:
- For strong, healthy nails: A classic, thin base coat will be perfectly sufficient to ensure adhesion and durability.
- For weak, thin, or brittle nails: Opt for a builder or rubber base. These will provide the necessary reinforcement and structure to prevent breakage.
- For flexible nails that bend easily: A rubber base is the ideal choice due to its elasticity, which will move with your nail and prevent lifting.
- For uneven nails with ridges: A thicker base, such as a builder or rubber base, will beautifully self-level and fill in any imperfections for a smooth surface.
- For a quick, natural look: A cover base is your best friend. It provides colour and a base in one go, saving you time.
A Step-by-Step Guide to Perfect Base Application
Correct application is just as important as choosing the right product. Follow these steps for a long-lasting manicure:
1. Nail Preparation
This is the most critical stage. Start by gently pushing back and removing the cuticles. Shape your nails with a file. Then, using a soft buffer block, gently and carefully mattify the entire surface of the nail plate. This removes the natural shine and creates a texture for the base to grip onto. Finally, dust off the nails thoroughly.
2. Cleansing and Dehydrating
Wipe each nail with a lint-free cotton pad soaked in a dedicated nail cleaner or dehydrator solution. This step removes all oils, moisture, and dust, which are the primary culprits for product lifting. Allow the nails to air-dry completely.
3. Applying the Base Coat
The technique varies by base type. For a classic base, apply a single, very thin layer, almost "scrubbing" it into the nail plate. For a builder or rubber base, first apply a thin "slip layer" and cure it for a few seconds (or don't cure, depending on the specific product's instructions). Then, take a larger bead of the product and place it in the centre of the nail. Gently guide it towards the sides and cuticle area, building up a slight apex. Turn the hand upside down for a few seconds to let gravity help create a perfect shape. Always be careful not to flood the cuticles.
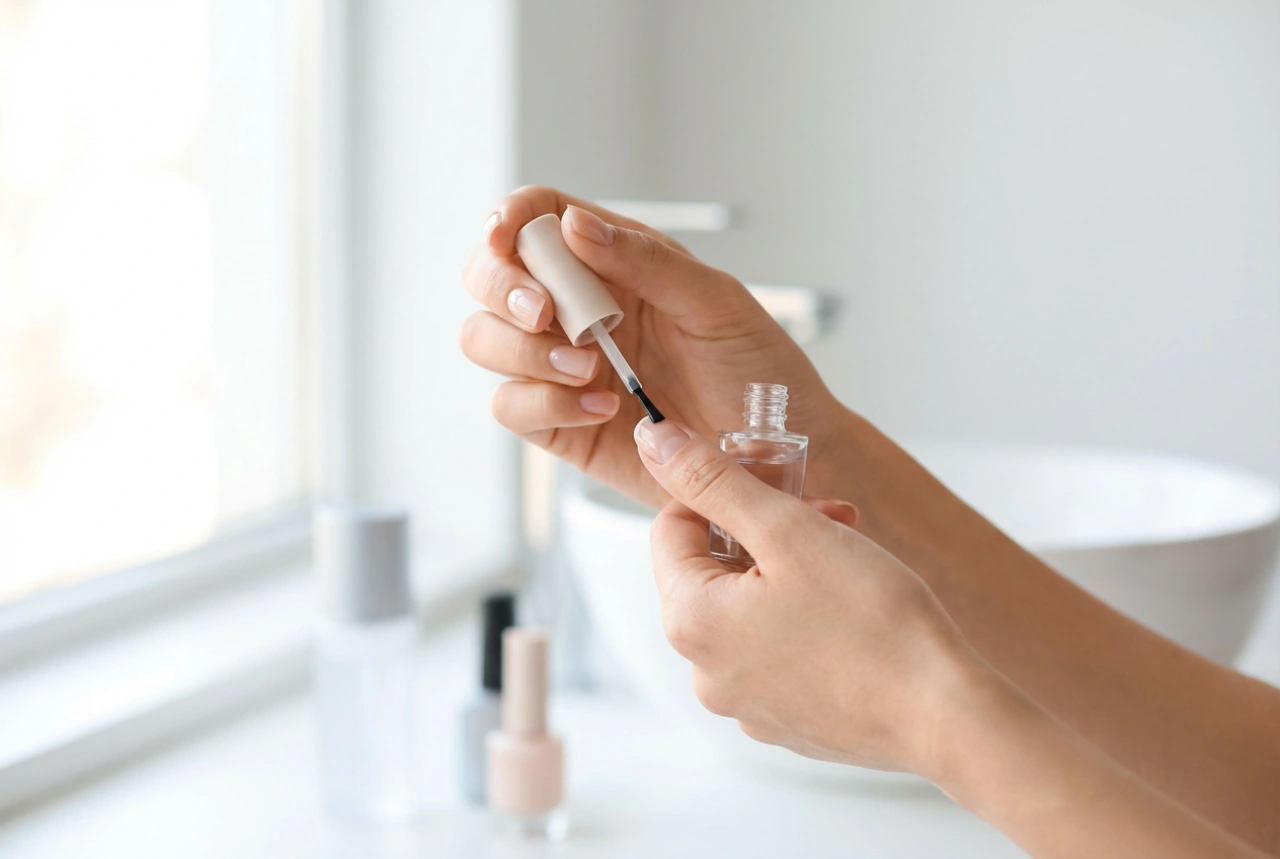
4. Curing
Cure the base coat in an LED or UV lamp according to the product manufacturer's recommended time. Curing times can vary, so always check the instructions for your specific base. Undercuring can lead to lifting, while over-curing can make the product brittle. After curing, the base will have a sticky (inhibition) layer – do not remove it! This sticky layer is what the coloured polish adheres to.
By understanding the nuances of different hybrid base coats and mastering the application technique, you empower yourself to create manicures that are not only stunning but also impressively durable. The right base is the true secret to protecting your nails and enjoying a perfect hybrid manicure for weeks.