

A flawless and long-lasting gel manicure begins long before the application of vibrant colour. The secret to durability, chip resistance, and a professional-looking finish lies in the meticulous preparation of the natural nail plate and the correct application of the gel base coat. Understanding how these initial steps work together ensures that the gel layers adhere perfectly, protecting your natural nails while providing a smooth canvas for your creative designs.
The Importance of Prep: Cleaning and Shaping
Before any product touches the nail, proper preparation is essential to prevent lifting and peeling. The first step involves shaping the free edge of the nails using a high-quality file, working in one direction to prevent splitting. Next, attention must be paid to the cuticle area. Gently pushing back the cuticles with a wooden stick or a dedicated pusher reveals the full nail plate and removes dead tissue that could otherwise cause the gel to lift.
Once the shape is defined and the cuticles are tidy, the surface of the nail plate must be gently buffed. This step removes the natural shine and oils, creating a microscopic texture that helps the base coat grip the nail. It is vital to use a soft buffer and avoid over-filing, as the goal is to create a matte surface without thinning or weakening the natural nail plate. Finally, cleansing the nail with a dehydrator or a prep wipe is crucial to eliminate any remaining dust, moisture, or oils.
Selecting the Right Gel Base Coat
Not all base coats are created equal, and choosing the right one depends on the condition of your natural nails. A standard thin base coat is excellent for strong, healthy nails, providing a flexible layer that moves with the natural movement of the finger. For those with weaker, thin, or uneven nail plates, a thicker rubber base coat or a structuring base coat can be used to add strength and even out ridges.
Standard Base Coats vs. Rubber Bases
- Standard Base Coats: Best for normal nails, offering a lightweight finish and easy soak-off removal.
- Rubber Base Coats: Provide extra flexibility, filling in imperfections and offering superior adhesion for brittle or flexible nails.
Step-by-Step Application Technique
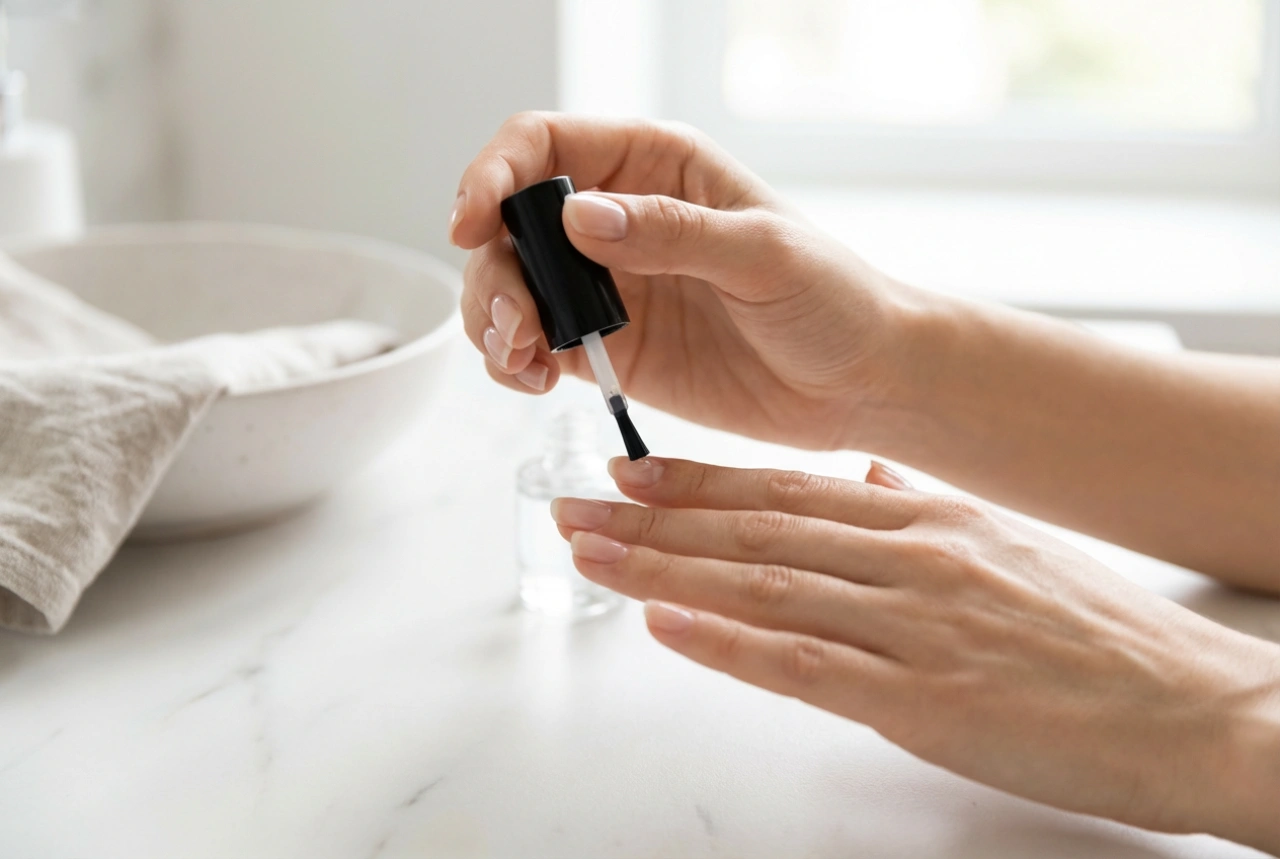
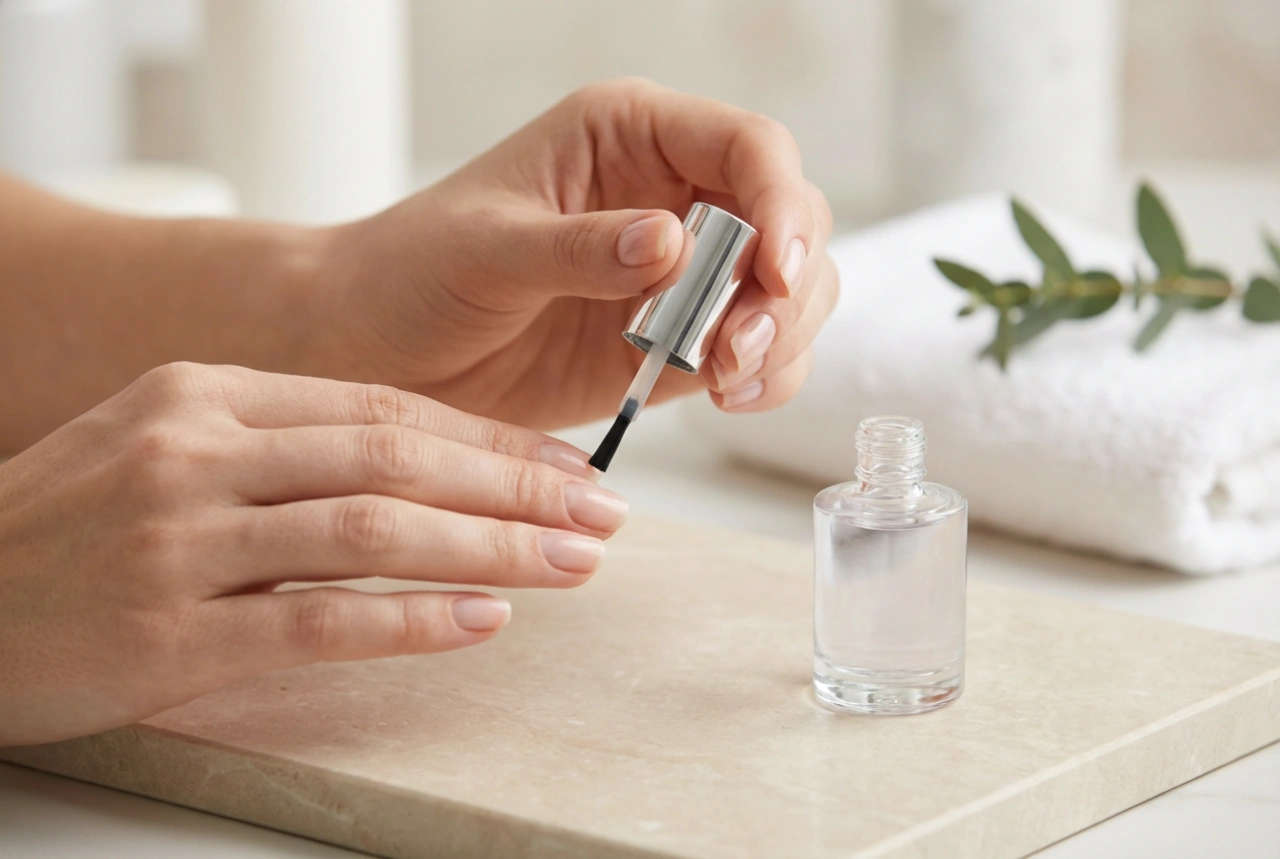
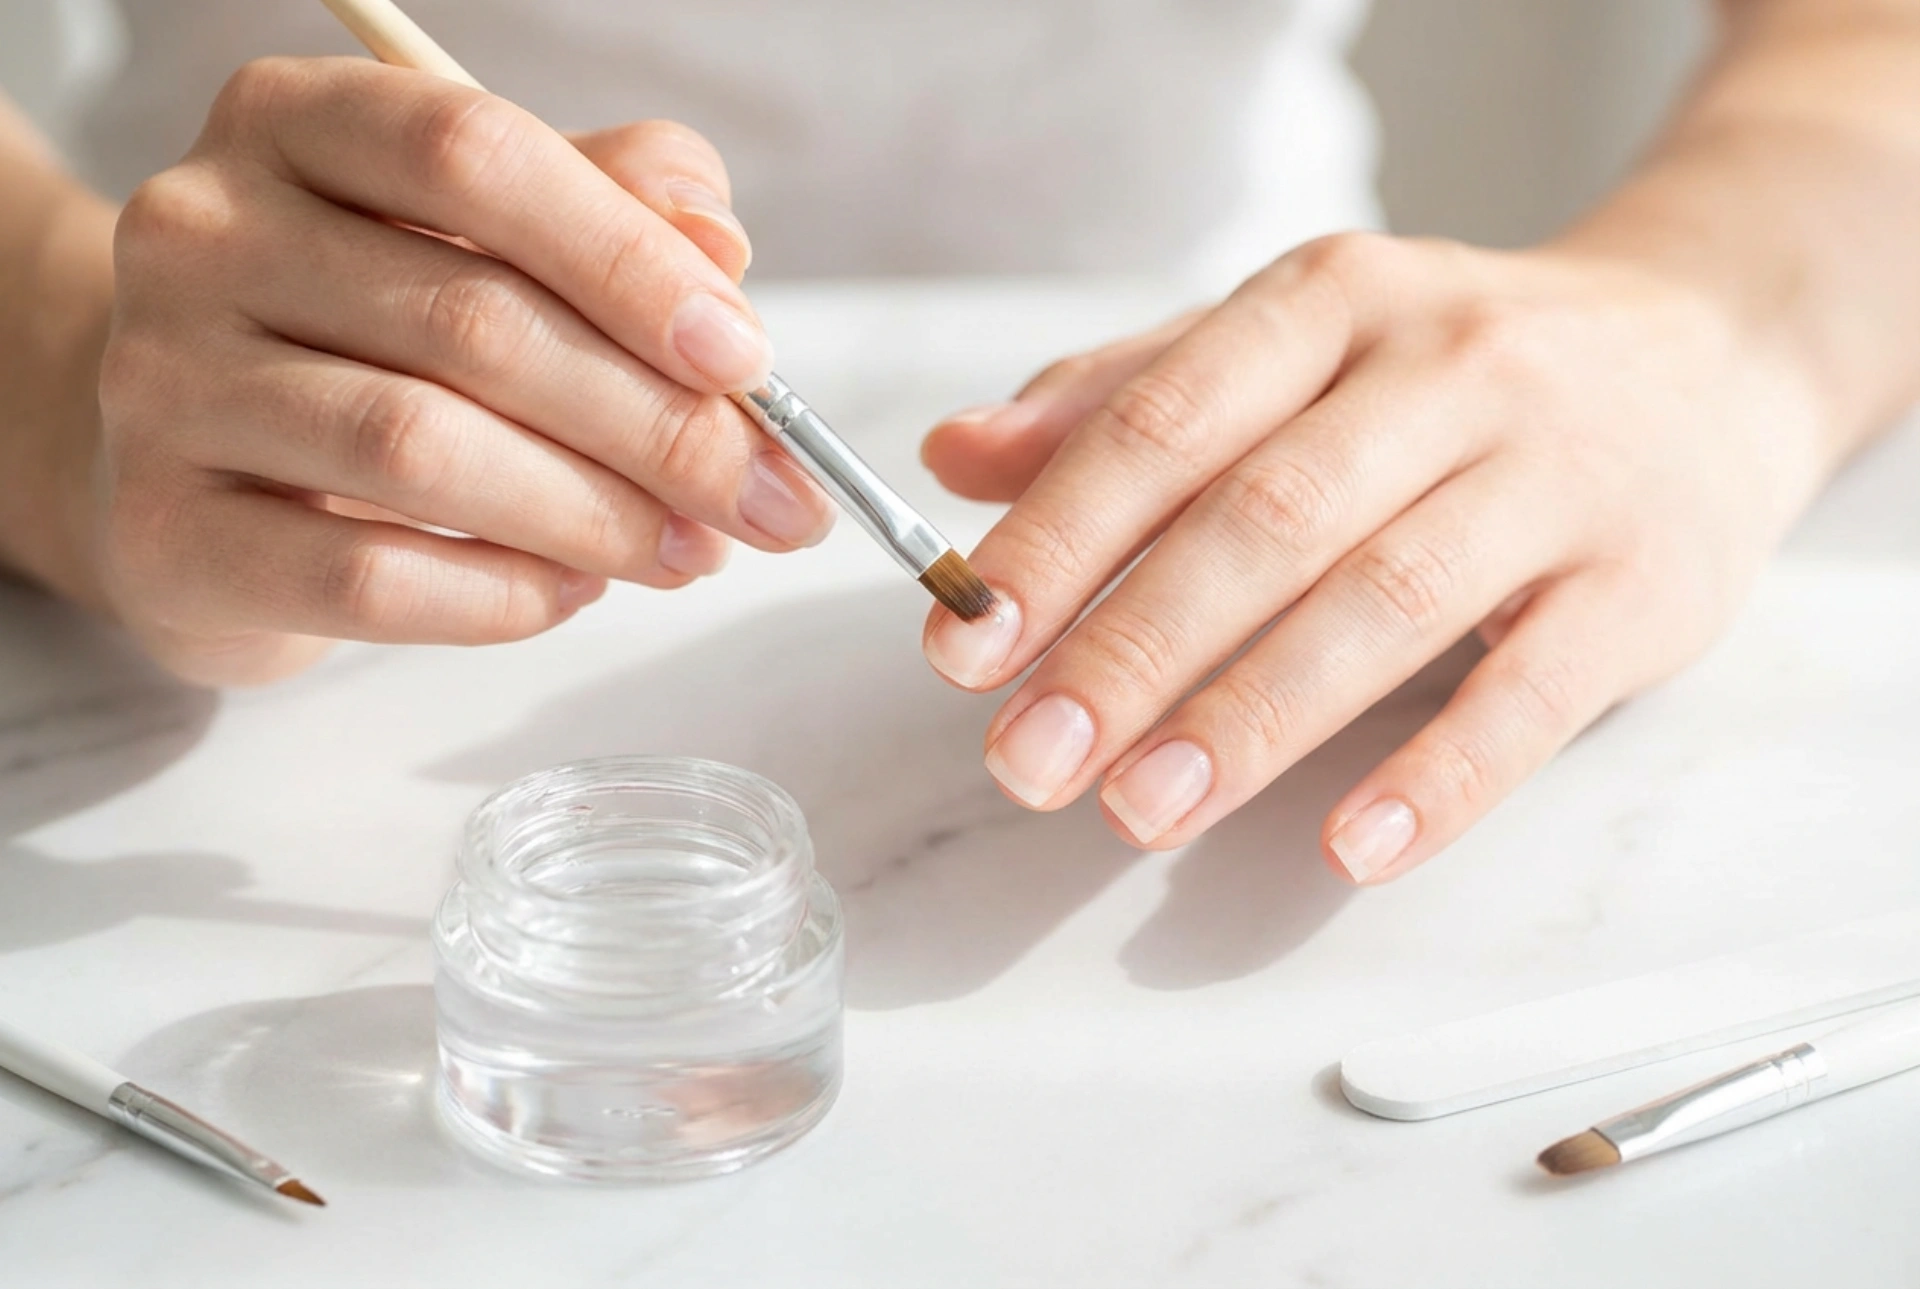
Applying the gel base coat requires precision and a steady hand. The key rule of gel application is to keep the layers incredibly thin. A thick layer of base coat can lead to improper curing under the lamp, which causes the manicure to lift prematurely and can even compromise nail health. Start by wiping excess product from the brush against the neck of the bottle, leaving only a small amount on the bristles.
Begin application in the centre of the nail, a fraction of a millimetre away from the cuticle, and gently push the brush towards the cuticle line without touching the skin. Glide the brush down to the free edge of the nail in smooth, even strokes. It is absolutely essential to cap the free edge of the nail by running the brush along the very tip. This seals the product and prevents water and air from getting underneath the gel during daily wear.
Curing and Troubleshooting Common Mistakes
Once the base coat is applied evenly to all nails, it must be cured under a suitable lamp. Always follow the manufacturer's guidelines for curing times, as under-curing leads to weak adhesion, while over-curing can make the base coat too brittle. After curing, the nail surface will remain sticky. This dispersion layer is completely normal and should not be wiped away, as it acts as an adhesive link for the subsequent colour layers.
To avoid common pitfalls such as flooding the cuticles, always work in thin layers and use a clean brush dipped in a small amount of prep solution to clean any accidental spills before curing. If the gel base coat shrinks during curing, it is often a sign that the nail plate was not thoroughly dehydrated or that the layer was applied too thickly. Consistent practice and attention to detail during these preparatory stages will guarantee a salon-quality, long-lasting manicure at home.