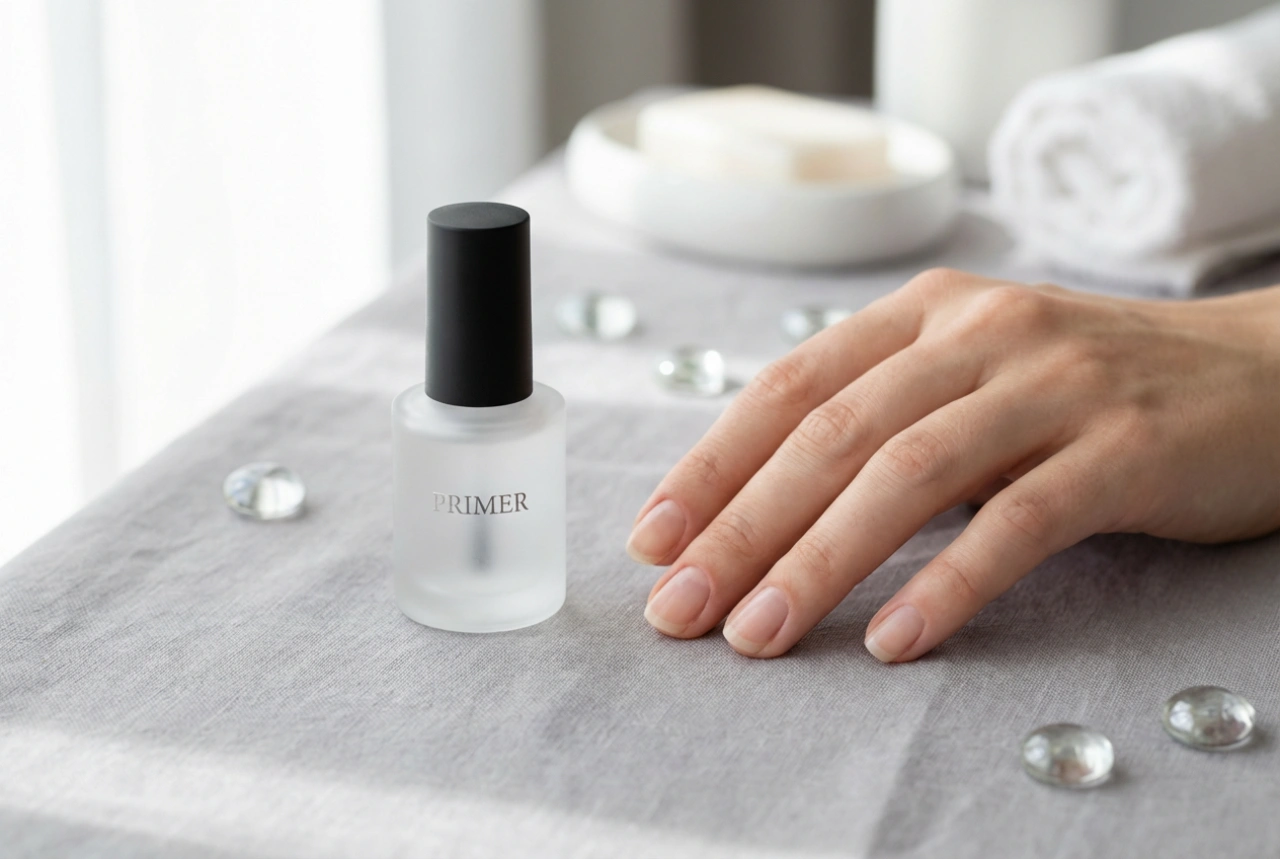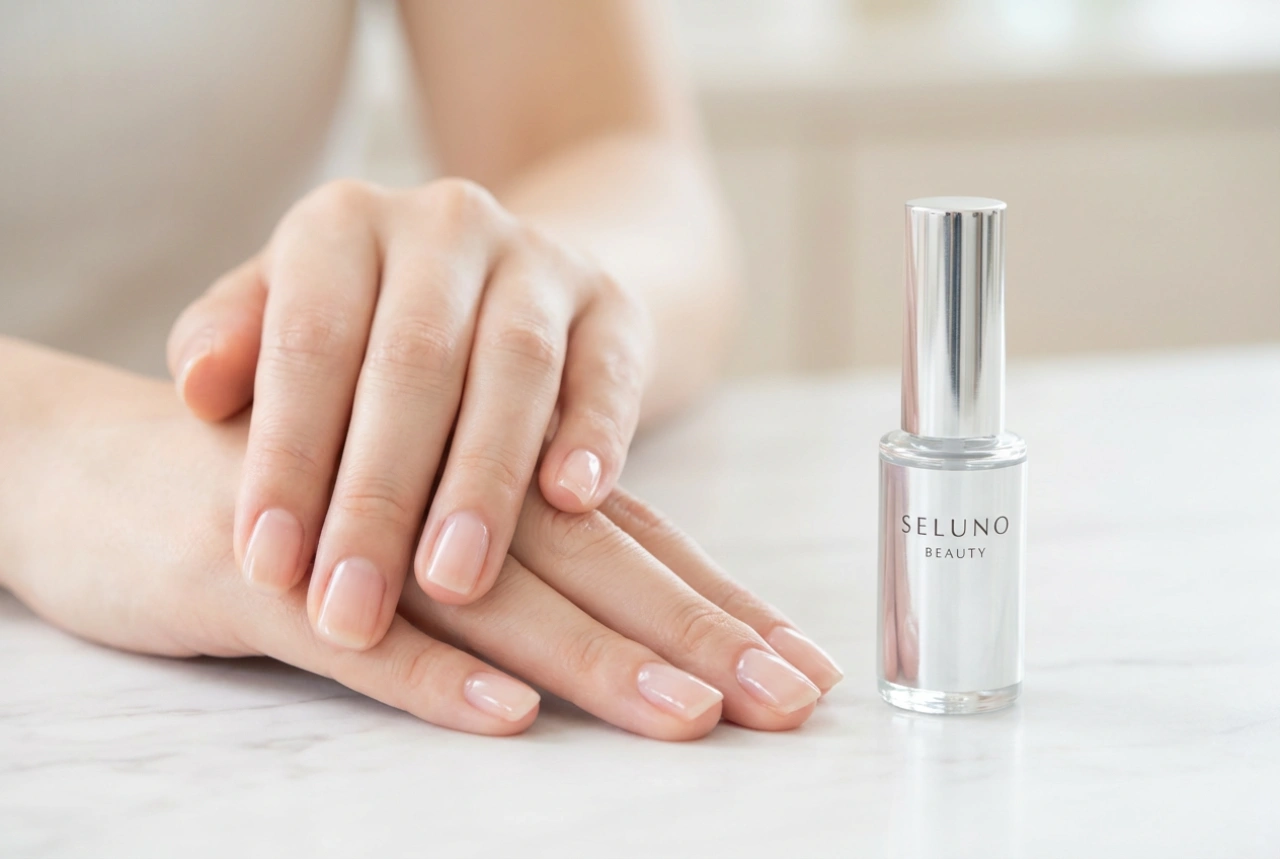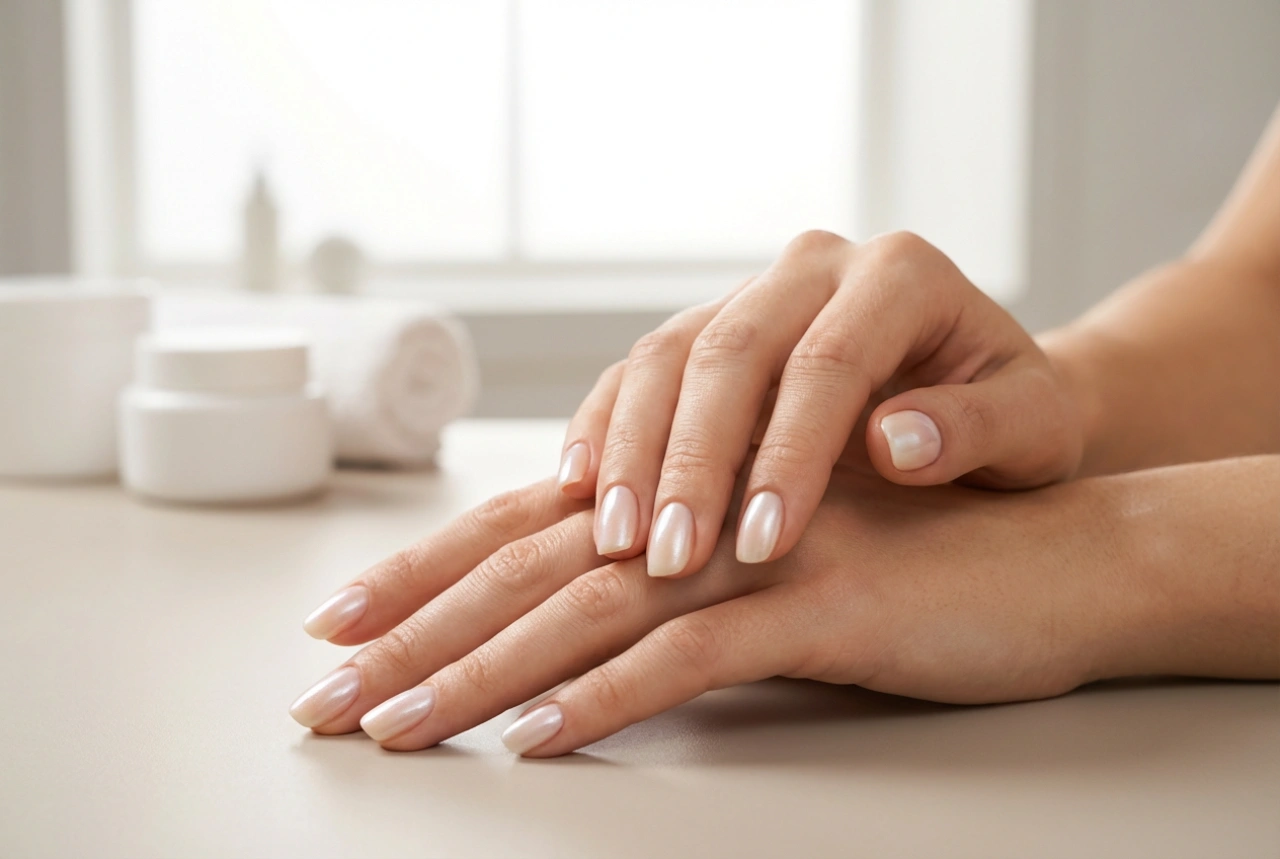


The secret to a flawless and long-lasting hybrid manicure lies in its foundation: the base coat. More than just a preliminary step, a well-chosen and correctly applied hybrid base protects the natural nail plate, ensures optimal adhesion of the coloured polish, and can even be used to strengthen, build up, or slightly extend the nail. Understanding the different types of bases and their application methods is crucial for achieving professional-looking results at home.
Understanding Hybrid Base Density
Hybrid bases come in various consistencies, or densities, each suited for different nail types and purposes. Choosing the right one is the first step towards a perfect manicure.
Thin Bases
Thin, liquid-like bases are ideal for individuals with strong, healthy nails that have no significant imperfections. Their primary role is to create a strong adhesive layer between the natural nail and the hybrid colour. They are easy to apply in a thin coat, provide a very natural look, and are typically quick to cure. They do not offer significant structural support, so they are not recommended for weak or brittle nails.
Medium-Thick Bases
This is the most versatile and popular category. Medium-thick bases offer a balance between ease of application and structural support. They have a consistency that allows them to fill in minor ridges and imperfections on the nail plate, creating a smooth canvas for the colour. They provide a degree of strengthening and are suitable for most nail types, including those that are slightly flexible or prone to breaking.
Thick (Builder) Bases
Thick, gel-like bases, often called builder bases, are designed for more demanding tasks. They are perfect for weak, brittle, or damaged nails that require significant reinforcement. Their thick consistency allows for building an 'apex' – a subtle curve on the nail that provides strength and a beautiful shape. These bases can also be used to repair a broken corner or to slightly extend the nail's length, usually up to a few millimetres.
Mastering the Application Technique
Proper application is just as important as choosing the right product. A meticulous technique prevents lifting, ensures durability, and protects the health of your nails.
1. Nail Preparation
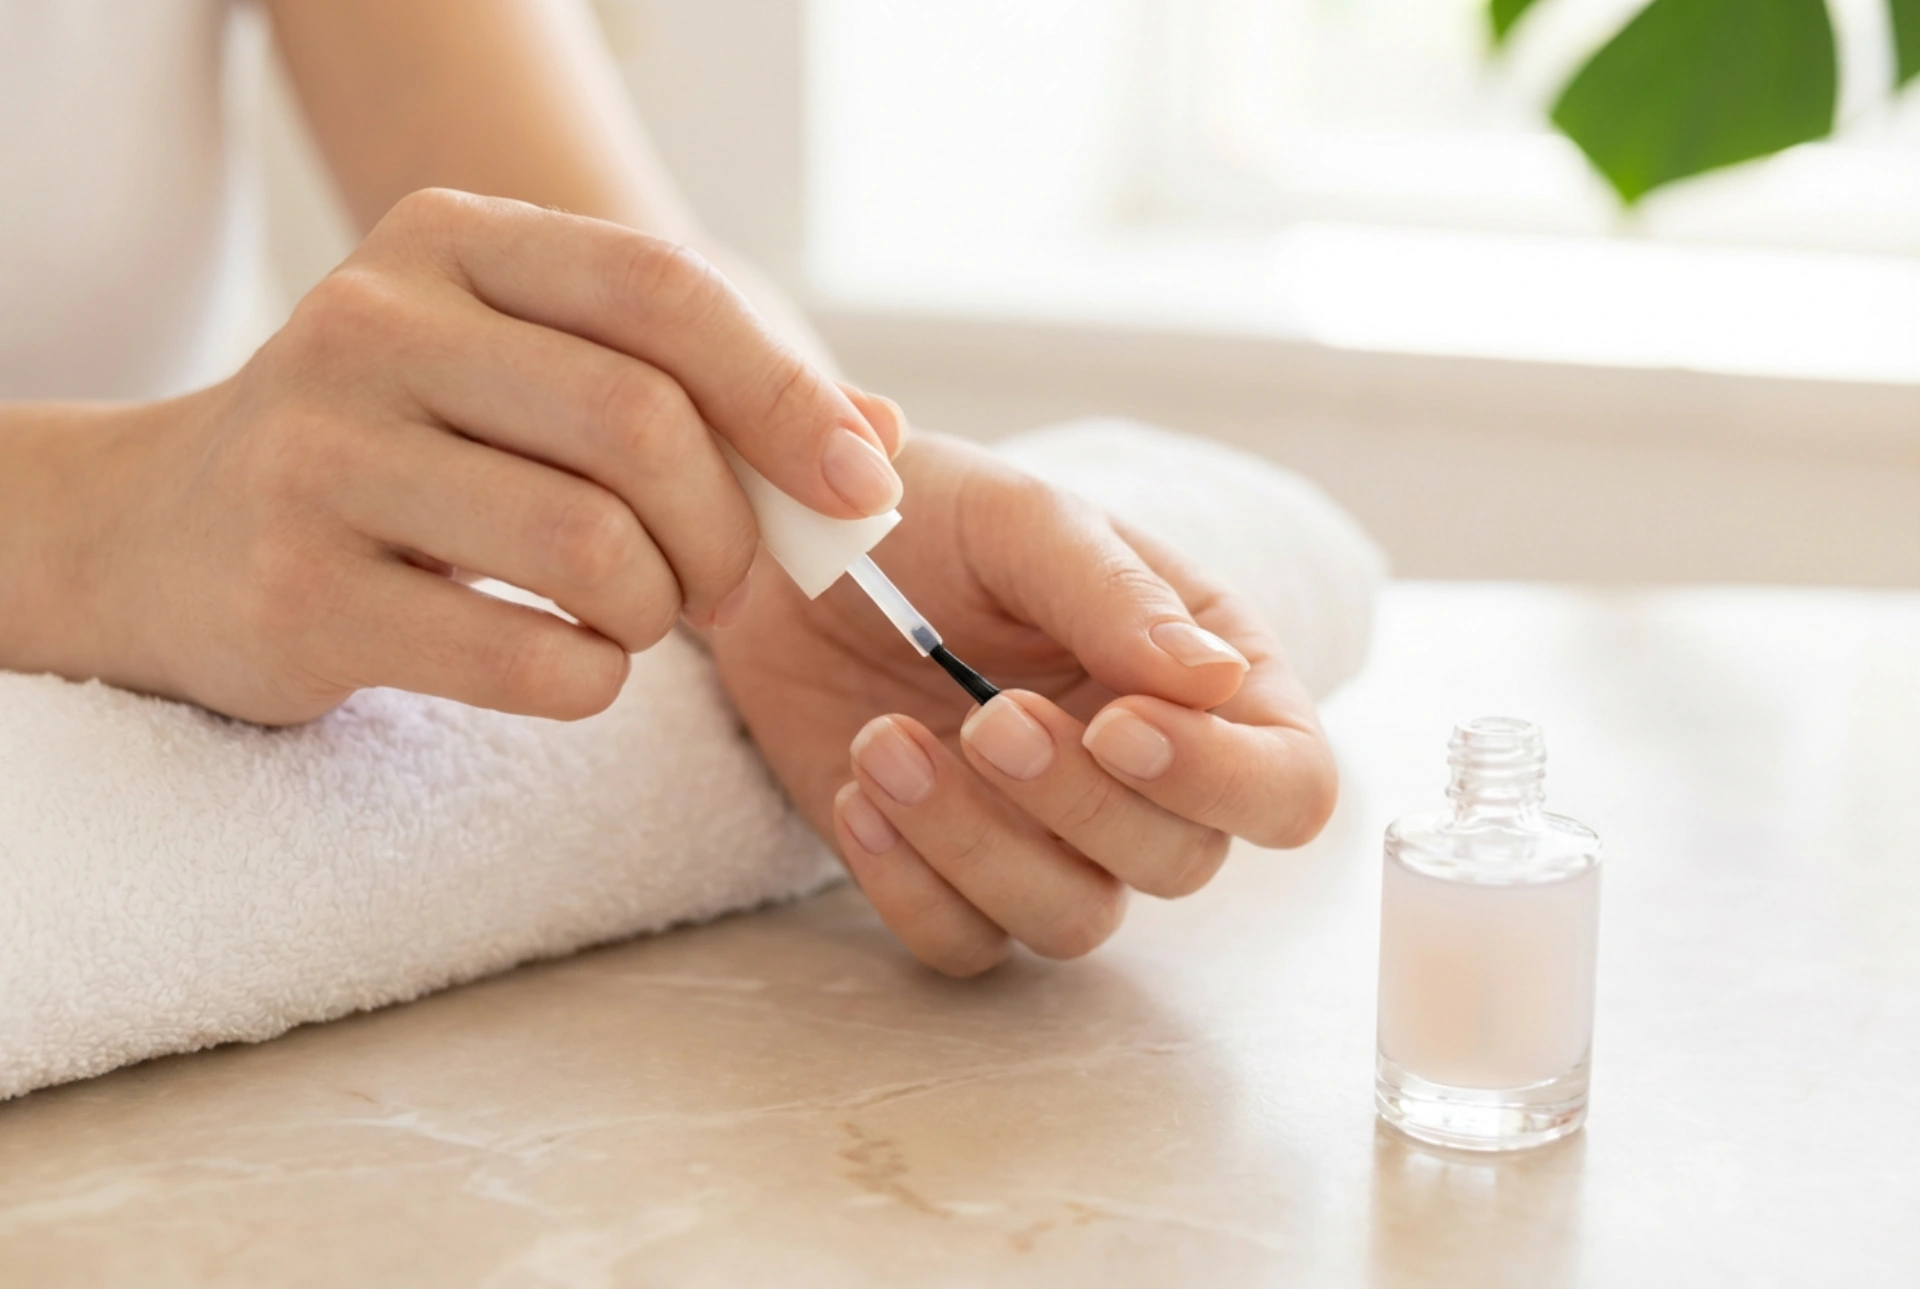
Start with a clean slate. Gently push back and remove any non-living tissue from the nail plate. Lightly buff the surface of the nail with a fine-grit buffer to remove the natural shine – this creates a texture for the base to grip onto. Finally, wipe each nail with a lint-free pad soaked in a nail cleaner or dehydrator to remove any dust and oils.
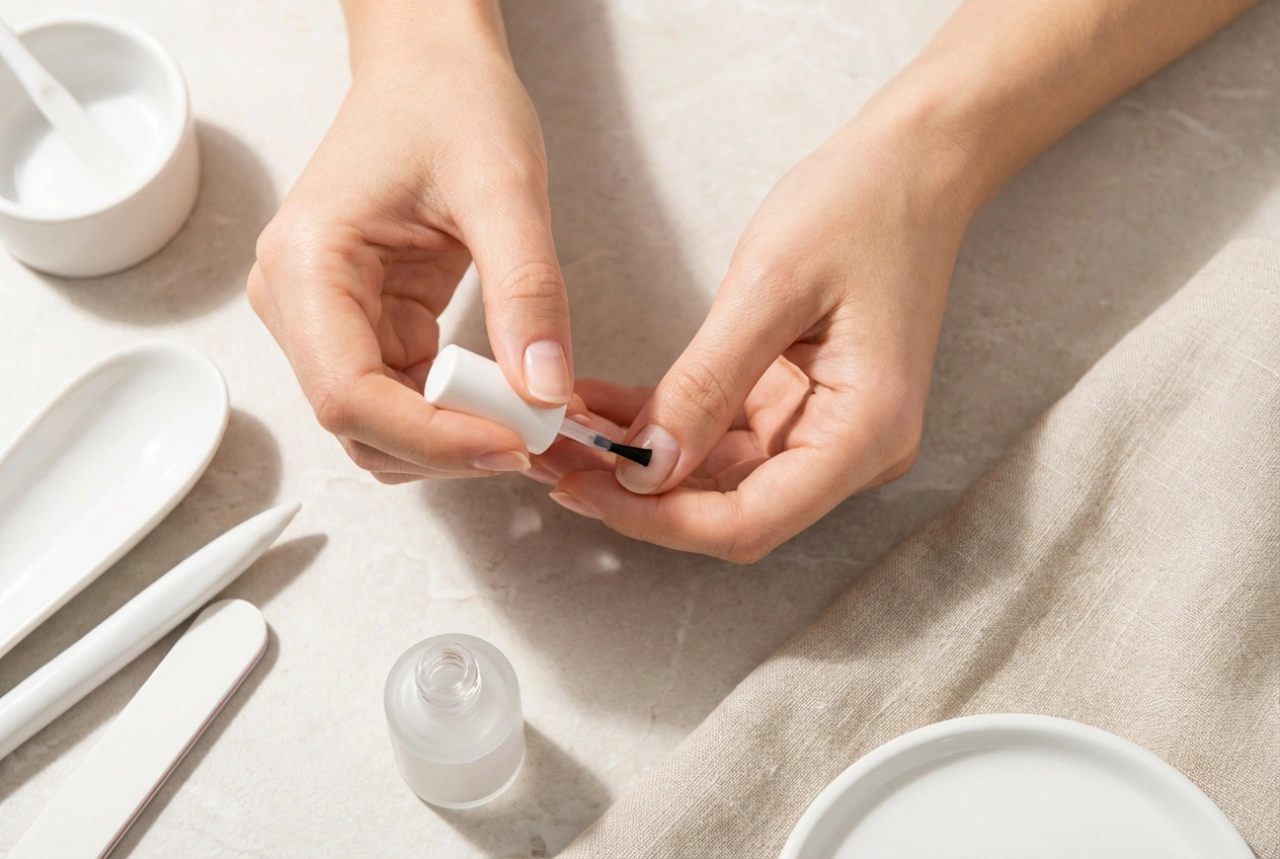
2. The 'Rub-in' Layer
For optimal adhesion, especially with medium and thick bases, start with a very thin 'rub-in' or 'wetting' layer. Take a small amount of base on your brush and literally scrub it into the nail plate. This ensures the product penetrates every microscopic groove. Cure this thin layer for the recommended time, usually 30-60 seconds in an LED lamp.
3. The Building Layer
Next, apply the main 'building' or 'slip' layer. Take a larger bead of the base coat and place it in the centre of the nail. Gently guide the product towards the cuticle area (without touching it) and then float the brush over the nail towards the free edge. Most modern bases are self-levelling, meaning they will naturally smooth themselves out. You can help this process by turning the hand upside down for a few seconds, allowing gravity to help form a perfect apex. Once the surface is smooth and even, cure it completely.
Extending Nails with a Builder Base
Thick builder bases make it possible to perform minor nail extensions without the complexity of traditional gel systems. This is typically done using a paper form.
- Prepare the nail: Complete the full preparation process as described above and apply the thin 'rub-in' layer and cure it.
- Apply the form: Carefully place a paper nail form under the free edge of your natural nail, ensuring it fits snugly with no gaps.
- Build the extension: Using your builder base, first create a 'skeleton' by extending the base from your natural nail out onto the form to your desired length. Cure this initial structure.
- Create the shape: Apply a second, larger layer of the builder base to cover the entire nail and the new extension, building the apex and overall structure. Cure thoroughly.
- Refine the shape: After curing, remove the paper form. Wipe the nail with a cleaner to remove the sticky inhibition layer. Now you can use a file to perfect the shape and length of the extension.
- Finish: Once you are happy with the shape, gently buff the surface, cleanse it of dust, and proceed with applying your hybrid colour and top coat.
Common Pitfalls to Avoid
To ensure your manicure is a success, steer clear of these common mistakes. Flooding the cuticles with the base coat can lead to product lifting and potential skin irritation. Applying a single layer that is too thick can cause an uncomfortable burning sensation during curing and may not cure all the way through. Lastly, never skip proper nail preparation, as it is the most common cause of a manicure that chips or lifts prematurely.