


A hair dryer is a staple tool in many beauty arsenals, offering a quick way to dry and style hair. However, wielding this powerful tool without the proper knowledge can lead to dryness, frizz, and heat damage. Understanding your dryer's settings and adopting safe techniques is crucial for maintaining the health and integrity of your hair. This guide will help you navigate the world of blow-drying, ensuring you achieve a sleek, polished look without compromising your hair's vitality.
Understanding Your Hair Dryer's Settings
Most modern hair dryers come with multiple settings for heat and airflow. Choosing the right combination for your hair type and styling goal is the first step towards a perfect, damage-free blow-dry. Ignoring these settings and defaulting to the highest heat is a common mistake that can be easily avoided.
Temperature Controls
Temperature is perhaps the most critical setting. Using heat that is too high for your hair type can strip it of moisture and weaken its protein structure. Generally, you will find three options:
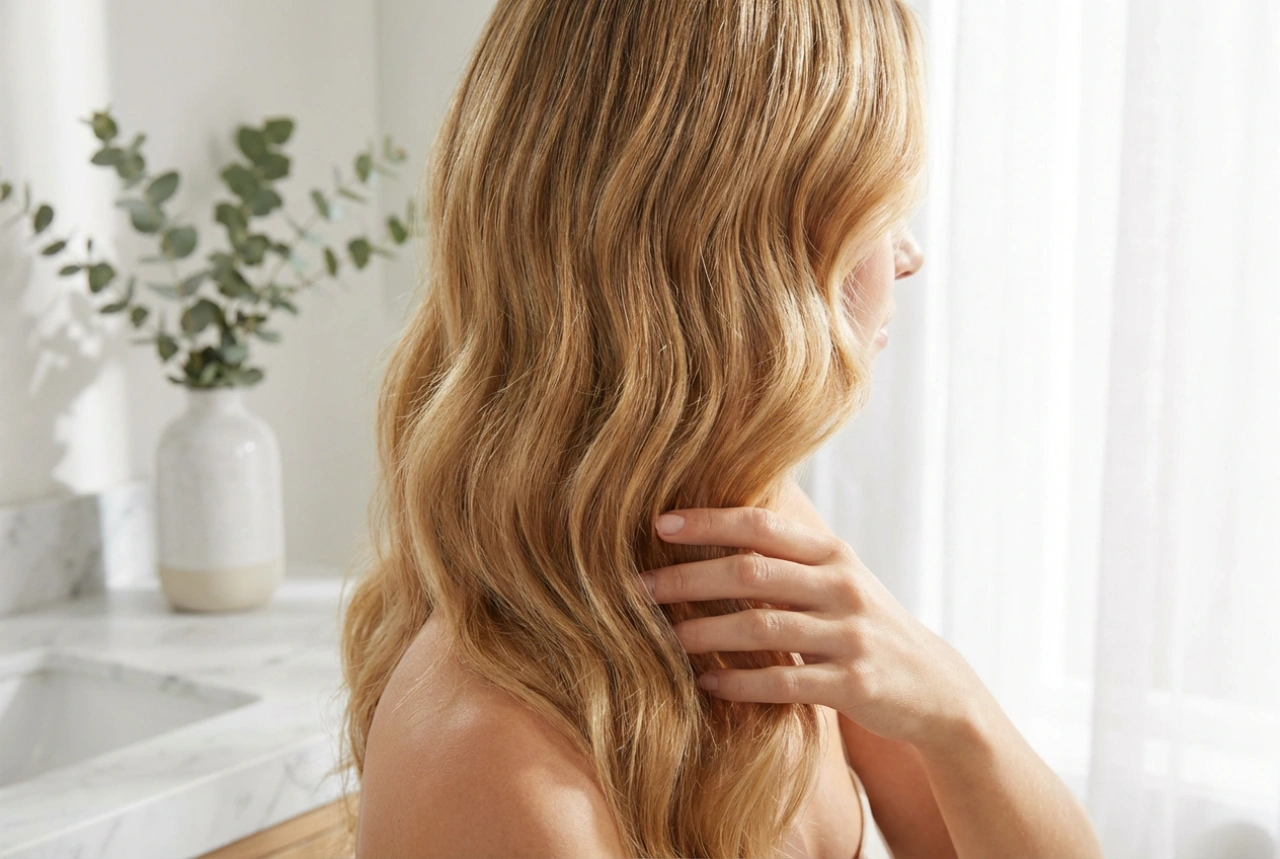
- Cool: This setting is ideal for the final step of your drying process. A 'cool shot' of air helps to seal the hair's cuticle, which locks in your style, reduces frizz, and adds a brilliant shine. It is also a great option for very fine or delicate hair that doesn't require much heat.
- Warm/Medium: This is the go-to setting for most hair types for general drying. It provides enough heat to dry the hair efficiently without being excessively harsh. If you have fine to medium hair, this setting should be your default.
- Hot/High: Reserve this setting for very thick, coarse hair or for rapidly removing significant moisture at the beginning of your drying session (rough-drying). It should be used sparingly and with caution, always keeping the dryer moving to prevent overheating any single area.
Airflow Speed Controls
The speed of the airflow affects both drying time and the final finish of your style.
- Low: A lower speed gives you more control, making it perfect for styling specific sections, dealing with bangs, or reducing frizz in curly or fine hair.
- High: A high-speed airflow is excellent for removing excess moisture from thick or long hair quickly. It's best used for the initial 'rough dry' before you begin precision styling.
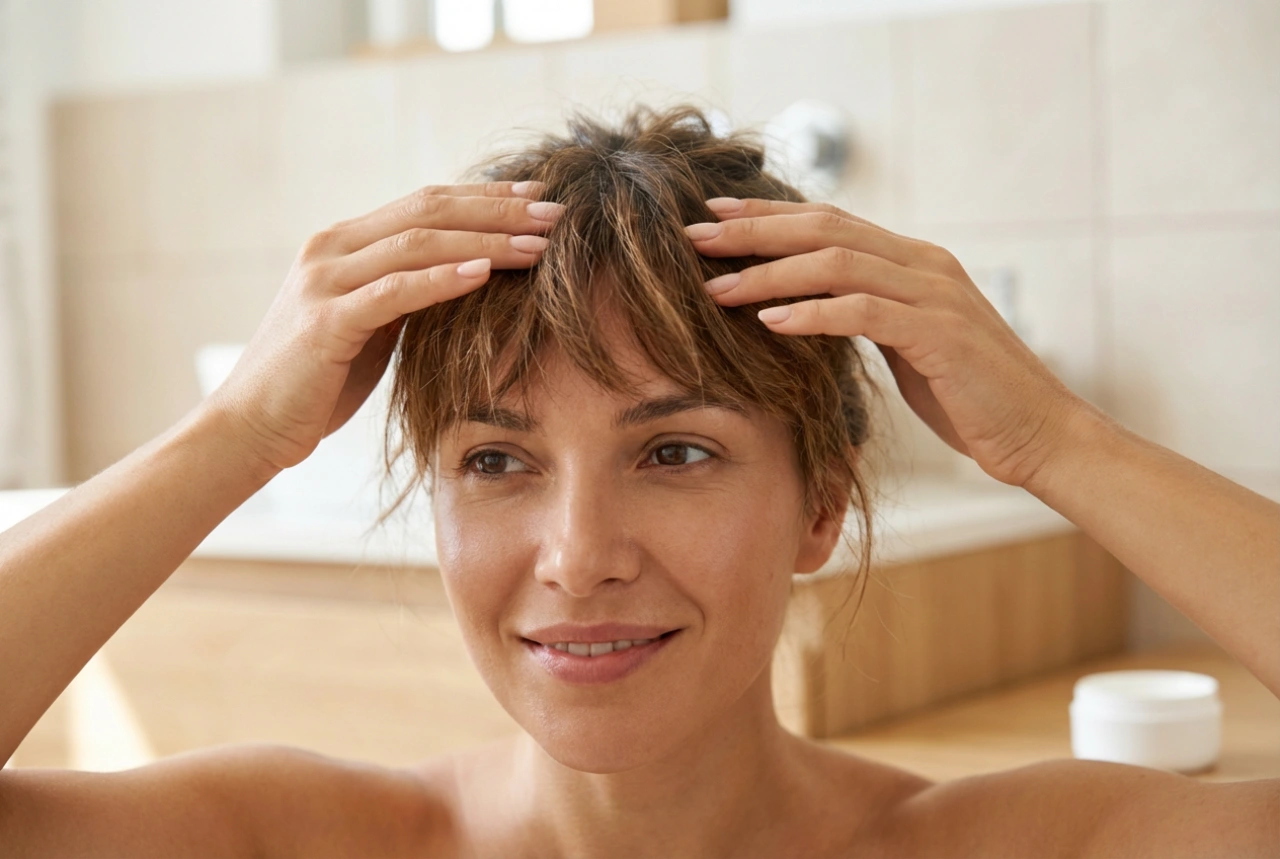
Preparing Your Hair for Drying
A great blow-dry starts long before you even switch the dryer on. Proper preparation not only protects your hair but also makes the styling process easier and more effective.
1. Remove Excess Water Gently
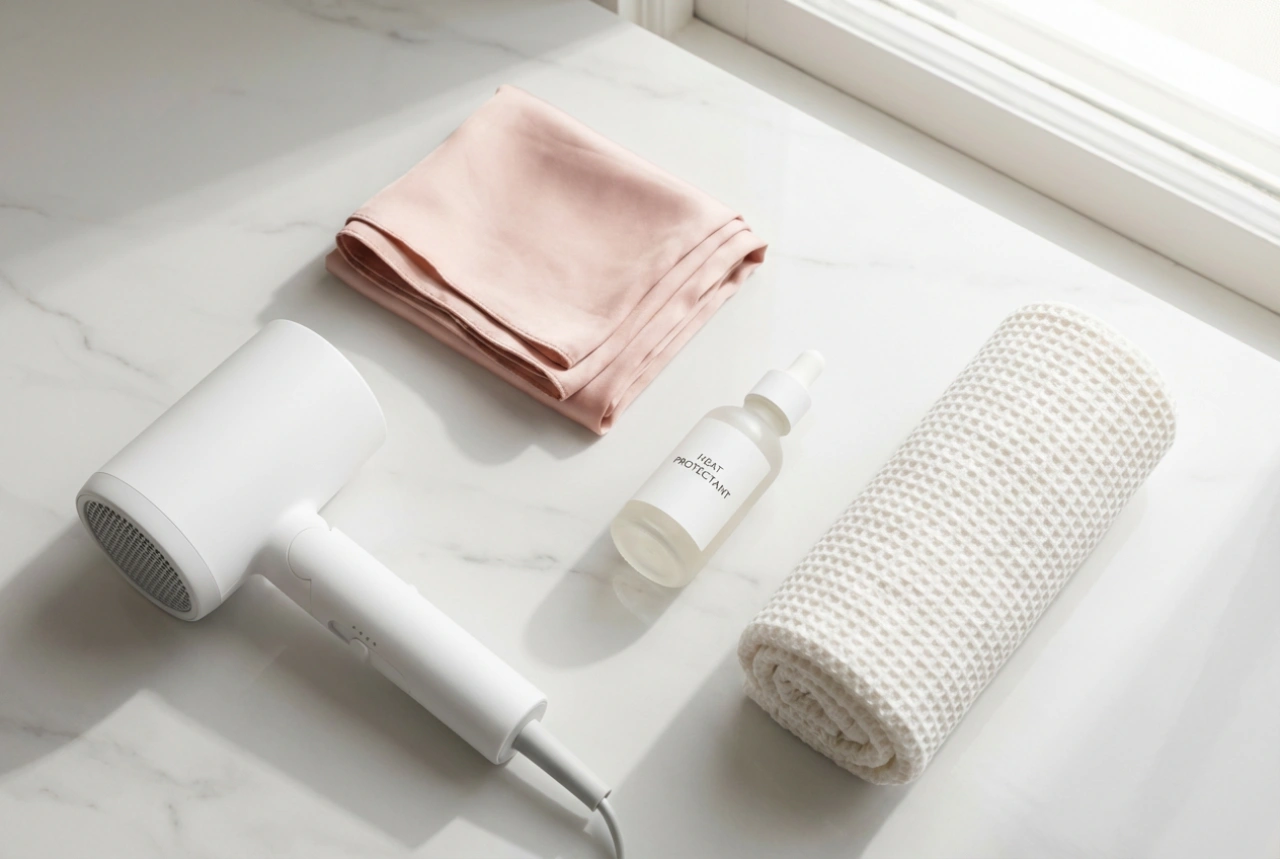
Never start blow-drying soaking wet hair. This essentially boils the water in your hair strands, causing significant damage. After washing, gently squeeze out excess water and then pat or blot your hair with a soft, absorbent towel. Avoid vigorous rubbing, as this can cause friction, leading to frizz and breakage.
2. Apply a Heat Protectant
This is a non-negotiable step. A good heat protectant creates a barrier between your hair and the heat, helping to minimise moisture loss and damage. Apply it evenly throughout your damp hair, from roots to ends, before any heat is applied.
3. Detangle with Care
Use a wide-tooth comb or your fingers to gently detangle your hair. Starting from the ends and working your way up to the roots helps to prevent pulling and snapping the strands.
The Correct Technique for Safe Hair Drying
Once your hair is prepped, it's time to dry. The right technique will give you a professional-looking finish while keeping your hair healthy.
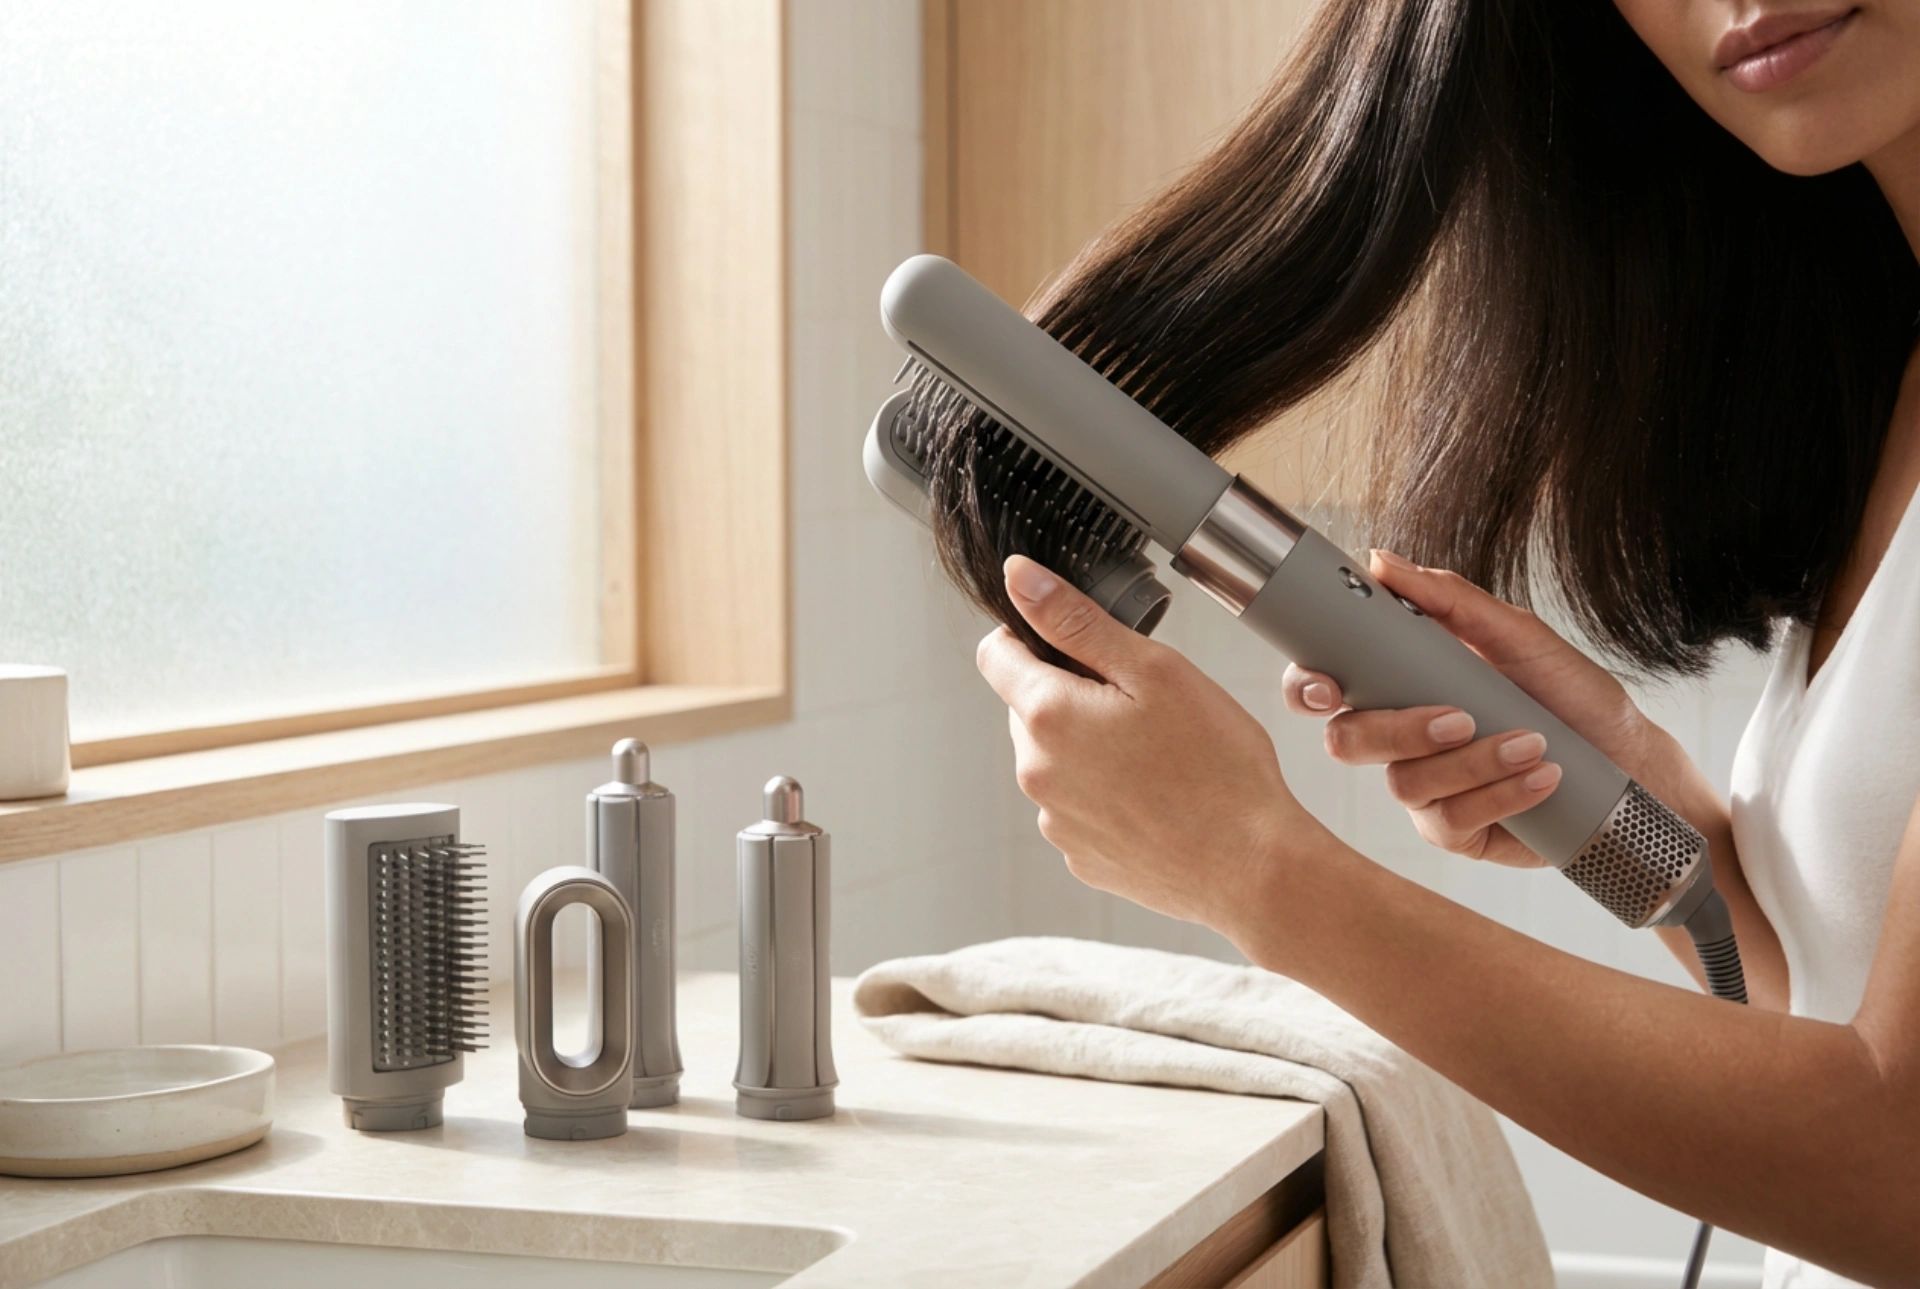
- Start with a Rough Dry: Using a medium heat and high airflow setting, rough-dry your hair until it is about 80% dry. Use your fingers to lift sections and ensure air circulates freely. Keep the dryer moving constantly.
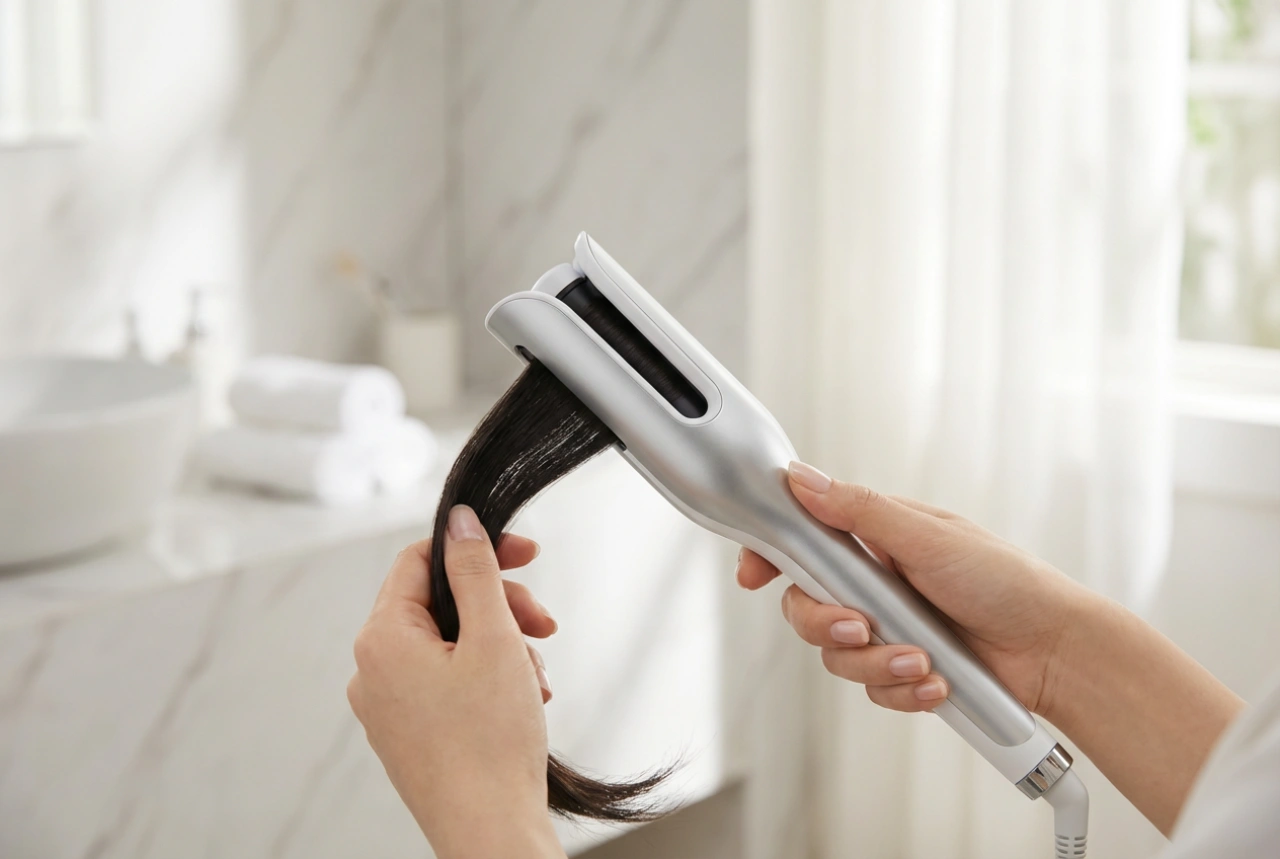
- Section Your Hair: Divide your hair into manageable sections using clips. Working on one small section at a time gives you much more control and ensures each part is dried evenly.
- Use a Nozzle: The concentrator nozzle that comes with your dryer is your best friend for a smooth finish. It directs the airflow precisely where you want it, helping to smooth the hair cuticle.
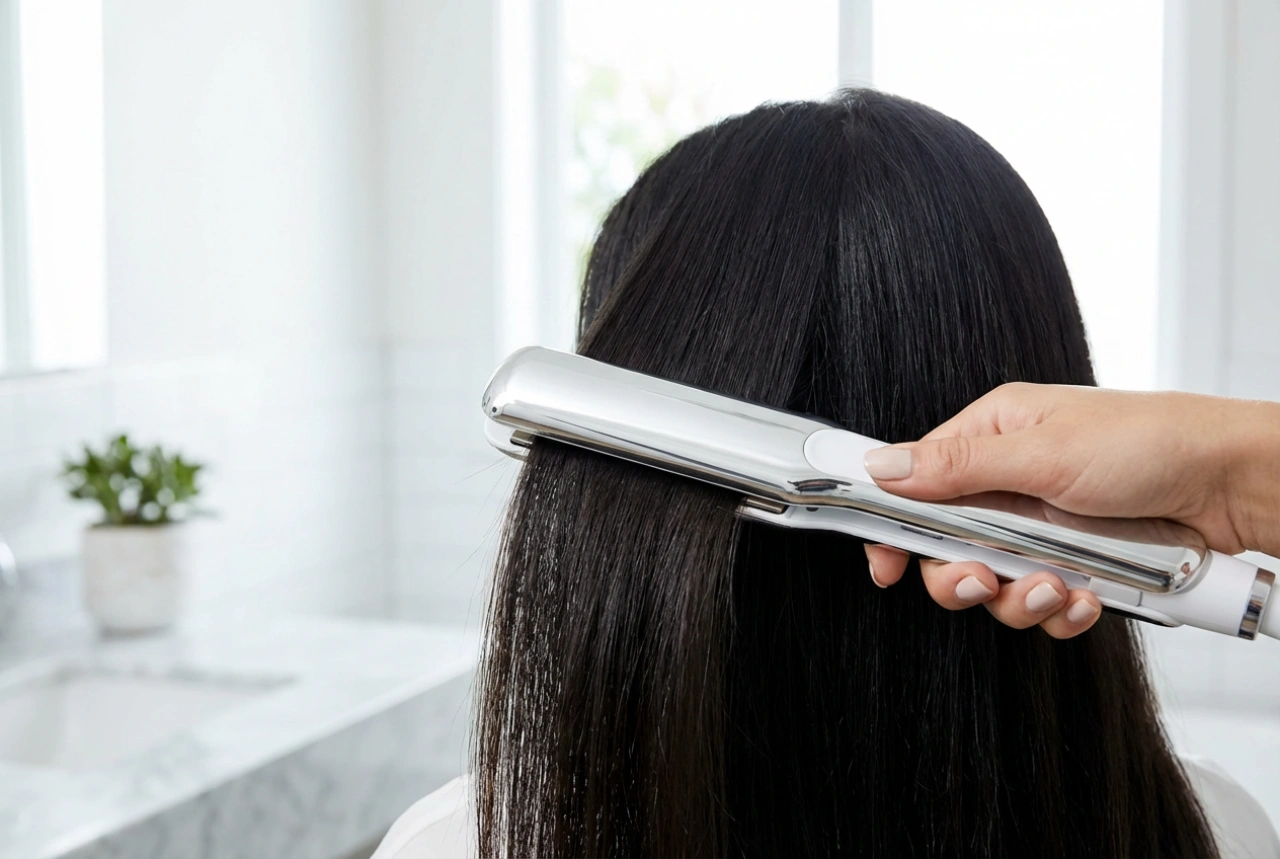
- Maintain a Safe Distance: Hold the hair dryer at least 15-20 centimetres (6-8 inches) away from your hair to prevent scorching the strands and scalp.
- Point Downwards: Always direct the airflow from the roots down to the tips. This encourages the hair cuticles to lie flat, resulting in a smoother, shinier, and less frizzy appearance.
- Keep It Moving: Never concentrate the heat on one spot for too long. Continuously move the hair dryer over the section you are working on to distribute the heat evenly.
- Finish with a Cool Shot: Once a section is dry and styled, go over it with the cool shot button. This simple action sets the style, closes the cuticle, and boosts shine for a long-lasting, polished look.