


Achieving a salon-quality blowout at home can seem like a daunting task, often involving a hair dryer in one hand and a round brush in the other. A hot air styler simplifies this process immensely, combining the power of a dryer with the styling capability of a brush. This innovative tool allows you to dry and shape your hair in one easy step, making it possible to achieve a smooth, polished, and frizz-free finish with minimal effort. It's the secret to transforming damp hair into a beautifully styled look quickly and efficiently.
Preparing Your Hair for Styling
Proper preparation is the foundation of a successful and long-lasting hairstyle that doesn't compromise the health of your hair. Before you even plug in your hot air styler, follow these essential preparatory steps.
Start with Damp, Not Wet, Hair
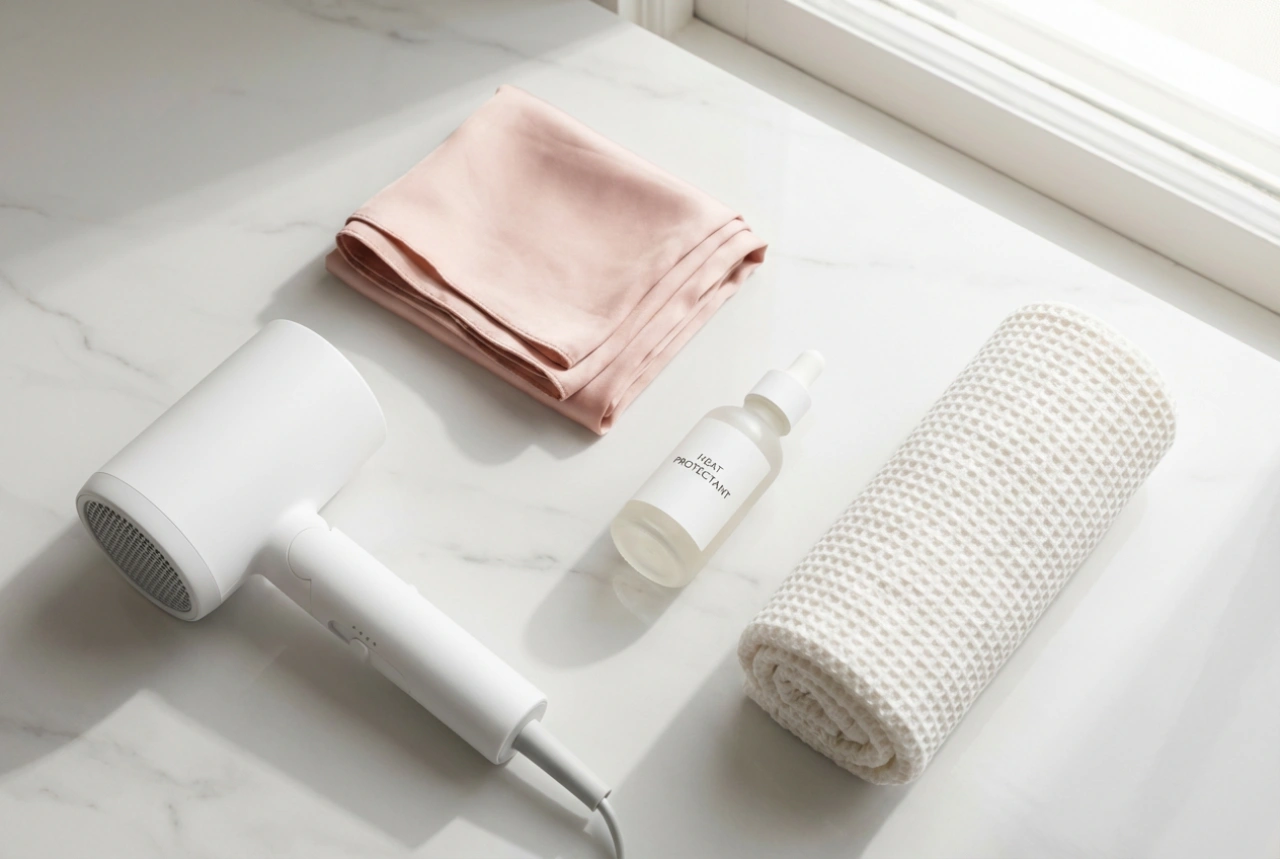
A hot air styler is designed to work on damp hair, not hair that is soaking wet. After washing, gently squeeze out excess water and pat your hair with a soft towel, preferably a microfibre one to reduce friction and potential frizz. Your hair should be about 70-80% dry before you begin styling. Using the tool on overly wet hair not only takes much longer but can also cause unnecessary heat damage.
Always Use a Heat Protectant
This is a non-negotiable step in any heat styling routine. A good heat protectant creates a barrier between your hair strands and the heat, minimising damage, preventing moisture loss, and helping to fight frizz. Spray it evenly throughout your damp hair, from roots to ends, and comb it through to ensure complete coverage.
Detangle and Section Your Hair
To ensure the styler glides smoothly through your hair, you must first remove all knots and tangles. Use a wide-tooth comb or a detangling brush, starting from the ends and working your way up to the roots to prevent breakage. Once detangled, divide your hair into manageable sections using clips. Working with smaller sections allows for more control and ensures each part of your hair is dried and styled evenly, leading to a more professional-looking result.
A Step-by-Step Guide to Using a Hot Air Styler
With your hair prepped, you're ready to start styling. The technique is simple to master and delivers fantastic results once you get the hang of it.
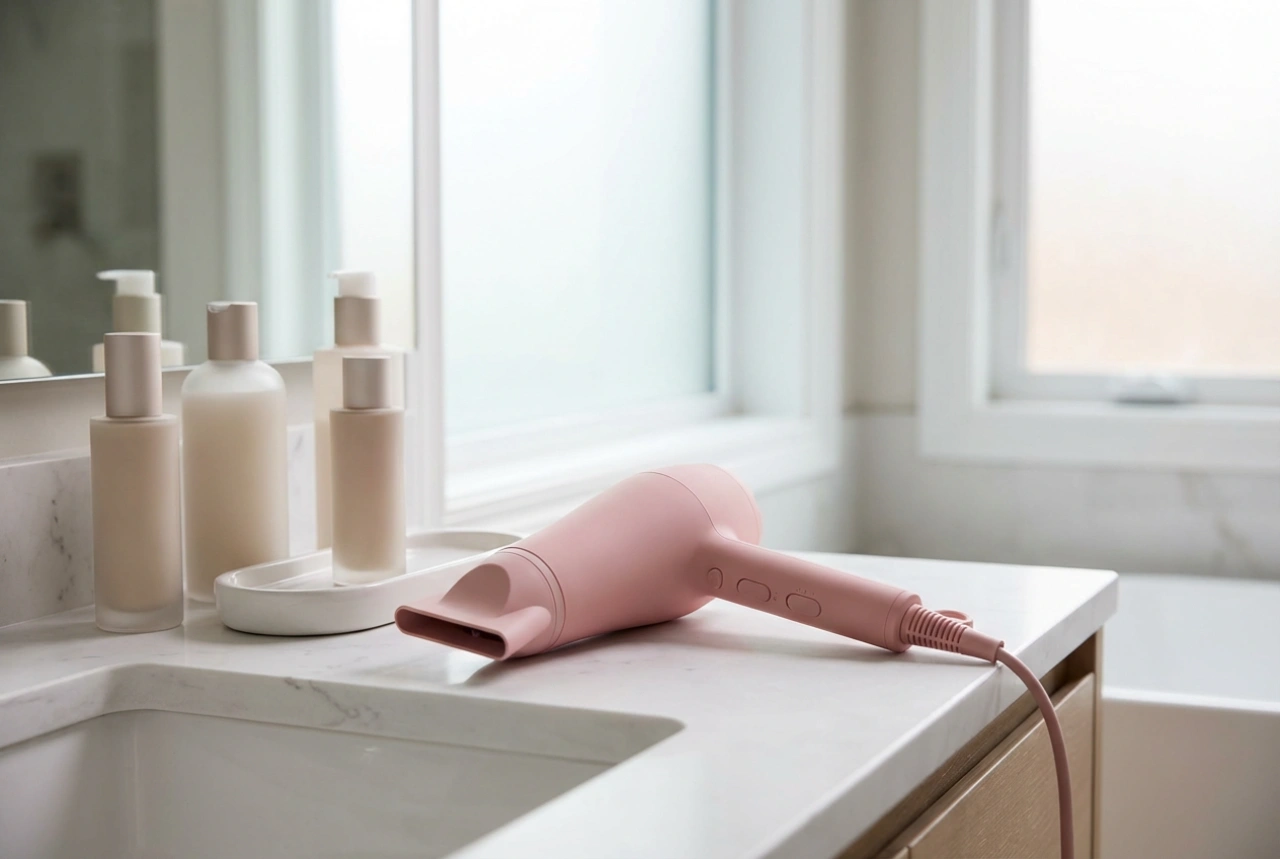
Choose the Right Settings
Most hot air stylers come with multiple heat and speed settings. As a general rule:
- High Heat/Speed: Use this for initial drying and for styling thicker, coarser hair types.
- Low Heat/Speed: Ideal for finer hair, for more precise styling, and for when your hair is nearly dry.
- Cool Shot: An essential feature used at the end to set your style in place.
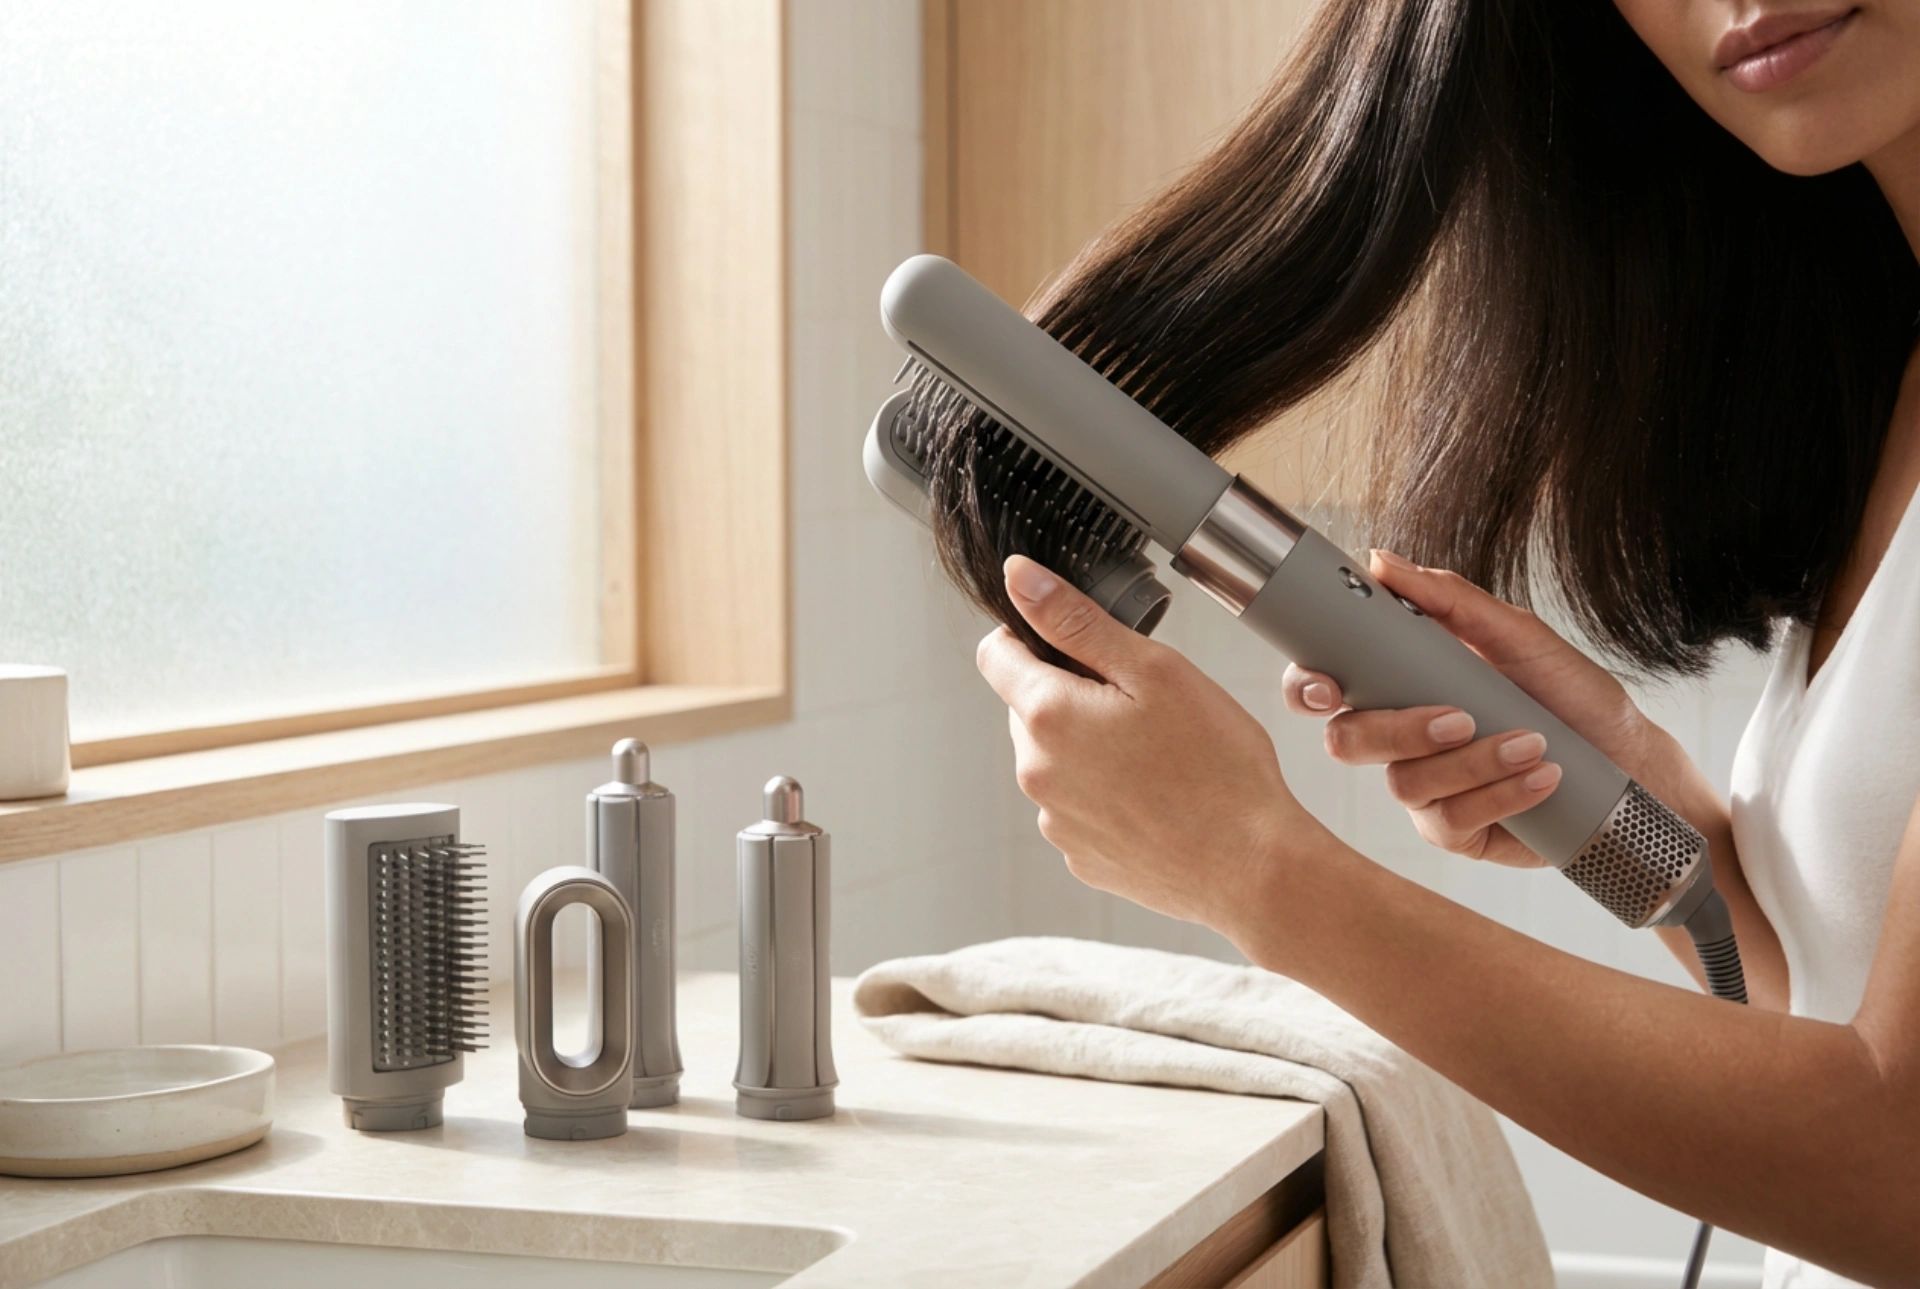
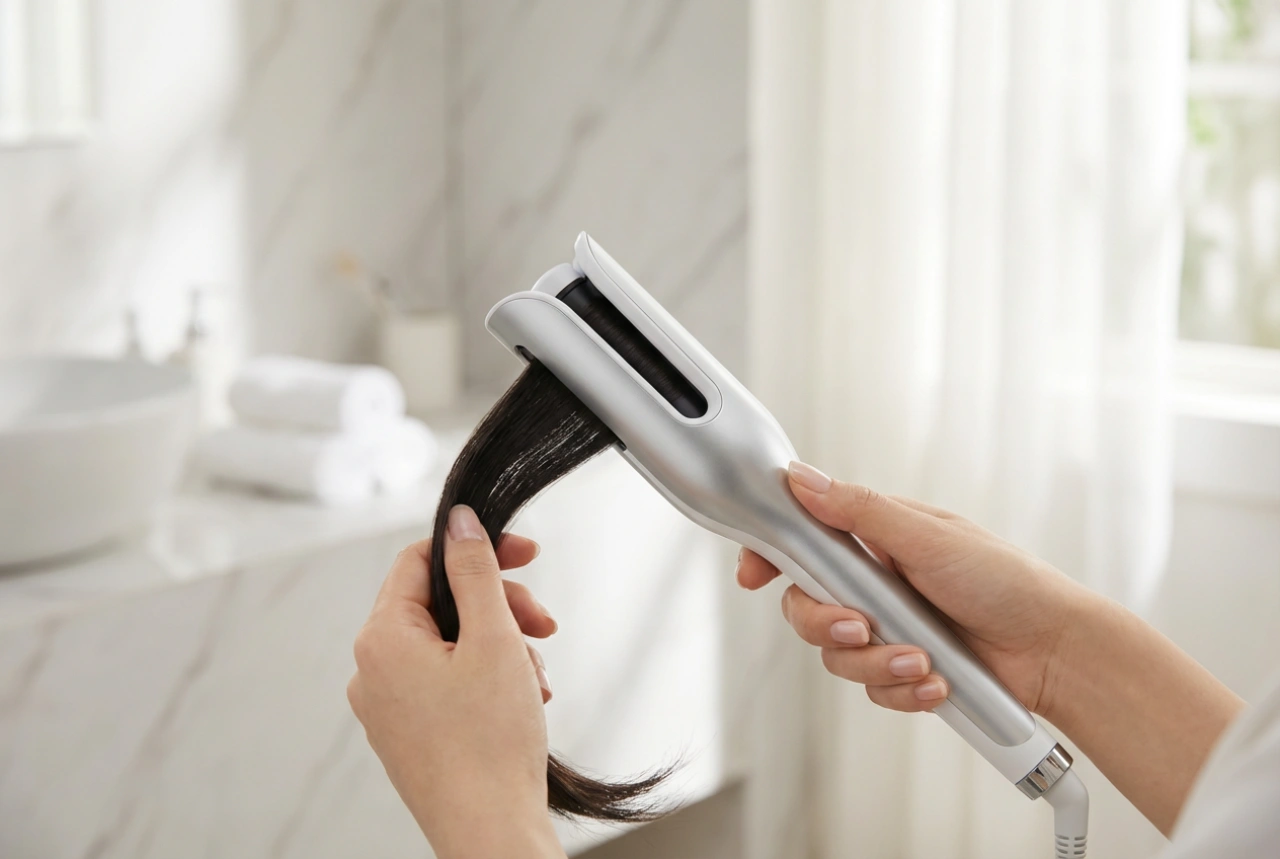
The Core Styling Technique
Begin with the bottom sections of your hair, having clipped the top sections out of the way. Place the styler's brush head near the roots of a section of hair. For added volume, hold it at the root for a few seconds, lifting the hair upwards. Gently glide the tool down the length of the hair towards the ends. As you move downwards, slowly rotate the brush away from your head to create a soft, bouncy effect. When you reach the ends, you can either curl them under for a classic, polished look or flick them outwards for a more playful style. Hold for a few seconds to shape the ends, then release. Repeat this process for every section until all your hair is dry and styled.
Tips for a Frizz-Free, Long-Lasting Finish
Getting the technique right is half the battle; the other half is knowing the little tricks that elevate your look from good to great.
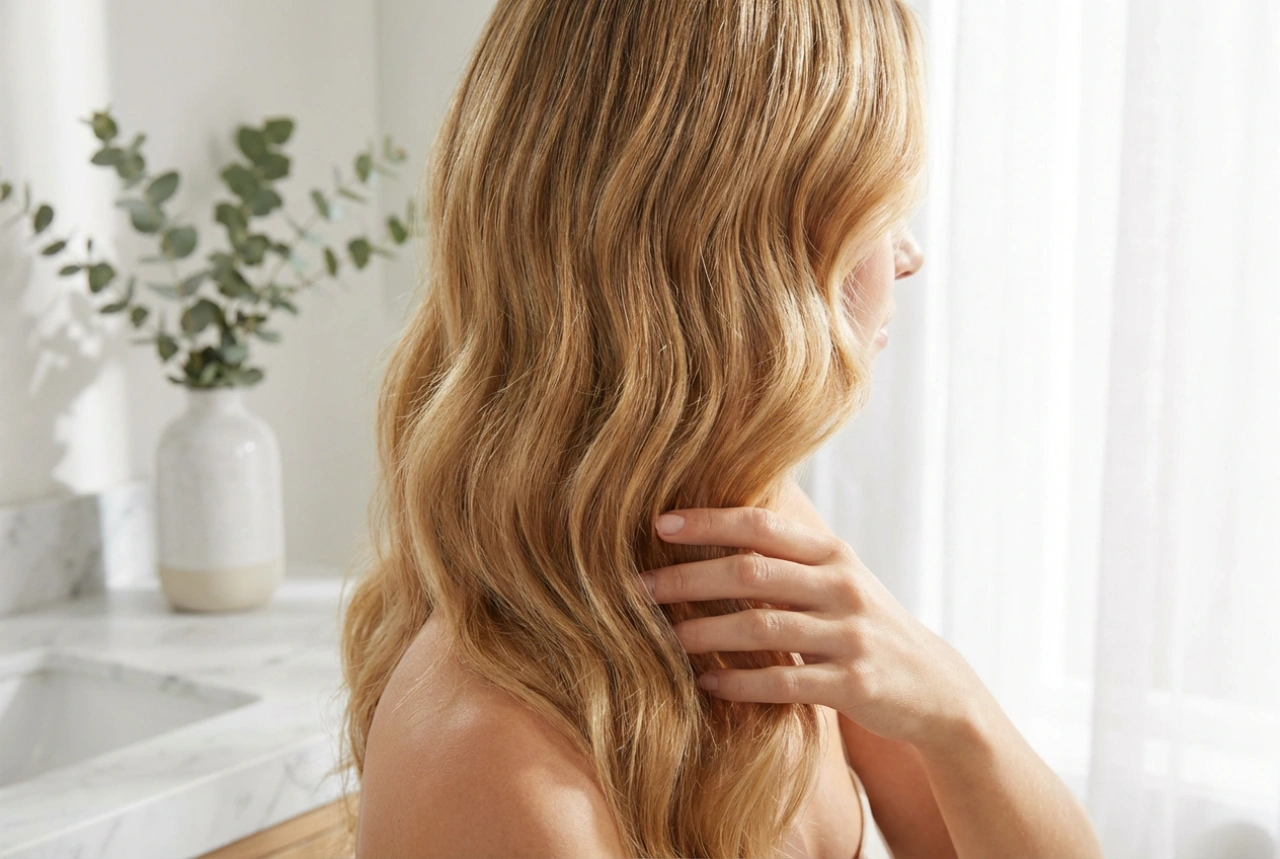
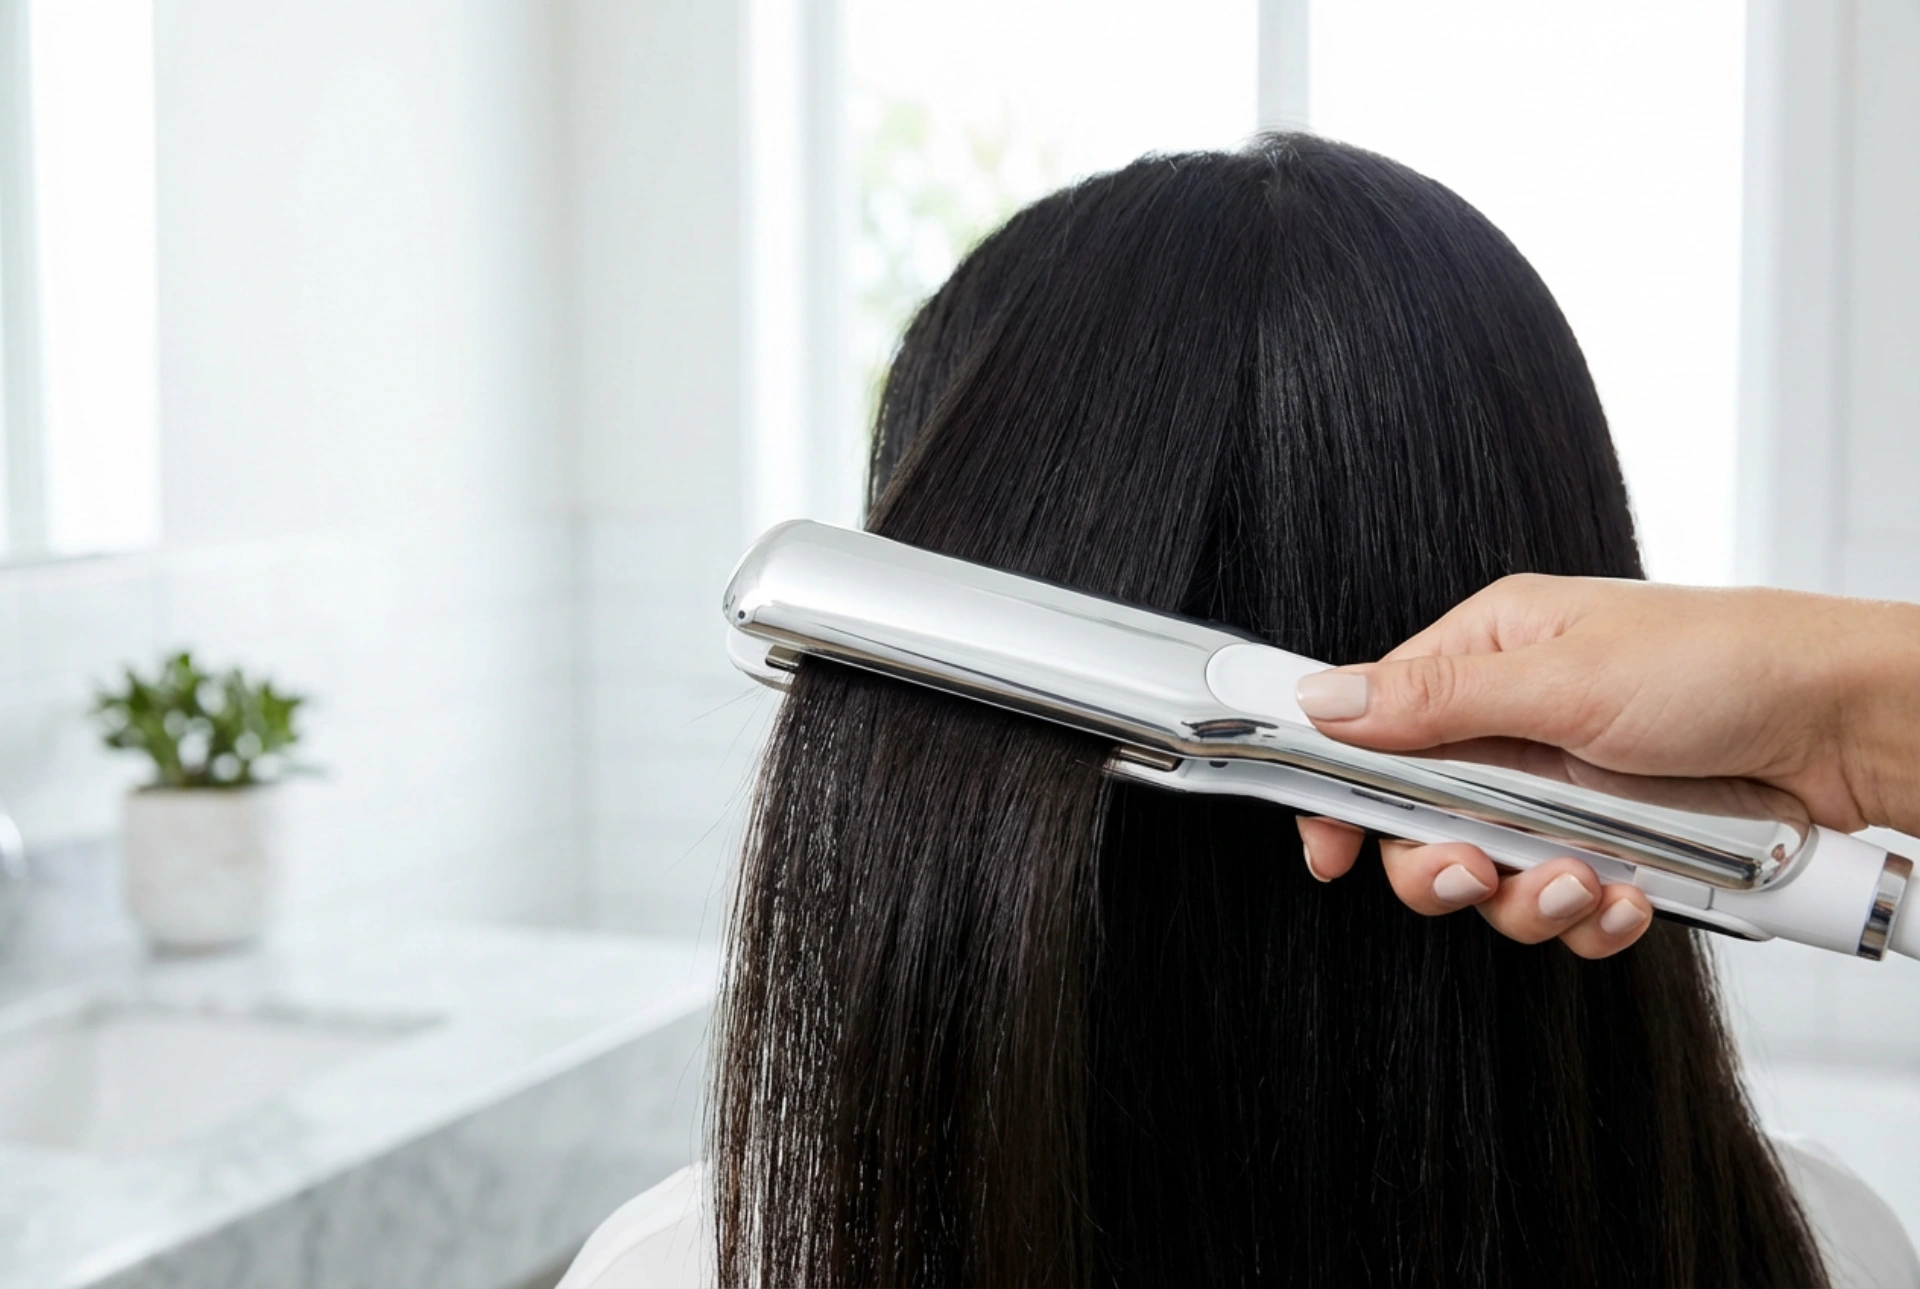
Harness the Power of the Cool Shot
The cool shot button is your best friend for fighting frizz and locking in your style. After you finish styling a section with heat, press the cool shot button and run the styler through that same section one last time. The blast of cool air rapidly cools the hair, closing the hair cuticle. This not only sets the shape but also enhances shine and dramatically reduces the chance of frizz developing later.
Avoid Over-Drying
One of the most common mistakes is to keep applying heat even after the hair is dry. This strips the hair of its natural moisture and can lead to brittleness and frizz. As you style, touch your hair to check its dryness level. Once a section feels dry, move on. It’s better to leave it a tiny bit damp than to overdo it.
Finishing Touches
Once your whole head is styled, you can apply a small amount of a lightweight anti-frizz serum or a drop of hair oil. Rub the product between your palms and lightly smooth it over the surface of your hair, focusing on the mid-lengths and ends to tame any flyaways and add a final touch of gloss.
Common Mistakes to Avoid
To keep your hair healthy and your style looking its best, be mindful of these common errors:
- Styling soaking wet hair: This 'boils' the water in your hair and can cause significant damage. Always towel-dry or air-dry first.
- Forgetting heat protectant: Direct heat without protection is one of the quickest ways to damage hair structure.
- Using sections that are too large: This leads to uneven drying, with the outside of the section becoming over-dried while the inside remains damp.
- Not cleaning your tool: Hair, dust, and product build-up can clog the air vents and bristles, reducing the styler's effectiveness and creating a hygiene issue. Clean it regularly according to the manufacturer's instructions.