


Achieving beautifully smooth skin through waxing at home is entirely possible with the right knowledge and technique. Understanding the different types of wax available, how to prepare your skin, and what to do after the process is key to a successful and comfortable experience. This guide will walk you through the essentials, helping you master the art of home waxing for salon-like results, ensuring your skin is cared for from start to finish.
Understanding Different Types of Wax
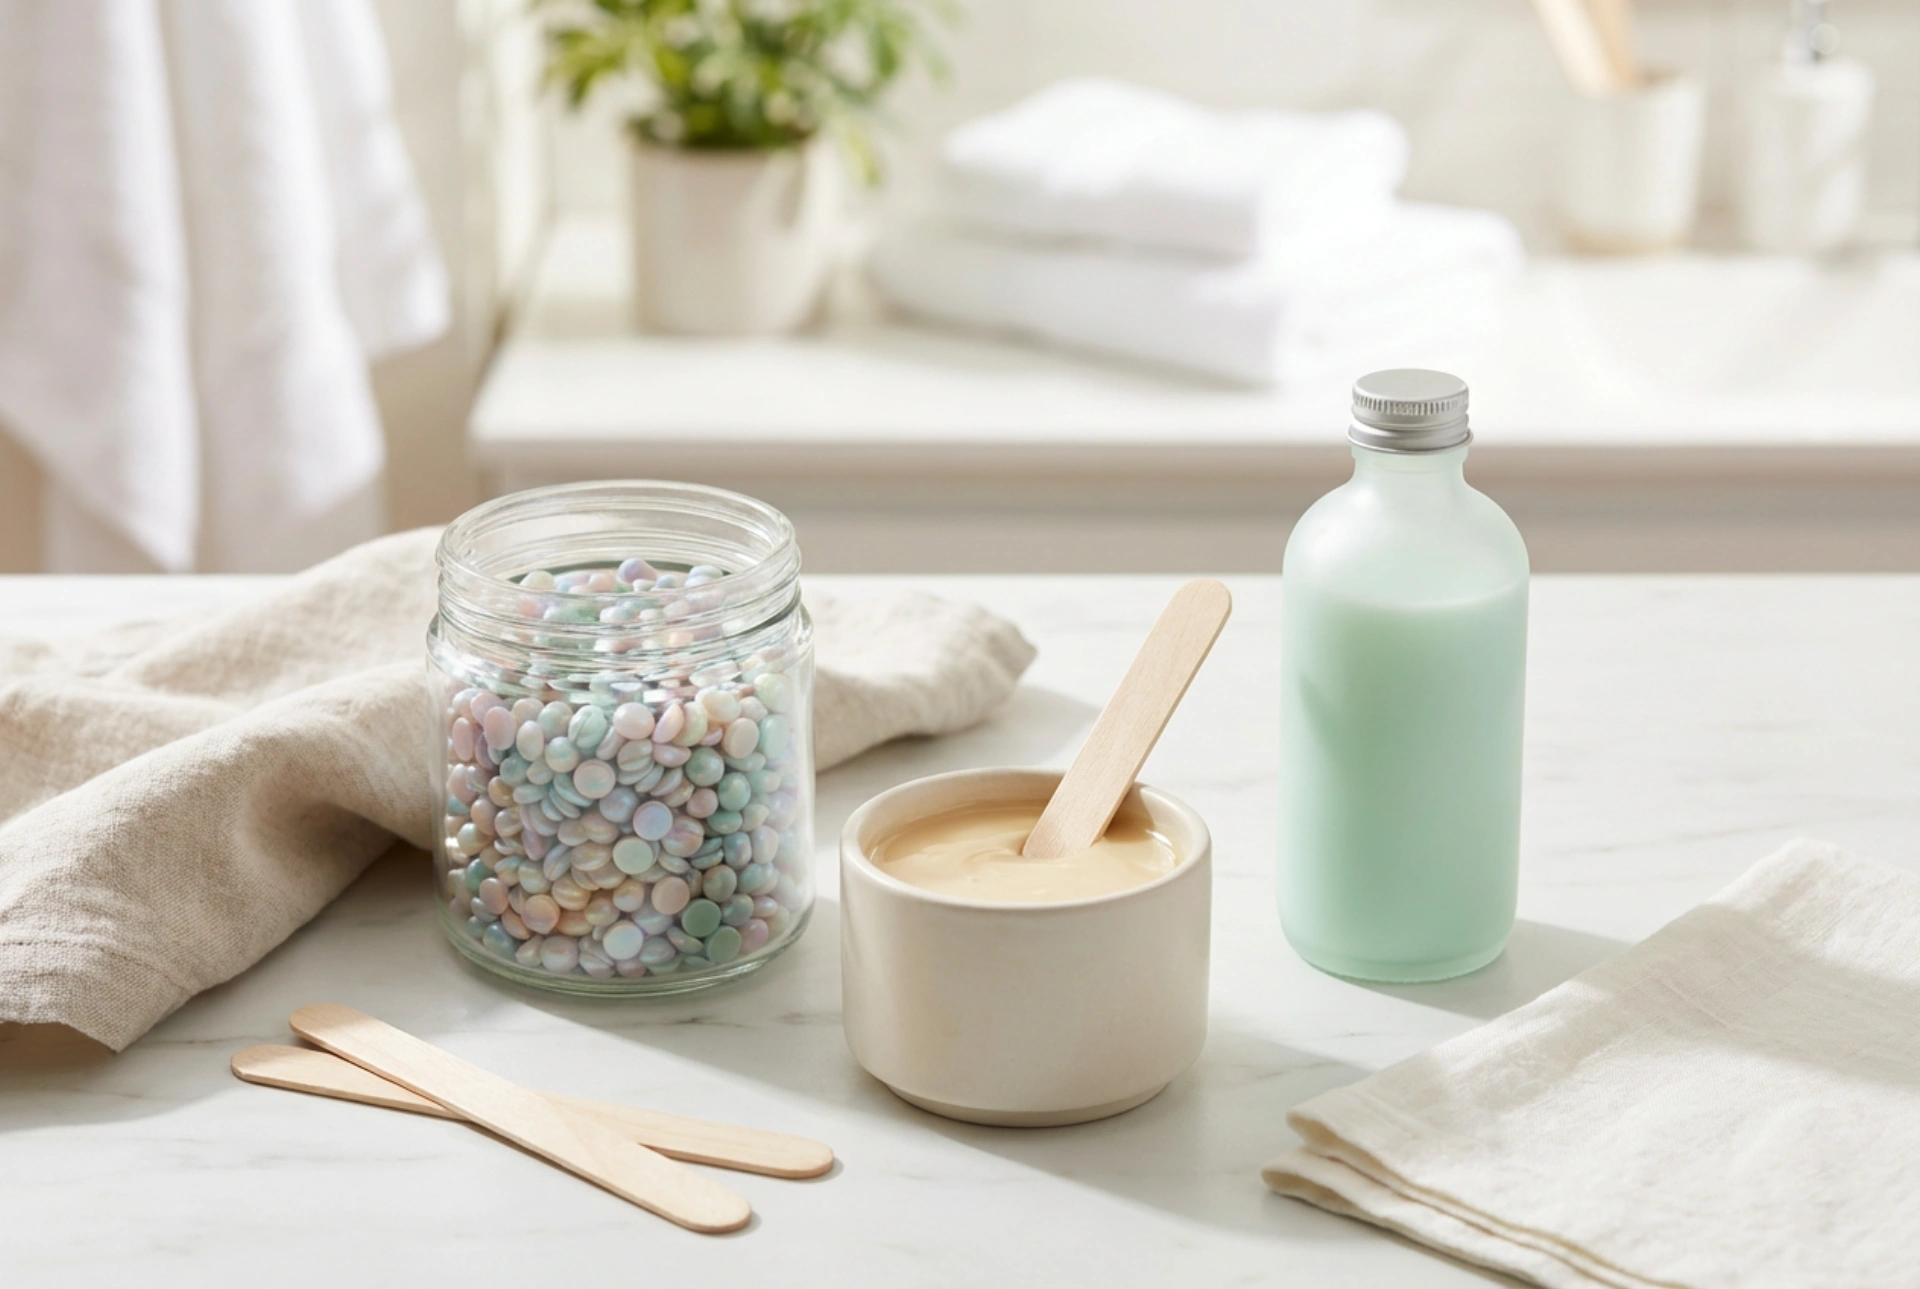
The first step in your home waxing journey is selecting the appropriate type of wax for your needs. The two primary categories you will encounter are soft wax and hard wax, each with its own unique properties and ideal uses.
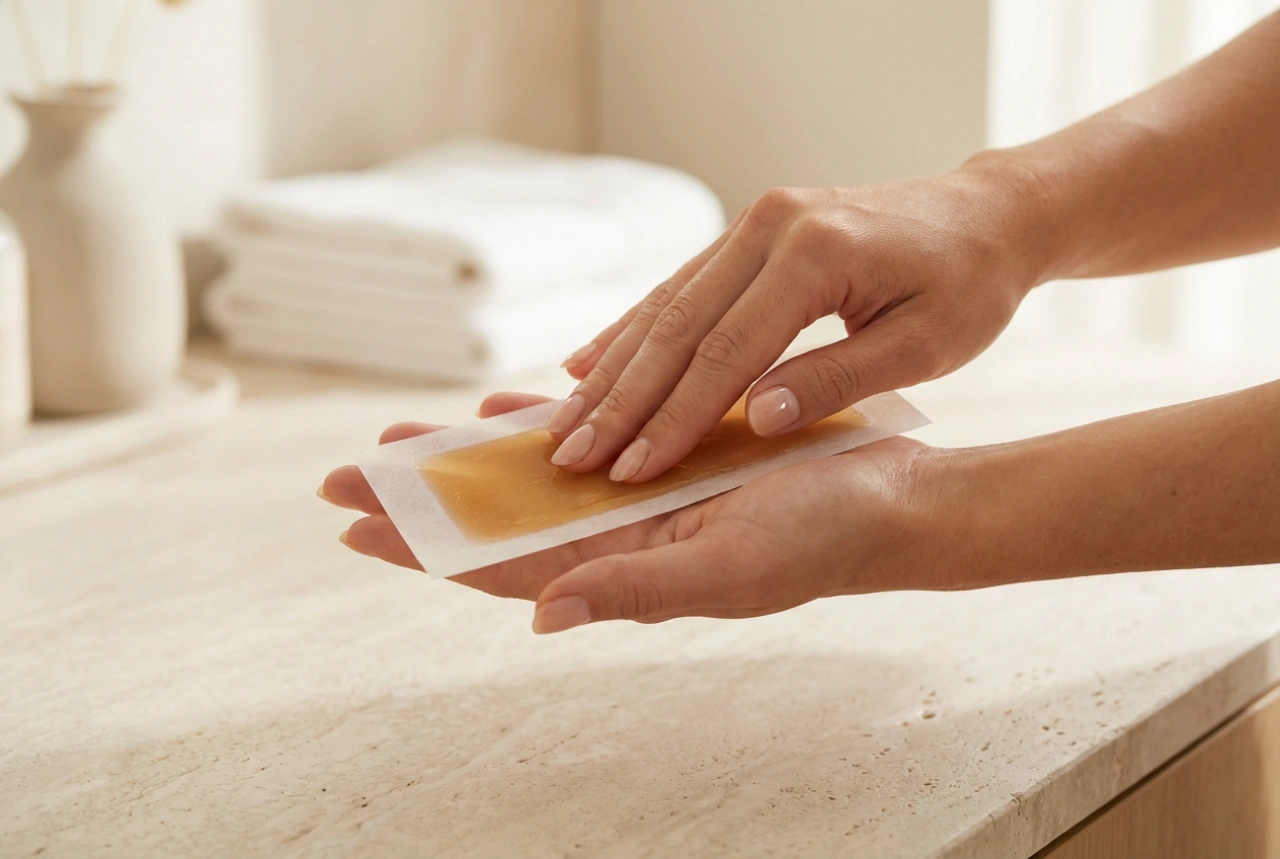
Soft Wax (Strip Wax)
Soft wax has a honey-like consistency when warmed and is applied to the skin in a very thin layer. A fabric or paper strip is then pressed firmly onto the wax and pulled off to remove the hair. It is very effective at removing fine and coarse hair and is economical for larger areas like legs, arms, and back. Because it adheres to both the hair and the top layer of skin, it provides some exfoliation but can be more irritating for those with sensitive skin. It cannot be reapplied to the same area in a single session.
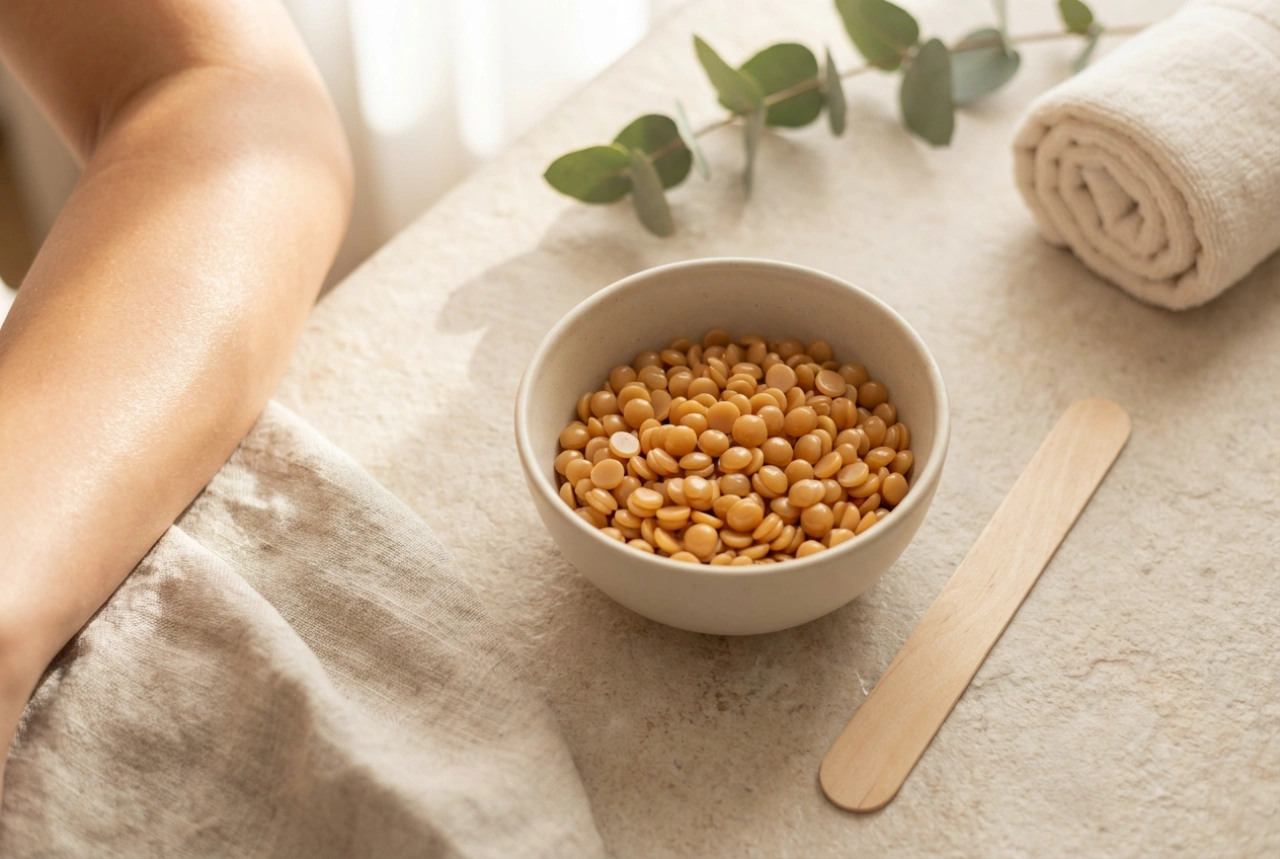
Hard Wax (Stripless Wax)
Hard wax is thicker in consistency. It is applied warm to the skin, where it cools and hardens, 'shrink-wrapping' the hair. It is then removed on its own, without the need for a strip. This type of wax adheres primarily to the hair and not the skin, which many people find makes it less uncomfortable and gentler on delicate areas like the bikini line, underarms, and face. It can often be reapplied to the same spot to catch any missed hairs with minimal irritation.
Preparing Your Skin for Waxing
Proper preparation is crucial for an effective and less uncomfortable waxing session. Neglecting this step can lead to less-than-perfect results and increase the chances of skin irritation.
- Check Hair Length: For wax to grip properly, hair should be about 6mm long. If it's too short, the wax won't grab it. If it's too long, it can be more uncomfortable; trim it slightly if needed.
- Cleanse the Area: Before you begin, wash the area you plan to wax with a gentle cleanser to remove any oils, lotions, or dirt. This helps the wax adhere correctly.
- Exfoliate in Advance: Gently exfoliate the skin a day or two before waxing. This removes dead skin cells, allowing for a cleaner wax and helping to prevent ingrown hairs later. Avoid exfoliating on the day of waxing, as this can make skin too sensitive.
- Ensure Skin is Dry: Wax will not stick to damp skin. Pat the area completely dry before application. A light dusting of talc-free powder can help absorb any excess moisture.
The Correct Waxing Technique
The direction of application and removal is the most critical rule in waxing. Mastering this technique ensures maximum hair removal and minimises discomfort and hair breakage.
Application and Removal Directions
The golden rule of waxing is simple: apply the wax in the same direction as the hair growth, and remove it in the opposite direction. For example, on the lower legs, hair typically grows downwards towards the ankle. You would apply the wax in a downward motion and pull the strip or hard wax upwards, against the hair growth. Always pull parallel to the skin's surface, not straight up, to avoid bruising or lifting the skin.
The Process
First, warm the wax to the manufacturer's recommended temperature, which is usually a thick, spreadable consistency. Test a small amount on your inner wrist to ensure it's not too hot. Using an applicator, apply a thin, even layer in the direction of hair growth. If using soft wax, press the strip on firmly, leaving a small 'handle' at the end. If using hard wax, create a thicker edge or 'lip' to grip for removal. Hold your skin taut with one hand and, with the other, pull the strip or hardened wax off quickly and decisively against the direction of hair growth.
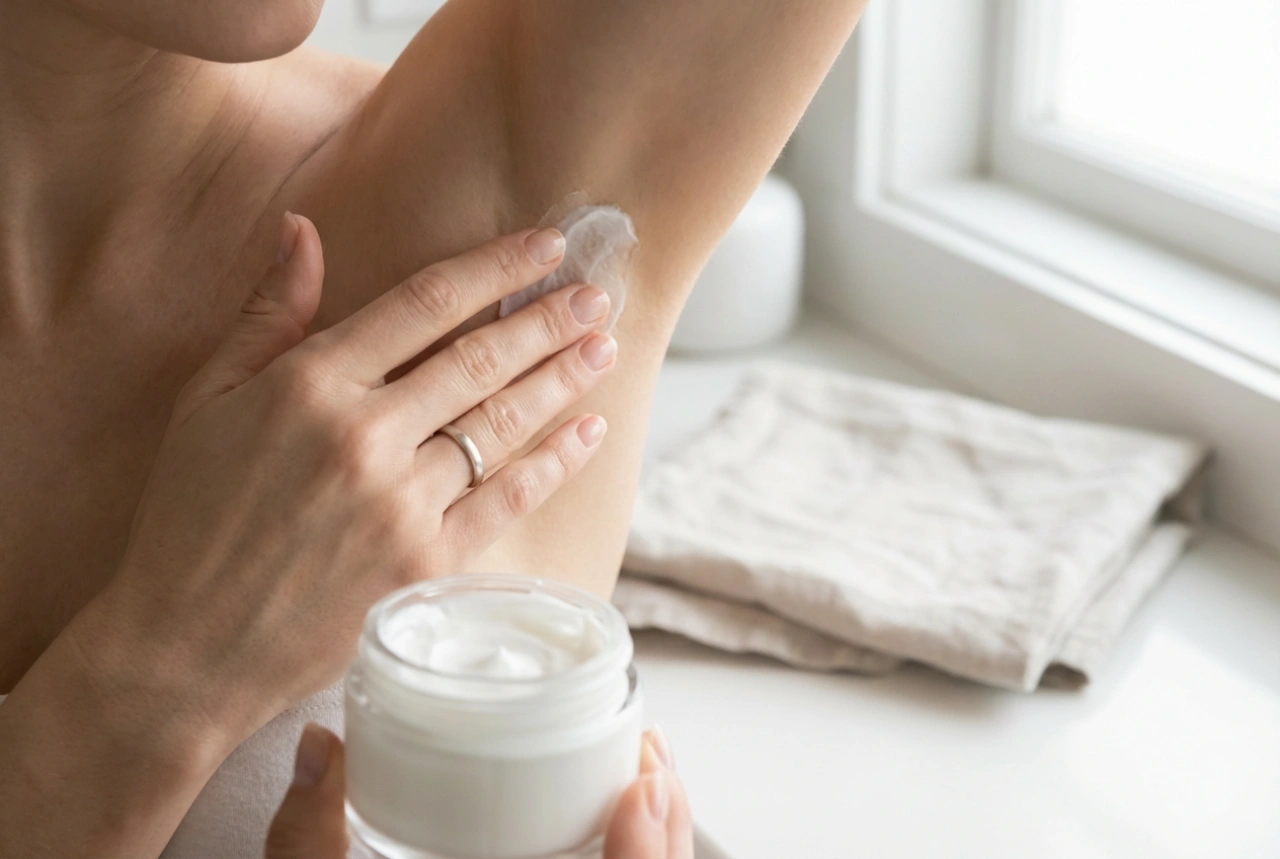
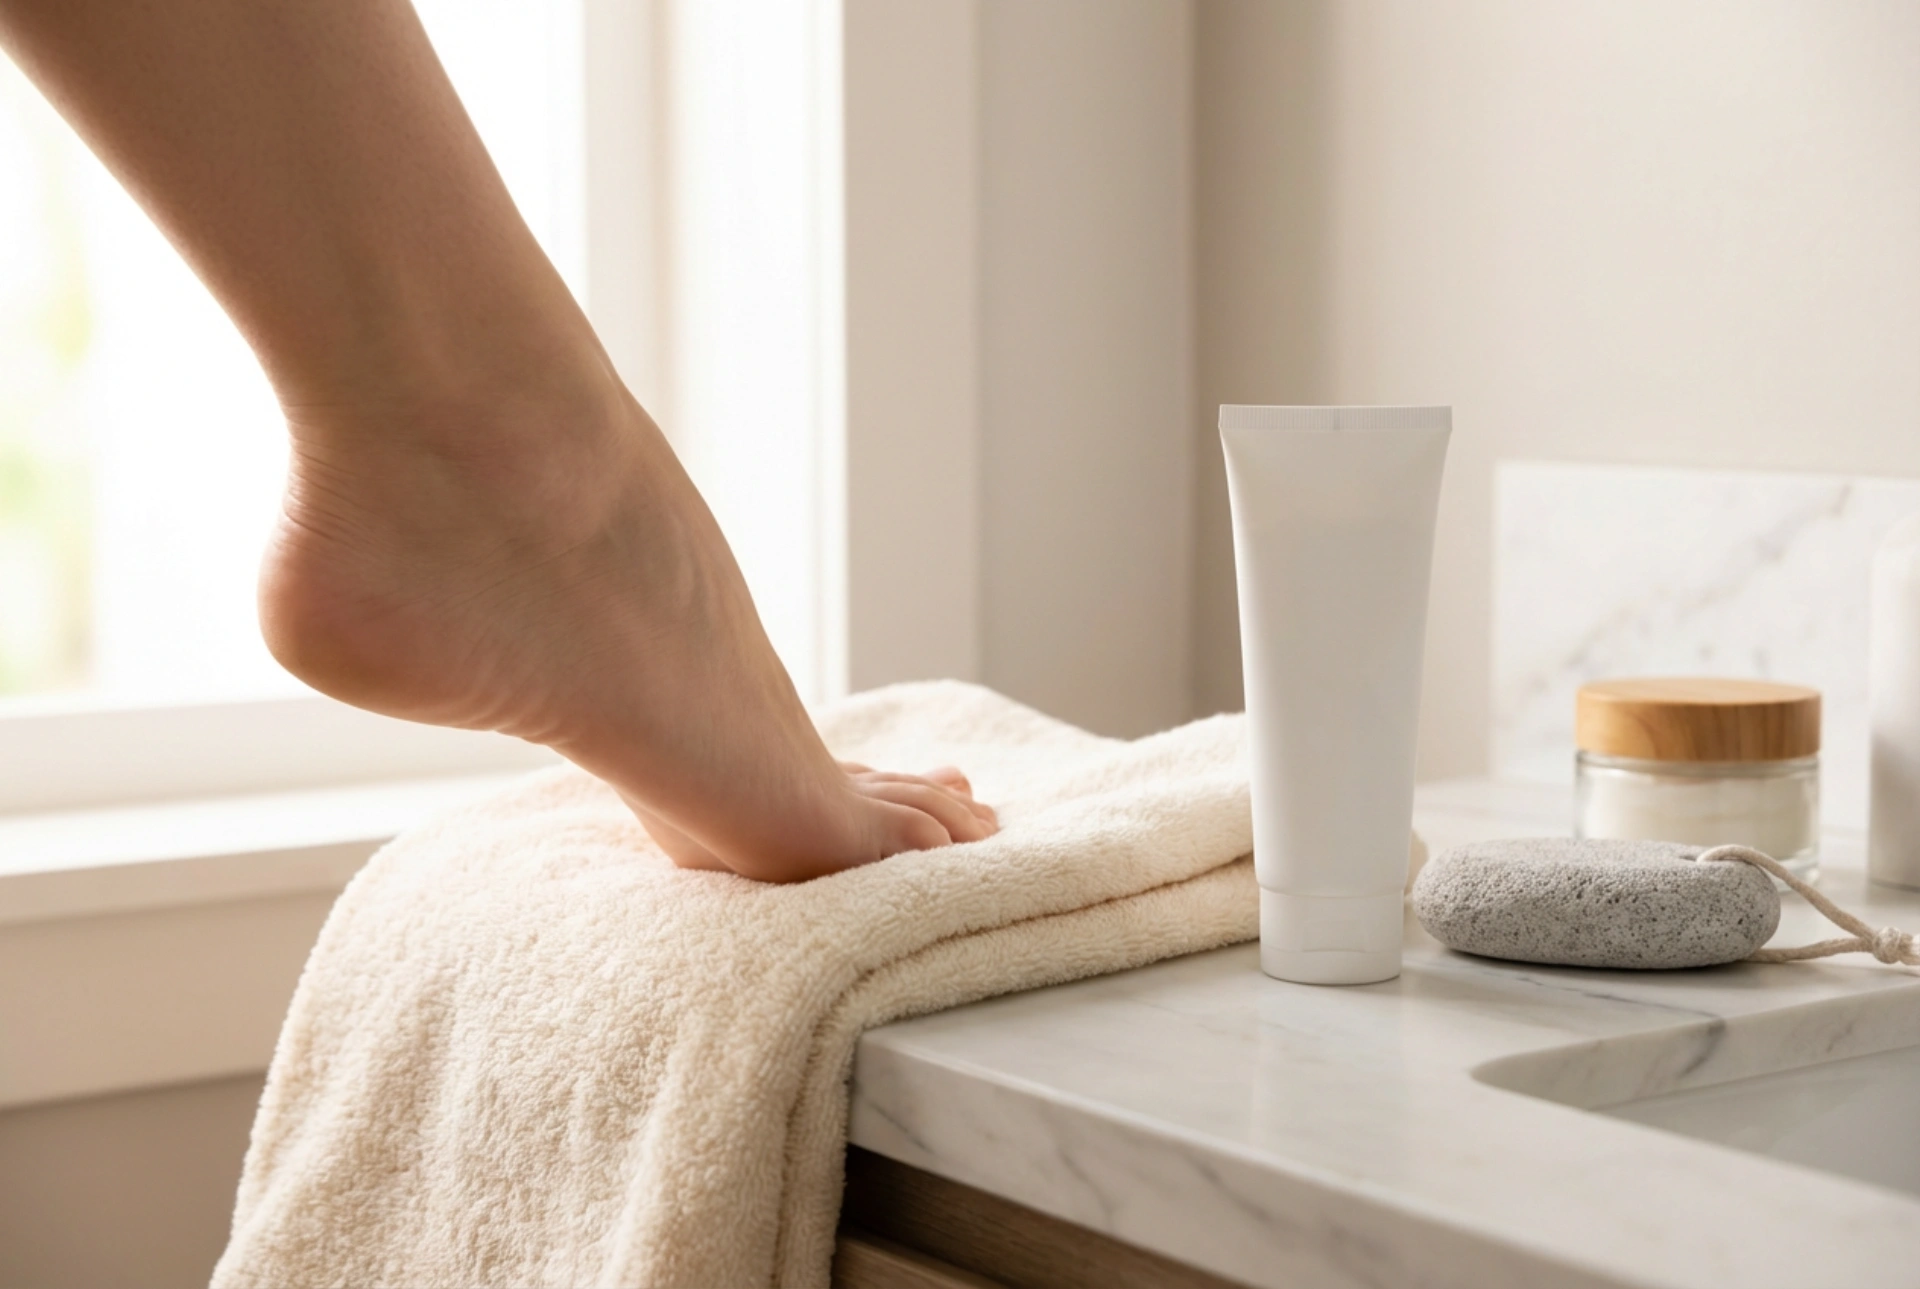
Essential Post-Waxing Skincare
What you do after waxing is just as important as the preparation. Proper aftercare helps to soothe the skin, prevent bumps, and maintain your smooth results for longer.
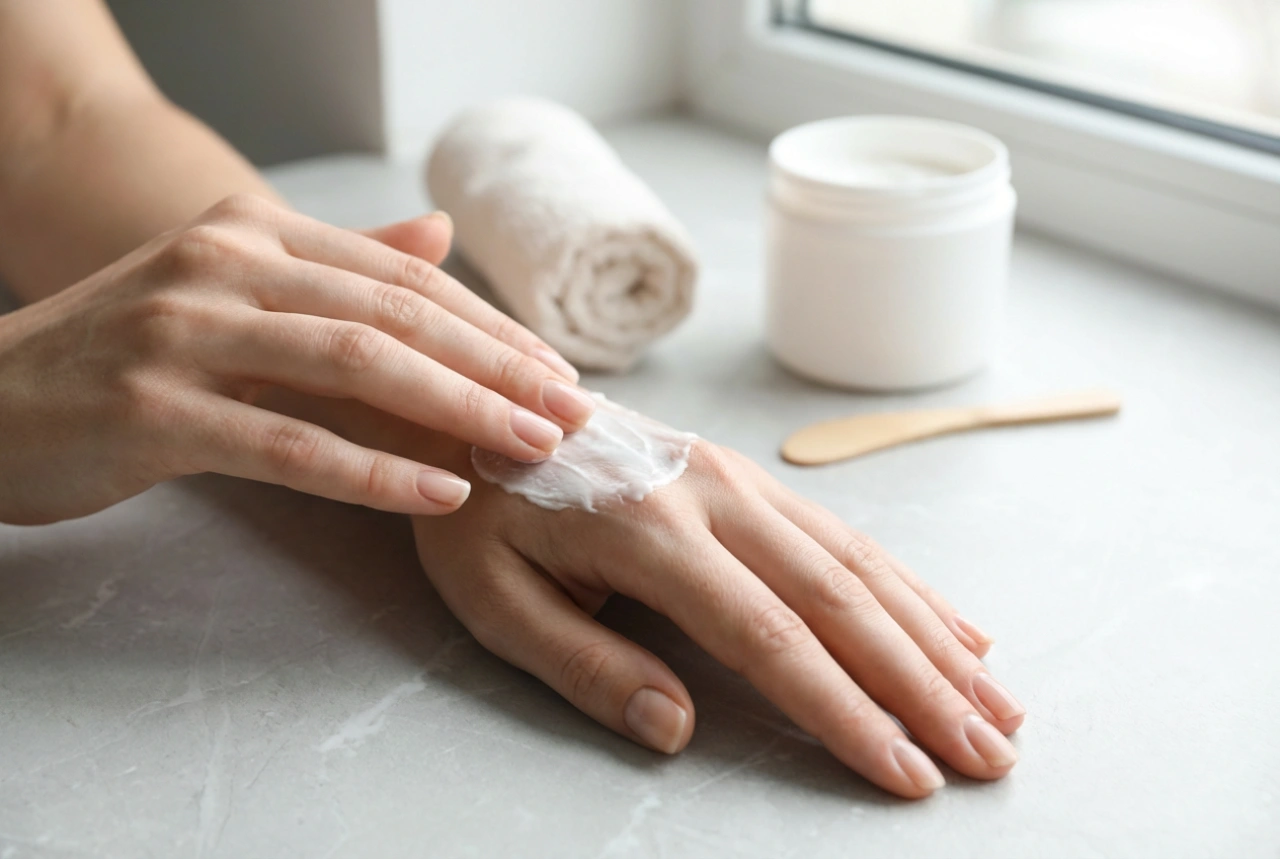
- Remove Residue: Use a specially formulated post-wax oil or a natural oil (like coconut or olive oil) to gently remove any sticky wax residue. Water will not work on most waxes.
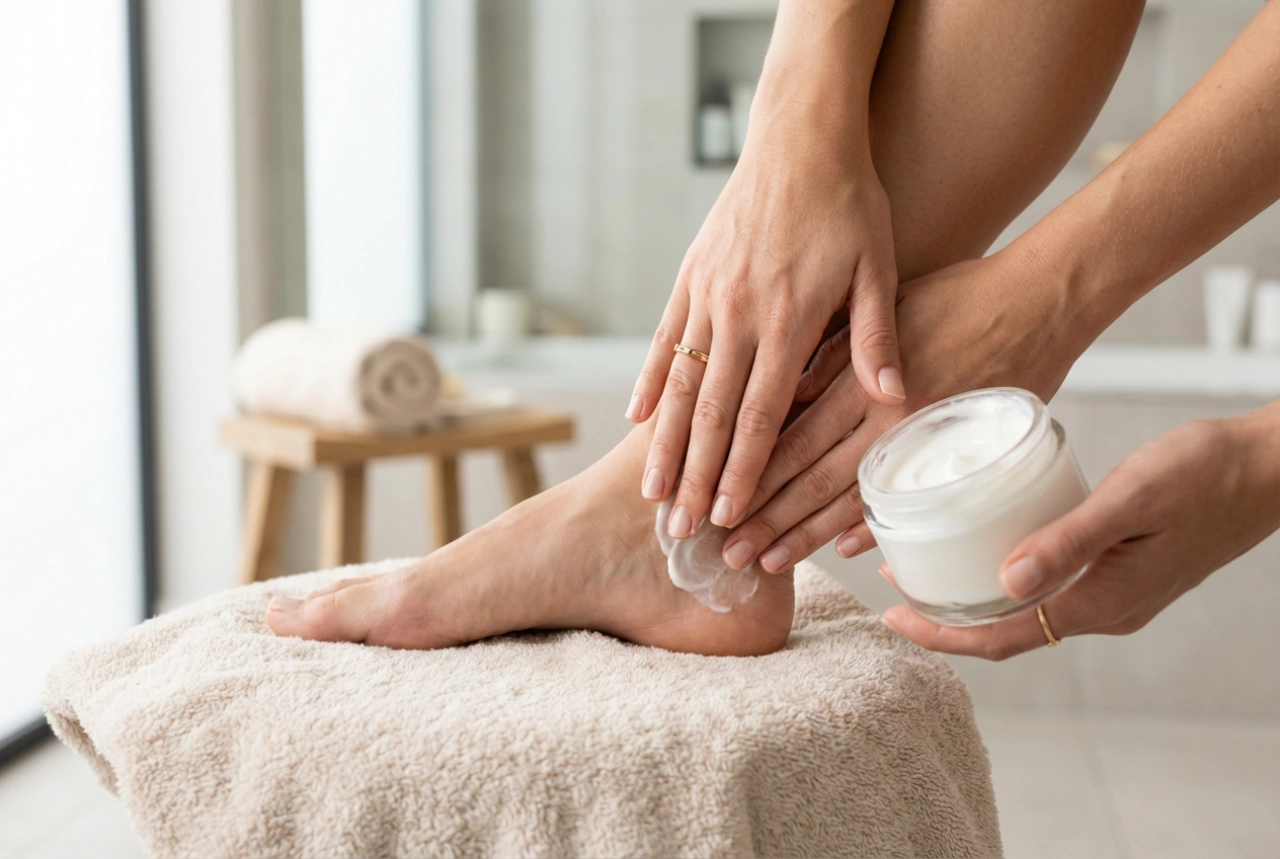
- Soothe the Skin: Apply a calming, fragrance-free lotion or a product containing soothing ingredients to the waxed area. This helps to reduce redness and calm the skin.
- Avoid Irritants: For the first 24-48 hours, avoid hot baths, saunas, swimming pools, sun exposure, and tight-fitting clothing. This gives your skin time to recover without further irritation.
- Prevent Ingrown Hairs: A few days after waxing, begin to gently exfoliate the area 2-3 times a week. This helps to keep the skin clear and allows new hairs to grow through the surface properly, preventing them from becoming trapped.