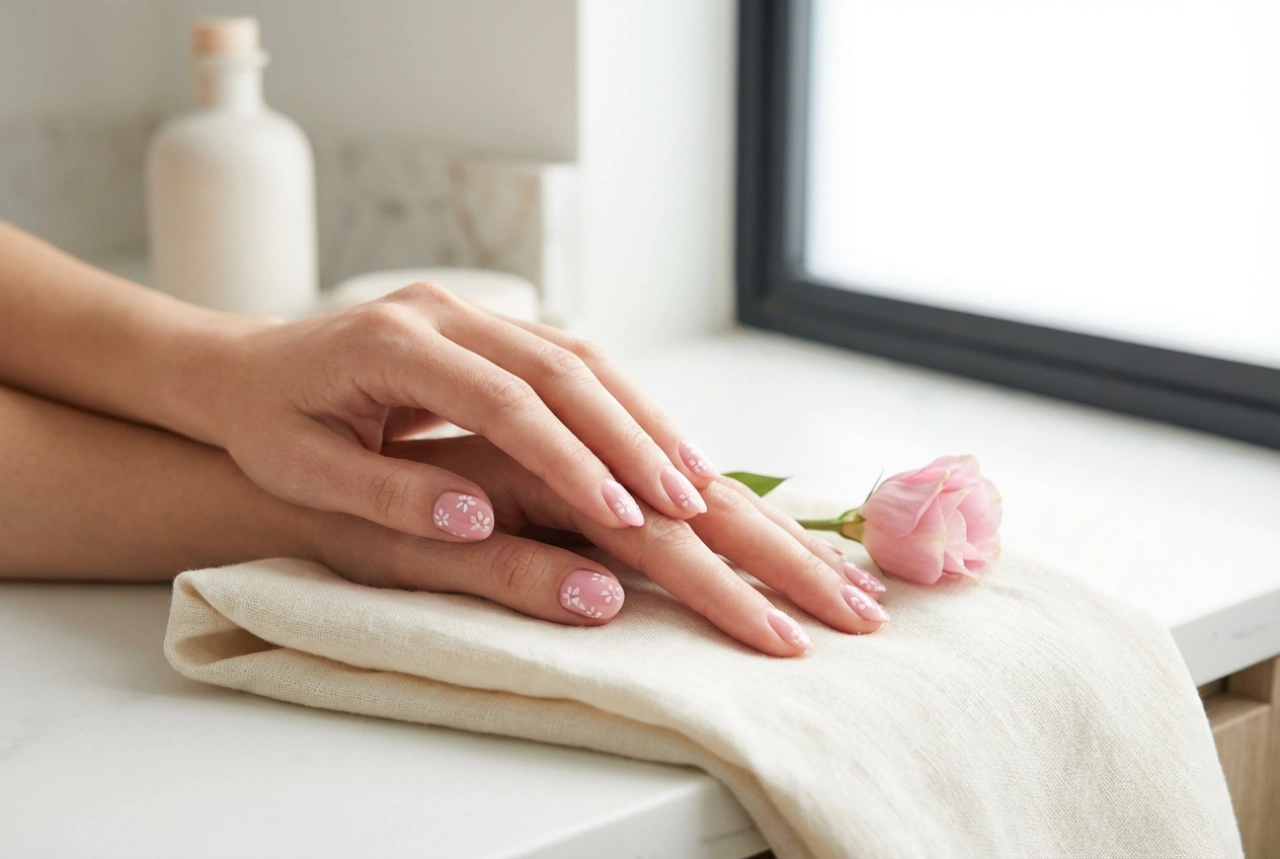


The French manicure is a symbol of timeless elegance, a classic style that never fails to look sophisticated. Its clean lines and natural palette enhance the beauty of the hands, making it a popular choice for any occasion. Thanks to hybrid nail polishes, you can now achieve this impeccable look at home with the added benefit of long-lasting, chip-free wear. This guide will walk you through every step, from preparing your nails to sealing the perfect, glossy finish.
Preparing Your Nails for a Hybrid Manicure
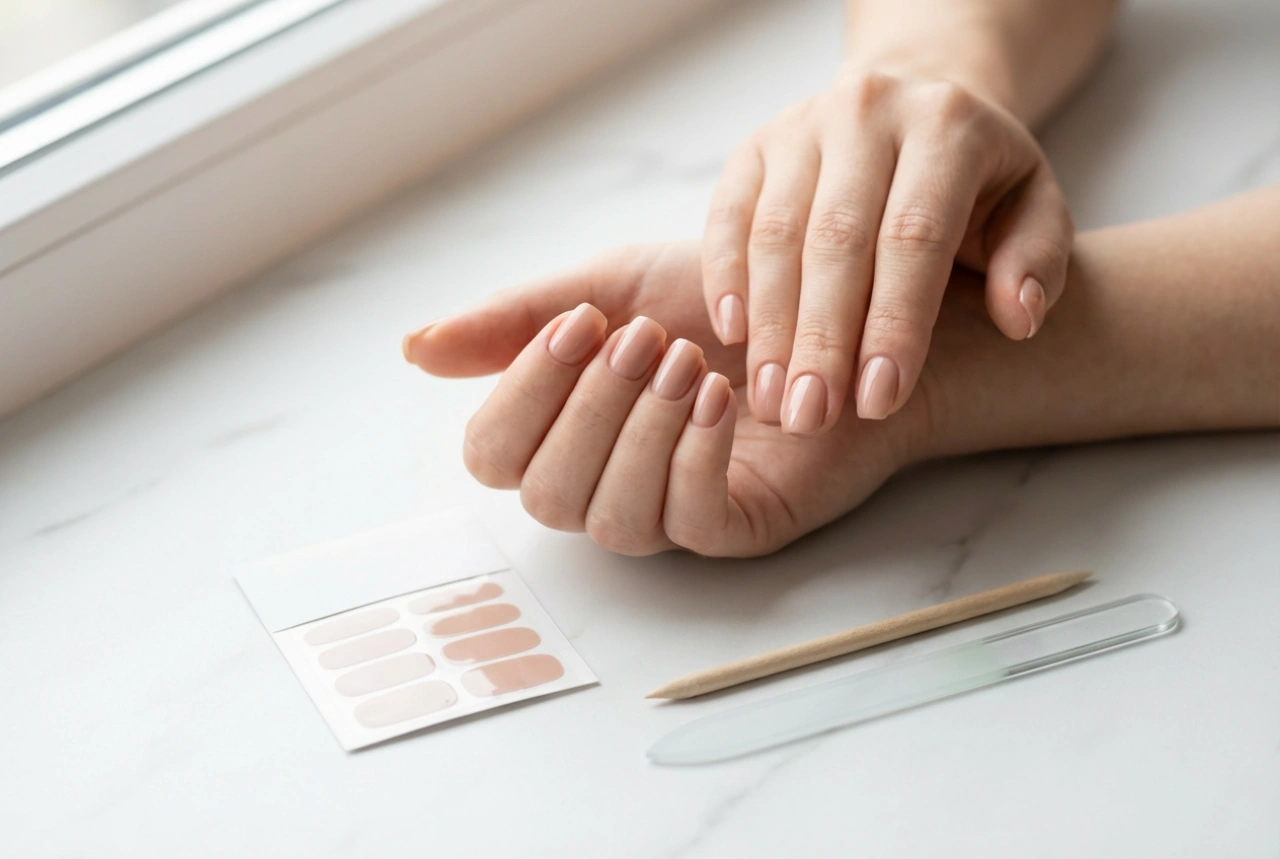
Proper preparation is the foundation of a durable and beautiful manicure. Neglecting this step can lead to lifting and a shorter lifespan for your French manicure. Start by gently pushing back your cuticles with a wooden or rubber-tipped pusher. If you have excess cuticle growth, you can carefully trim it, but avoid cutting the living tissue around the nail. Next, shape your nails to your desired form using a nail file. Whether you prefer a square, oval, or almond shape, ensure all nails are even in length and form. Once shaped, take a soft buffer block and lightly buff the entire surface of each nail. This removes the natural shine and creates a slightly rough texture that helps the hybrid polish adhere better. Finally, wipe each nail with a lint-free pad soaked in a nail cleaner or isopropyl alcohol to remove any dust and natural oils.
Choosing the Perfect Base Colour
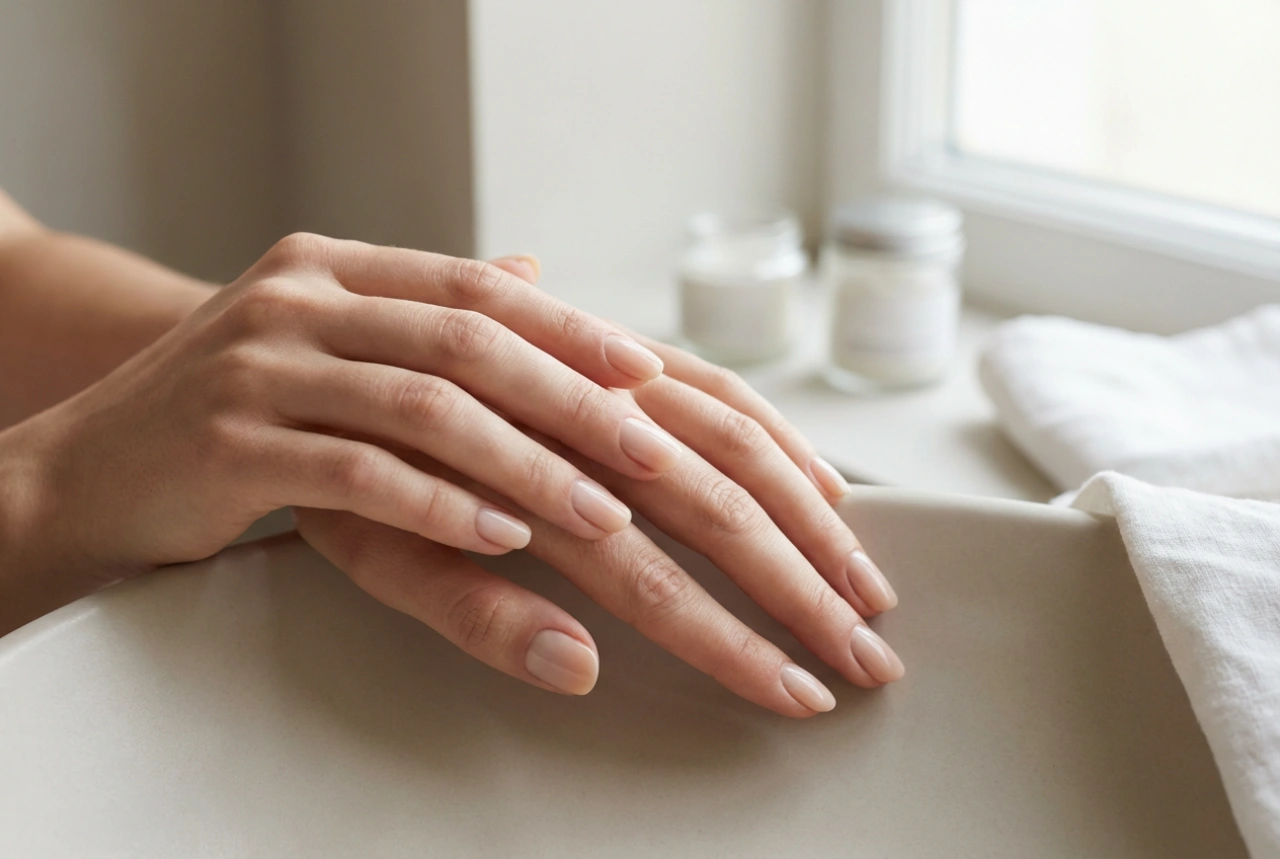
The base of a French manicure is what gives it its natural, healthy appearance. The traditional choice is a sheer pink, but nudes, beiges, and milky whites are also excellent options. The right colour depends on your skin tone and personal preference. For a classic look, select a shade that is one or two tones lighter or deeper than your natural nail bed. Consider the opacity of the polish as well. A very sheer colour will allow your natural nail tip to show through slightly, creating a soft, blended look. A semi-opaque base will provide more coverage, creating a cleaner canvas for the white tip and helping to mask any imperfections on the nail plate. It's a good idea to test a colour on one nail before committing to the full set to see how it complements your skin.
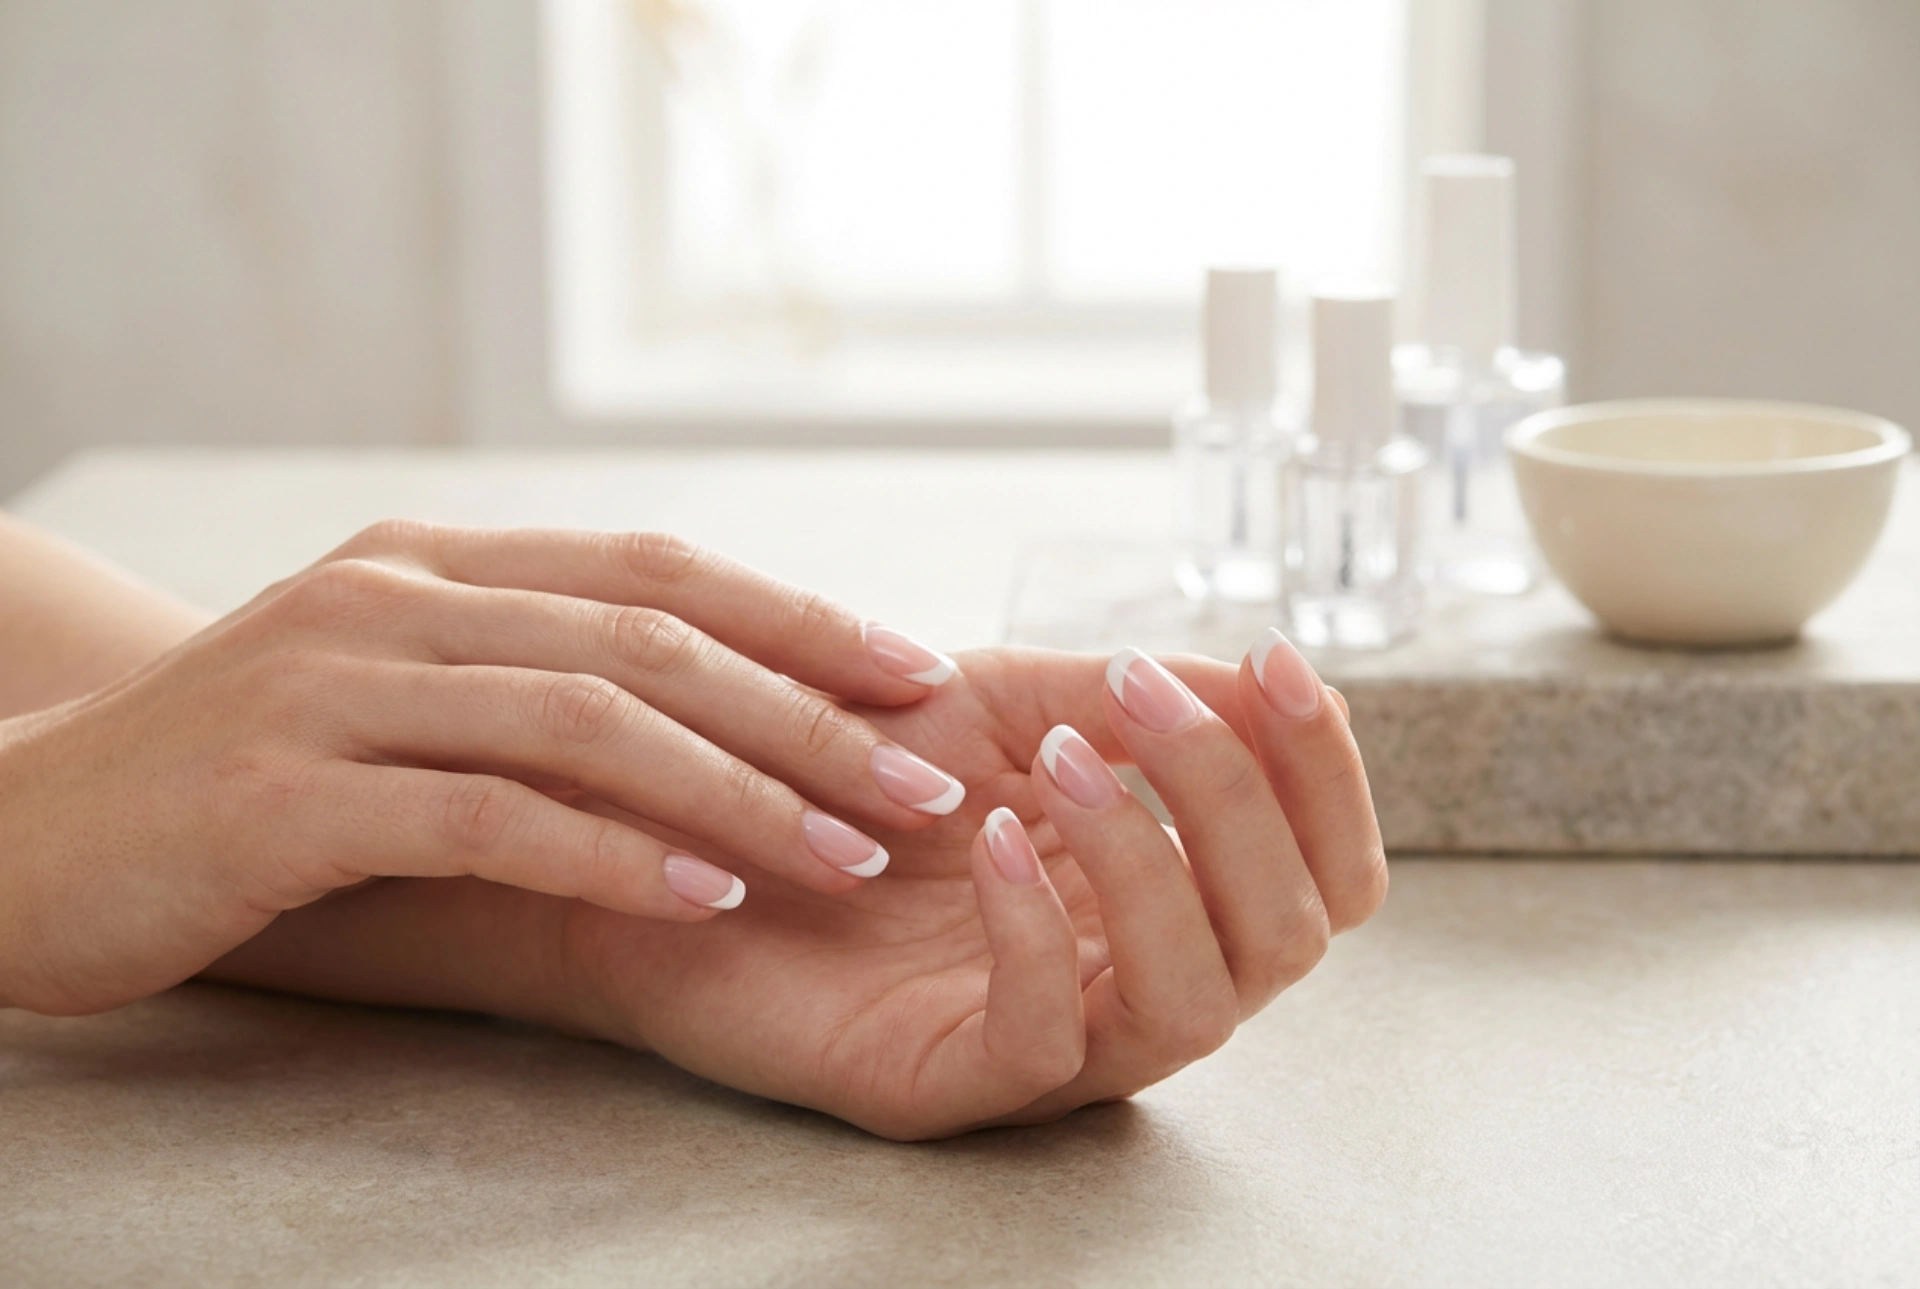
Mastering the 'Smile Line'
The crisp, curved white tip, known as the 'smile line', is the defining feature of a French manicure. Achieving a clean and even line can seem daunting, but with the right technique and a little practice, it's entirely manageable.
Techniques for a Perfect White Tip
- Using a thin art brush: This method offers the most control. Decant a small amount of white hybrid polish onto a palette. Dip a long, thin nail art brush into the polish and draw the smile line, starting from one side of the nail and curving gently to the other. Fill in the tip afterwards.
- Using the bottle's brush: For those with a steady hand, the brush from the polish bottle can work. Wipe off excess polish from one side of the brush. Place the brush slightly below where you want the line to end and gently push it up towards the tip to create the curve, then paint across.
- Using nail guides: Self-adhesive French manicure guides are a great tool for beginners. Stick the guide firmly onto the nail, leaving the tip exposed. Paint the tip with white polish, applying one or two thin coats. It is crucial to remove the guide *before* curing the polish under the lamp to ensure a sharp line.
Correcting Mistakes
If your line isn't perfect, don't worry. Before curing the white polish, you can easily clean it up. Dip a small, clean brush in nail cleaner or isopropyl alcohol and carefully wipe away any smudges or refine the curve of the smile line. Work slowly to avoid disturbing the base colour underneath.
The Application and Curing Process
Layering and curing are what give hybrid manicures their strength. Always follow the manufacturer's instructions for your specific polish and lamp. The general process is as follows:
- Base Coat: Apply a very thin layer of hybrid base coat to the prepared nail, making sure to cover the entire surface and cap the free edge. Cure under your lamp for the recommended time.
- Base Colour: Apply one or two thin coats of your chosen sheer pink or nude base colour. Cure each layer separately. Thin coats are essential to prevent wrinkling and ensure the polish cures all the way through.
- White Tip: Using your preferred method, paint the white tips on all nails. Take your time to ensure the smile lines are consistent. Once you are happy with the result, cure the white polish under the lamp.
- Top Coat: Apply a thin, even layer of no-wipe hybrid top coat. This final layer seals the design, adds a high-gloss shine, and protects the manicure from scratches and chipping. Be sure to cap the free edge of the nail to prevent lifting. Cure for the final time.
Finishing Touches and Aftercare
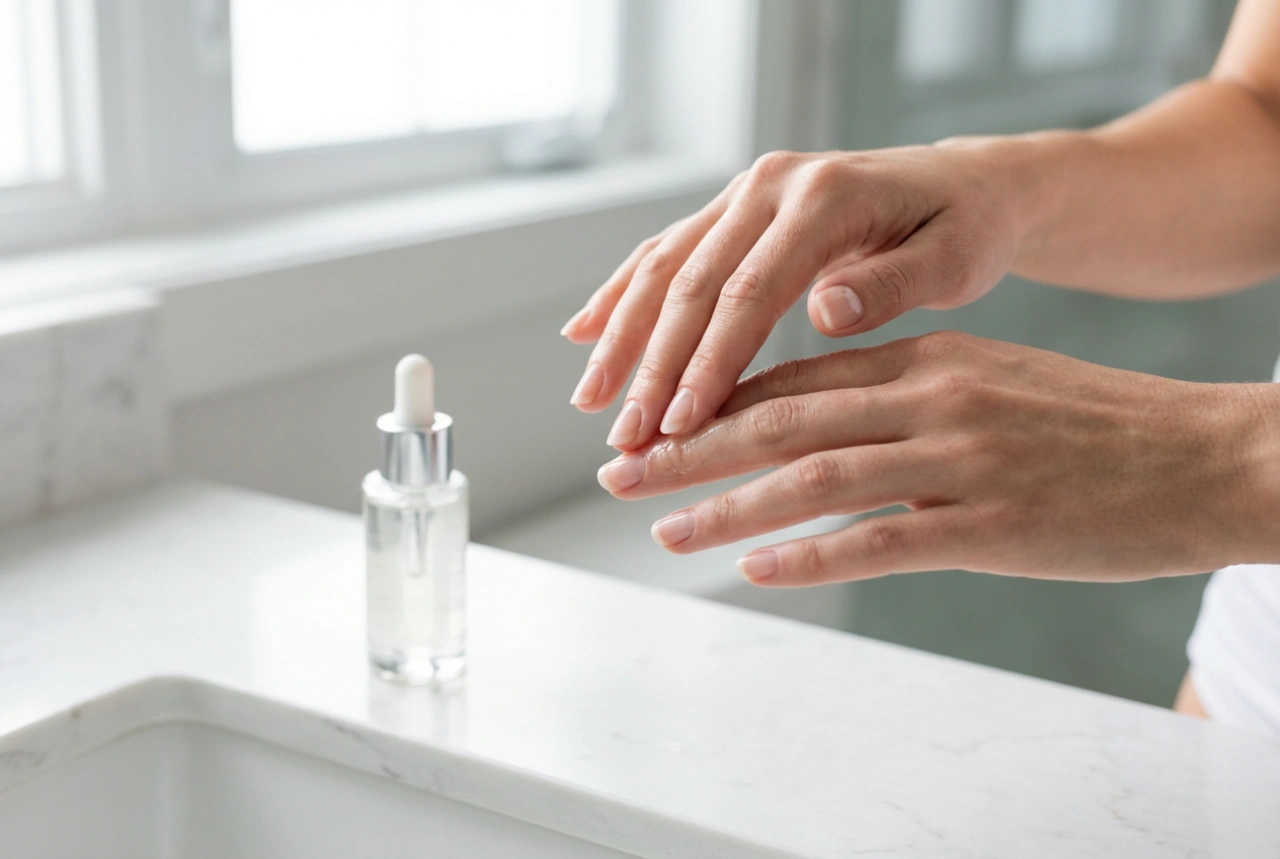
Once the top coat is fully cured, your manicure is almost complete. If you used a top coat that leaves a sticky inhibition layer, wipe it off with a lint-free pad and nail cleaner. To finish, apply a few drops of cuticle oil to the skin around your nails and massage it in. This rehydrates the skin after the use of cleansers and the heat from the lamp, leaving your hands looking neat and well-cared-for. To prolong the life of your French manicure, avoid using your nails as tools and wear gloves when cleaning or washing dishes.