


Achieving soft, glowing skin doesn't require complex routines or expensive products. A simple, homemade sugar scrub can be a wonderfully effective and sensorial part of your body care ritual. Made with ingredients likely already in your kitchen, a DIY scrub allows you to gently exfoliate, revealing smoother and more radiant skin. This guide will walk you through creating and using a perfect sugar scrub in just ten minutes.
Why Exfoliate with a Sugar Scrub?
Regular exfoliation is a key step in maintaining healthy-looking skin. Over time, dead skin cells can accumulate on the surface, leading to a dull, rough, and uneven appearance. A sugar scrub helps to manually slough away these cells. The fine granules of sugar are effective exfoliants that dissolve in water, making them a gentler option compared to other physical scrubs. This process not only smooths the skin's texture but also helps subsequent moisturisers to be absorbed more effectively, leaving your skin feeling supple and nourished.
Crafting Your Perfect Sugar Scrub: The Basic Recipe
Creating your own scrub is incredibly simple. The foundation is a mixture of an exfoliant (sugar) and a nourishing carrier oil. The magic is in the proportions and the quality of your ingredients.
Key Ingredients and Proportions
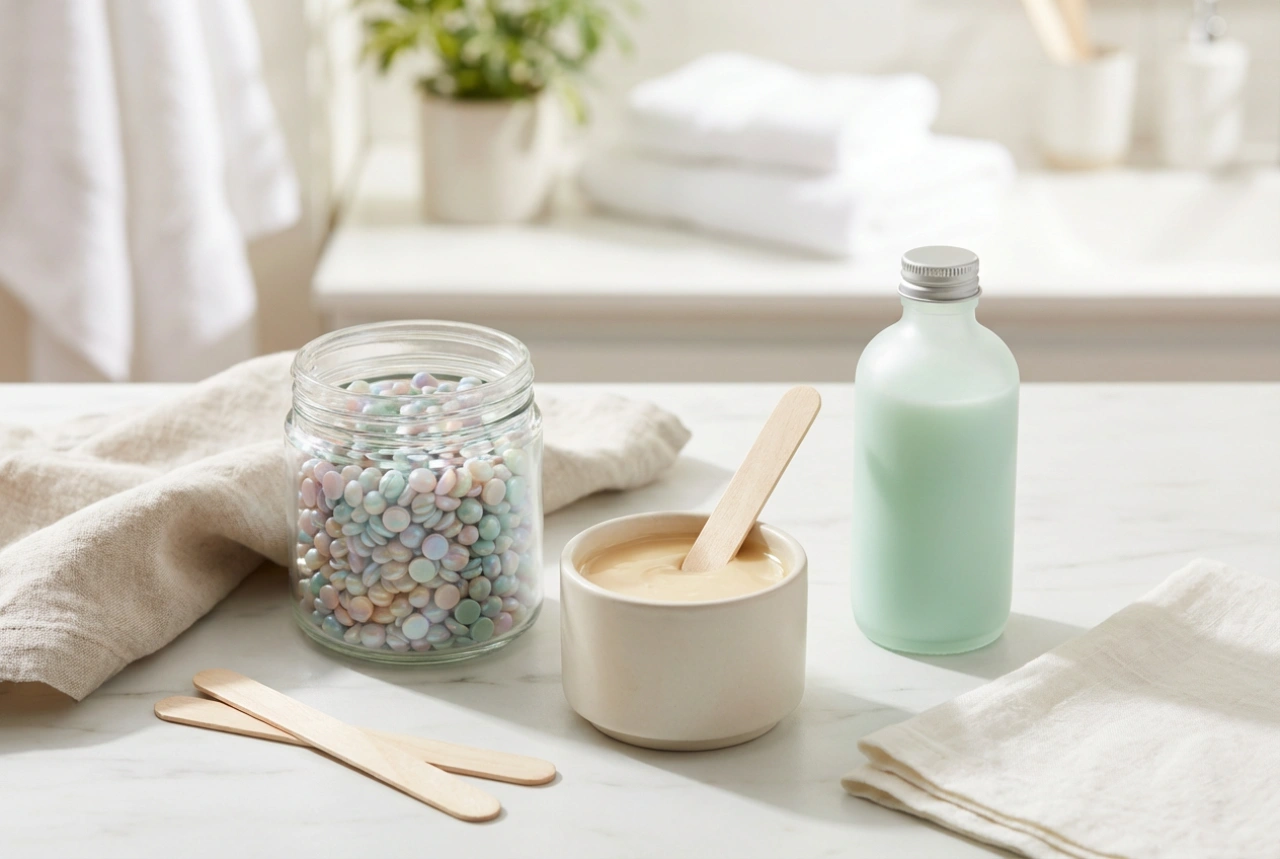
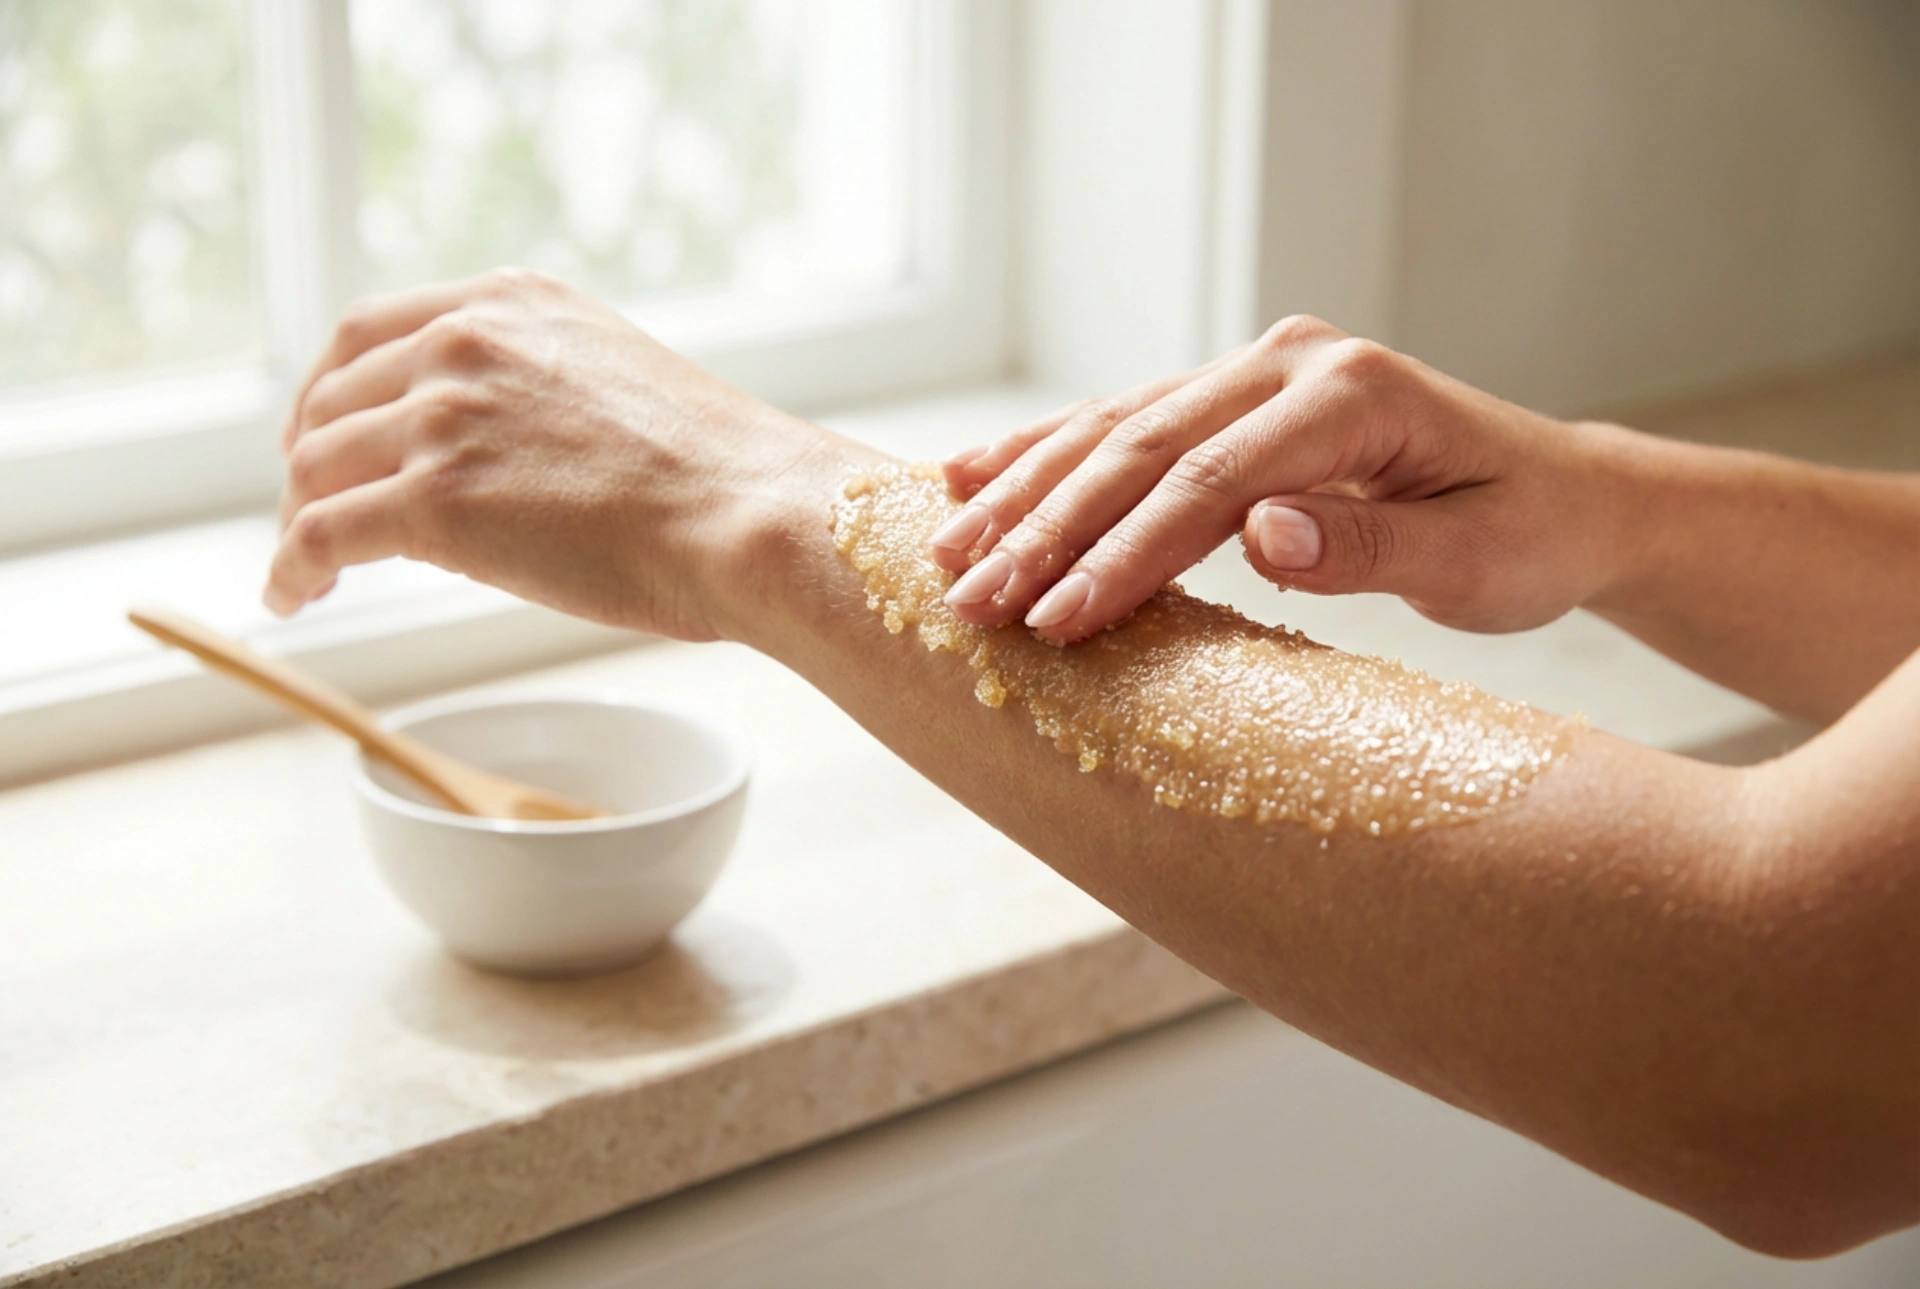
The ideal ratio for a classic body scrub is 2:1. This means you will use two parts sugar to one part oil. This creates a thick, paste-like consistency that is easy to handle and not overly greasy.
- Sugar: You can use either white granulated sugar or brown sugar. Brown sugar is typically softer and gentler, making it a good choice for more sensitive skin areas, while white sugar provides a slightly more robust exfoliation.
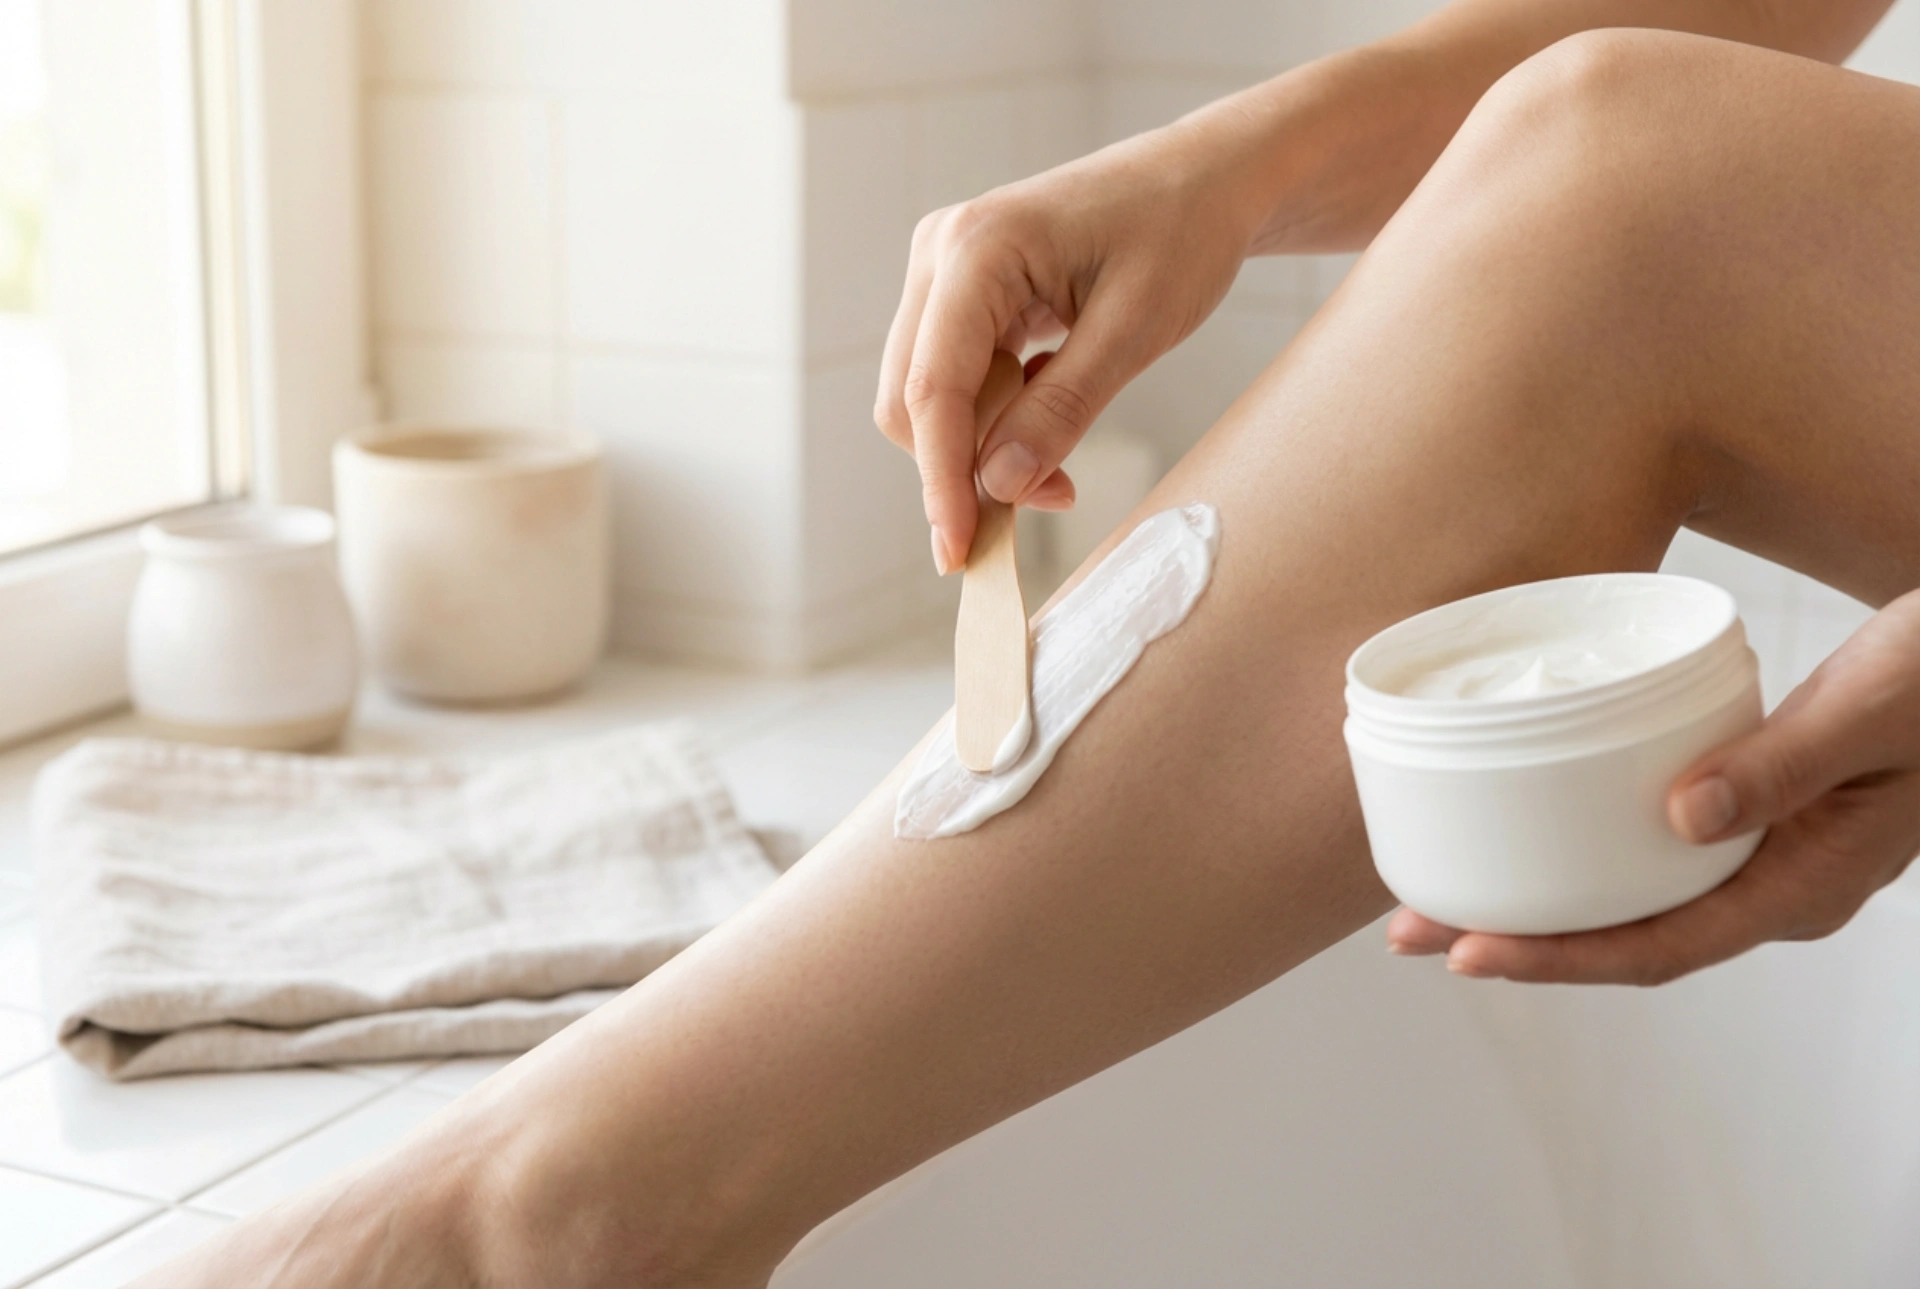
- Oil: Choose a high-quality, skin-friendly oil. Common choices include coconut oil (melted), sweet almond oil, olive oil, or grapeseed oil. Each offers different nourishing properties, so you can select one based on what you have or what your skin prefers.
To make a single-use portion, simply mix 4 tablespoons of sugar with 2 tablespoons of your chosen oil in a small bowl. Stir until the ingredients are fully combined into a consistent paste.
Optional Additions for a Personal Touch
To elevate your scrub, you can add a few extra ingredients. For a beautiful aroma and relaxing properties, consider adding 1-2 drops of a gentle essential oil like lavender or chamomile. Always perform a patch test with essential oils first. For an extra boost of nourishment, you can break open a vitamin E capsule and mix the oil into your scrub.
The 10-Minute Application Ritual
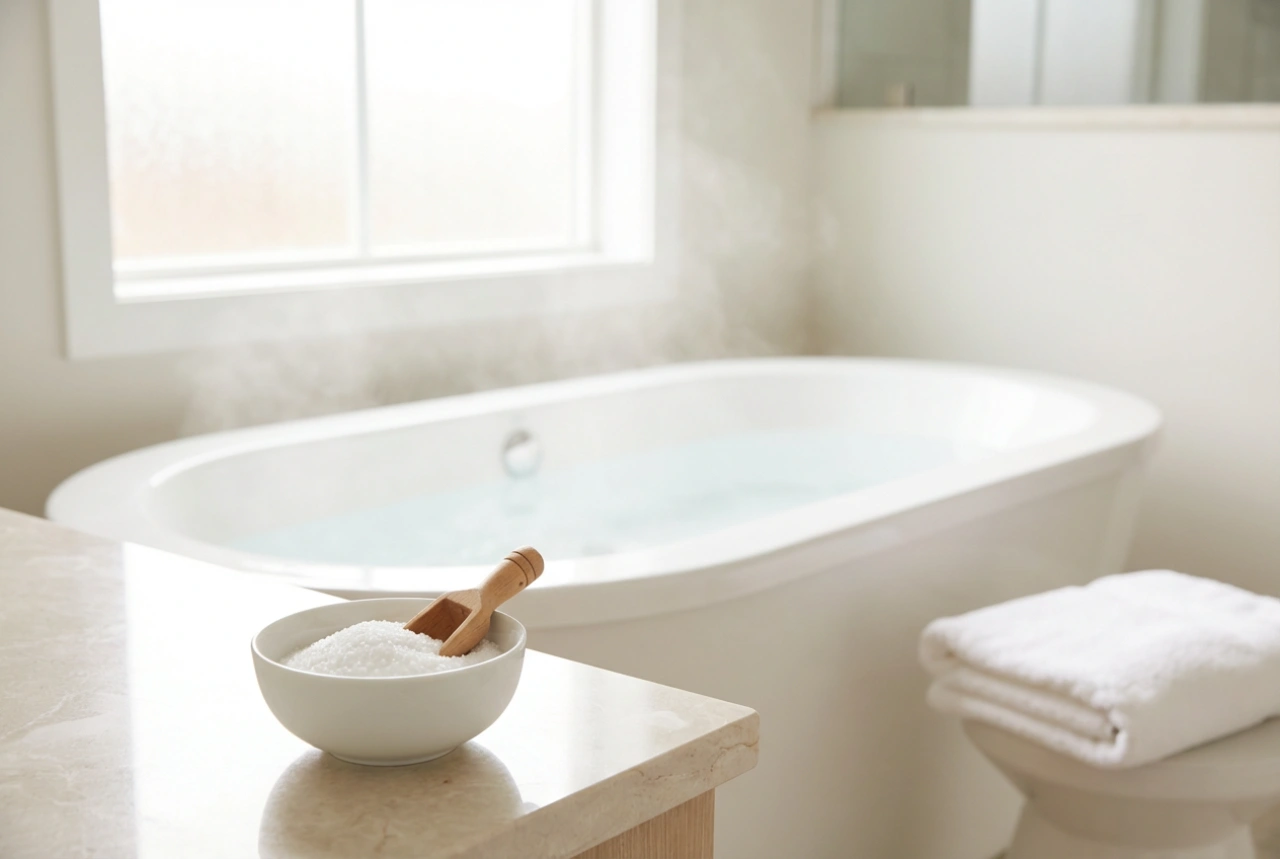
For the best results, use your scrub in the bath or shower. The process should be gentle and mindful, turning a simple task into a relaxing experience.
- Step 1: Dampen your skin with warm water. This helps to soften the skin and prepares it for exfoliation.
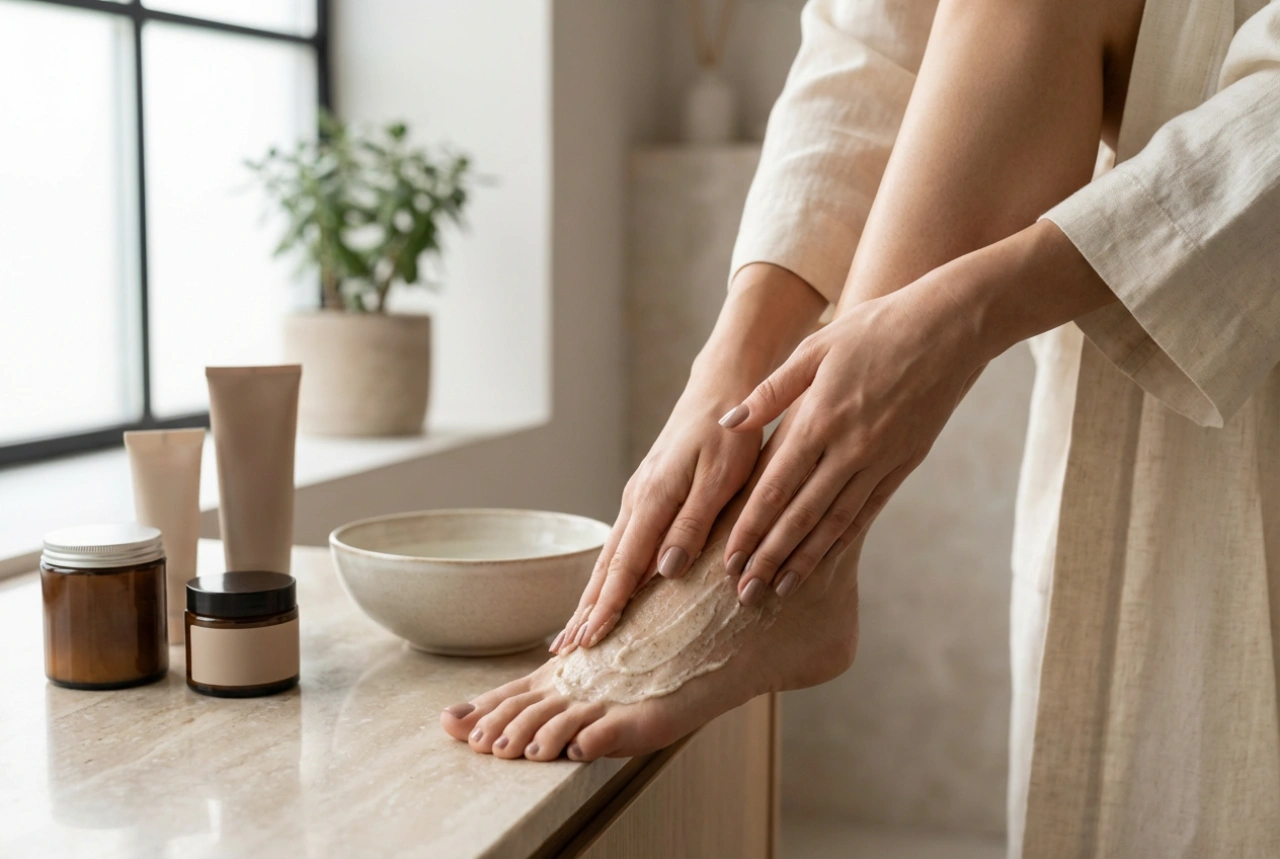
- Step 2: Take a small amount of the scrub into your hands. Begin applying it to your body using gentle, circular motions. This massage action helps to stimulate circulation.
- Step 3: Pay special attention to rougher areas like elbows, knees, and heels, but always be gentle. Avoid using the scrub on your face, on any broken or irritated skin, or on particularly sensitive areas.
- Step 4: Continue massaging for a few minutes, enjoying the texture and aroma.
- Step 5: Rinse the scrub off thoroughly with warm water. You will notice that the sugar dissolves away, leaving a light, moisturising layer of oil on your skin.
- Step 6: Gently pat your skin dry with a soft towel. Avoid rubbing, as this can cause irritation after exfoliation.
Aftercare and Frequency
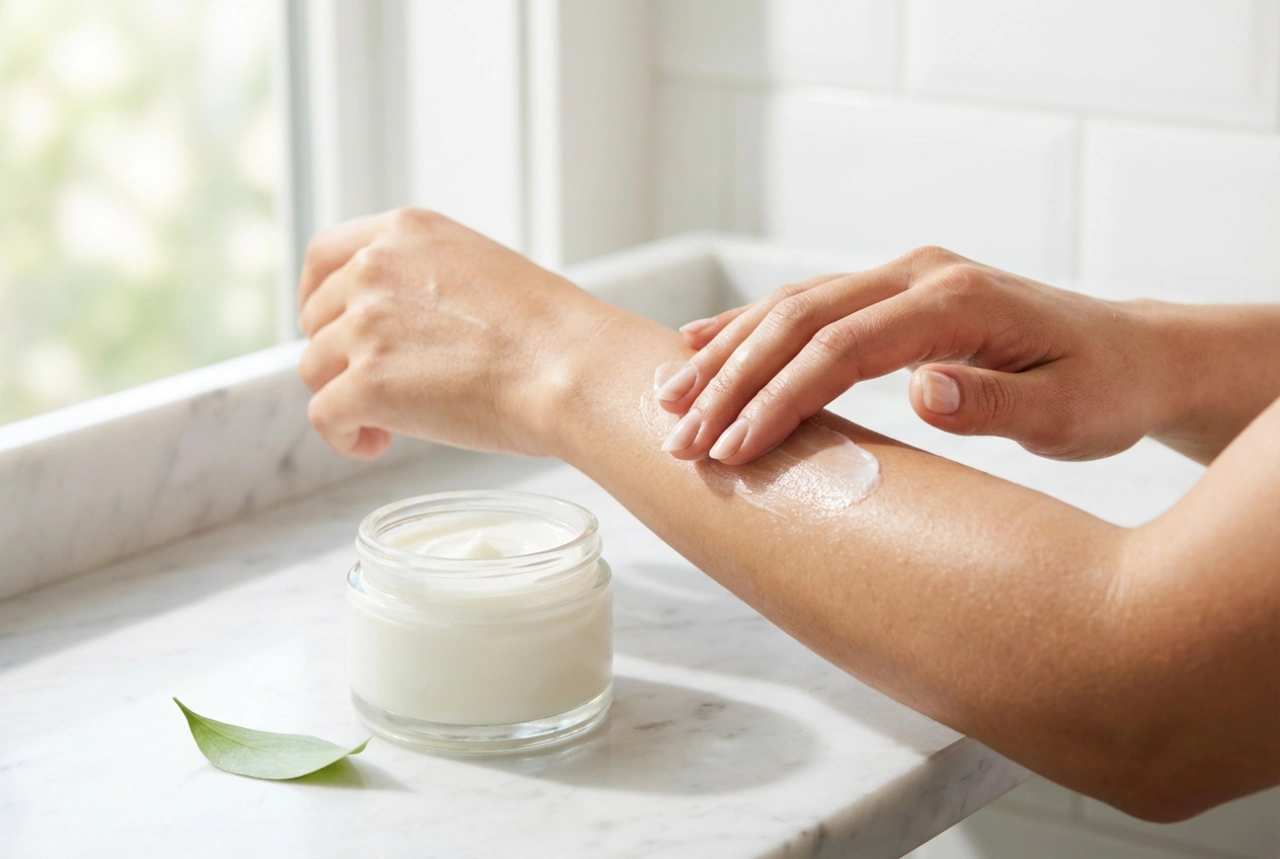
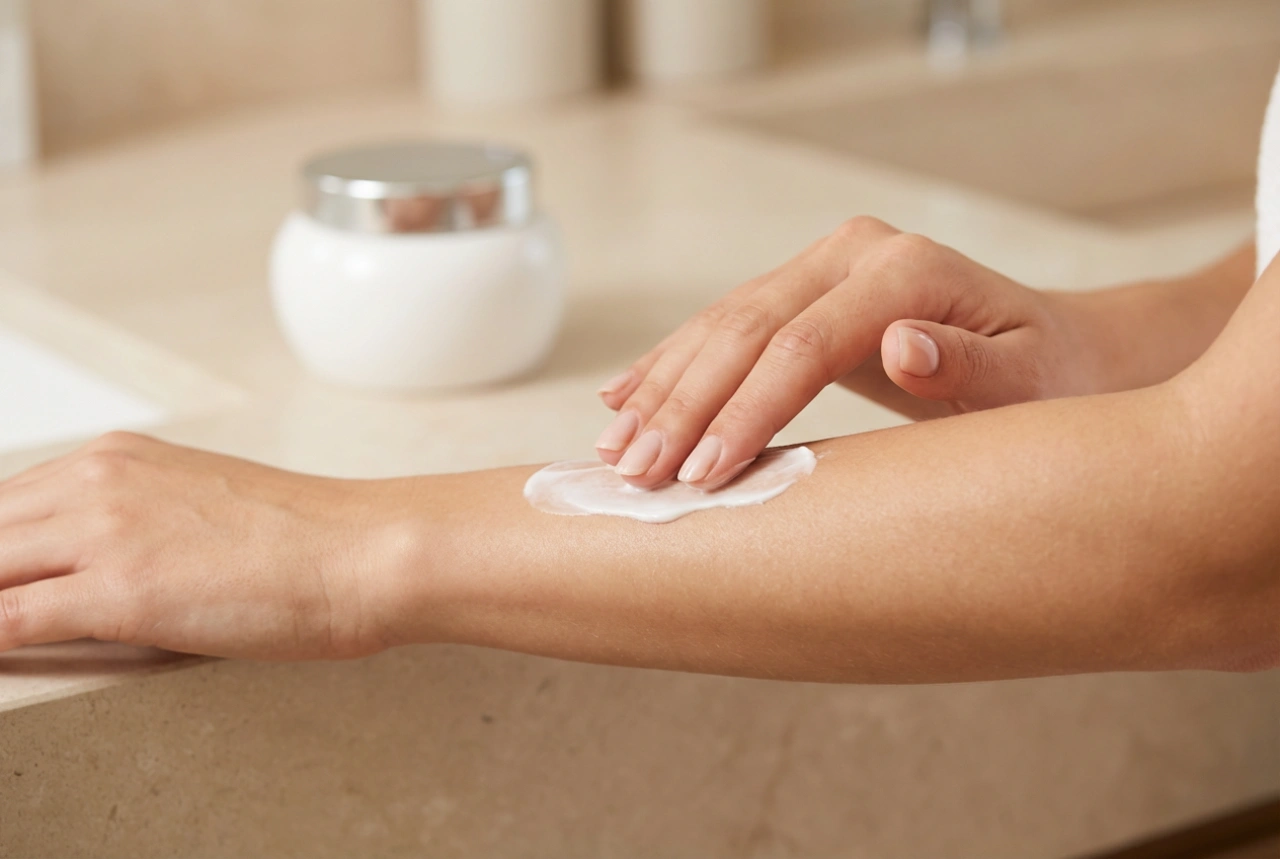
After using your sugar scrub, your skin should feel incredibly soft and smooth from the residual oil. For most people, applying an additional body lotion or cream is not necessary straight away, but you can if your skin feels like it needs extra hydration. To maintain your results, incorporate this exfoliation ritual into your routine 1-2 times per week. Over-exfoliating can strip the skin of its natural oils, so it's important to listen to your skin's needs. Store any leftover scrub in an airtight container at room temperature for up to two weeks.