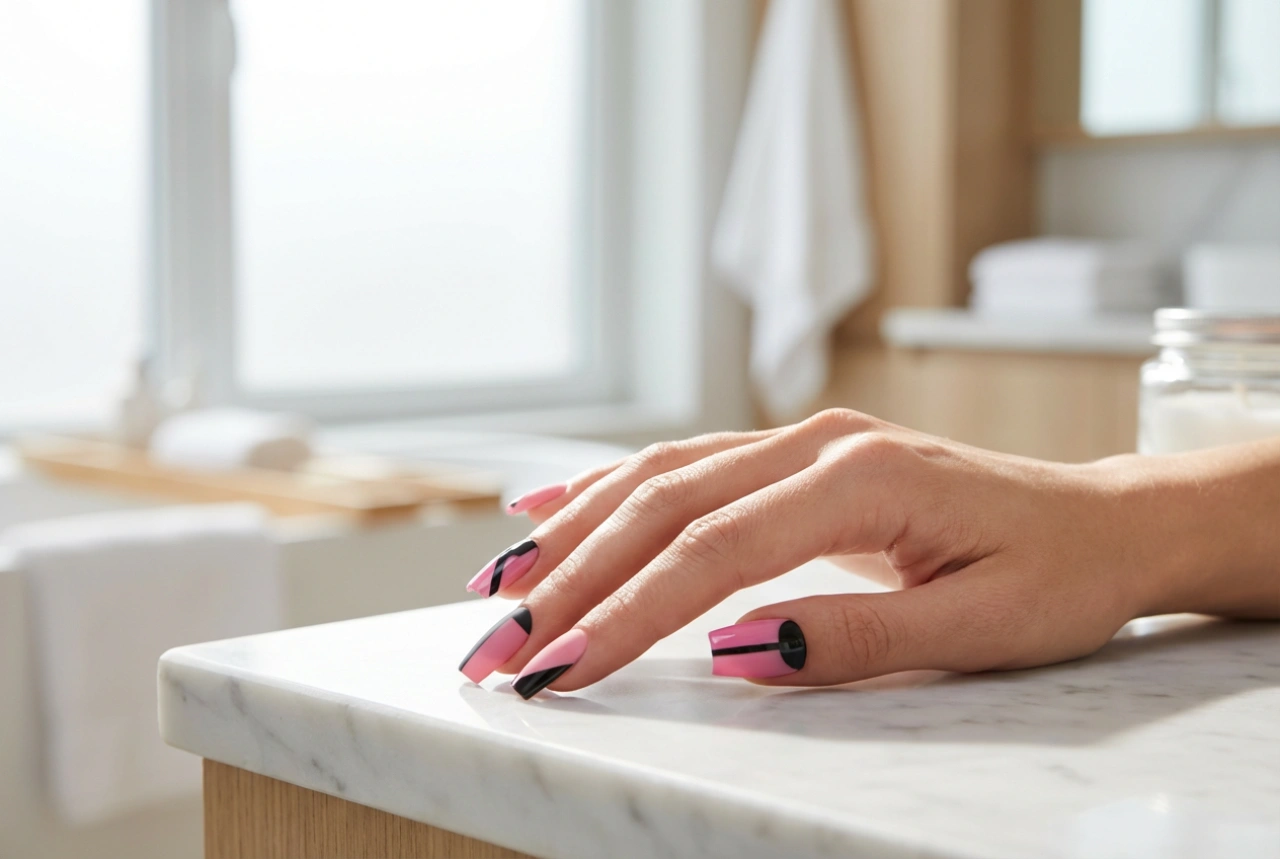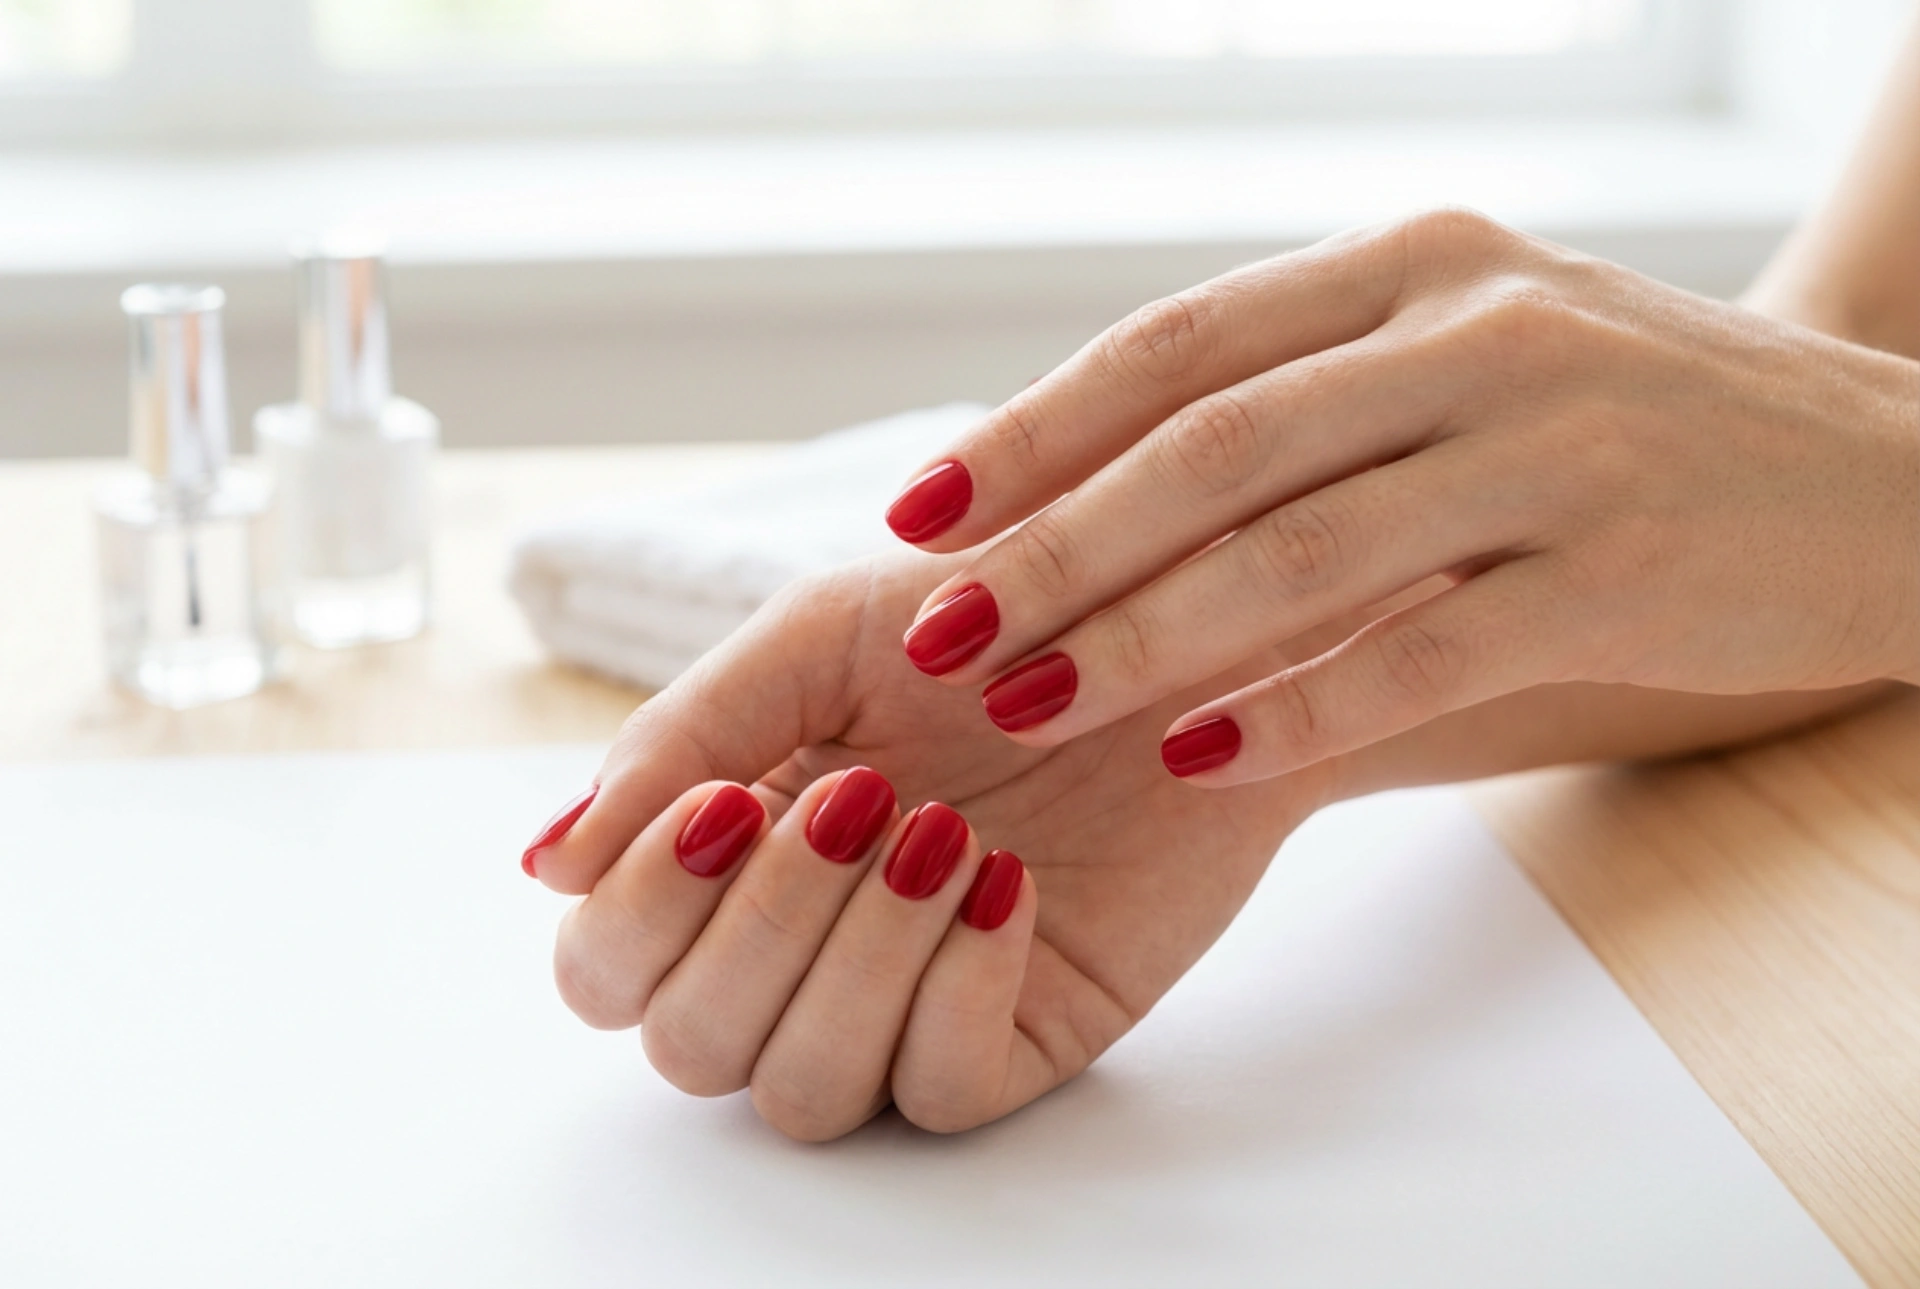


A classic red manicure is the epitome of elegance and confidence. It's a timeless choice that complements any style, from casual to formal. For those seeking a flawless, high-shine finish that lasts much longer than traditional polish, a hybrid manicure is the perfect solution. Combining the durability of gel with the ease of application of polish, it allows you to achieve a salon-quality look at home. This guide will walk you through each step to create your own stunning, classic red hybrid nails.
Preparing Your Nails for Perfection
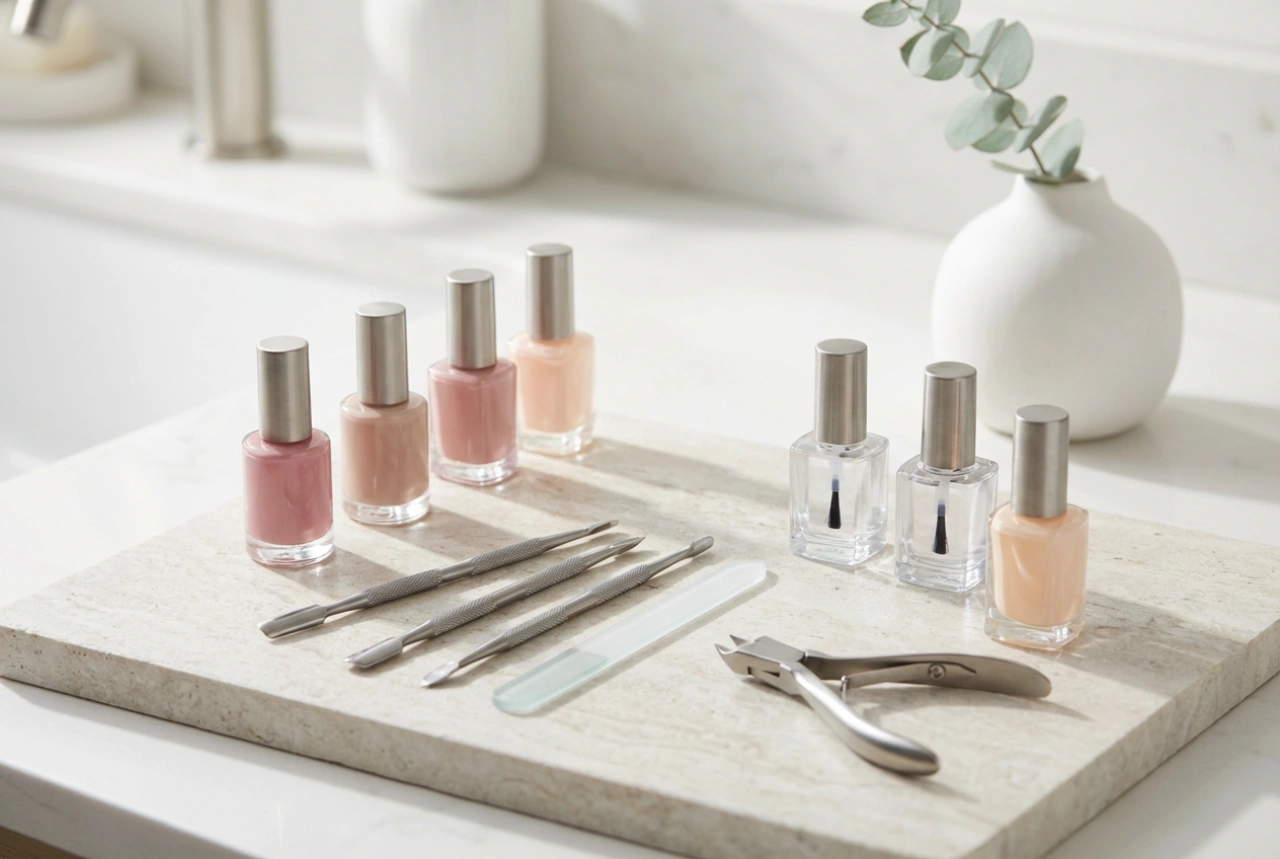
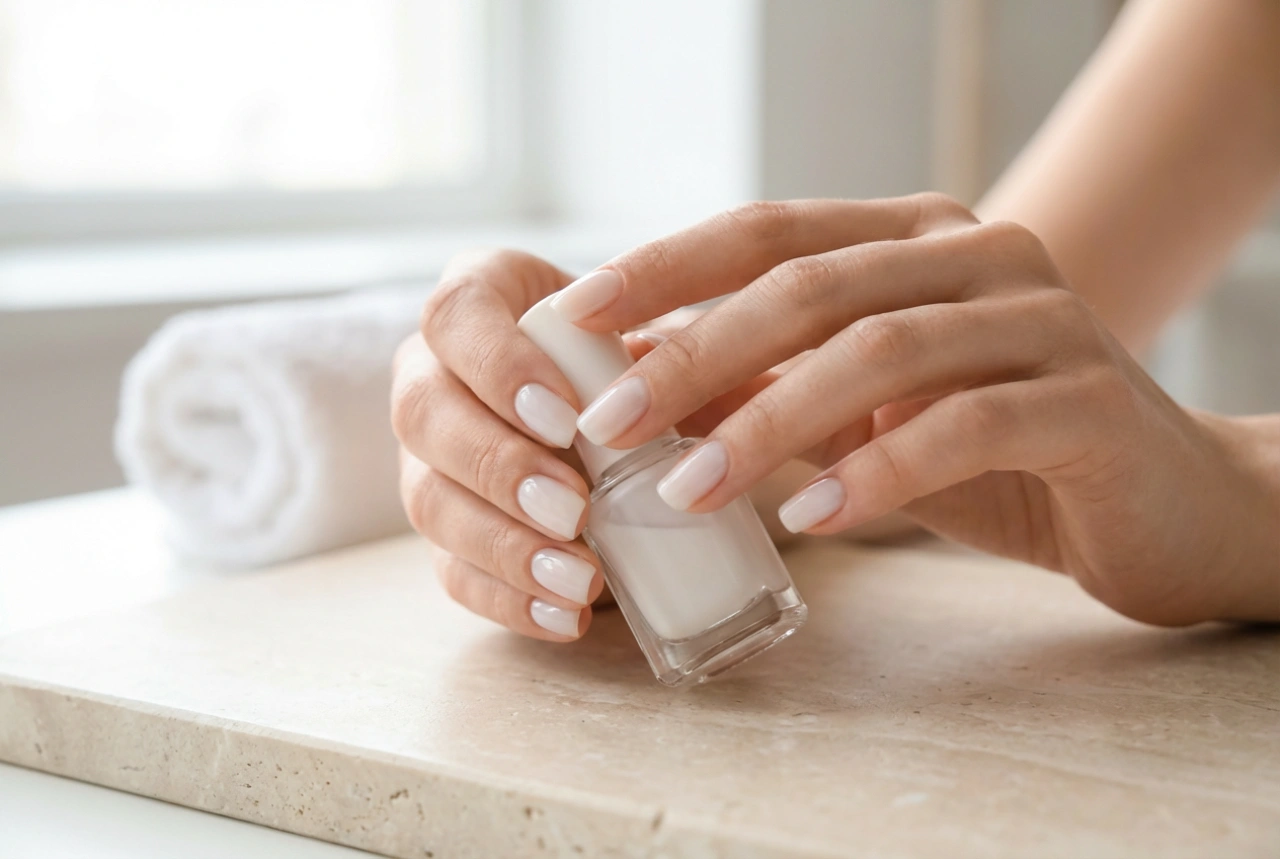
Proper preparation is the most critical step for a long-lasting and smooth hybrid manicure. Skipping this stage can lead to lifting, chipping, and an uneven finish. Before you even think about opening the polish, dedicate time to creating a clean and perfectly prepared canvas for your colour.
Key Preparation Steps:
- Cleanse the Nails: Start by washing your hands thoroughly. Ensure your nails are completely dry and free of any oils or lotions. Use a lint-free wipe saturated with a nail cleaner or isopropyl alcohol to wipe over each nail plate. This dehydrates the surface and removes any residue.
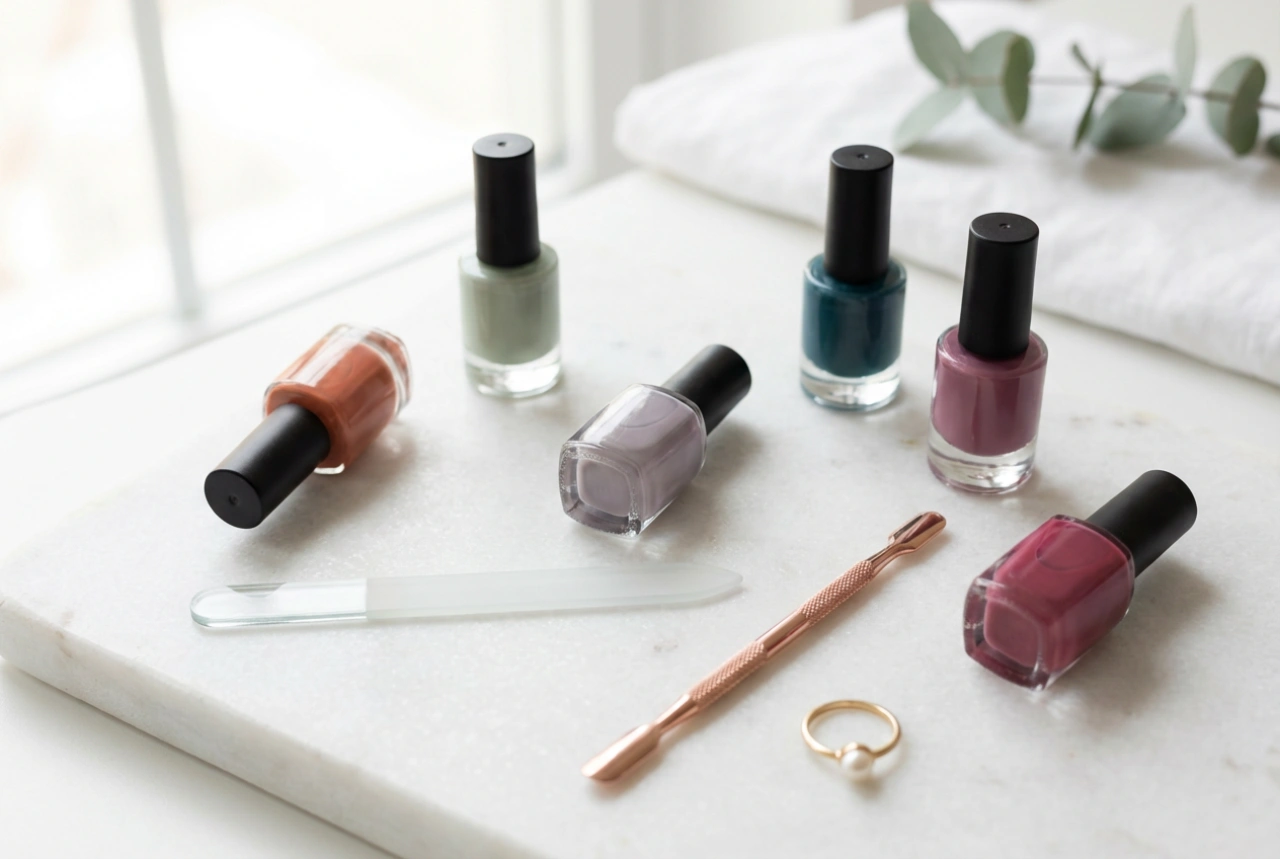
- Shape and File: Use a gentle nail file (a 180/240 grit is ideal) to shape your nails to your desired length and form. Whether you prefer square, oval, or almond, aim for a symmetrical and smooth edge. Always file in one direction to prevent splitting.
- Cuticle Care: Apply a cuticle remover solution and let it sit for a moment. Then, using a wooden stick or a metal pusher, gently push back the cuticles from the nail plate. It's important to be gentle to avoid damaging the surrounding skin. Carefully remove any non-living tissue from the nail plate, as this is a common cause of polish lifting.
- Buff the Surface: Lightly buff the entire surface of each nail with a soft buffer block. The goal is not to thin the nail, but to remove its natural shine. This creates a slightly rougher texture that helps the base coat adhere securely. Once buffed, wipe away all dust with your nail cleaner and a lint-free wipe again.
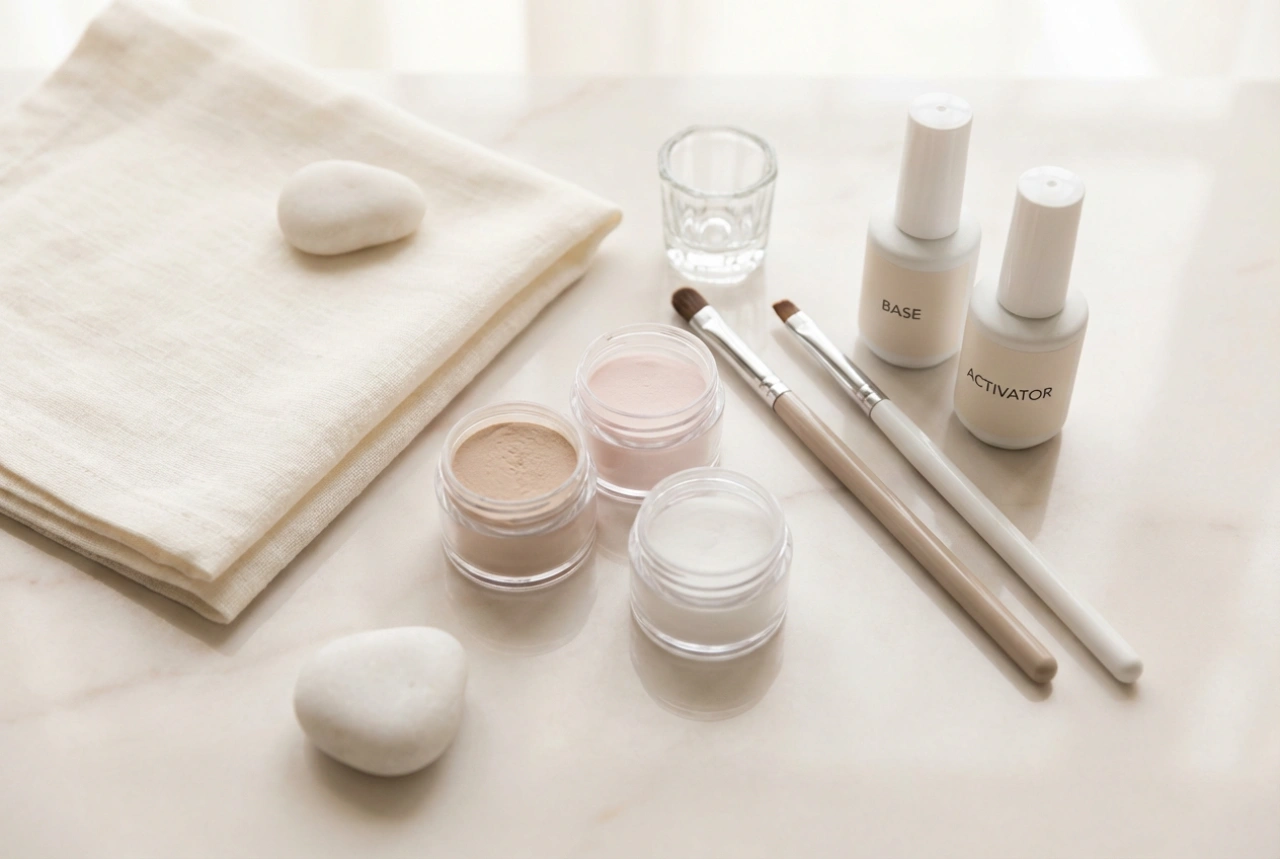
The Foundation: Base Coat Application
The base coat is the essential anchor for your entire manicure. It protects your natural nail from staining and provides the adhesive layer for the colour to grip onto. Applying it correctly is crucial for durability.
Apply a very thin, even layer of hybrid base coat to each nail, making sure to 'cap' the free edge by running the brush along the tip of the nail. This seals the edge and helps prevent chipping. Be careful not to get any product on your skin or cuticles. If you do, clean it up with a wooden stick dipped in cleaner before curing. Cure the base coat under your UV/LED lamp according to the manufacturer's instructions, which is typically 30-60 seconds.
Applying the Classic Red Colour
Now for the main event: applying that beautiful red shade. The secret to a rich, opaque, and streak-free finish is applying thin coats. A thick single coat will not cure properly and can look bulky.
- First Coat: Apply a thin, even layer of the red hybrid polish. Start a small distance from the cuticle, push the brush gently towards it, and then pull down towards the tip. Again, remember to cap the free edge. Don't worry if the first coat looks a bit sheer or patchy; this is normal. Cure it under the lamp for the recommended time.
- Second Coat: Apply a second thin coat of the red polish in the same manner. This coat will provide the full, rich coverage you're looking for. The colour should now be deep and even. Be meticulous about keeping the polish off your skin. Cure the second coat fully under the lamp. Some highly pigmented reds may benefit from a slightly longer curing time.
The Finishing Touch: Top Coat and Final Cleanse
The top coat is what gives your manicure its incredible shine and protective, scratch-resistant shield. There are different types, including 'no-wipe' top coats and standard ones that leave a sticky layer.
Sealing and Shining:
Apply a layer of hybrid top coat over the red colour, ensuring you cover the entire nail and cap the free edge once more. This final seal is vital for preventing chips and extending the life of your manicure. Cure the top coat under the lamp for the specified time, often 60 seconds or more, to ensure it's completely hardened. If you are using a standard top coat (not a 'no-wipe' version), it will have a sticky or tacky 'inhibition layer' after curing. To reveal the high-gloss shine, simply take a lint-free wipe saturated with a high-purity isopropyl alcohol solution and wipe each nail firmly. Your nails will instantly transform from sticky to perfectly smooth and glossy. To finish, apply a nourishing cuticle oil to the skin around your nails to rehydrate them.