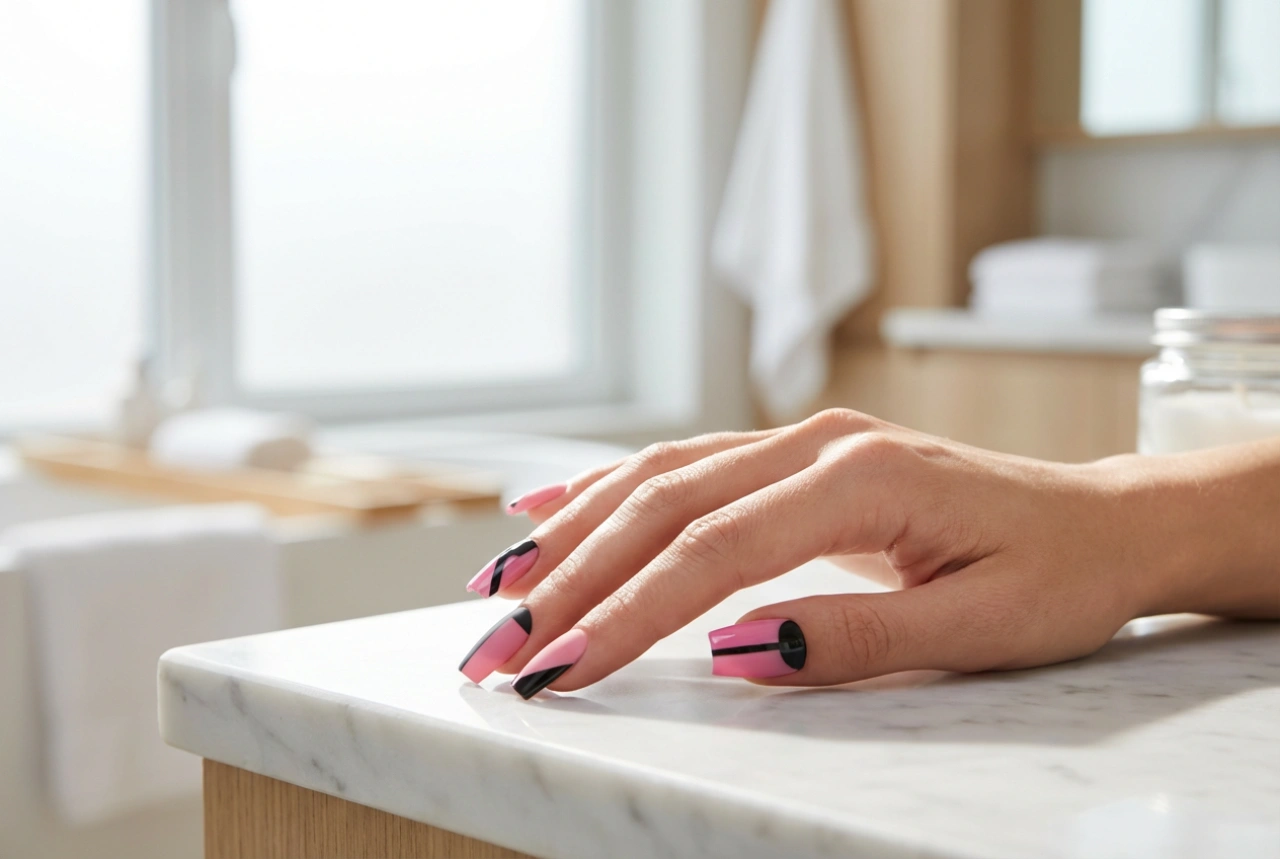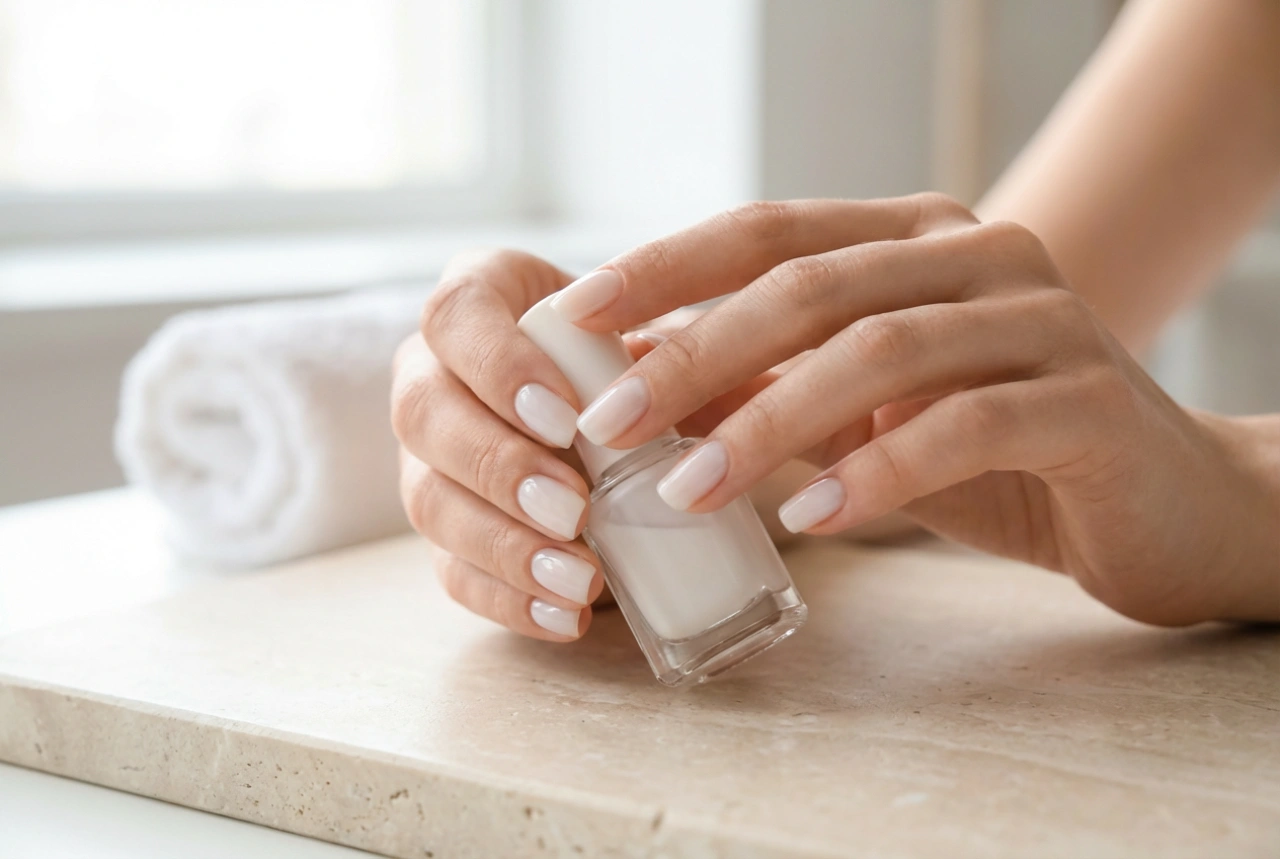


Creating beautiful manicures at home is a rewarding and relaxing form of self-expression. As you look at a neat arrangement of polishes and tools, you might feel inspired to start your own nail care journey. Building a starter kit doesn't have to be complicated or expensive. With just a few key items, you can achieve salon-quality results and begin experimenting with your own unique styles. This guide will walk you through the essential components of a beginner's nail kit and provide step-by-step instructions for your first flawless manicure.
Building Your Essential Nail Kit
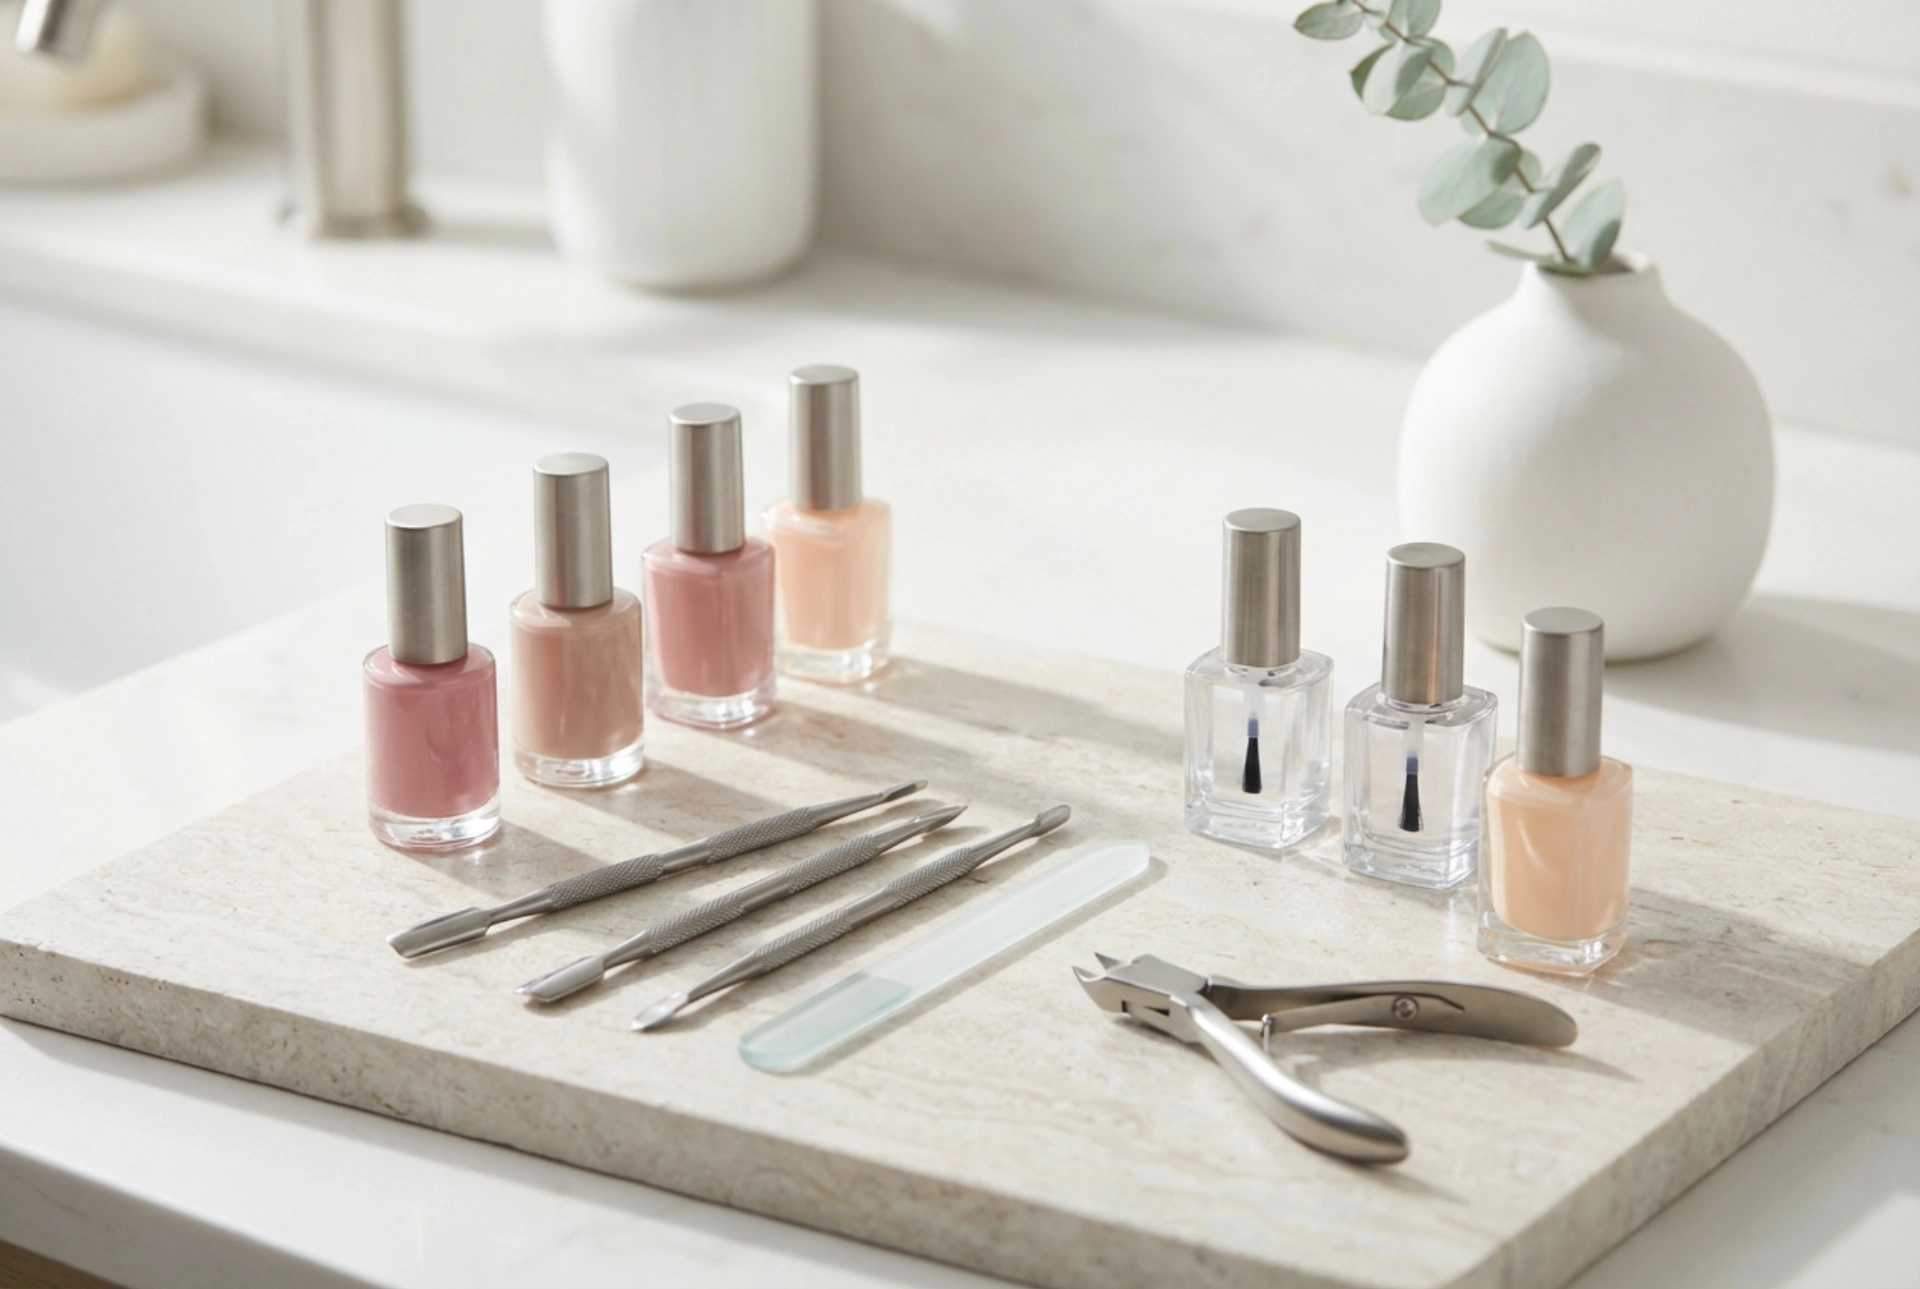
To begin your at-home nail journey, you need a solid foundation of tools and products. These items will help you prepare, paint, and protect your nails, ensuring a professional-looking and long-lasting finish. Focus on quality basics before expanding your collection.
Nail Preparation Tools
Proper preparation is the secret to a perfect manicure. These tools are non-negotiable for shaping and smoothing your nails.
- Nail Clippers/Scissors: For trimming your nails to your desired length. Choose the type you feel most comfortable with.
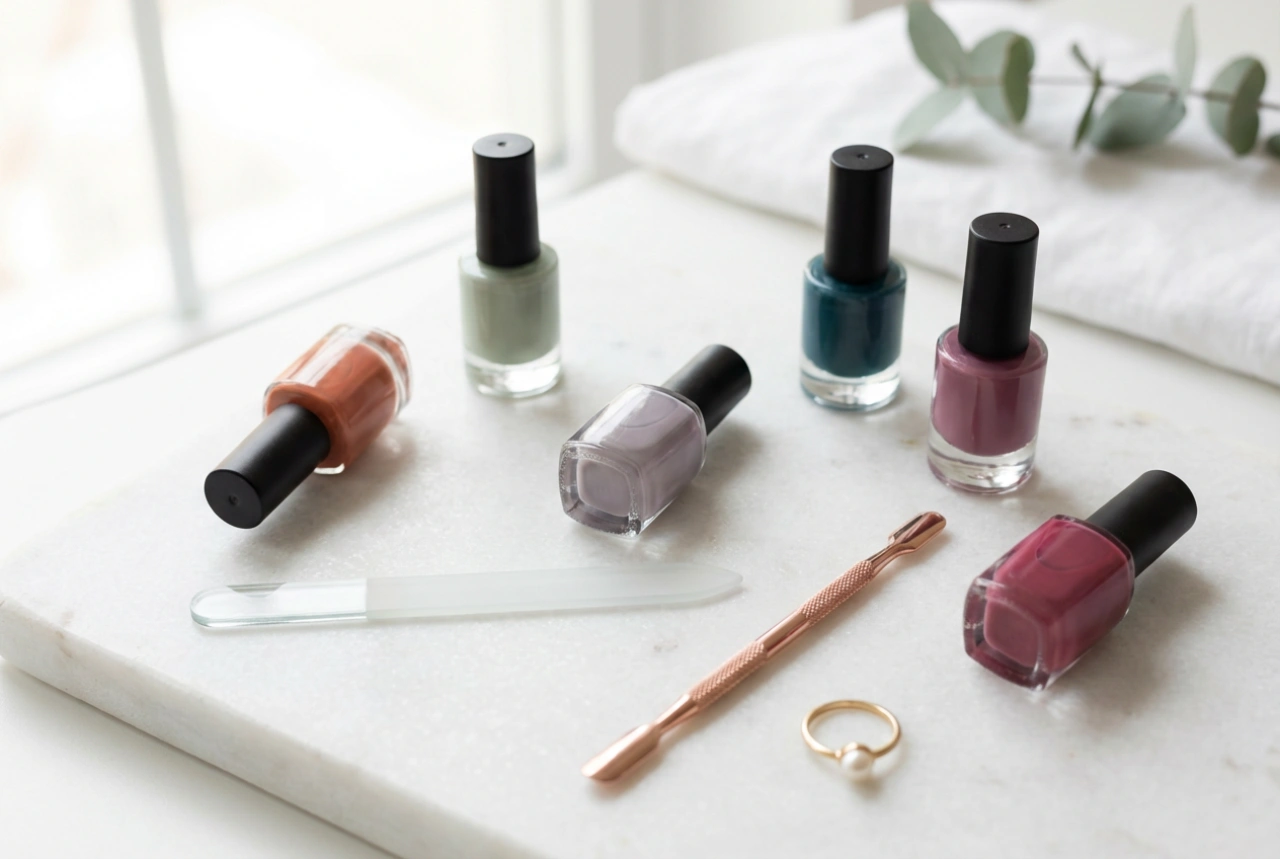
- Nail File: A glass or crystal nail file is gentle on natural nails and durable. Use it to shape the nails and smooth the edges after trimming. Always file in one direction to prevent splitting.
- Buffer Block: This multi-sided tool has different grits to smooth ridges, refine the nail surface, and create a high-shine finish, even without polish.
- Cuticle Pusher: A wooden or rubber-tipped cuticle pusher is used to gently push back the skin at the base of your nail. This creates a clean, neat nail bed for polish application. Avoid cutting cuticles at home to prevent irritation.
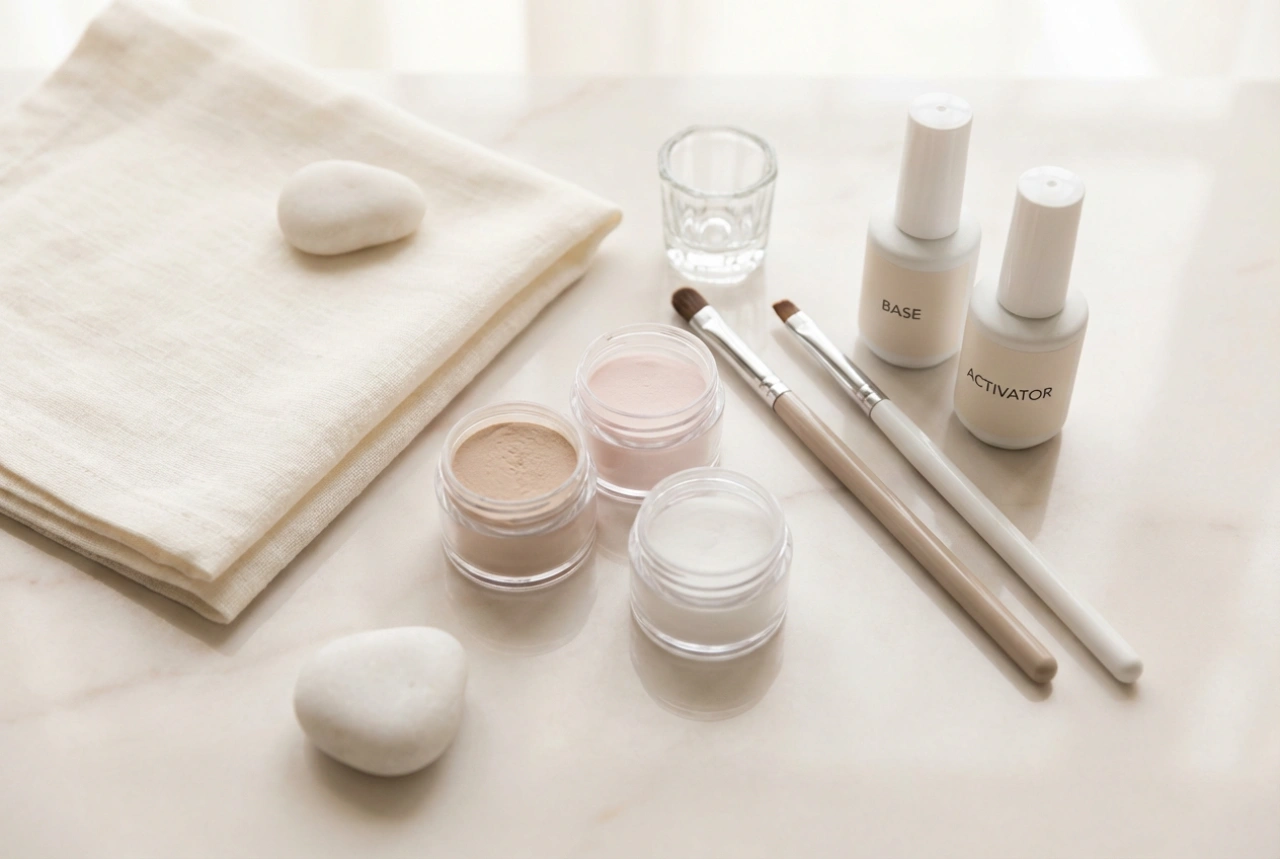
Core Polishes and Treatments
The liquids are what bring your manicure to life. A base coat, top coat, and a few select colours are all you need to start.
- Base Coat: This is a crucial first step. A good base coat protects your natural nails from staining, helps the polish adhere better, and fills in minor ridges for a smoother application.
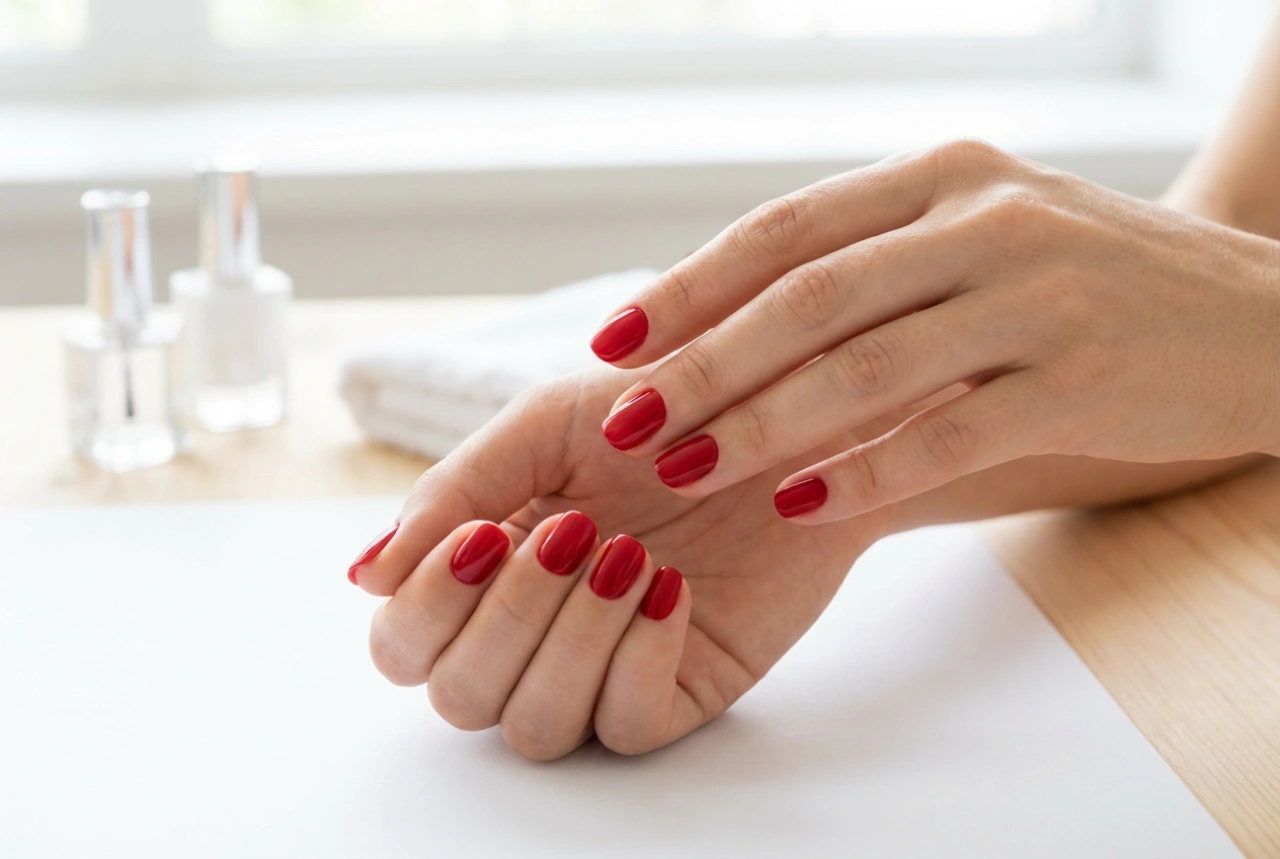
- Nail Polish: Start with 3-4 versatile colours. Consider a classic red, a chic nude or beige that complements your skin tone, and perhaps a fun pastel or a deep, elegant shade.
- Top Coat: The final layer of your manicure. A top coat seals in the colour, adds a glossy shine, and protects your polish from chipping, extending the life of your manicure.
How to Prepare Your Nails for a Manicure
Before you even open a bottle of polish, setting aside time for proper nail prep will make a world of difference. Follow these steps for a clean and professional canvas.
- Start with Clean Nails: Remove any old polish completely. Wash your hands with soap and water to ensure your nails are free from oils and debris.
- Trim and Shape: Use nail clippers to trim your nails to the desired length. Then, use your nail file to gently shape them. Popular shapes for beginners include square, round, or squoval (a mix of square and oval).
- Tend to Your Cuticles: Apply a cuticle remover or oil to soften the skin. After a minute, use a cuticle pusher to gently push them back. Never cut your cuticles, as this can lead to discomfort and potential issues.
- Buff the Surface: Lightly go over the surface of each nail with the finest-grit side of your buffer block. This removes natural oils and creates a slightly textured surface for the polish to grip onto.
- Cleanse the Nail Plate: Wipe each nail with a lint-free pad soaked in rubbing alcohol or a specialised nail cleanser. This final step removes any remaining oils and dust, ensuring optimal polish adhesion.
Your First Manicure: A Step-by-Step Guide
With your nails prepped and your tools ready, it's time for the fun part. Patience and thin coats are key to success.
- Step 1: Apply the Base Coat: Paint a thin, even layer of base coat on each nail, from the cuticle to the tip. Let it dry completely for about two minutes.
- Step 2: Apply the First Colour Coat: Dip your brush in the polish and wipe one side of the brush on the bottle's neck. Place the brush in the centre of your nail, slightly away from the cuticle, and push back gently before swiping towards the tip. Then, paint one stripe on the left and one on the right. Keep the coat thin. Let it dry for at least two minutes.
- Step 3: Apply the Second Colour Coat: A second coat will provide full, opaque coverage. Apply it in the same way as the first, using thin, even strokes. This is where the colour truly becomes vibrant. Wait for it to dry thoroughly—at least five minutes.
- Step 4: Seal with a Top Coat: Apply a generous layer of top coat to seal your manicure. Be sure to 'cap' the free edge of your nail by swiping the brush along the tip. This helps prevent chipping. Let your nails dry completely; this can take 15-20 minutes or longer, so be patient to avoid smudges.
Tips for a Long-Lasting Finish
Want your beautiful work to last? A few simple habits can extend the life of your home manicure.
- Hydrate Your Cuticles: Apply cuticle oil daily. Hydrated cuticles and nails are more flexible and less prone to breaking or chipping.
- Protect Your Hands: Wear rubber gloves when washing dishes or using cleaning products. Harsh chemicals and prolonged water exposure are the biggest enemies of a fresh manicure.
- Reapply Your Top Coat: To refresh the shine and add an extra layer of protection, apply another thin layer of top coat every 2-3 days.
- Be Gentle: Avoid using your nails as tools to open cans or scrape things. Treat them gently to maintain their pristine appearance.