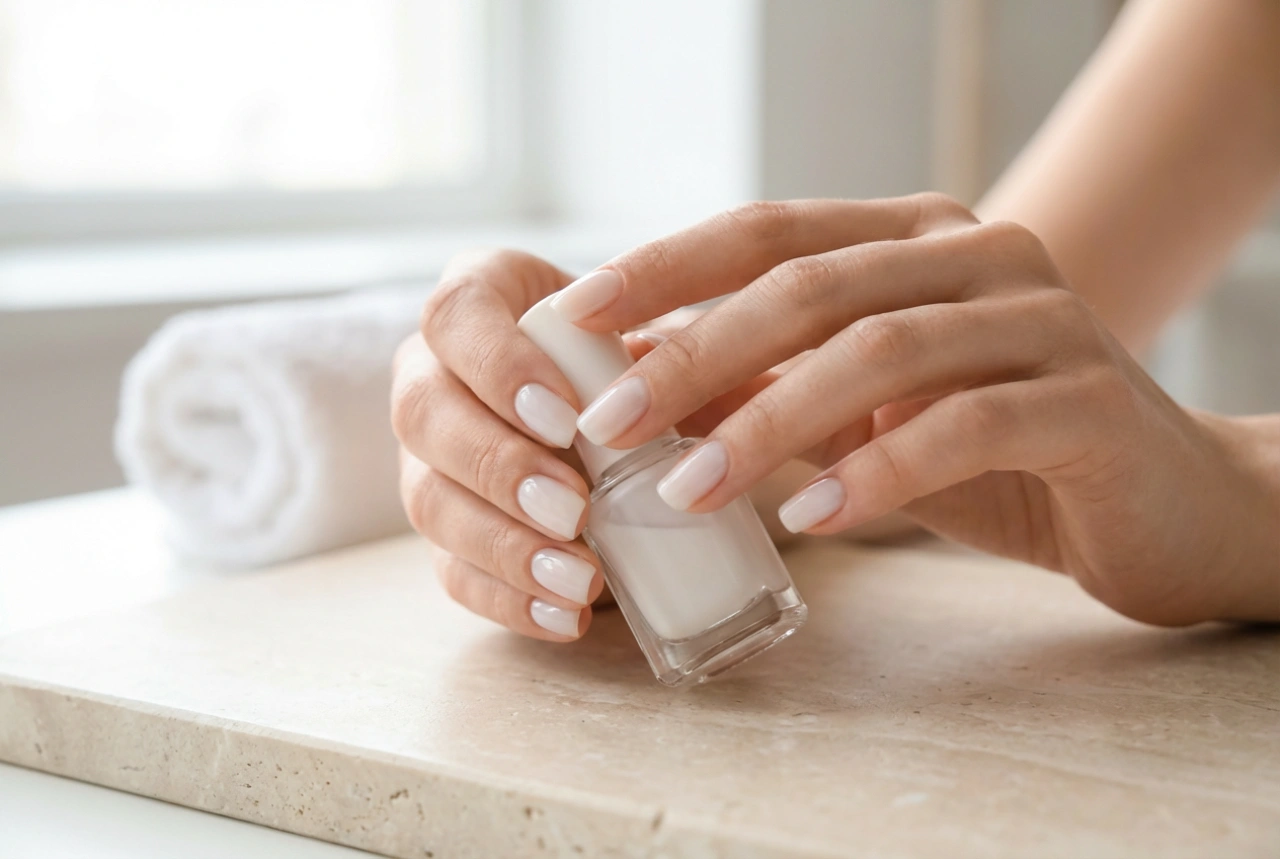


Achieving a durable, glossy manicure that lasts for weeks is no longer exclusive to salon visits. The dip powder nail system has become a popular method for creating beautiful, long-lasting nail enhancements from the comfort of your own home. It offers a unique alternative to traditional gel or acrylic applications, relying on a combination of specialised liquids and fine powders. Understanding the components of a starter kit and the proper application technique is the first step towards mastering this method and enjoying flawless nails.
What is a Dip Powder Nail System?
A dip powder system, sometimes referred to as 'titanium nails', is a nail enhancement technique that involves applying a resin-based liquid (a base coat) to the nail and then dipping it into a fine, coloured acrylic powder. The process is repeated to build layers of colour and strength. Unlike gel polish, it does not require a UV or LED lamp to cure; instead, a liquid activator is used to harden the product, creating a strong and resilient finish that can last for several weeks without chipping.
What to Expect in a Starter Kit
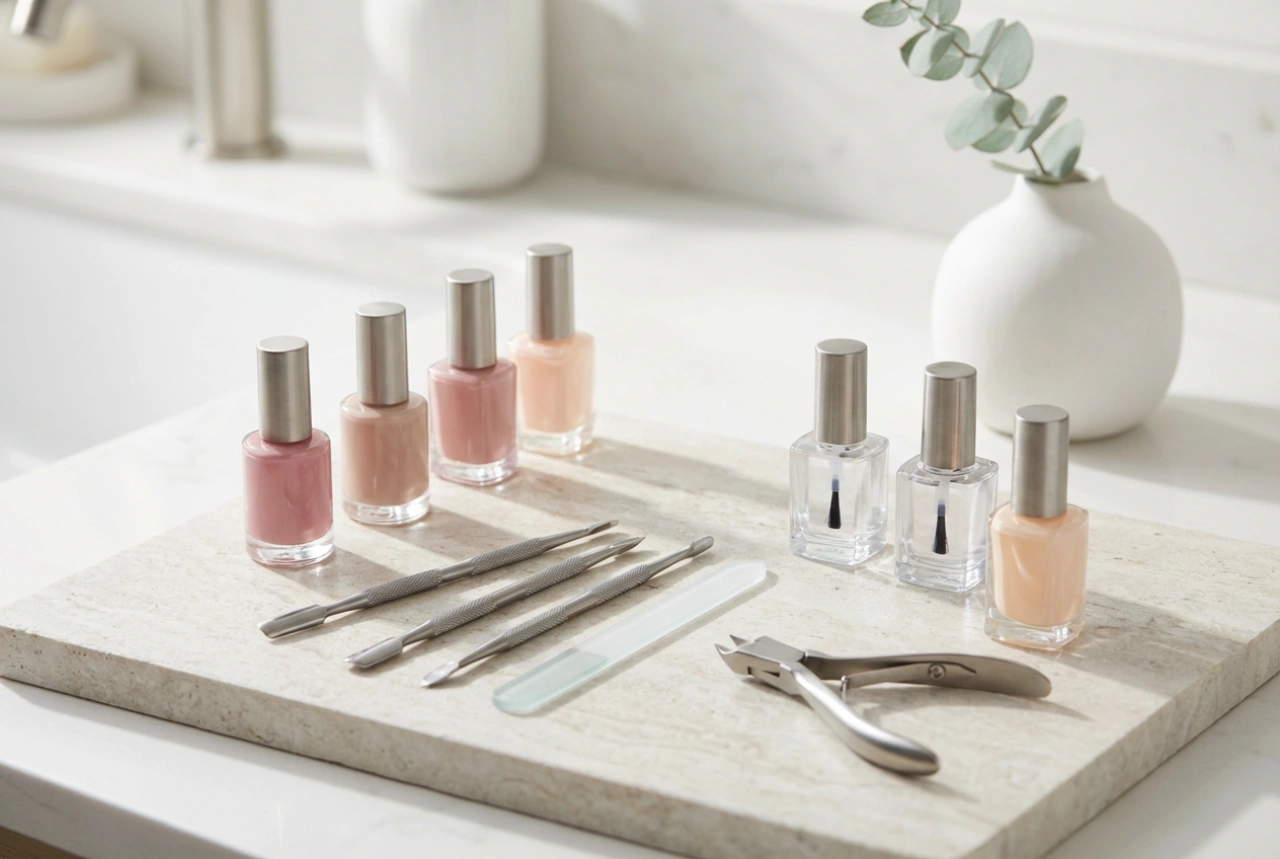
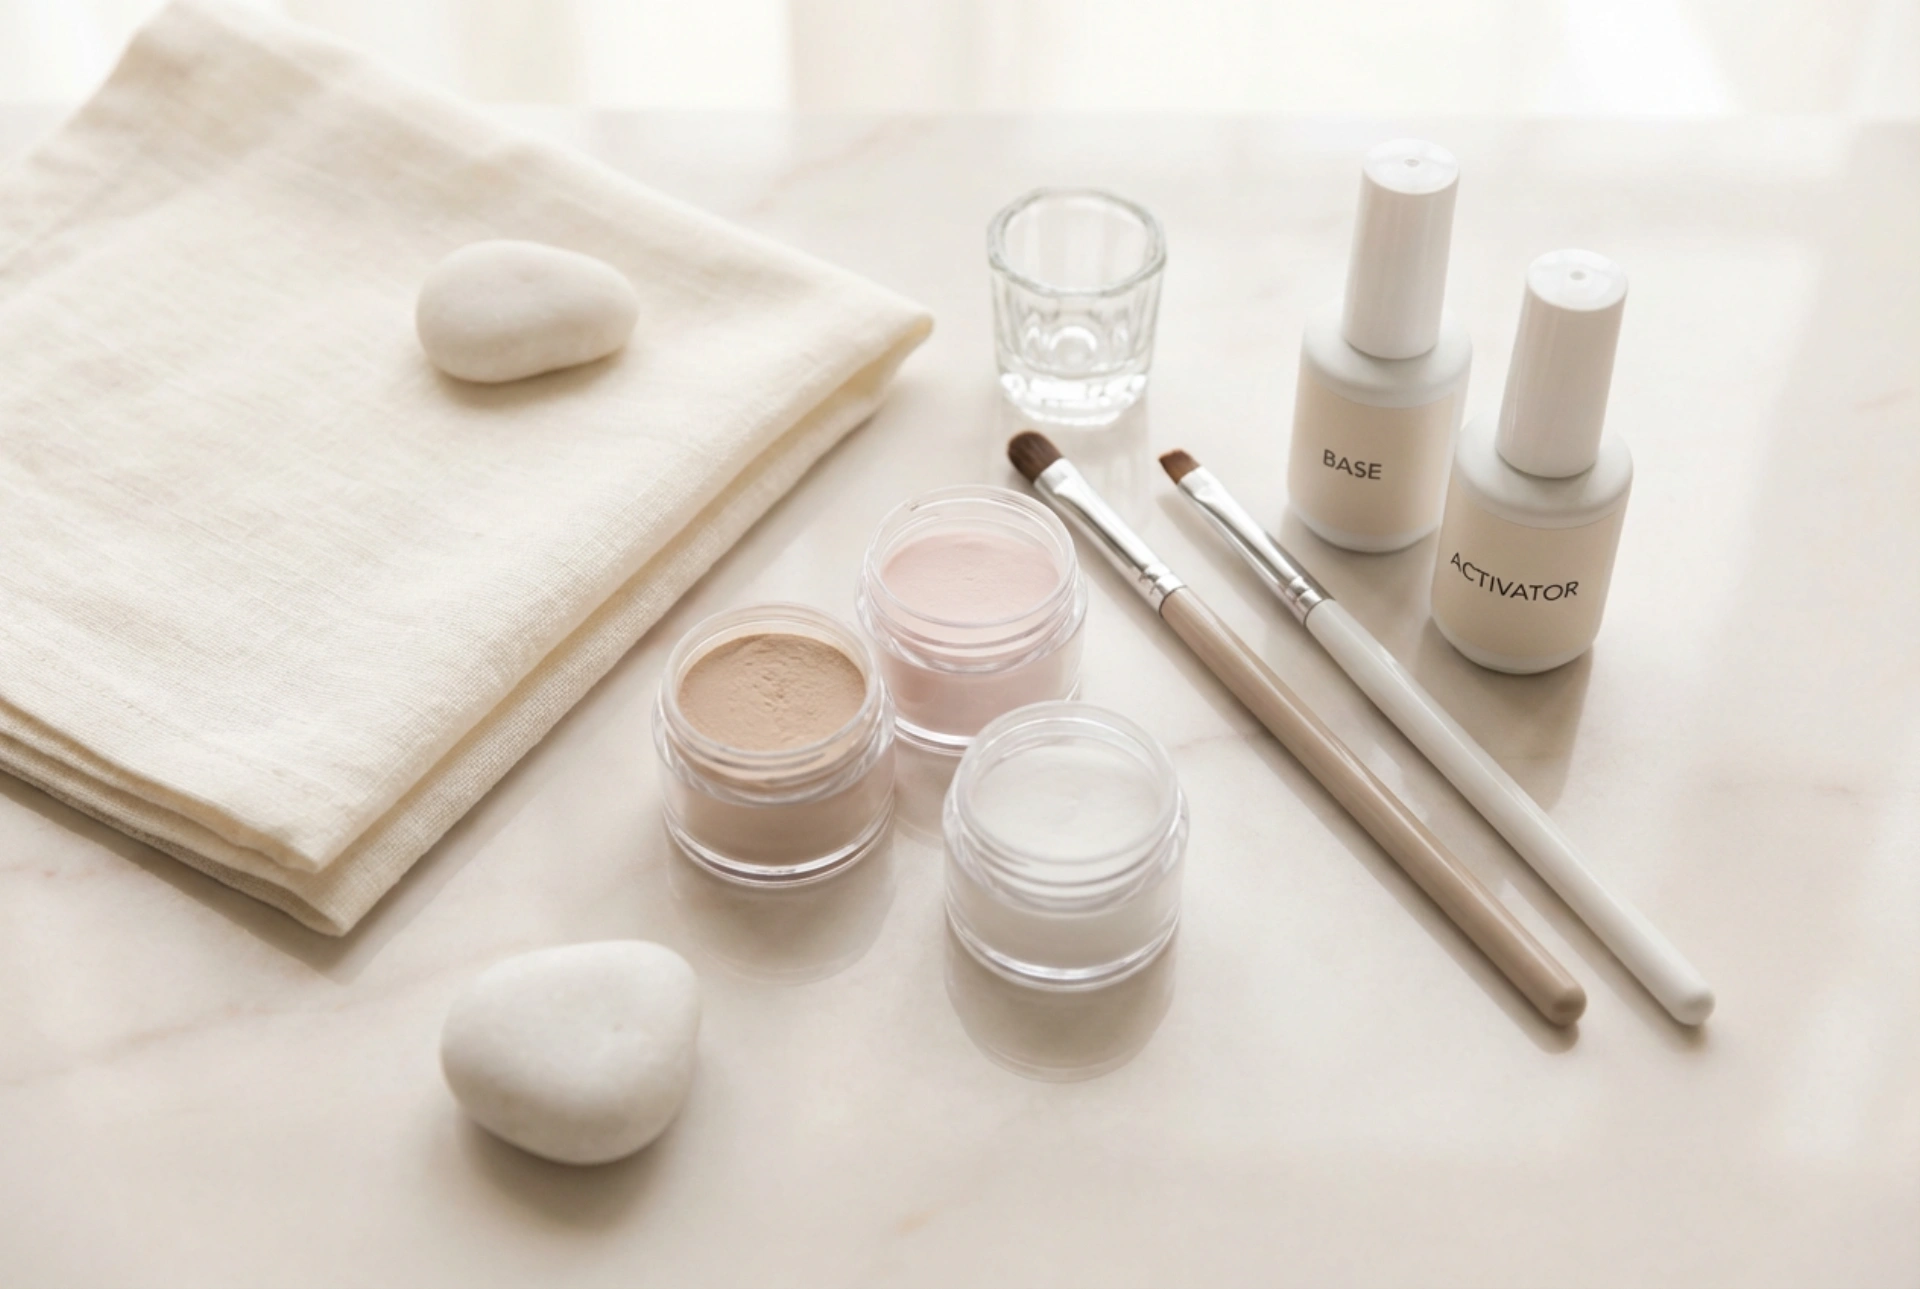
A comprehensive dip powder starter kit contains all the essential elements needed to complete a full manicure. While contents may vary slightly, a typical kit will include the following items:
- Base Liquid: This is the foundation of the manicure. It acts as an adhesive, allowing the coloured powder to stick to the nail plate. It is applied in thin, even layers before each dip.
- Activator Liquid: This crucial liquid chemically reacts with the powder and base coat, hardening the layers instantly. It is applied after the powder layers are built up and is essential for curing the product.
- Top Coat Liquid: This provides the final, high-gloss, protective seal. It is applied at the very end of the process to give the manicure its shine and shield it from scratches and daily wear.
- Brush Saver/Cleaner: Over the course of a manicure, brushes can become stiff from product build-up. The brush saver is a solvent used to clean and soften the bristles of the base and top coat brushes, ensuring they remain usable.
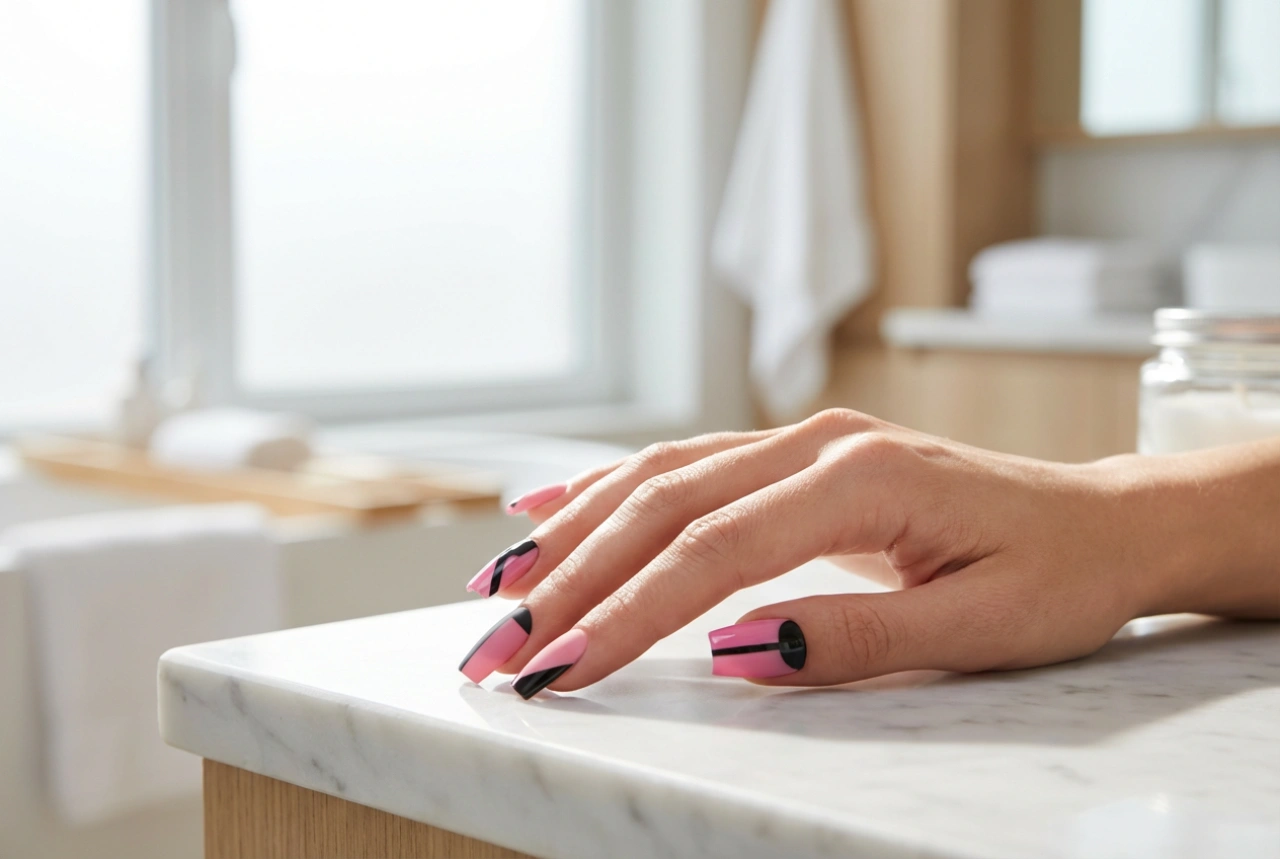
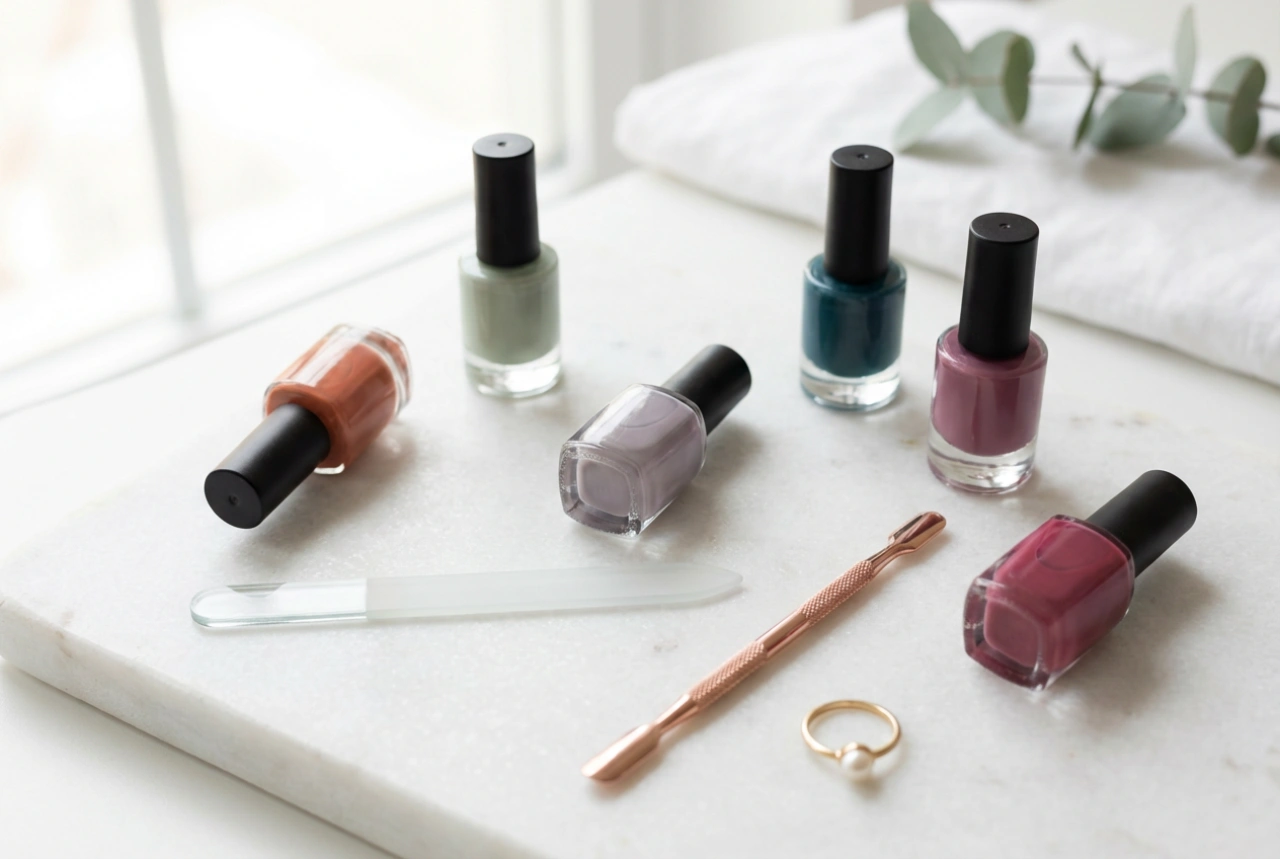
- Coloured Powders: These are the fine, pigmented acrylic powders that provide the colour for your manicure. A starter kit usually includes a selection of popular or neutral shades.
- Nail Preparation Tools: Most kits come with a nail file and a buffer. The file is used to shape the nails before application and to refine the shape after the product has hardened, while the buffer is used to smooth the nail surface.
- Dust Brush: A small, soft-bristled brush used to gently sweep away excess powder from the nail and finger after each dip.
A Step-by-Step Guide to Application
Patience and precision are key to a successful dip powder application. Follow these steps for a professional-looking result.
1. Nail Preparation
Start with clean, dry nails. Gently push back your cuticles and remove any non-living tissue from the nail plate. Lightly buff the entire surface of your nails to remove shine, which helps the product adhere better. Finally, wipe each nail with a lint-free cloth and a nail cleanser or isopropyl alcohol to dehydrate the nail plate and remove any oils or dust.
2. Base and Powder Application
Apply a thin, even layer of the base liquid to one nail, covering about three-quarters of the nail and avoiding the cuticle area. Immediately dip the nail into your chosen coloured powder at a 45-degree angle. Pull it out and tap your finger to remove any loose powder. Use your dust brush to gently sweep away the excess. Repeat this process for all nails. For more opaque colour and strength, apply a second layer of base liquid and dip each nail again.
3. Activation and Shaping
After building your layers, apply a generous coat of the activator liquid to all nails. This will harden the powder and base. Wait about two minutes for the product to fully harden. Once it feels solid to the tap, use your nail file to shape the free edges and your buffer to smooth the surface of the nails, refining any lumps or bumps. Focus on creating a smooth, elegant curve.
4. Final Coats
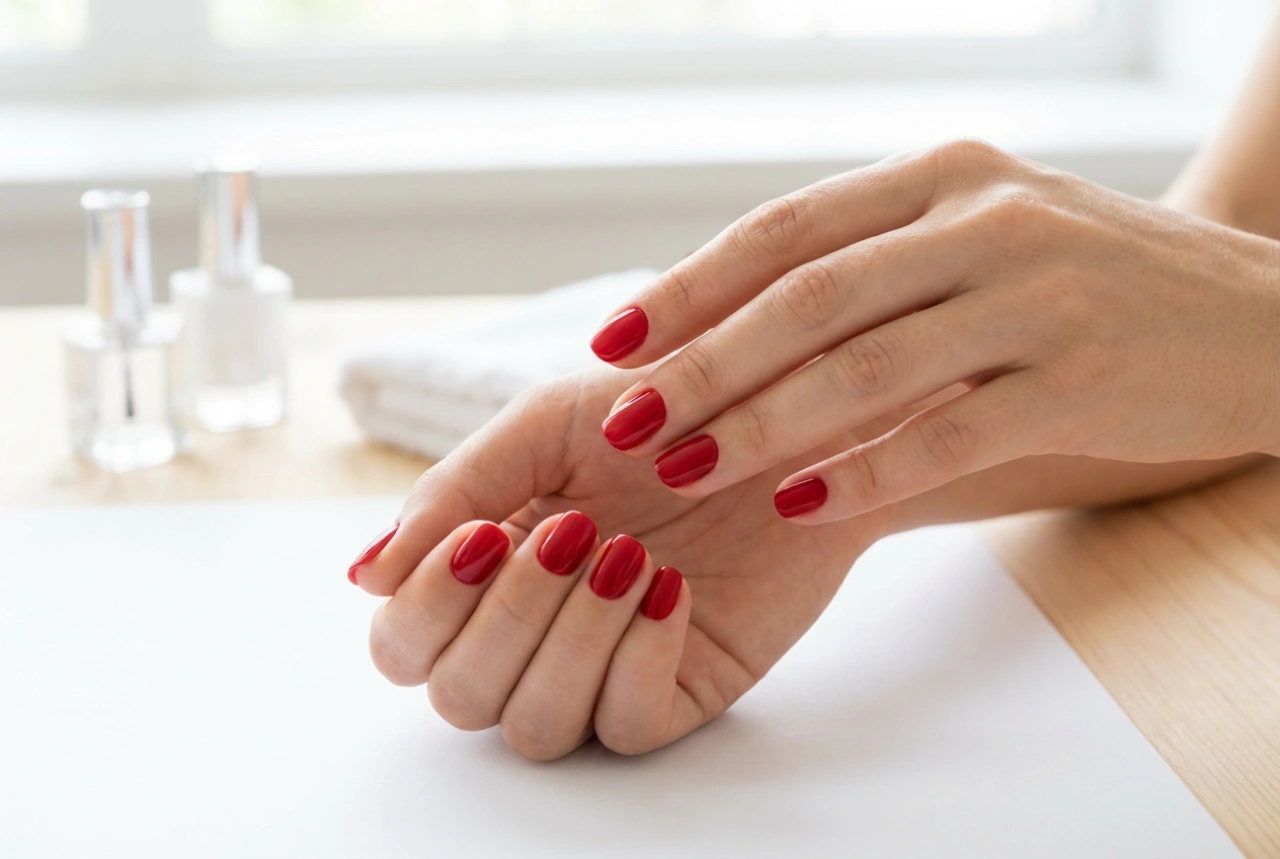
After shaping, apply another coat of activator to all nails and wait one minute. Then, take a dry, lint-free wipe and rub the nails to remove any unreacted activator. This step is crucial for achieving a super-glossy top coat. To finish, apply a thin, quick layer of the top coat to each nail, followed by a second, slightly more generous layer. Allow the top coat to air dry completely for about two to three minutes.
Safe Removal at Home
Proper removal is essential to protect the health of your natural nails. Never pick or peel off the product. Instead, begin by using a coarse file to gently file away the shiny top coat from each nail. This breaks the seal and allows the removal solution to work effectively. Next, saturate a cotton ball with 100% acetone, place it on the nail, and wrap the fingertip securely in a piece of aluminium foil. Let your nails soak for 10-15 minutes. After soaking, the product should be soft and can be gently pushed off with a cuticle pusher or an orangewood stick. If any product remains, re-wrap the nail and soak for a few more minutes. Once all the product is removed, wash your hands and generously apply a nourishing cuticle oil and hand cream to rehydrate your skin and nails.