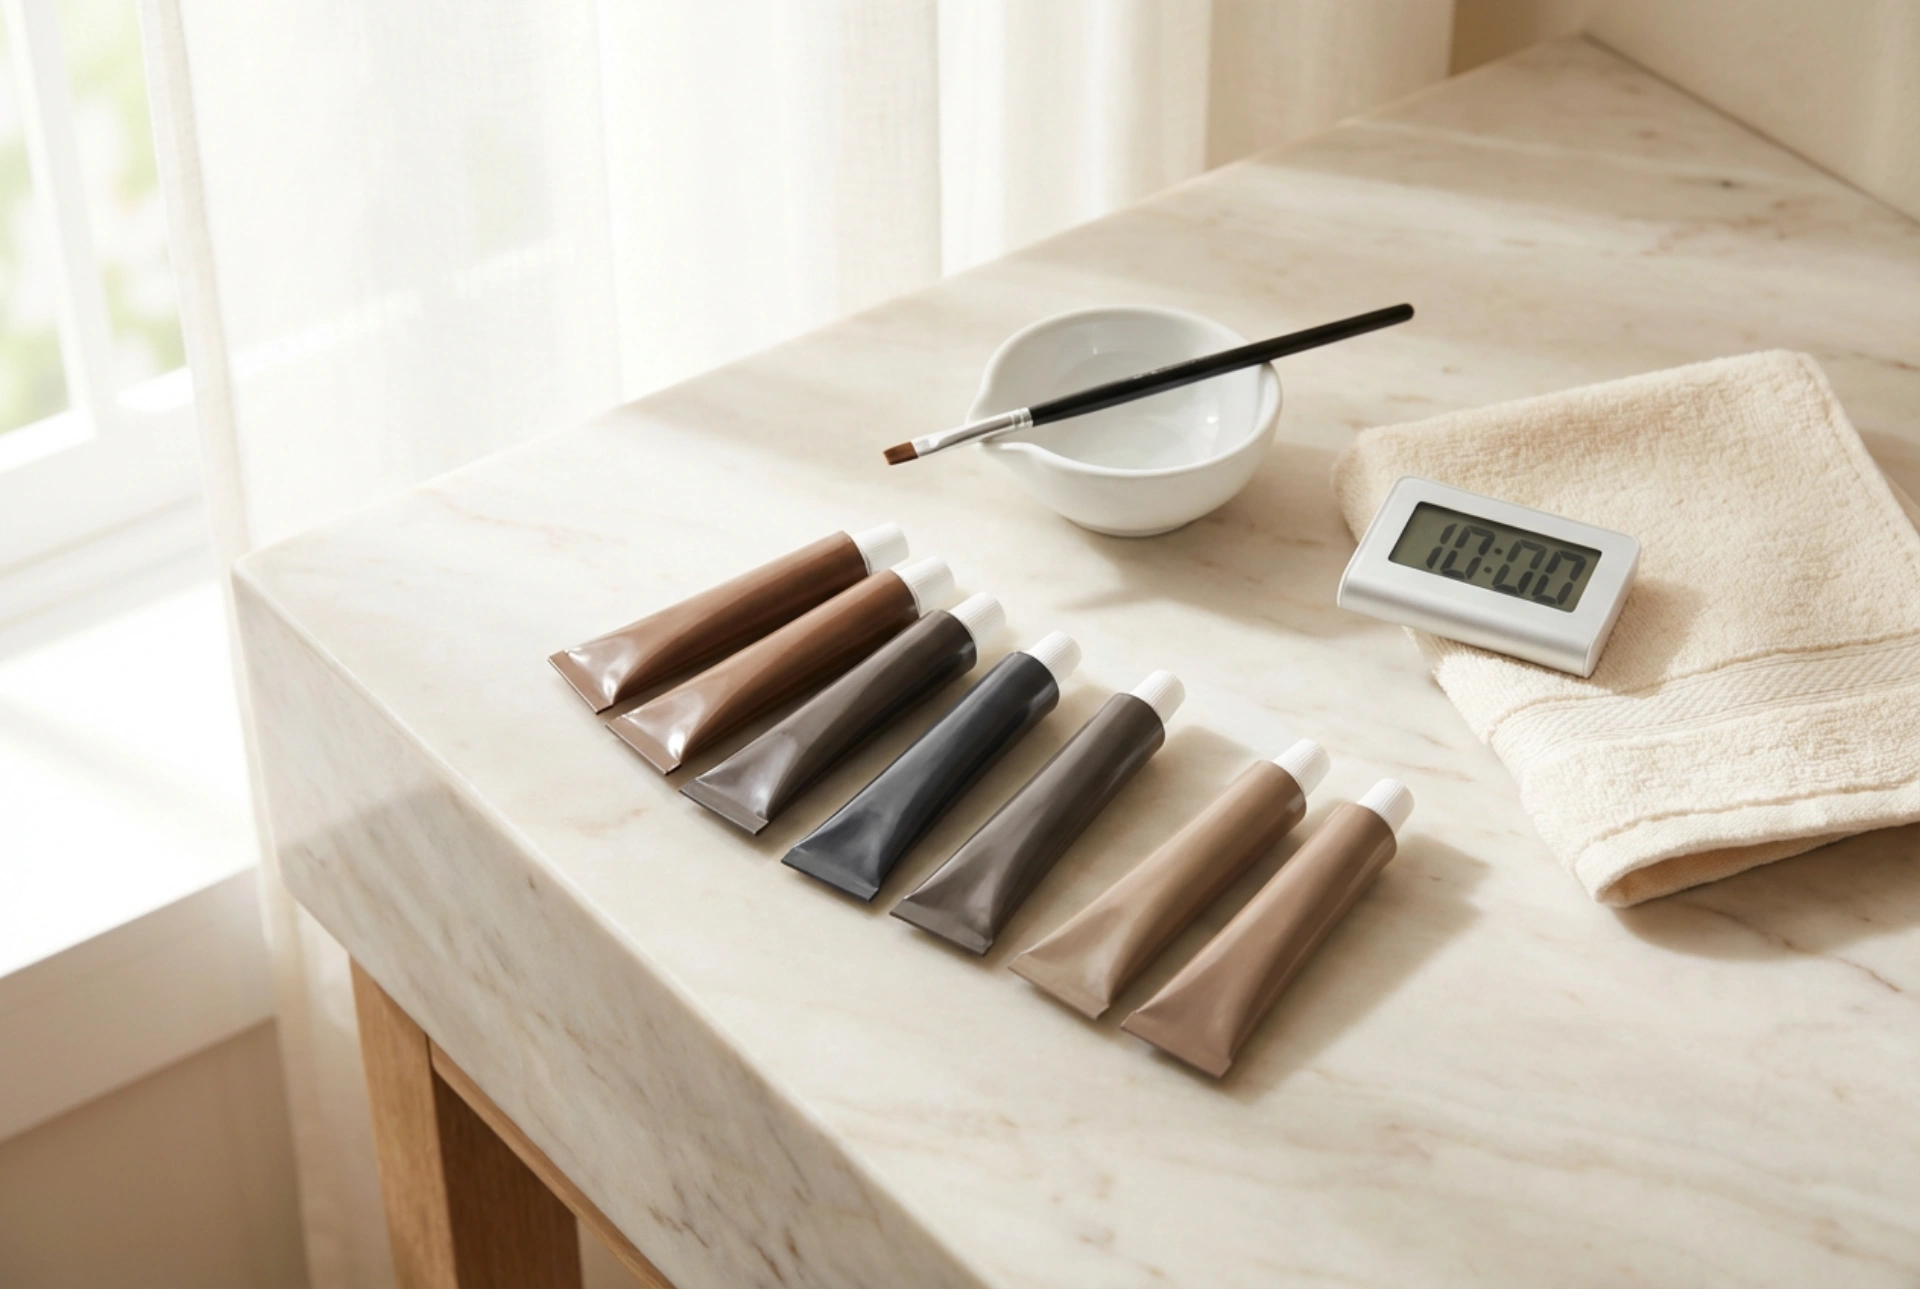


A beautifully arranged vanity with elegant glass dishes, fine brushes, and a precise timer signals the beginning of a peaceful home beauty ritual. Taking care of your eyebrows at home has become a popular and satisfying way to simplify your daily beauty routine while maintaining a polished and fresh appearance. Eyebrow tinting is an exceptionally effective method to define the facial structure, frame the eyes, and save valuable time in the morning. Achieving professional-looking results does not require expert training; instead, it relies on selecting the appropriate colour, understanding the correct mixing ratios, and strictly adhering to recommended processing times. With a careful and structured approach, you can transform your brows safely and beautifully in the comfort of your own home.
How to Choose the Perfect Brow Shade
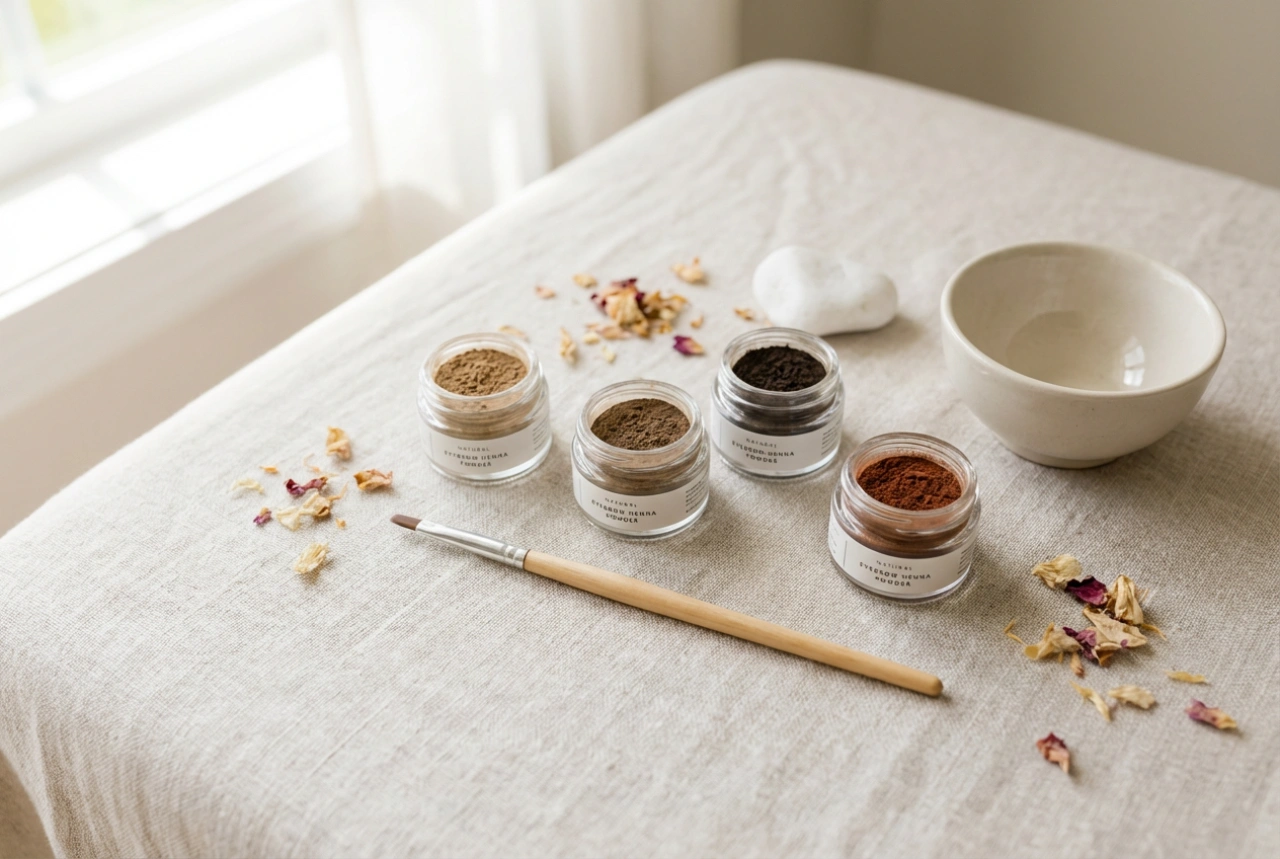
The secret to a successful home eyebrow tint lies in selecting a shade that harmonises naturally with your overall colouring. The goal is to enhance your features rather than overpower them, which means considering both your hair colour and skin undertones before purchasing your tint. For those with blonde hair, a light brown or soft graphite shade is ideal. Avoid excessively dark tones, as these can create a harsh, unnatural contrast. If you have cool blonde or grey hair, graphite is highly recommended to prevent warm or brassy undertones.
Brunettes should generally aim for a shade that matches or is one to two tones lighter than their natural hair colour to keep the face looking soft and youthful. Dark brown is highly versatile, while medium brown works wonderfully for light brunette or dark blonde hair. Redheads often look best with warm, light brown shades, which complement the natural warmth of their hair without looking red or orange. For those with very dark or black hair, a soft black or dark brown tint is the most flattering. Pure black tint should be used with caution, as it can appear extremely intense and heavy if left on for even a moment too long.
Understanding Proportions and Preparing the Mix
Creating the perfect mixture is essential for a smooth application and consistent colour payoff. Home brow tinting kits generally consist of a colourant cream or powder and an activator, which is typically a low-percentage hydrogen peroxide solution. To ensure the chemical reaction occurs correctly, you must follow the proportions suggested by the manufacturer, which is most commonly a one-to-one ratio.
Key steps for preparing the mixture include:
- Use a clean container: Always mix the components in a small, non-metallic dish, such as a glass or ceramic container, to prevent unwanted chemical reactions.
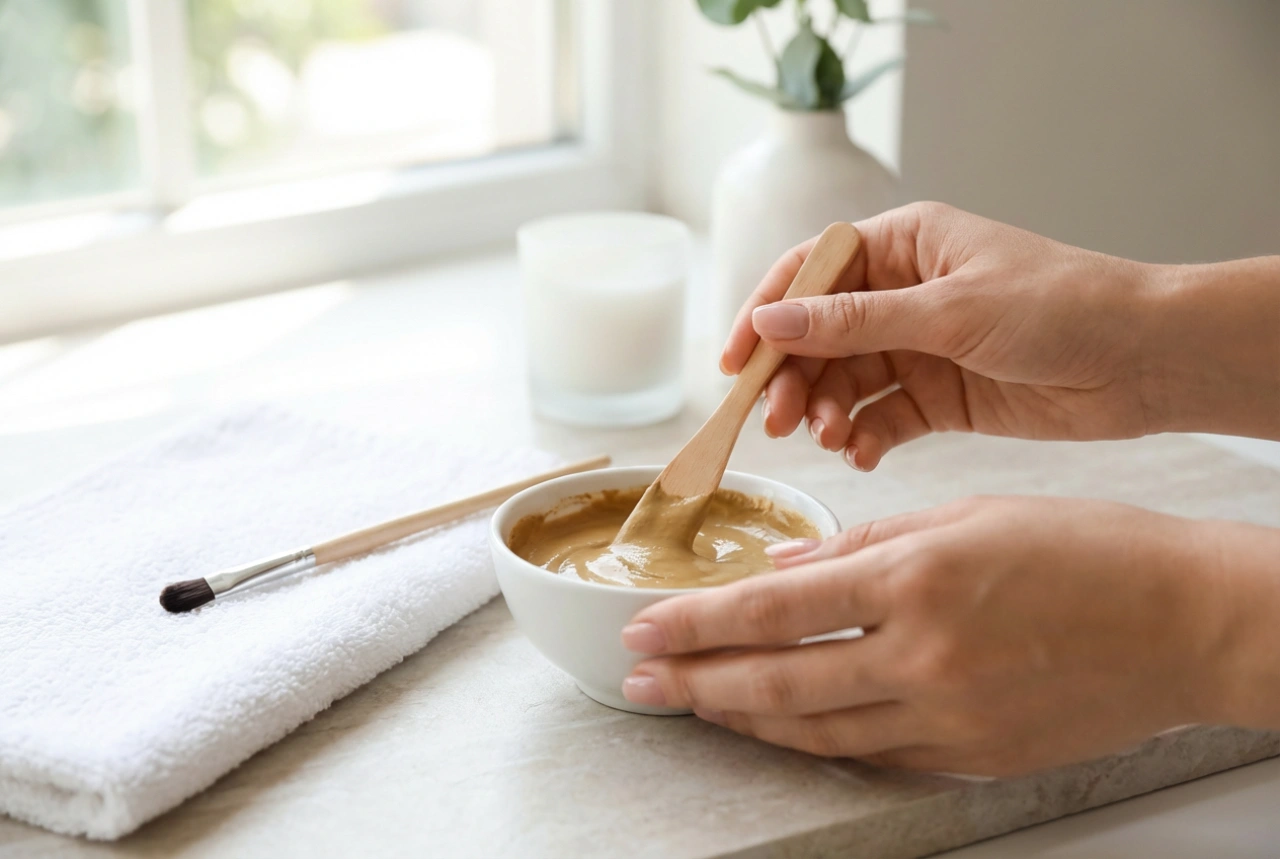
- Combine slowly: Add a small, equal amount of the colourant cream and the activator, mixing thoroughly with a spatula or the end of a clean brush.
- Aim for a creamy consistency: The mixture should be smooth, homogeneous, and thick enough that it does not run off the brush during application. If the paste is too runny, it may drip onto the skin; if it is too thick, it may not spread evenly.
Before applying the mixture, your brow area must be meticulously prepared. Wash your face thoroughly and use a gentle, oil-free cleanser to remove all traces of makeup, sebum, and skincare products. Any oil residue on the hairs can act as a barrier, preventing the tint from penetrating evenly. To protect the surrounding skin from accidental staining, apply a thin layer of petroleum jelly or a rich moisturising cream around the perimeter of the brows, taking care not to get any on the actual brow hairs.
The Application Technique: Precision and Control
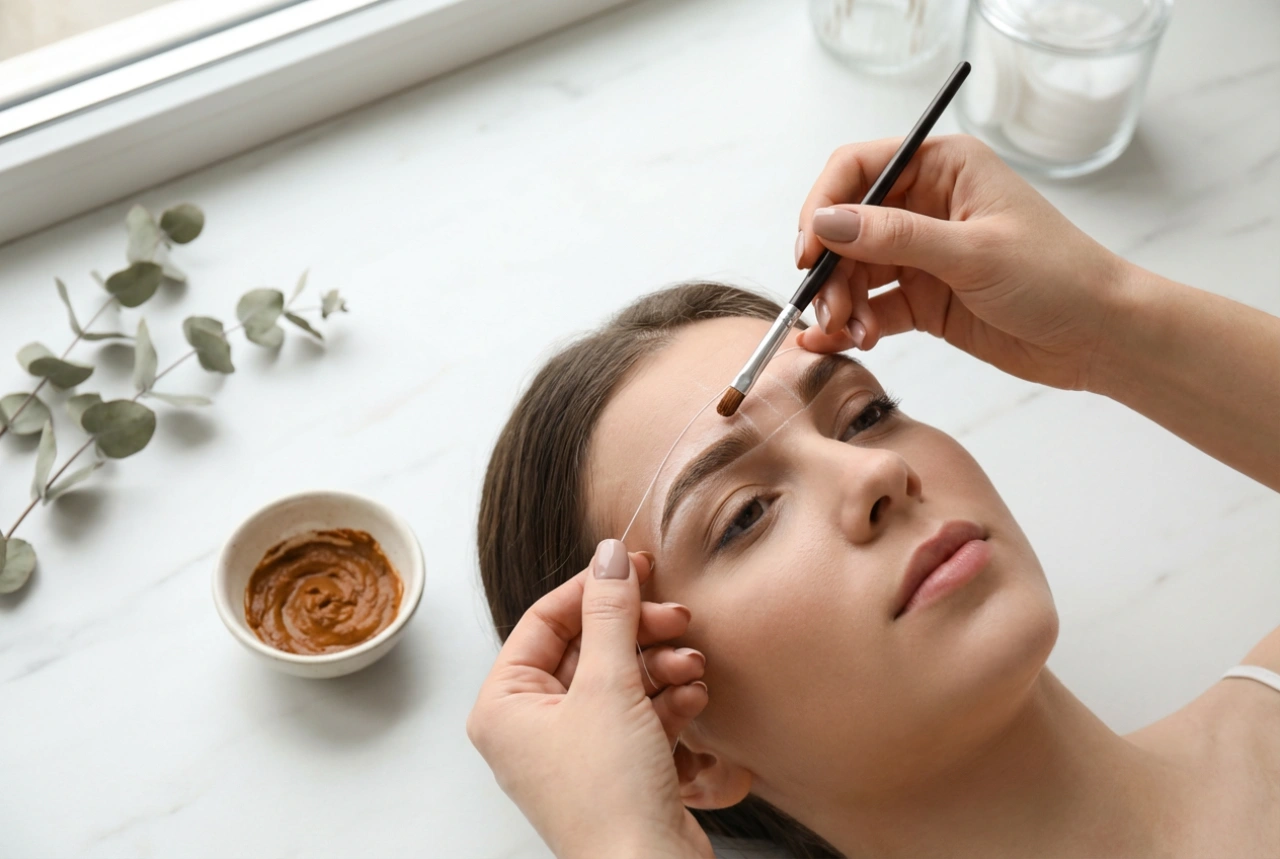
Once your mixture is ready and your skin is prepared, it is time to apply the tint using a fine, angled synthetic brush. Precision is key during this step to ensure clean lines and a symmetrical finish. Start by brushing your brow hairs into their natural shape using a clean spoolie brush.
Apply the tint starting from the outer tail of the eyebrow, where the colour should naturally be the darkest and most defined. Gradually work your way towards the middle section, filling in any sparse areas. Finally, use the remaining, minimal amount of product on your brush to gently fill in the inner corner of the brow, closest to your nose. This technique creates a natural, soft gradient effect, preventing the brows from looking blocky or overly harsh near the centre of the face. If you make a mistake or smudge the tint outside your desired shape, immediately wipe it away using a damp cotton bud.
The Importance of Processing Time
The amount of time the tint remains on your brows determines the intensity of the final result. This is where a reliable timer becomes your most valuable tool. For a subtle, natural enhancement, leaving the product on for three to five minutes is often sufficient, especially for those with light hair. For a more defined, bolder look, or when trying to cover stubborn grey hairs, the processing time can be extended to seven to ten minutes.
It is always safer to wash the tint off too early rather than too late. You can easily reapply the product if the colour is not deep enough, but correcting overly dark brows is much more challenging. If you are aiming for a modern, ombre look, you can remove the tint from the inner corners of your eyebrows with a damp cotton pad after just two minutes, while letting the rest of the brow process for the full duration.
Aftercare and Maintenance for Longevity
To enjoy your beautiful, freshly tinted eyebrows for as long as possible, some simple aftercare rules should be followed. Immediately after the treatment, remove the tint thoroughly using a cotton pad soaked in warm water. Gently wipe the area until the pad comes away completely clean, ensuring no active mixture remains on the skin or hair.
For the first twenty-four hours post-treatment, avoid using harsh facial cleansers, physical scrubs, or oil-based makeup removers directly on the brow area. Oils and active ingredients can break down the tint molecules, causing the colour to fade prematurely. Additionally, try to avoid swimming in chlorinated pools or spending prolonged periods in direct sunlight during the first couple of days, as this can also alter or fade the colour. With proper care, your home-tinted brows can remain beautifully defined for up to four to six weeks, keeping your morning routine effortless.