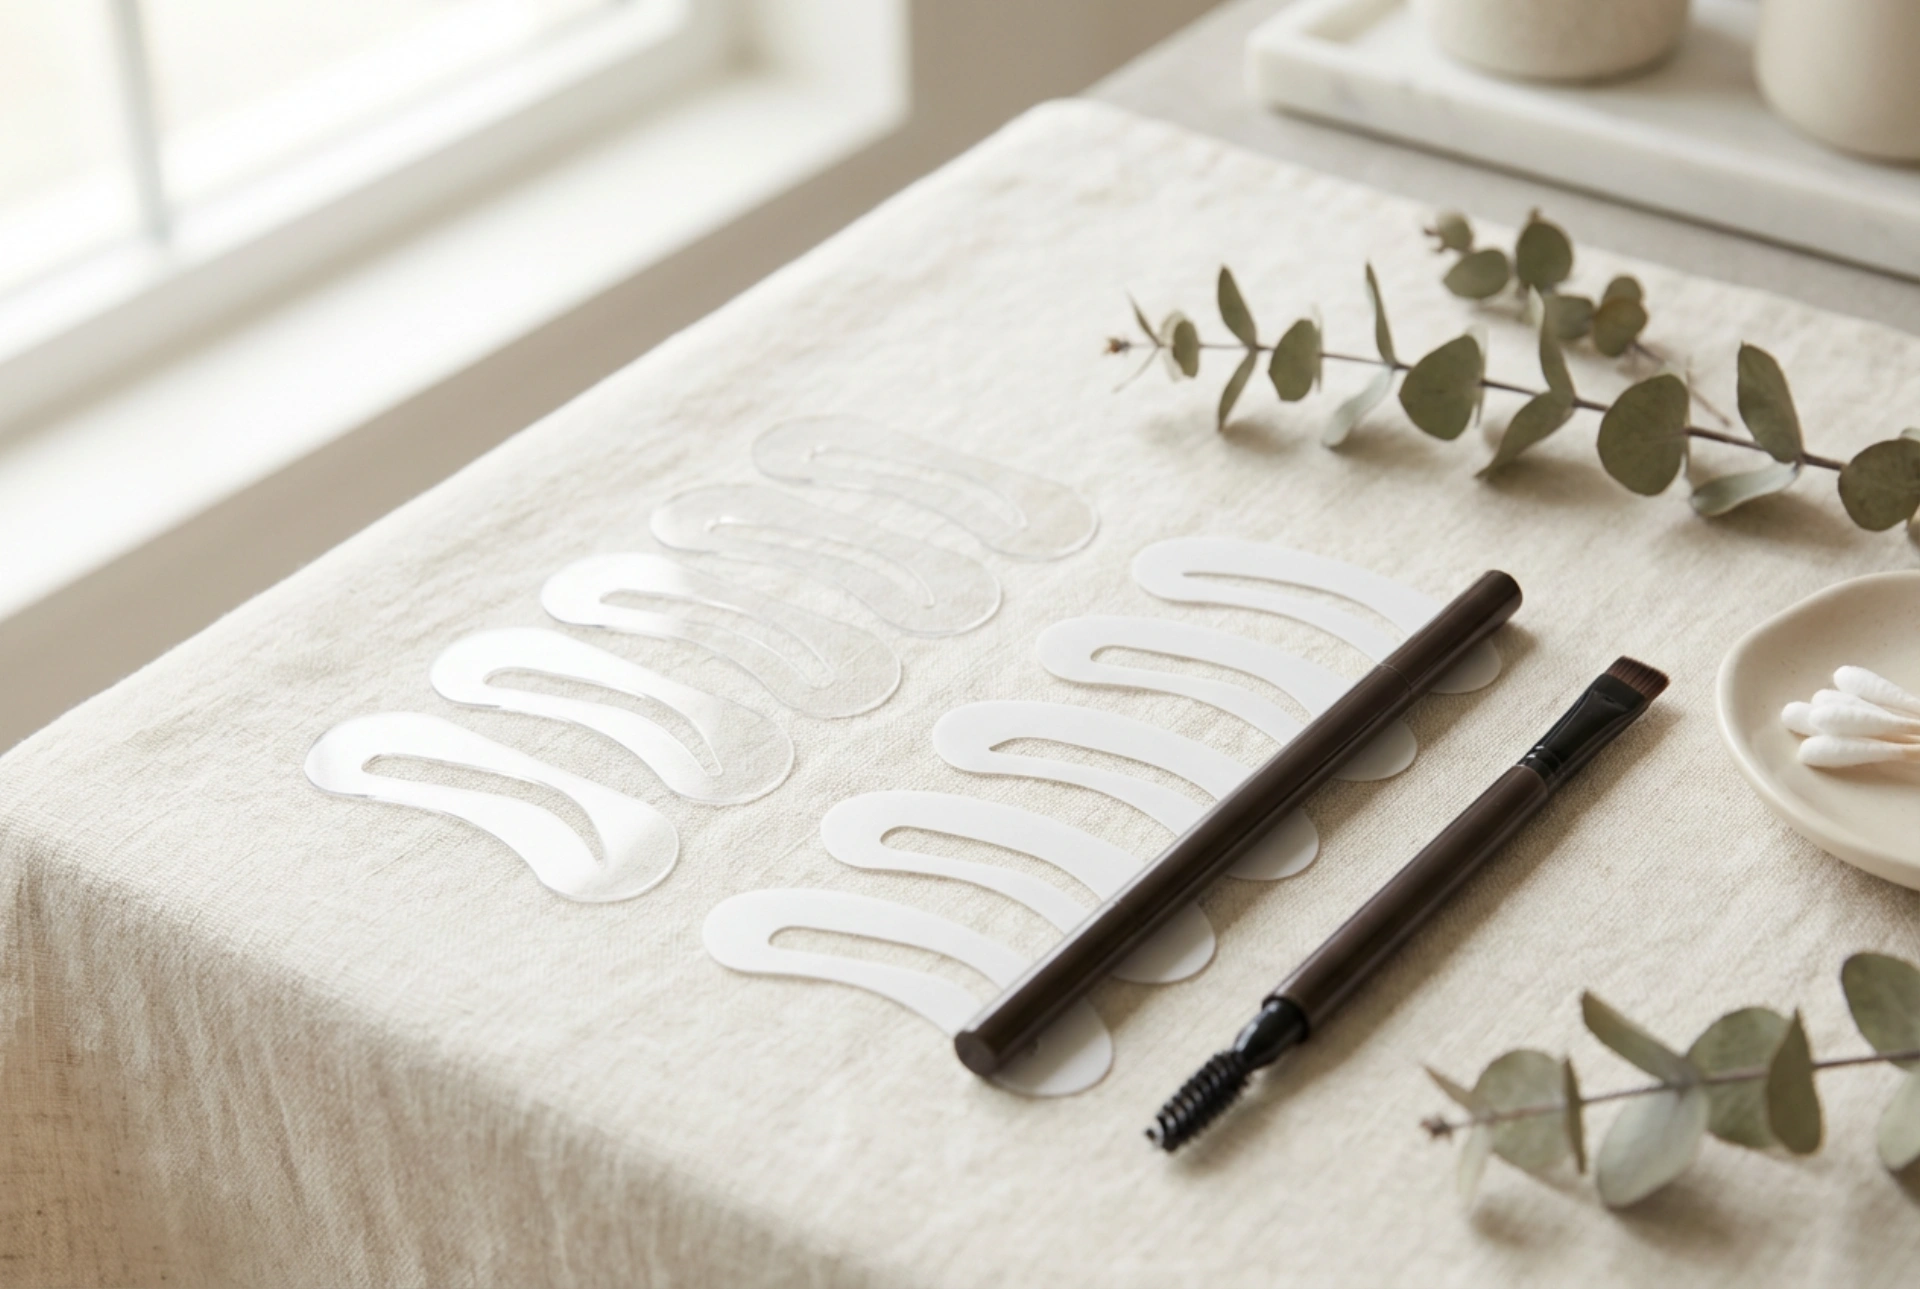


Achieving symmetrical, well-defined eyebrows can often feel like a daily challenge. The perfect arch frames the face, enhances natural features, and balances overall facial proportions. An elegant beauty kit featuring generic eyebrow stencils, a quality brow pencil, and a styling brush on a soft, light-colored surface illustrates how precision tools can simplify this beauty routine. Using a template is an excellent, non-invasive way to experiment with different shapes and achieve a clean, polished look at home without the need for permanent changes.
Understanding the Benefits of Eyebrow Stencils
Eyebrow stencils are reusable templates made from flexible, clear plastic or silicone. They are designed to guide your brow makeup application, ensuring both sides are symmetrical and shaped correctly. For beginners, those with sparse brows, or anyone looking to redesign their arch, these tools offer a reliable blueprint. They help eliminate guesswork, save time during busy mornings, and prevent the common mistake of over-plucking or over-filling.
Using a template also allows you to test different aesthetics before committing to a specific style. Whether you prefer a soft, rounded curve or a bold, structured arch, a stencil provides a safe space to practice and refine your makeup skills using temporary cosmetics such as powders, pencils, or styling pomades.
How to Choose the Right Shape for Your Face
The key to successful stencil application lies in selecting a shape that complements your natural facial structure. Not every eyebrow trend suits every face shape, so it is essential to analyze your proportions before starting.
- Oval Faces: This balanced shape works beautifully with a soft, classic arch that follows the natural brow line without sharp angles.
- Round Faces: To create the illusion of length and definition, opt for a stencil with a higher, more structured arch and sharp angles.
- Square Faces: A softer, rounded arch helps to gently balance strong jawlines and angular features.
- Long Faces: Flat, horizontal brow shapes with minimal arching can help visually shorten the face and create a harmonious look.
- Heart-Shaped Faces: A low, soft arch with rounded edges keeps the focus on the eyes and softens a pointed chin.
When selecting a stencil, also pay attention to the width of the template. The beginning, peak, and tail of the stencil should align closely with your natural brow hairs to ensure a seamless and realistic finish.
Step-by-Step Guide to Perfect Stencil Application
Using an eyebrow stencil requires a gentle hand and a bit of patience. By following a structured method, you can achieve professional-looking results in just a few minutes.
Step 1: Prep and Align
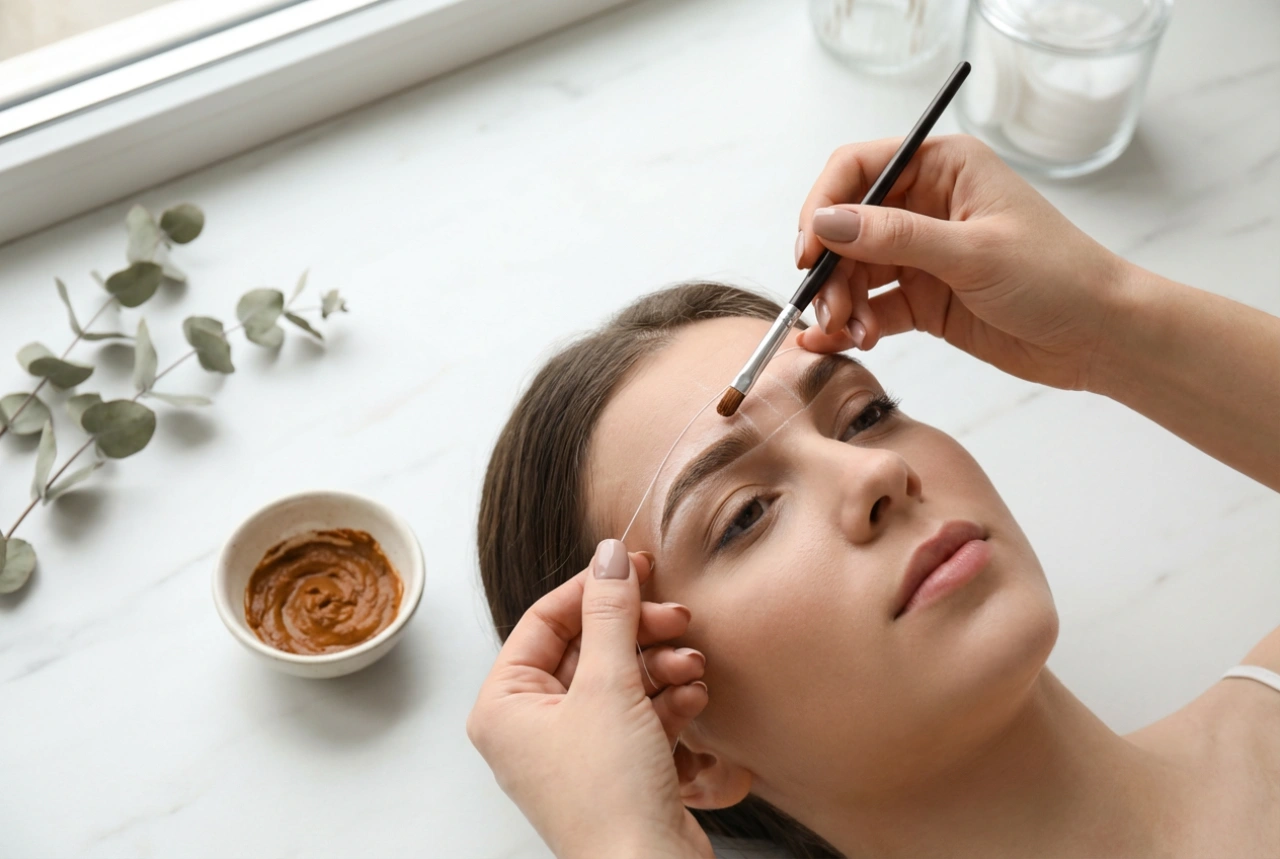
Begin by brushing your natural brow hairs upward and outward using a clean spoolie brush. This reveals the true shape of your brows and ensures no hairs are trapped flat. Next, place the chosen stencil over your eyebrow. Align the start of the stencil with the inner corner of your eye, and ensure the arch of the stencil aligns with the highest point of your natural brow bone. Hold the template firmly against your skin using your index and middle fingers to prevent it from sliding.
Step 2: Fill in the Shape
Using a finely sharpened eyebrow pencil, a brow powder, or a light wax, gently fill in the open space of the stencil. It is best to start from the middle of the arch and work toward the tail, as this is where the brow should naturally be darkest. Use light, feathery strokes rather than a solid blocks of color. Leave the inner corner of the brow for the very end, applying only a tiny amount of product to create a soft, gradient effect.
Step 3: Remove and Refine
Carefully lift the stencil away from your face. Do not slide it, as this may smudge the product. Examine the shape in a mirror. If you notice any harsh lines, use a clean spoolie brush to blend the color, softening any sharp edges. Repeat the exact same steps on the other eyebrow, turning the stencil over and aligning it carefully to ensure symmetry.
Tips for a Natural and Long-Lasting Finish
To make your stenciled brows look as natural as possible, always choose a makeup shade that matches your natural hair color or is one shade lighter. Heavy, dark pigments can make the stenciled shape look artificial and harsh. If you have very sparse brow hairs, you can use a fine-tipped brow pen to draw delicate, hair-like strokes within the stenciled outline after removing the template.
To set your shape in place for the entire day, finish the look by applying a clear, lightweight brow gel. This tames any unruly hairs, adds a subtle sheen, and locks the makeup pigments in place, ensuring your perfectly drawn arches remain flawless from morning to night.