

Achieving perfectly defined, natural-looking eyebrows has become a cornerstone of modern beauty routines. Powder brow henna offers an excellent, long-lasting solution for those seeking to enhance their brow shape and colour without daily makeup application. This botanical-based method not only tints the brow hairs but also gently stains the skin underneath, creating a soft, filled-in shadow effect. To achieve professional results at home, understanding the precise steps of preparation and application is key to ensuring an even, beautiful, and durable finish.
Understanding Powder Henna and Its Benefits
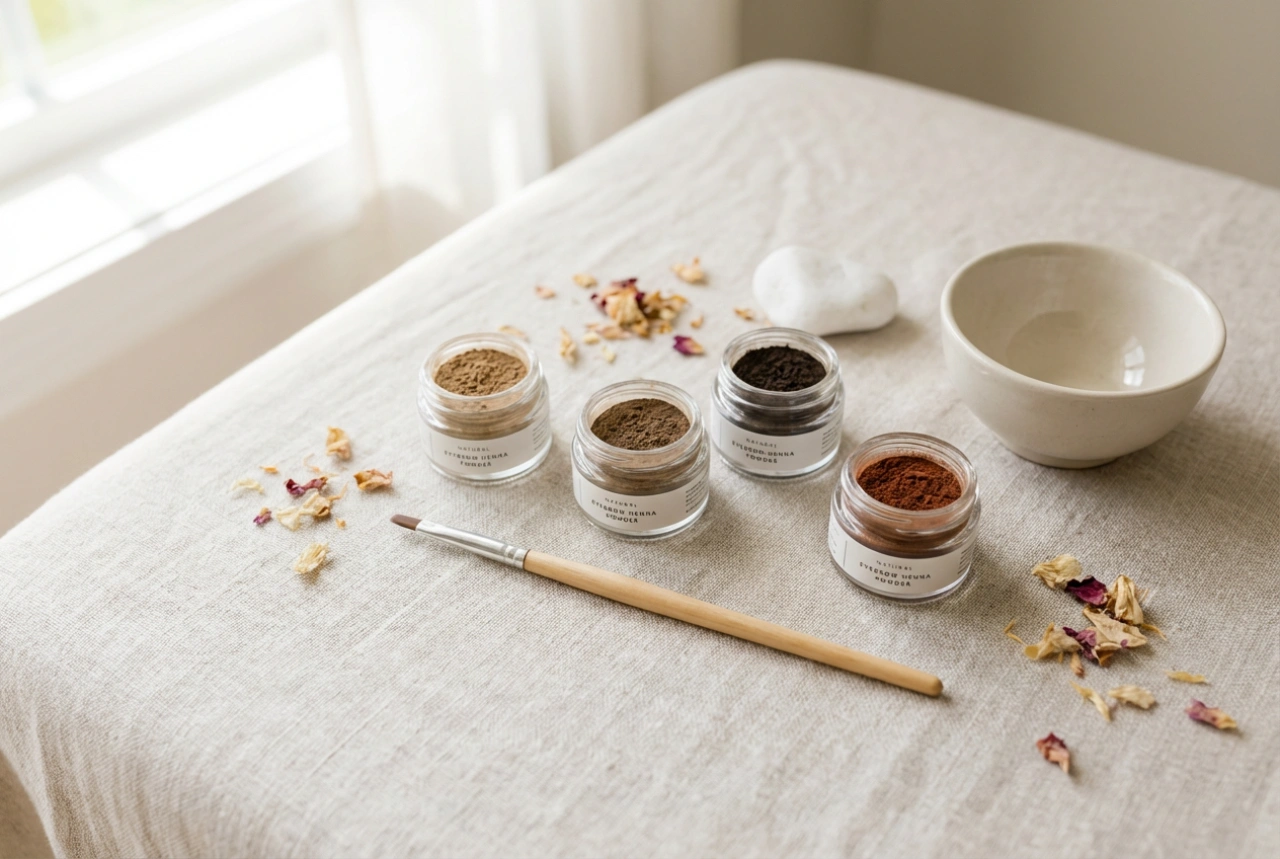
Powder henna is derived from natural plant sources and is celebrated for its conditioning properties. Unlike traditional chemical dyes, it does not require strong oxidants to activate. Instead, it is typically mixed with pure water or a dedicated mineral solution. This makes the process much gentler on both the skin and the delicate brow hairs. The main advantages of this method include:
- A natural, powder-like finish that mimics the look of professional brow makeup.
- Excellent coverage of sparse areas by temporarily tinting the skin.
- Long-lasting results, with colour staying on the skin for up to two weeks and on the hairs for up to six weeks.
- Conditioning benefits that help strengthen and nourish brow hairs over time.
Step 1: Preparing the Skin and Brow Area
The secret to a flawless and long-lasting henna stain lies in thorough preparation. Because henna tints the upper layers of the skin, any build-up of dead skin cells, sebum, or makeup residue can cause patchy or uneven results. Begin by thoroughly cleansing the brow area with a oil-free makeup remover. Next, perform a very gentle exfoliation using a fine scrub specifically designed for the face, or gently buff the area with a soft, damp cotton pad. This ensures a smooth, clean canvas. Finally, apply a degreasing toner to remove any remaining oils, allowing the henna mixture to adhere perfectly to the skin.
Step 2: Mixing the Perfect Henna Paste
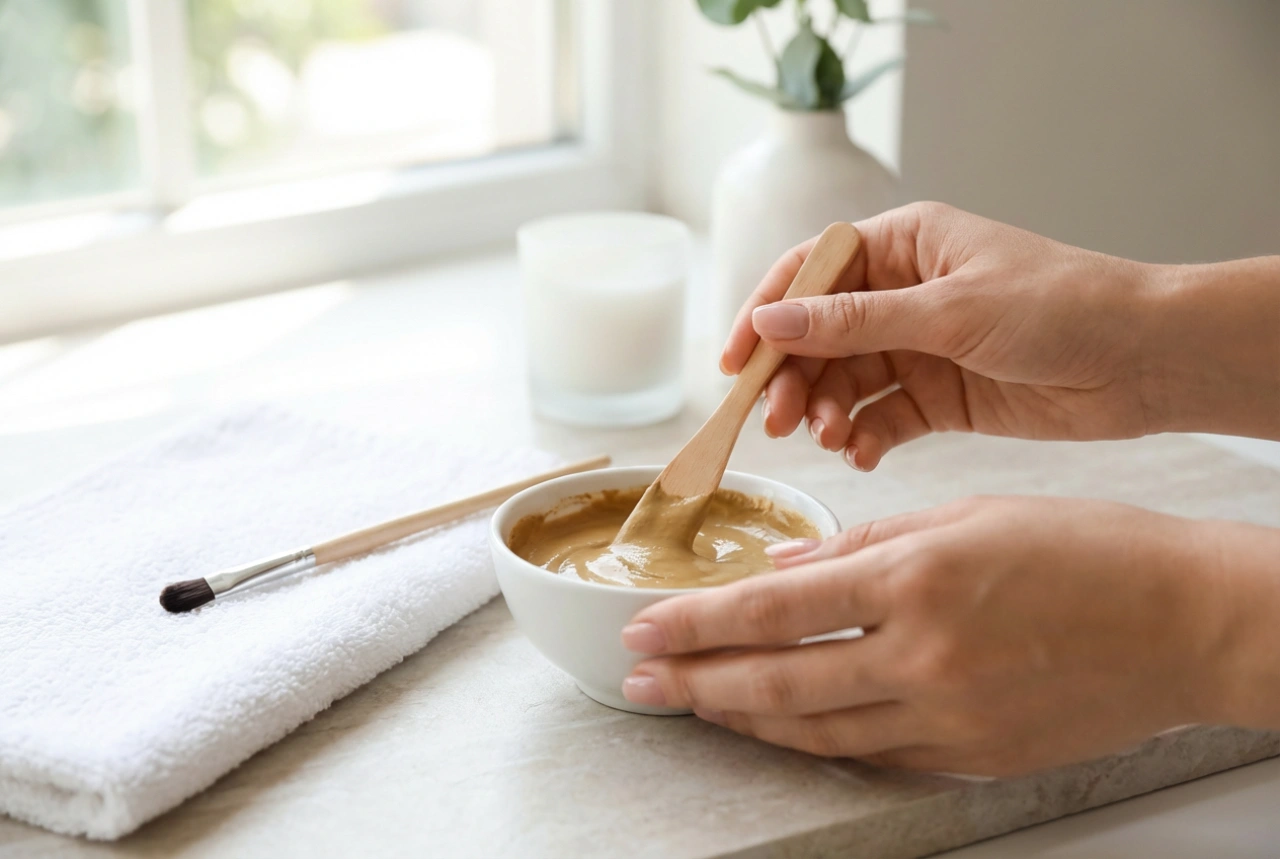
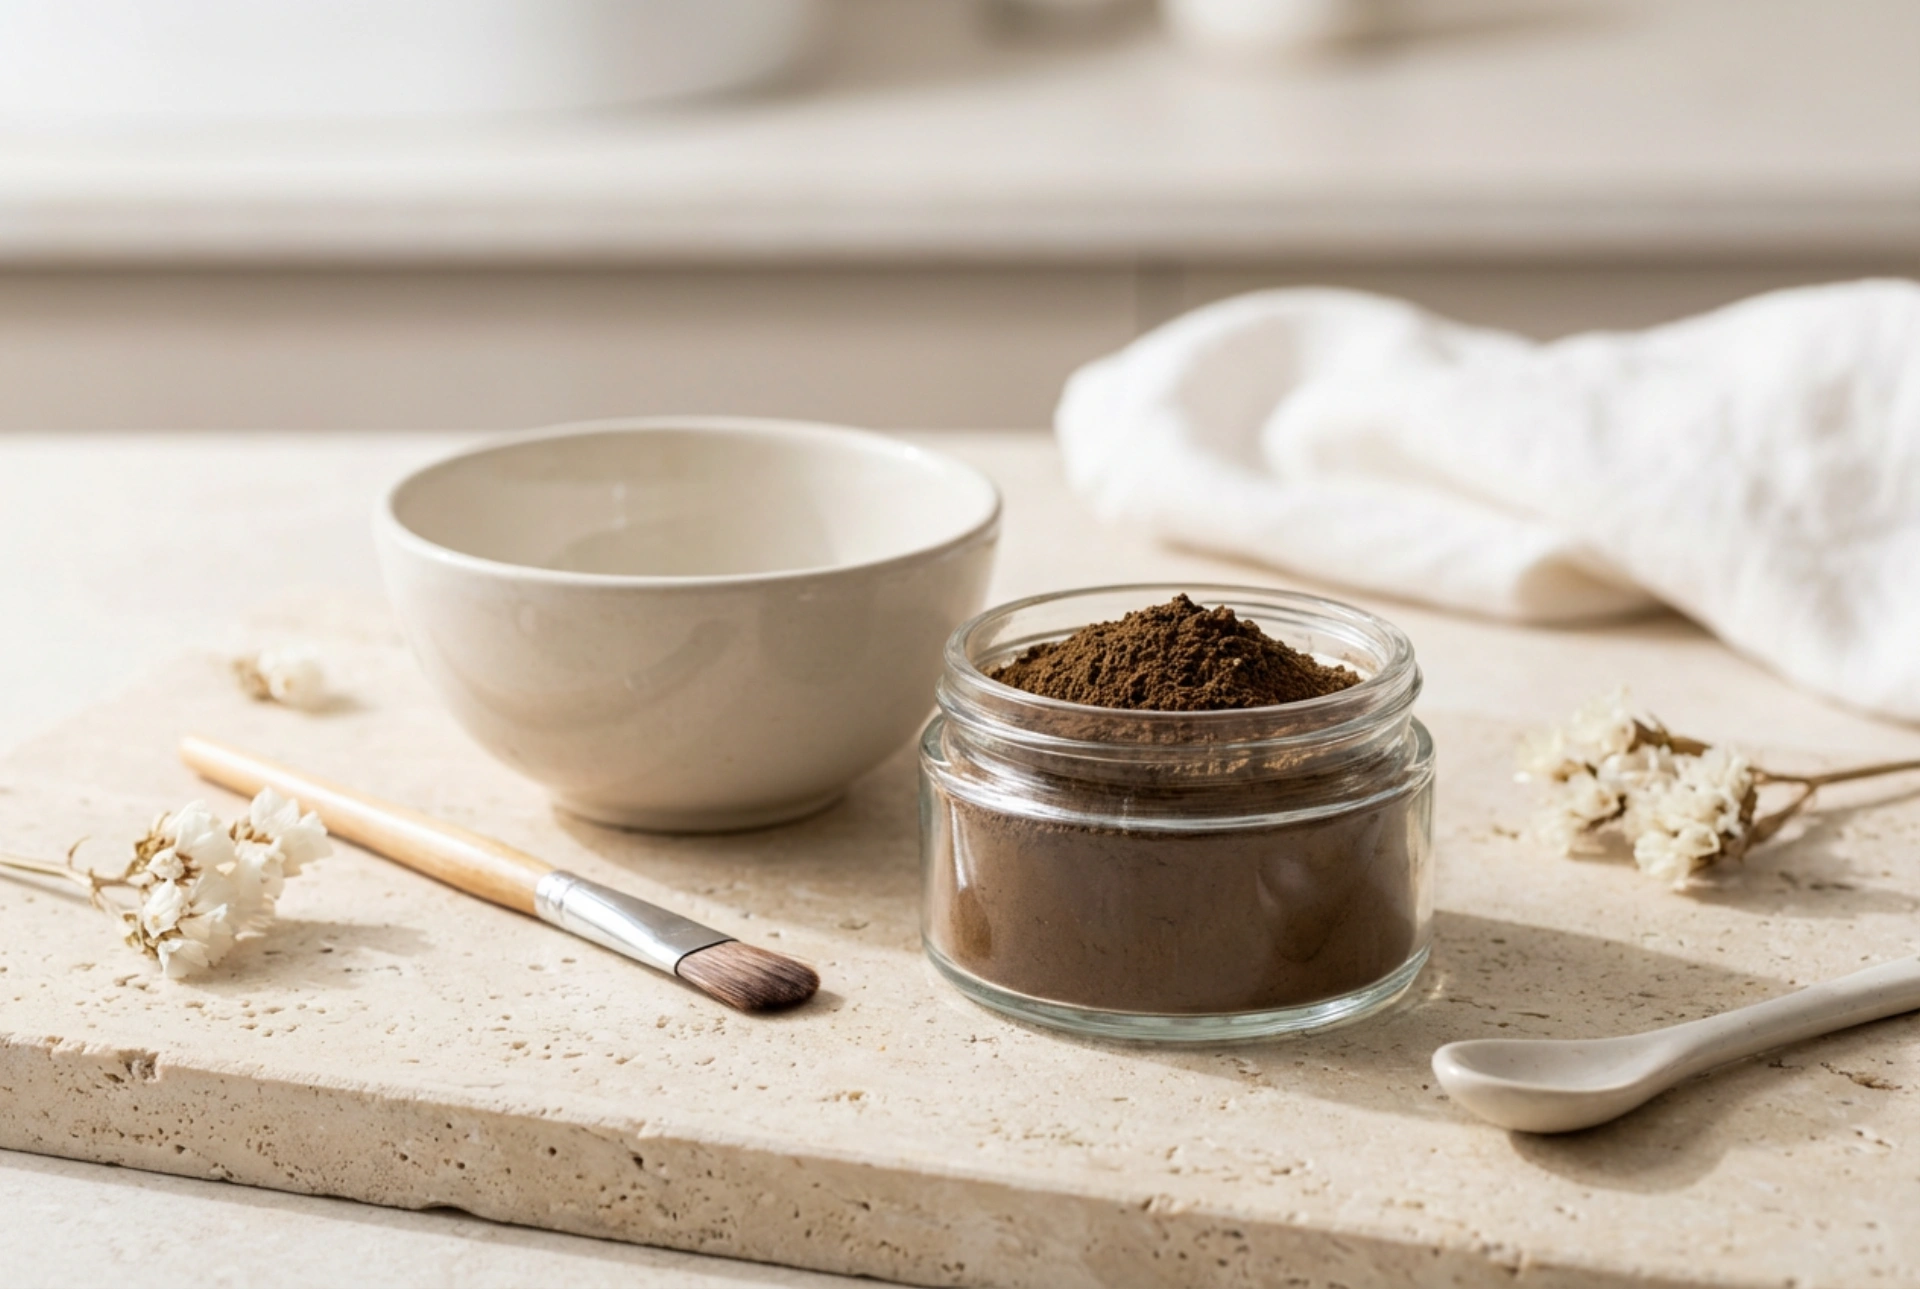
Achieving the correct consistency of your henna paste is crucial for a smooth application. In a small, clean mixing bowl, combine a measured amount of the generic henna powder with a few drops of mineral water or the activator solution recommended by the manufacturer. Use a non-metallic spatula or a small brush to blend the mixture thoroughly. The ideal consistency should resemble smooth, liquid soy sauce or runny chocolate. If the mixture is too thick, it will dry too quickly and fail to tint the skin evenly; if it is too runny, it may bleed outside your desired brow contour.
Step 3: Mapping and Precise Application
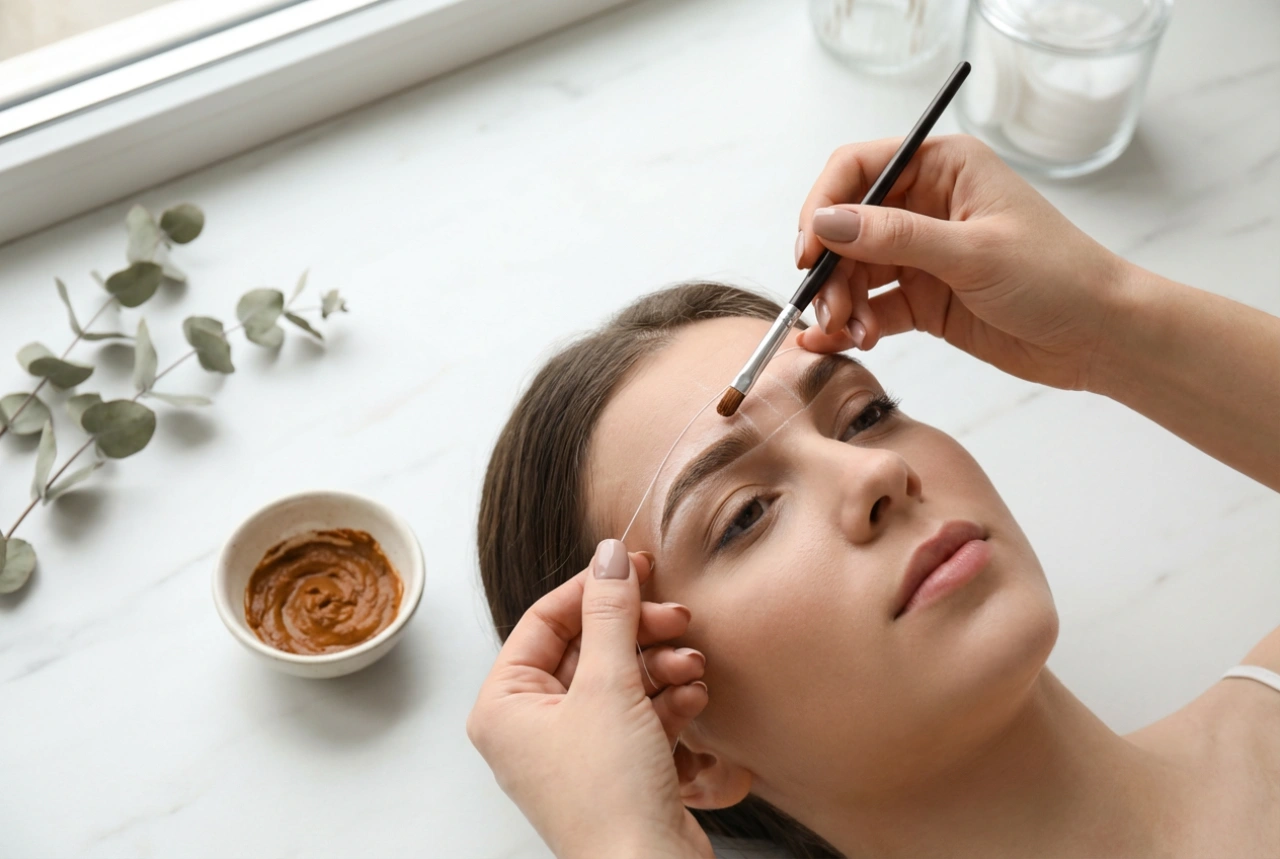
Before applying the paste, it is highly recommended to map out your desired brow shape. You can use a white cosmetic pencil to outline the boundaries of your brows, ensuring symmetry and preventing the henna from staining outside the lines. Once you are satisfied with the shape, begin the application using a fine, angled brush. Start applying the mixture from the tail of the brow, working your way towards the centre, and leaving the inner corners for last. This technique ensures that the densest colour is concentrated where brows are naturally darker, creating a soft, modern gradient effect. Apply the paste in a relatively thick, even layer, pressing it gently into the skin beneath the hairs.
Step 4: Timing and Removal
Once the application is complete, allow the henna to dry completely. This usually takes between fifteen and twenty-five minutes, depending on the specific product formulation. If you prefer a softer, ombre effect at the front of your brows, you can remove the henna from the inner corners after five to ten minutes using a damp cotton pad. Once the overall processing time is complete, gently soften the dried henna paste with a damp cotton pad compressed against the brow for a few seconds. Gently wipe away the residue in the direction of hair growth. Avoid rubbing the skin harshly, as this can prematurely lift the freshly deposited tint.
Post-Treatment Care for Long-Lasting Results
To maximise the longevity of your powder brow henna, proper aftercare is essential during the first twenty-four hours. Keep your eyebrows dry and avoid swimming, steam rooms, saunas, and intense workouts that cause heavy sweating. When washing your face, avoid applying aggressive cleansers, physical scrubs, or oil-based skincare products directly over the brow area, as these can accelerate the fading of the skin stain. Regular moisturising of the surrounding skin with lightweight, non-greasy products will keep the area healthy and ensure the tint fades evenly and naturally.