

Styling eyebrows is a fundamental step in daily beauty rituals. Perfectly defined brows frame the face, highlight the eyes, and add structure to our overall expression. Among the various methods of enhancing brow definition, gel henna has emerged as a favourite choice for those seeking a balance between natural results, ease of use, and lasting colour. Inspired by classic beauty rituals, modern gel formulas offer a precise and gentle approach to eyebrow tinting in the comfort of your own home.
The benefits of gel henna for eyebrows
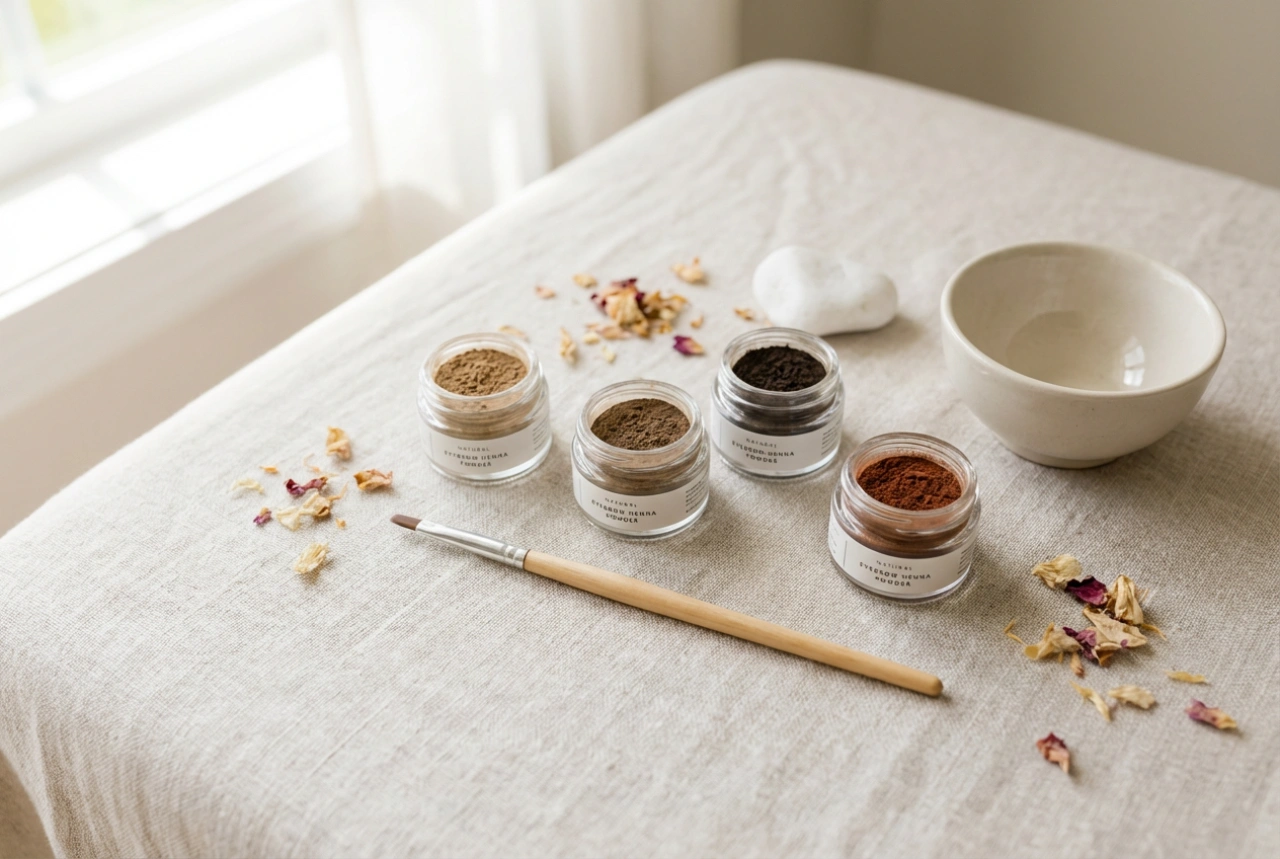
Gel-based henna formulas represent a significant evolution in brow care. Unlike traditional powder henna, which can sometimes be tricky to mix to the correct consistency, the gel format is incredibly user-friendly. One of the main advantages is its smooth, lightweight texture. This allows for an even application, reducing the risk of patchy coverage or uneven colour absorption.
In addition to its convenient consistency, gel henna is known for delivering a soft, natural finish. It gently tints both the brow hairs and the underlying skin, creating a subtle shadow effect that gives the appearance of fuller, denser brows. This makes it an excellent choice for individuals with sparse or light-coloured brow hairs who want a defined yet non-heavy look. Furthermore, many modern gel formulas are enriched with nourishing ingredients that help condition the hair during the tinting process, promoting a healthy shine.
A step-by-step guide to precise application
Achieving a professional-looking result at home requires preparation and precision. Following a structured application routine ensures that the colour adheres evenly and looks flattering. Here is a simple guide to applying gel henna:
- Preparation: Start by thoroughly cleansing the eyebrow area. Remove all makeup, oils, and skincare residues, as these can create a barrier and prevent the tint from developing properly. A gentle exfoliation of the brow area can also help remove dead skin cells for a more even stain on the skin.
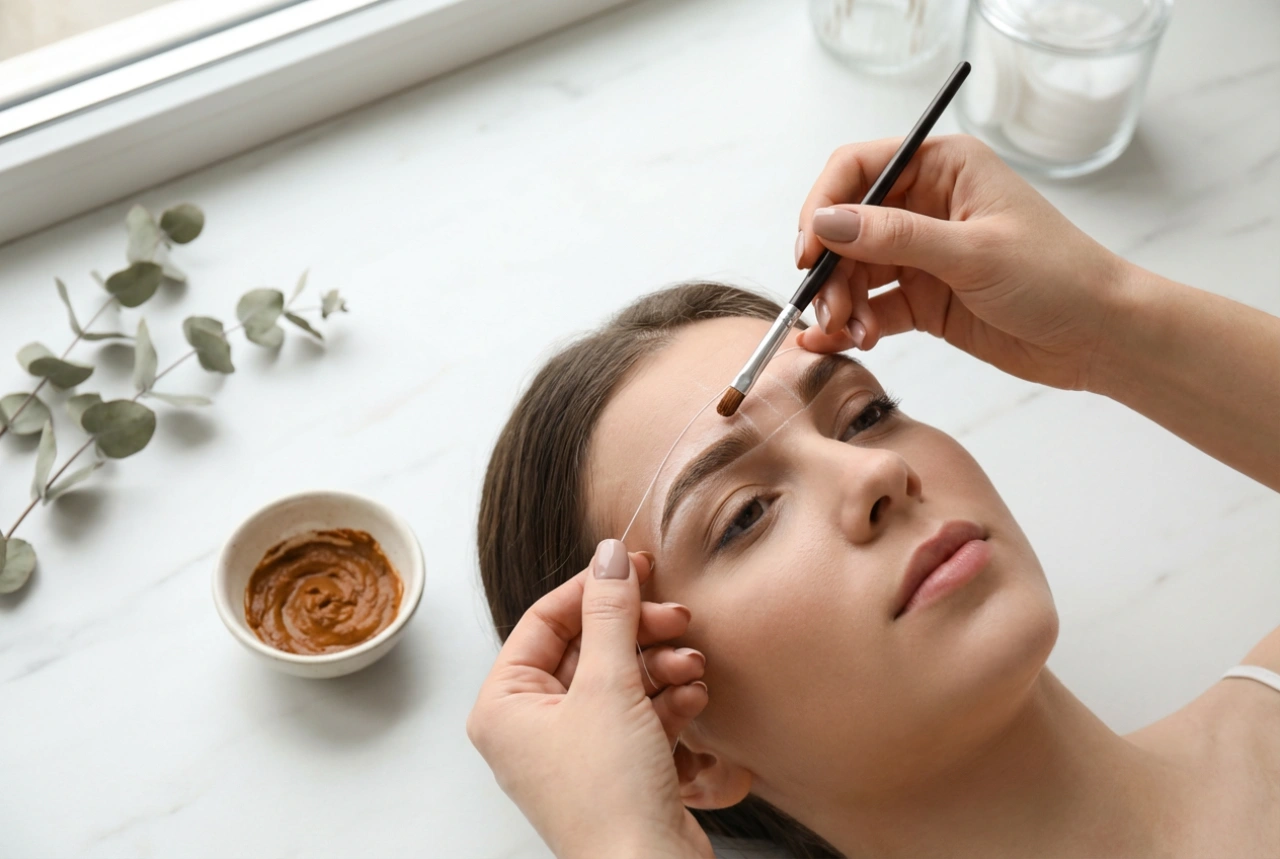
- Mapping: Before applying the product, outline your desired brow shape. You can use a clean spoolie and a light brow pencil to mark the boundaries of your arches. To protect the surrounding skin from accidental staining, apply a thin layer of barrier cream or petroleum jelly just outside your drawn lines.
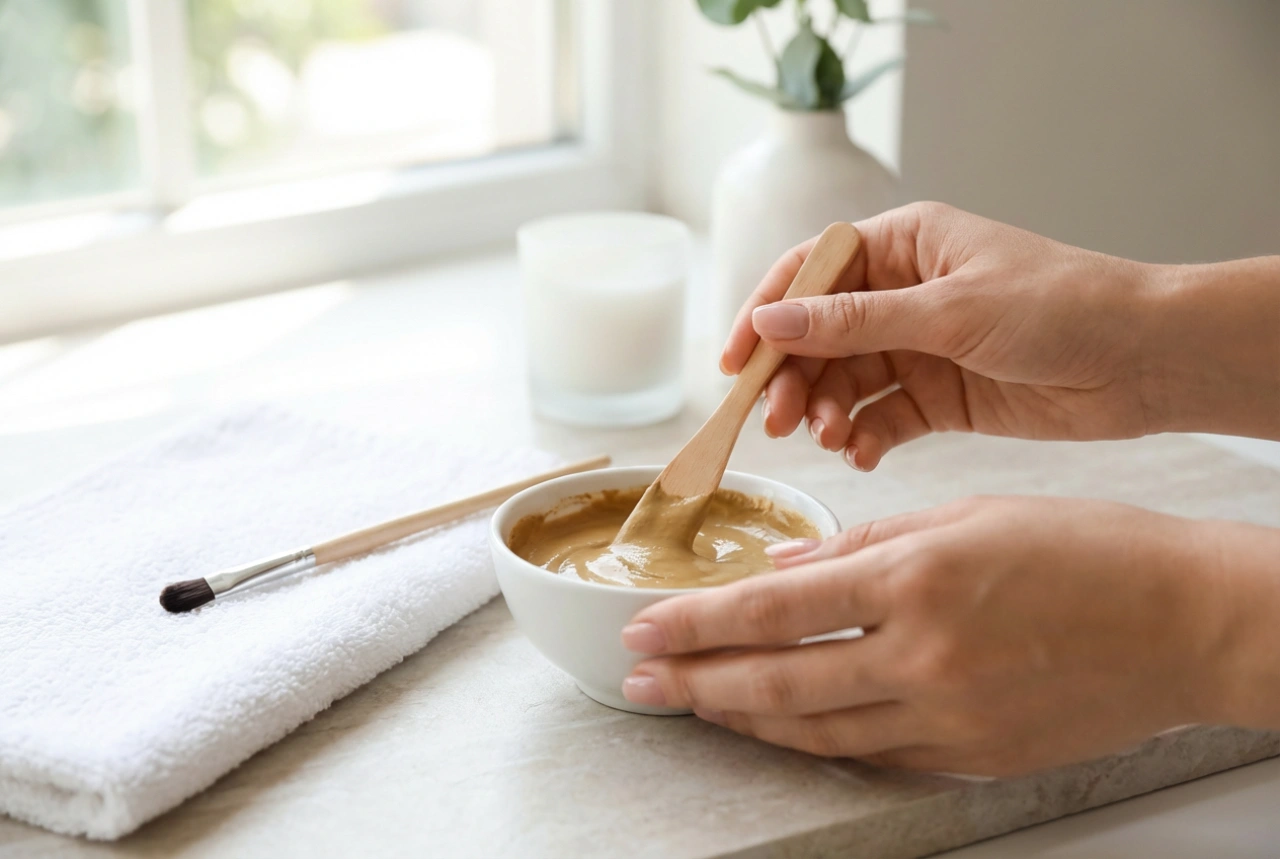
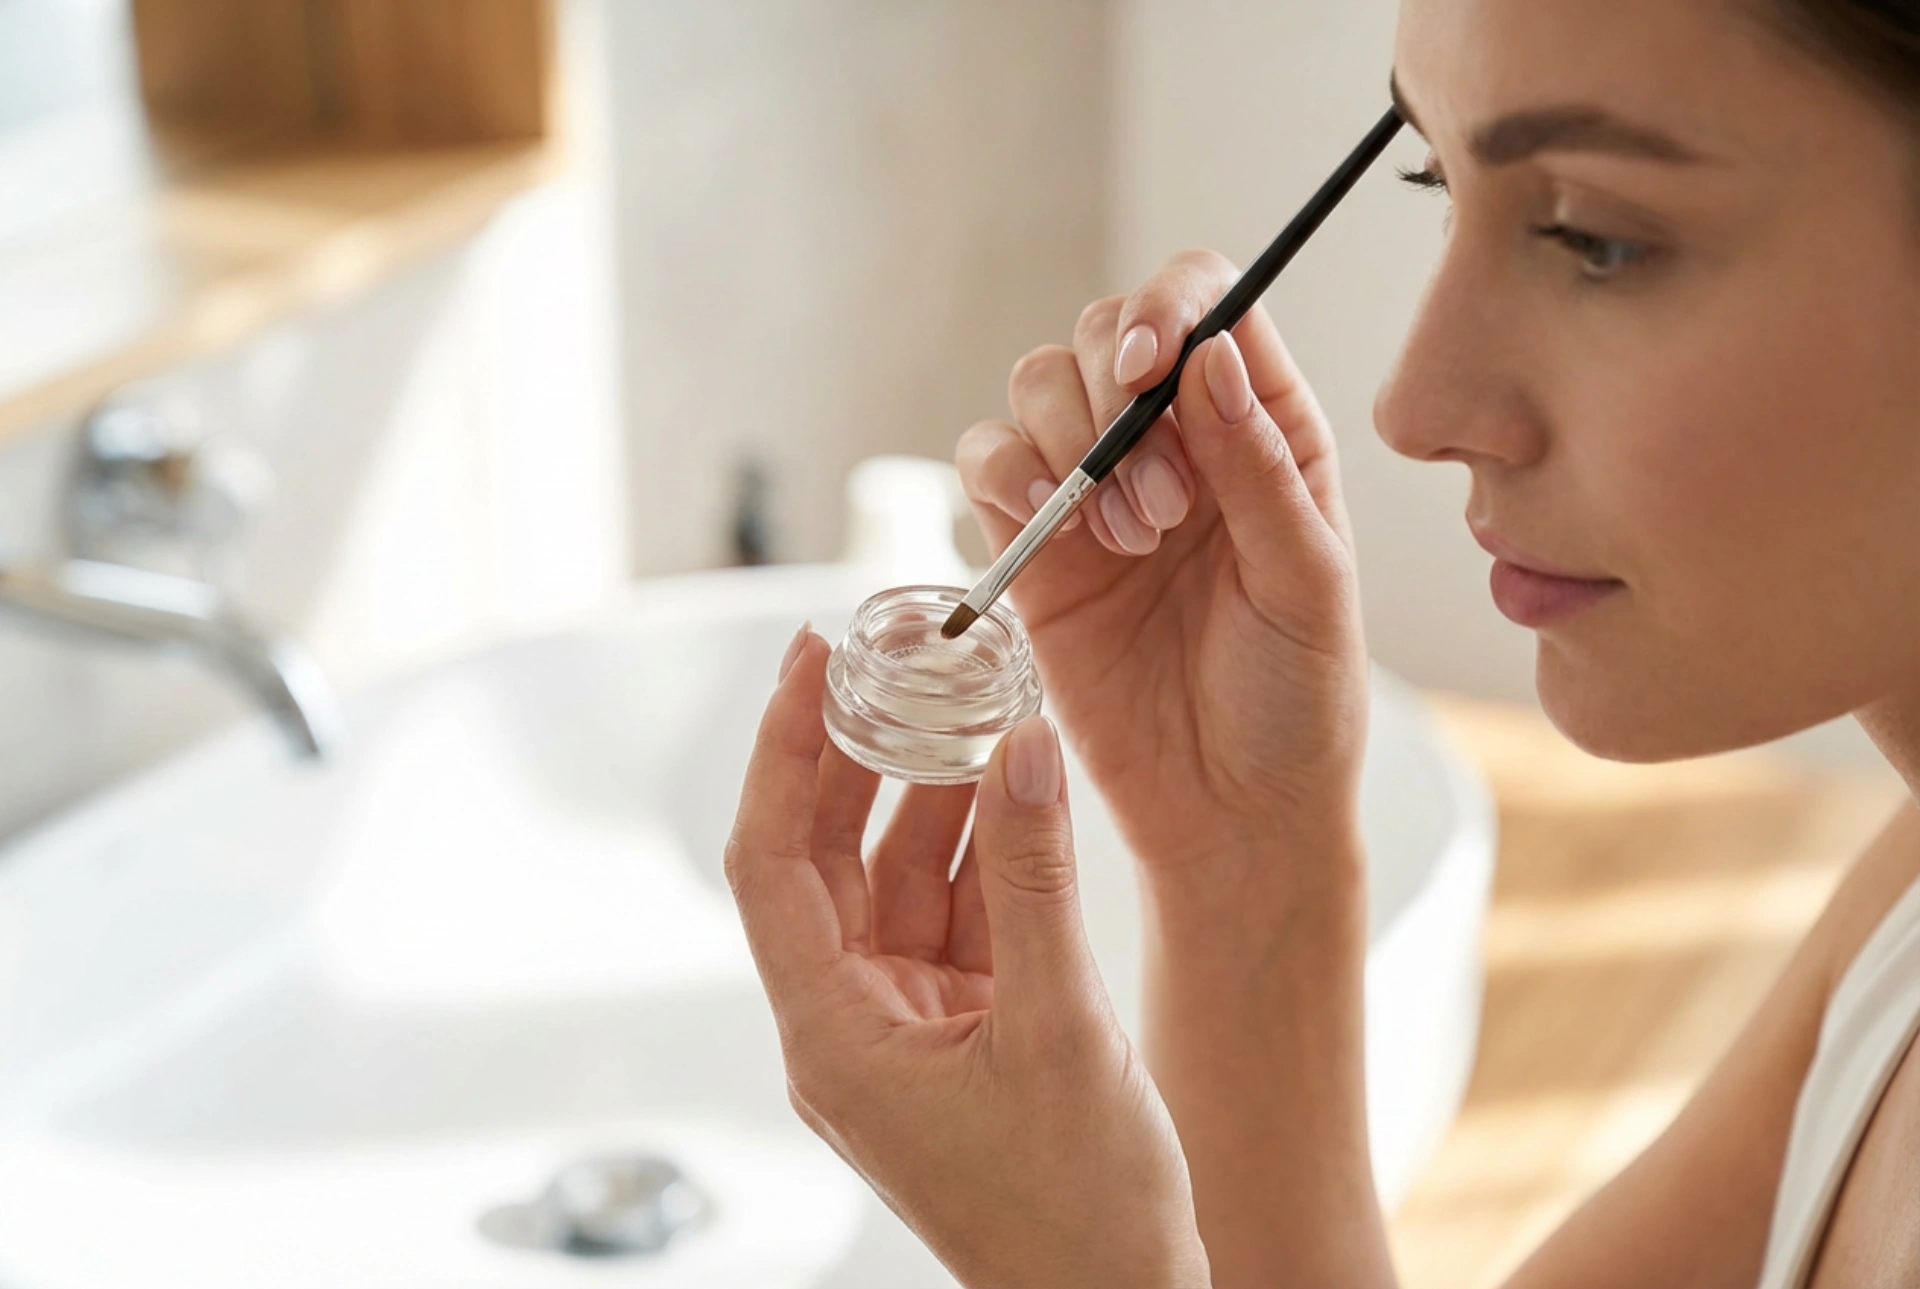
- Mixing and application: Mix the gel henna according to the product instructions. Using a fine-tipped, angled brush, start applying the product from the outer tail of the eyebrow, moving towards the centre. The inner corners of the brows should be treated last and with a lighter hand to create a soft, gradient effect.
- Timing: Leave the product on for the duration recommended by the manufacturer. Keep in mind that leaving it on for less time results in a subtler tint, while a longer duration will deepen the colour.
- Removal: Gently remove the gel with a damp cotton pad. Avoid rubbing vigorously; instead, press the pad gently onto the brow to soften the product, then wipe it away in the direction of hair growth.
Tips for extending and maintaining the colour
Once you have achieved your perfect brow shade, proper aftercare is key to keeping the results looking fresh and vibrant for as long as possible. The longevity of gel henna depends largely on your daily skincare habits.
For the first 24 hours after application, it is best to avoid getting your eyebrows wet. This gives the tint sufficient time to fully settle and bond with the skin and hair. When washing your face, try to work around the brow area. Additionally, try to avoid applying oil-based cleansers, heavy moisturisers, or active exfoliating ingredients directly onto your eyebrows, as these can accelerate the fading of the tint on both the skin and the hair. When brushing your brows, use a clean, dry spoolie and brush gently to keep the hairs in place without causing friction.