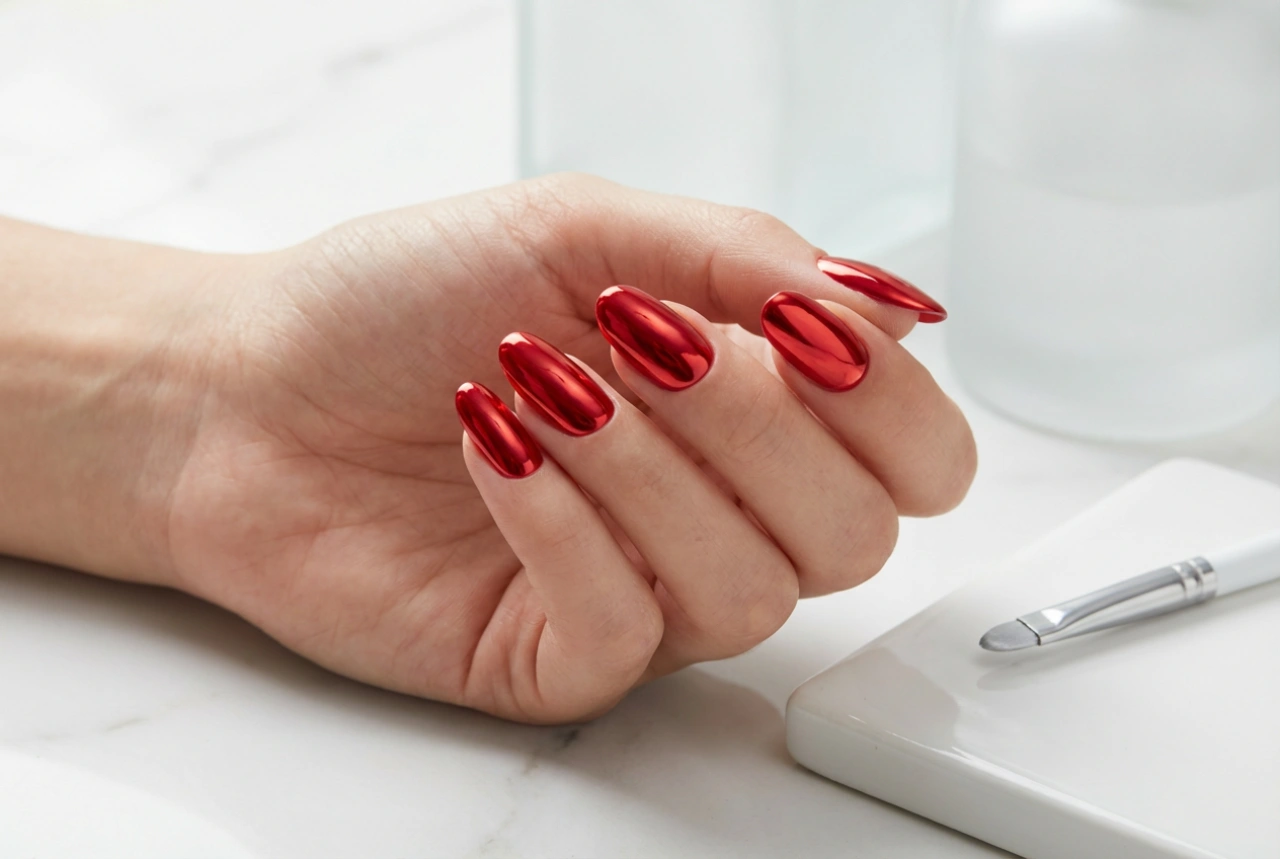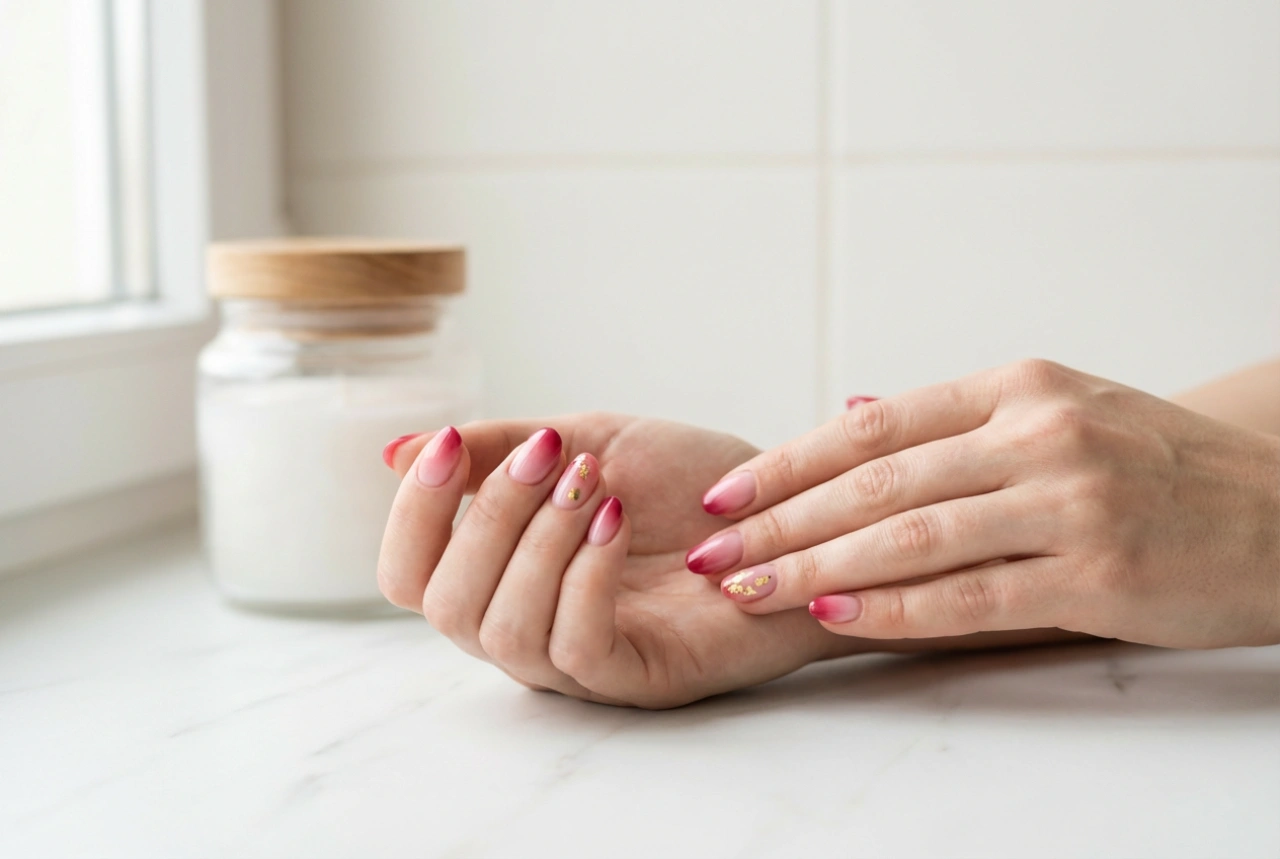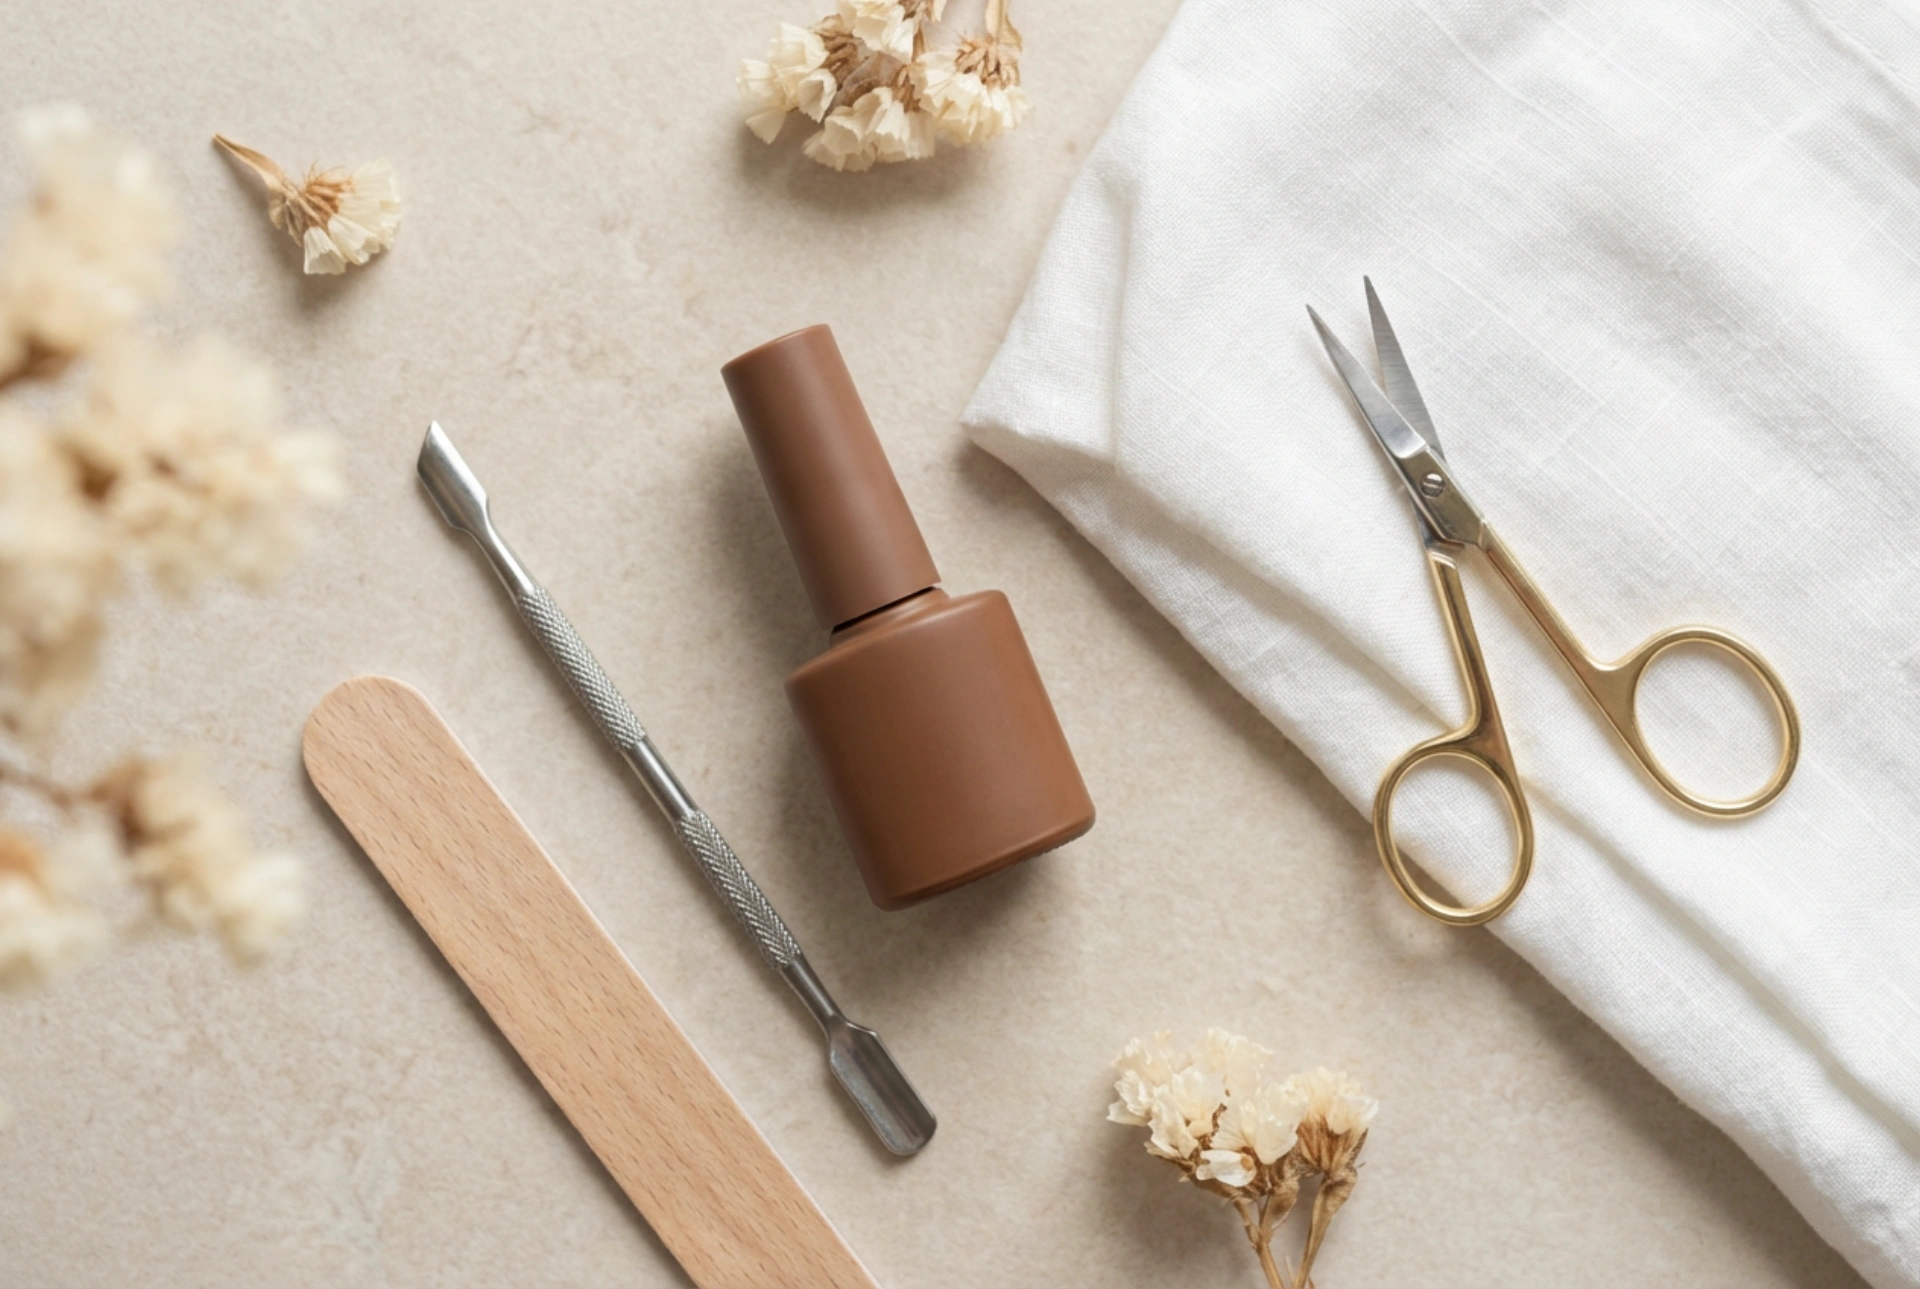


A sophisticated manicure is defined not only by the colour chosen but also by the precision of its execution. Elegant brown shades, ranging from deep chocolate and rich espresso to warm caramel and soft taupe, have become a staple of modern, understated style. Achieving a flawless look with these deep, pigmented tones requires a careful approach to nail preparation and product application. When executed correctly, a brown gel manicure offers a smooth, glass-like finish that perfectly complements a refined, minimalist aesthetic.
The Importance of Nail Plate Preparation
Deep and highly pigmented shades like brown are beautiful, but they can easily highlight any imperfections on the nail plate or cuticle area. Therefore, meticulous preparation is the foundation of an elegant, long-lasting manicure. Proper prep ensures excellent adhesion, preventing lifting and ensuring that the final surface is completely smooth.
- Cuticle Care: Gently push back the cuticles using a wooden stick or a dedicated pusher. If necessary, use a gentle cuticle softener to remove dead skin from the nail plate. Clean edges are vital for a crisp polish line.
- Shaping and Filing: Use a fine-grit nail file to shape the free edge. Classic oval, soft square, or almond shapes work exceptionally well with warm brown tones, enhancing the natural elegance of the hands.
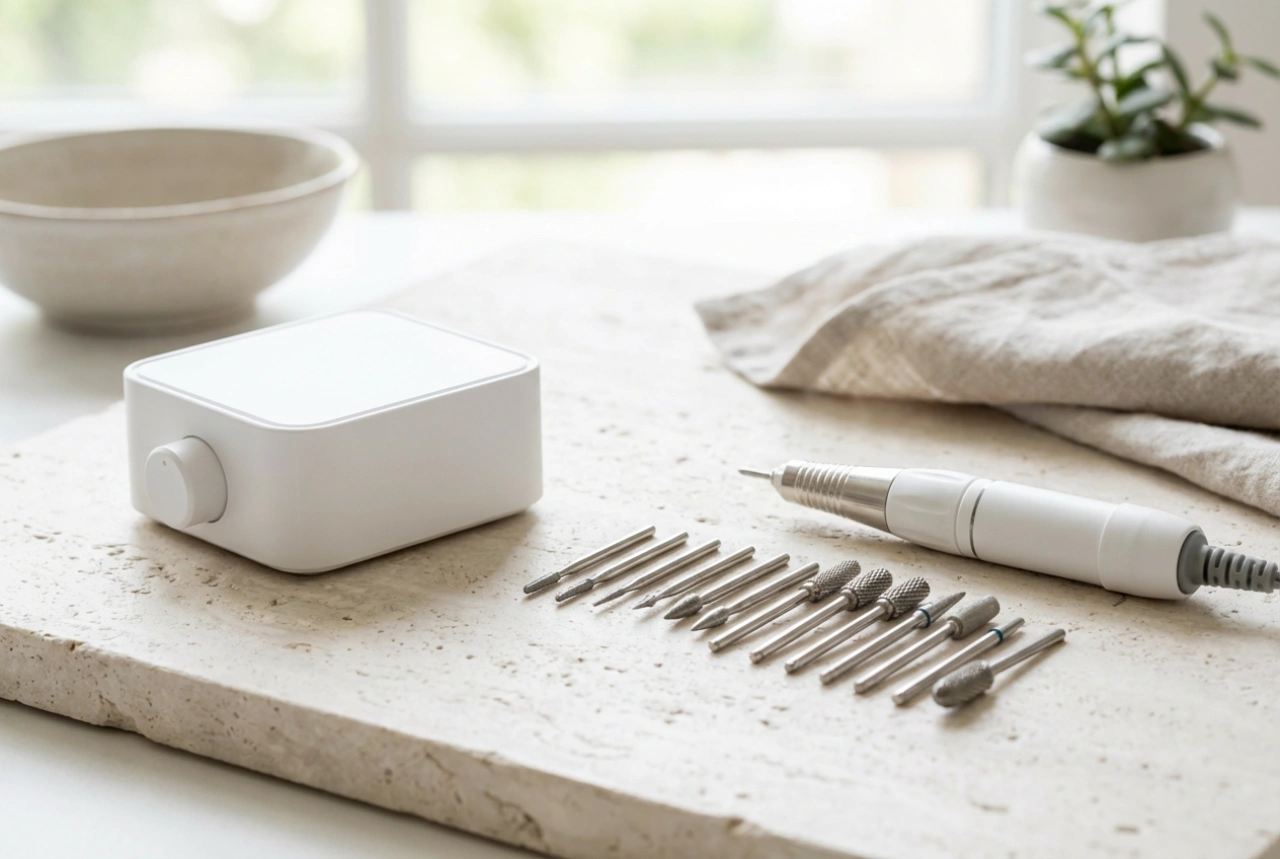
- Buffing the Plate: Lightly buff the surface of the nail with a high-grit buffer block. The goal is to remove the natural shine and create a slightly textured surface for the base coat to grip, without thinning the nail.
- Dehydrating and Cleansing: Wipe the nails thoroughly with a lint-free pad soaked in a professional nail cleanser or dehydrator. This step removes residual dust, oils, and moisture, which are the primary causes of premature chipping.
Mastering the Application of Dark Gel Polish
Working with highly pigmented brown gel polishes requires patience and technique. Applying the polish too thickly can lead to uneven curing, wrinkling, or bubbling under the lamp. To avoid these common issues, the key is to apply multiple ultra-thin layers rather than one thick coat.
Applying the Base Coat
Begin with a thin, even layer of a high-quality base coat. Make sure to seal the free edge of the nail to protect it from chipping. Cure the base coat under your nail lamp according to the manufacturer’s instructions. A smooth, flat base is essential for the pigmented layers that follow.
The Thin Layer Technique
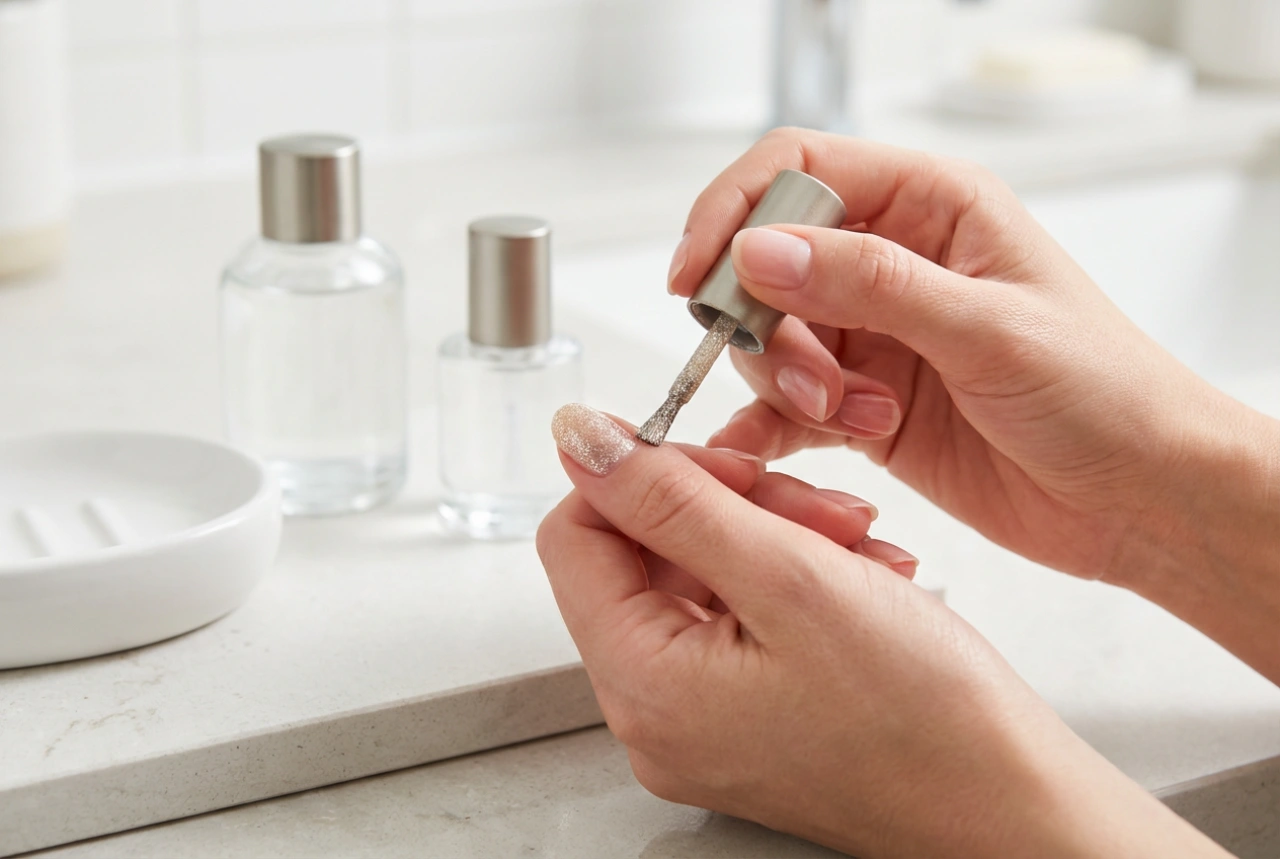
When applying the brown gel polish, wipe the brush against the neck of the bottle so that only a small amount of product remains on one side. Place the brush near the centre of the nail, slightly away from the cuticle, and gently push it upwards before pulling it down to the free edge. Use light, sweeping strokes to distribute the colour evenly across the entire plate. Always seal the free edge with each layer of polish. Cure each coat thoroughly before applying the next.
Achieving Perfect Coverage and Depth
Because brown shades contain strong pigments, the first layer may appear slightly sheer or patchy. This is entirely normal. The true depth and richness of the colour will develop with the second coat.
The Role of Curing Time
Dark colours absorb light differently than pastel or sheer shades. To ensure that the pigment cures completely through to the base, do not shorten the curing time. Follow the recommended duration for dark shades under your specific lamp. Incomplete curing can lead to the polish peeling off or losing its shine.
Correcting Streaks
If you notice light streaking during application, let the polish self-level for a few seconds before placing your hand under the lamp. High-quality gel polishes are formulated to settle evenly, which helps to eliminate brush marks and create a smooth surface.
Choosing the Perfect Finish: Matte or High Gloss
The final character of your brown manicure is defined by the top coat you select. Each finish offers a completely different aesthetic vibe, allowing you to customise the look to suit your style.
- High-Gloss Top Coat: A classic glossy finish enhances the depth of chocolate and espresso tones, making them look rich, luxurious, and vibrant. It reflects light beautifully, giving the nails a polished, salon-quality appearance.
- Velvet Matte Top Coat: A matte finish transforms brown tones into a modern, cosy, and incredibly chic look. It softens the shade, giving it a texture reminiscent of suede or soft wool, which is perfect for a subtle, contemporary style.
Maintaining the Beauty of Your Manicure
Once your manicure is complete, proper aftercare is key to maintaining its flawless appearance and protecting the delicate skin around your nails. Nourishing the hands and cuticles keeps the entire look fresh and elegant for weeks.
Regularly apply a nourishing cuticle oil to keep the skin hydrated and prevent hangnails. Pair this with a rich hand cream to protect your hands from seasonal dryness. When performing household chores or using cleaning agents, always wear protective gloves to shield your manicure from harsh substances that could dull the shine or cause lifting. With a little care, your elegant brown manicure will remain pristine and beautiful.