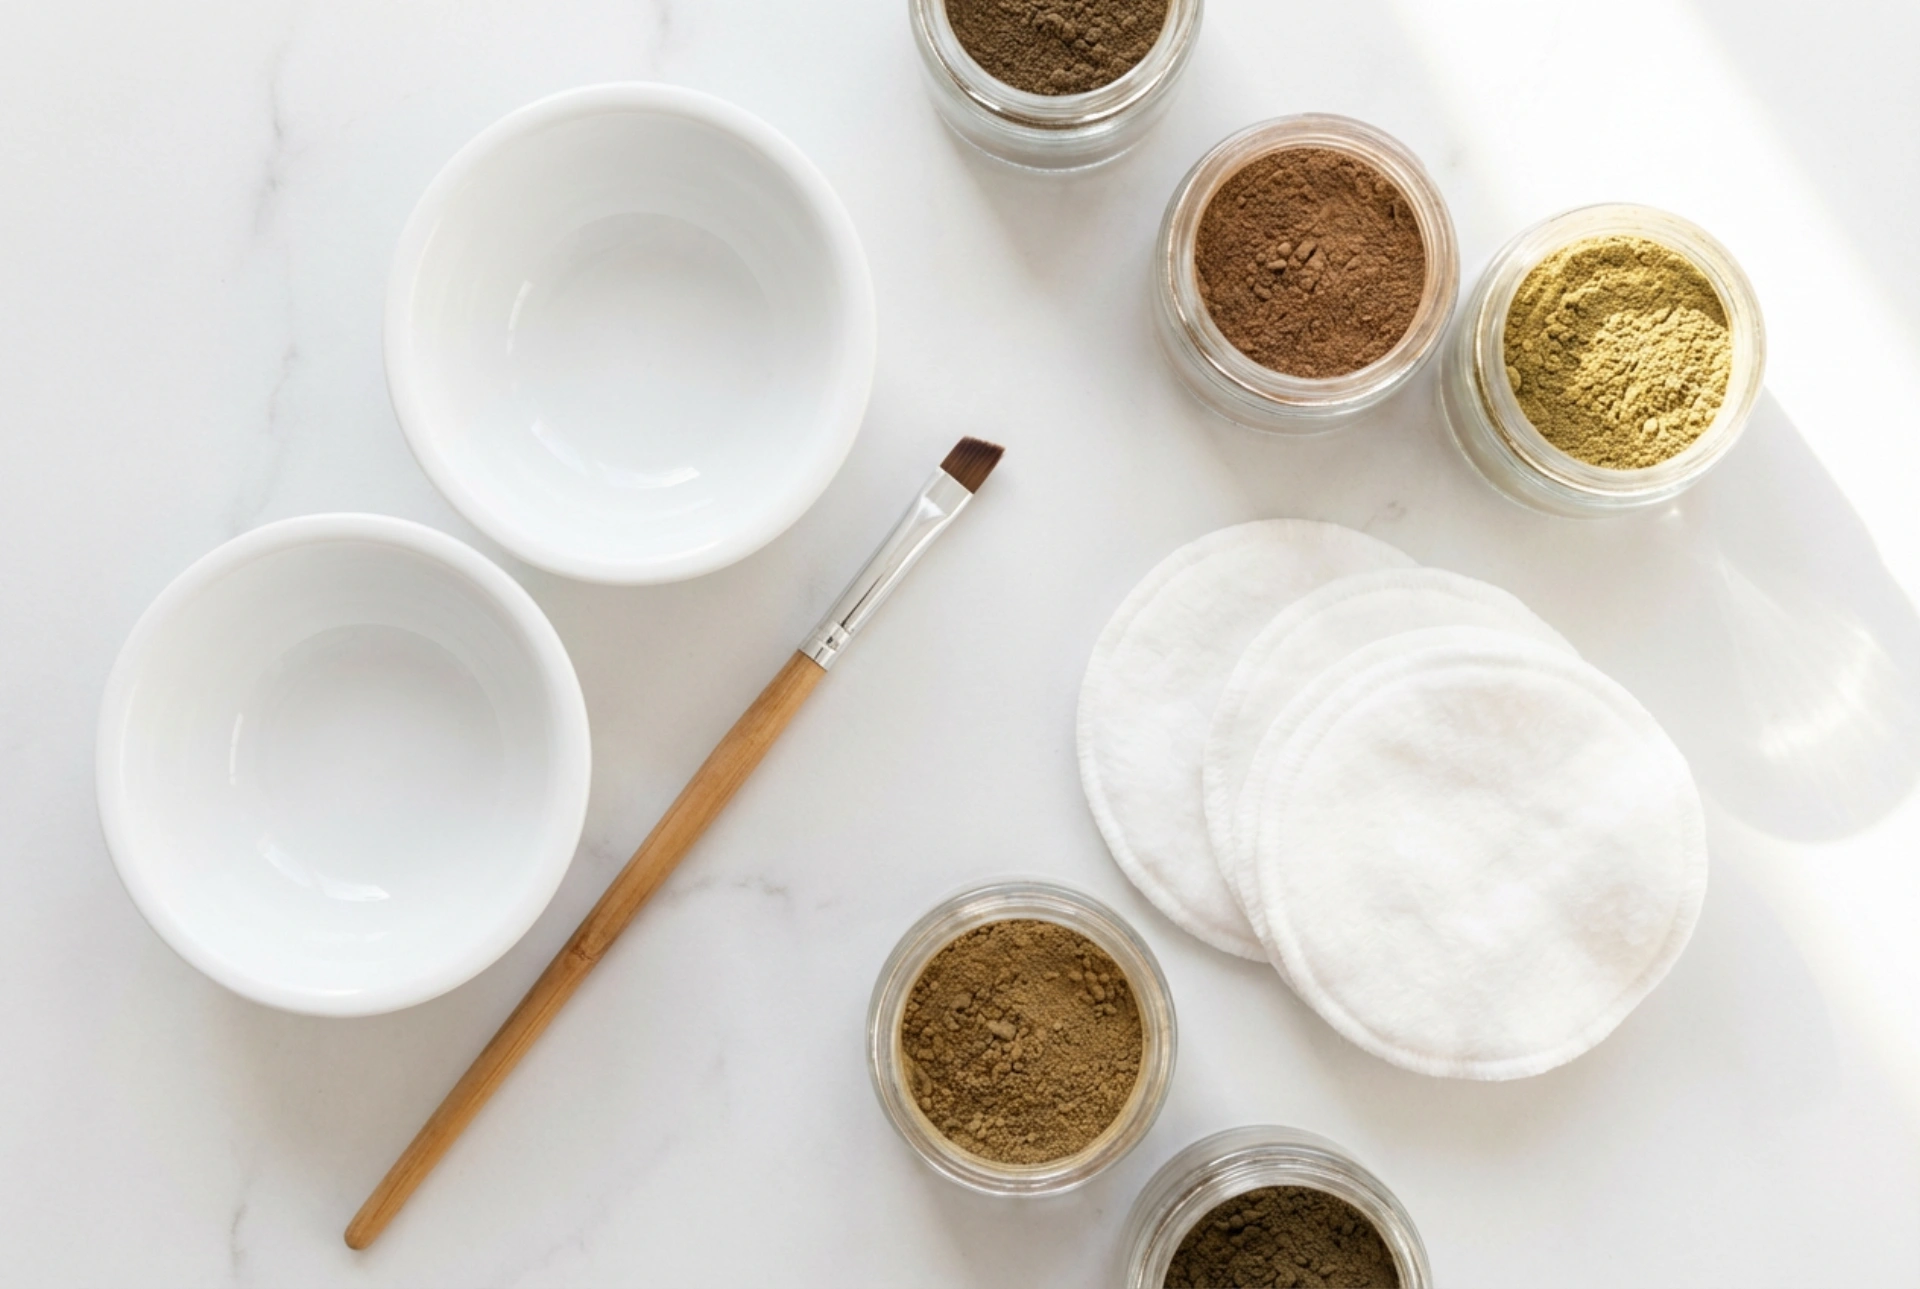


Well-defined eyebrows frame the face, enhance facial symmetry, and bring a natural harmony to our overall features. Achieving beautifully tinted brows at home has become an increasingly popular ritual, offering a reliable, semi-permanent solution that saves valuable time during daily beauty routines. By choosing to tint your eyebrows with natural henna, you can achieve a soft, full, and perfectly defined look that lasts for several weeks. To begin this rewarding process, organising a dedicated workspace with your essential tools—such as small ceramic mixing bowls, a fine angled brush, natural henna powder, and soft cotton pads neatly arranged on a clean, well-lit surface—creates a relaxing, focused environment right in your own home.
Essential components of an at-home brow henna kit
Before embarking on your brow tinting journey, it is essential to gather the correct tools. Having everything prepared beforehand ensures a smooth, stress-free application. A standard home kit does not need to be complex, but it must contain high-quality, practical accessories designed for precision work.
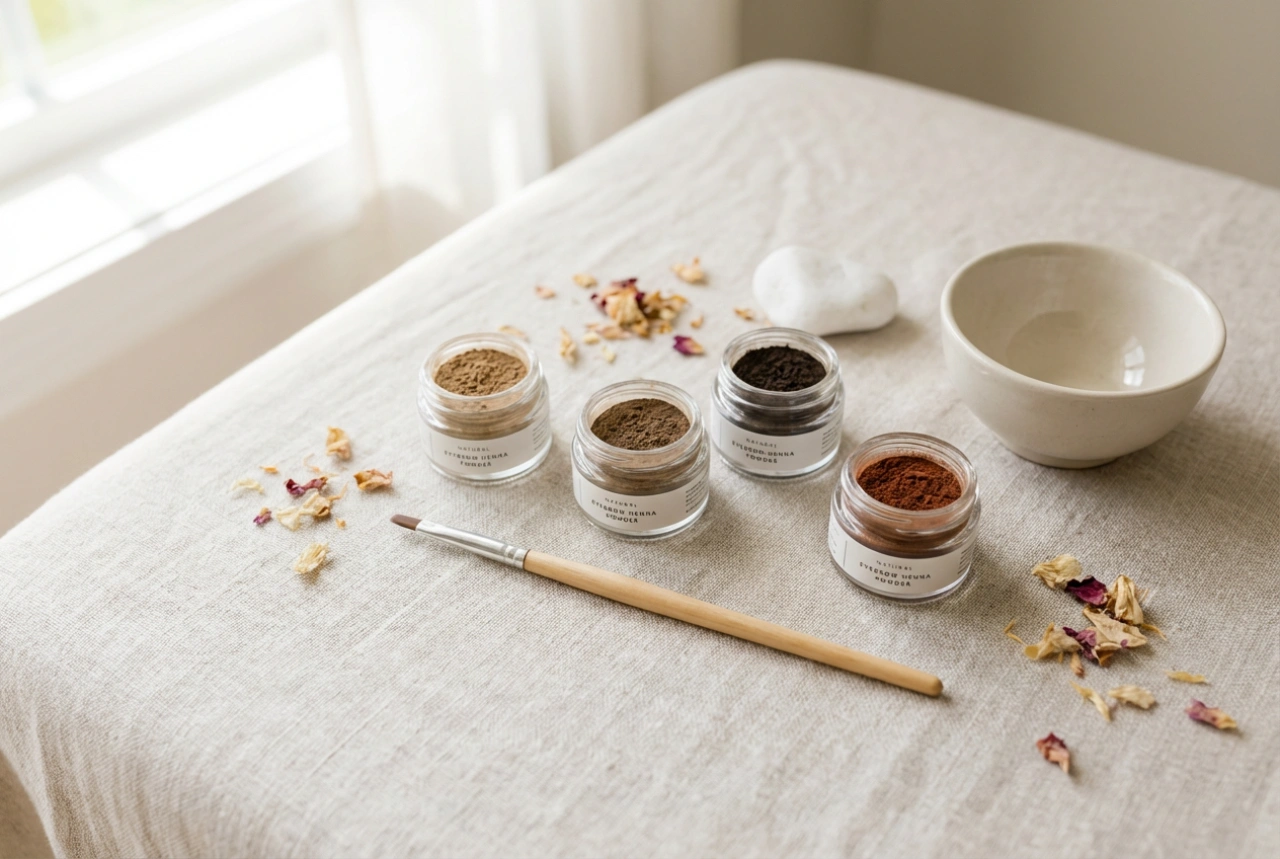
- Natural henna powder: Opt for a high-quality, plant-based powder in a shade that complements your natural hair colour and skin undertones. Safe, natural henna is derived from organic plant extracts and provides a gentle alternative to synthetic dyes.
- Mixing container: A small, non-metallic bowl made of glass or ceramic is ideal. Non-metallic materials are crucial as they prevent any unwanted chemical reactions that might alter the colour or consistency of the mixture.
- Fine application brush: A brush with firm, synthetic, angled bristles is the key to precision. It allows you to draw clean lines and press the paste onto the skin beneath the brow hairs.
- Liquid activator or warm water: Depending on the specific type of natural henna you choose, you will need either purified warm water or a specialised gentle activator to create the paste.
- Cotton pads and buds: These are indispensable for wiping away any minor smudges instantly, ensuring your outline remains clean and sharp.
How to prepare your skin for brow tinting
The secret to a long-lasting, even henna tint lies in thorough skin preparation. Because henna tints both the delicate brow hairs and the skin underneath, any barrier on the skin's surface can lead to patchy or uneven results. Taking the time to prep the area ensures the pigment adheres perfectly.
Start by cleansing your face thoroughly. Use a gentle, oil-free cleanser to wash away make-up, sebum, and daily impurities. Oils are the primary enemy of henna, as they create a protective barrier that prevents the tint from penetrating the skin cells. Therefore, avoid any oil-based makeup removers or heavy creams in the brow area prior to application.
Next, perform a very gentle exfoliation around the eyebrows. A mild scrub or a soft damp cloth can help remove dead skin cells. This step is particularly important because henna binds to the stratum corneum (the outermost layer of the skin). If this layer is uneven or flaky, the tint will fade quickly and unevenly. After exfoliating, wipe the brows with a cotton pad soaked in a simple alcohol-free toner or saline solution to completely degrease the area, then pat dry with a clean tissue.
Step-by-step brow henna application technique
Once your skin is clean and dry, you are ready to begin the application. Precision and patience are your best allies during this phase. Following a structured technique will help you achieve a balanced, professional-looking finish.
Step 1: Brow mapping
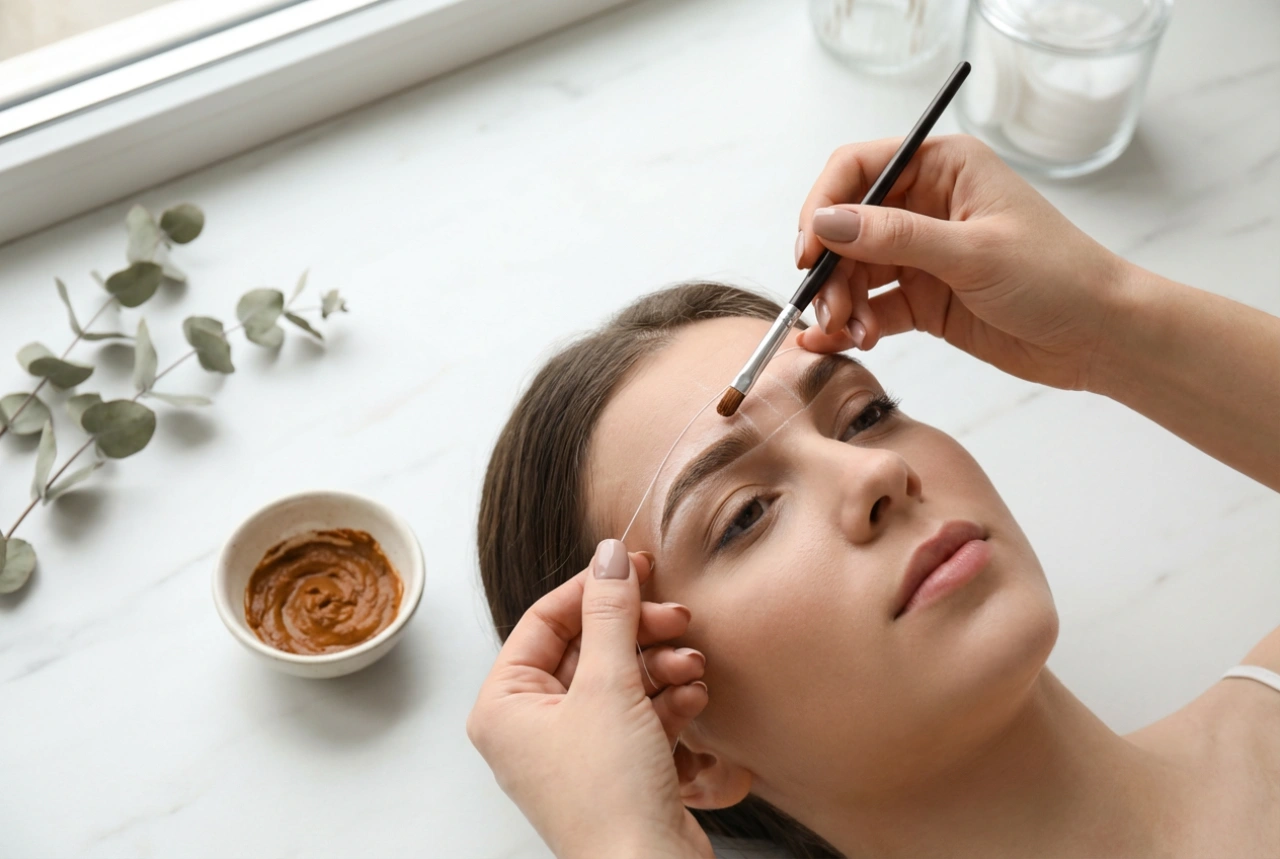
Using a light cosmetic pencil or a thin thread, map out the starting point, the arch, and the tail of your eyebrows. Drawing a faint outline around your natural brow shape creates a reliable boundary line, helping you stay within the desired shape during the actual application.
Step 2: Mixing the henna
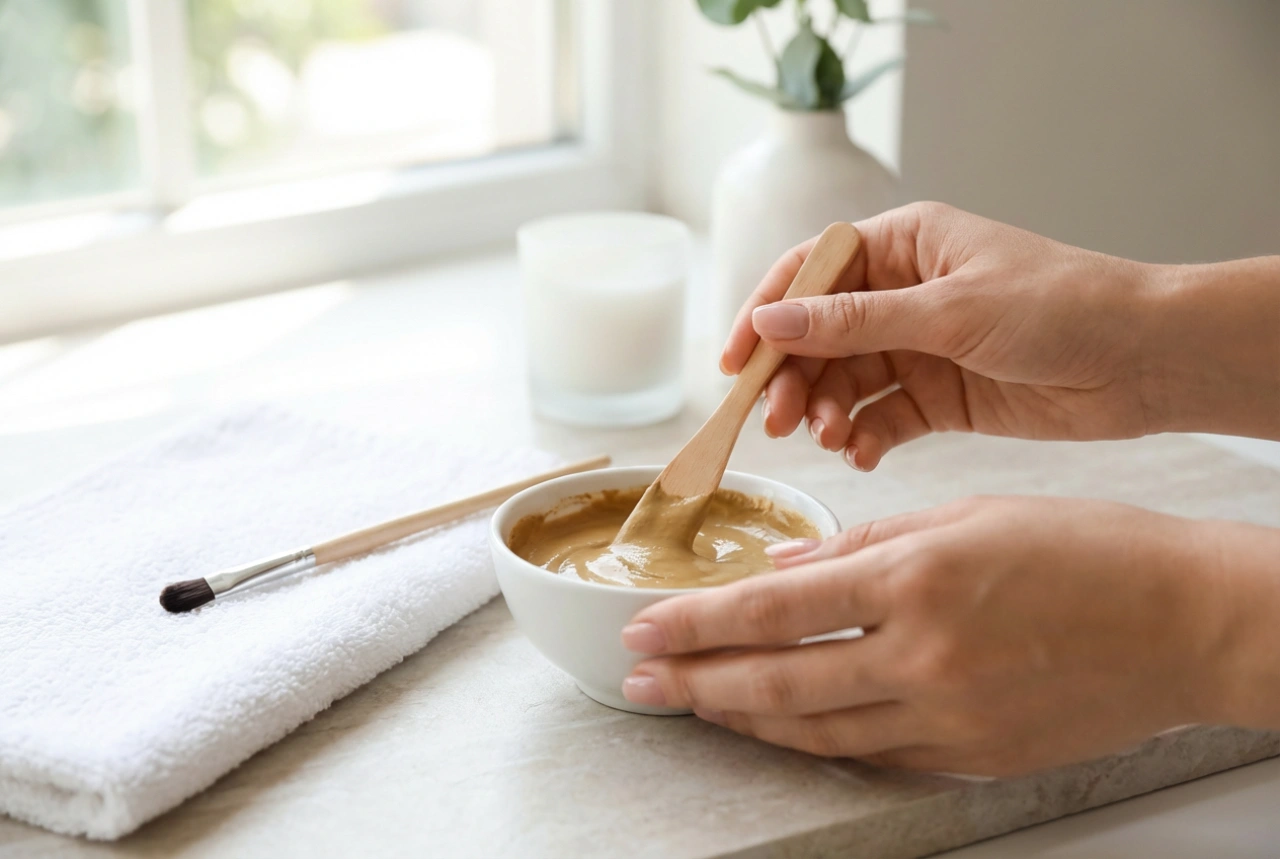
Place a small amount of henna powder into your mixing bowl. Add a few drops of warm water or activator slowly, mixing thoroughly with a small spatula or the end of your brush. The ideal consistency should be smooth and creamy, similar to thick liquid chocolate or soy sauce. If it is too runny, it may bleed past your outlines; if it is too thick, it will be difficult to apply evenly.
Step 3: Precise application
Dip your angled brush into the paste, picking up a moderate amount. Always begin the application at the tail of the eyebrow, working your way towards the middle. The tail should naturally be the darkest and most defined part of the brow. Press the henna firmly into the skin, ensuring you coat the skin beneath the hairs as well as the hairs themselves. Save the front of the brow for last, applying only a very thin layer or using a lighter touch to create a natural, soft gradient effect.
Step 4: Cleaning up the edges
Immediately after filling in a section, take a damp cotton bud and carefully wipe away any product that has crossed your pre-mapped boundary lines. Henna begins to tint the skin relatively quickly, so correcting mistakes immediately is vital for sharp, clean edges.
Removing the product and essential aftercare
Allow the henna to dry and process according to the product guidelines, which usually takes between ten and twenty minutes. During this time, the paste will dry and form a gentle crust. Do not be alarmed if the dried paste looks very dark; the final result will be much softer once the residue is removed.
To remove the henna safely, moisten a soft cotton pad with lukewarm water. Gently press the damp pad onto the eyebrow for a few seconds to soften the dried paste. Avoid rubbing or scrubbing aggressively, as this can irritate the skin and pull out brow hairs. Gently wipe away the product in the direction of hair growth until the cotton pad comes away completely clean.
To prolong the beautiful results of your at-home tint, practice proper aftercare. Keep your eyebrows completely dry for the first twenty-four hours post-application. Avoid hot showers, saunas, swimming pools, and intense workouts that cause sweating. Additionally, avoid applying strong cleansers, exfoliators, or heavy face oils directly onto the brow area, as these will accelerate the fading of the tint on your skin. With gentle care, your beautifully defined brows will remain fresh and vibrant for weeks.