

Perfecting the frame of your face begins with well-groomed eyebrows. A beautifully sculpted brow with a soft, even colour and a refined contour can instantly elevate your natural appearance, bringing balance to your facial features. While professional treatments are popular, achieving a clean, elegant brow look at home is highly attainable with the right tools and techniques. By understanding the fundamentals of eyebrow tinting, you can create a harmonious, subtle definition that enhances your gaze without appearing harsh or overdrawn.
Understanding Eyebrow Tinting
Eyebrow tinting is a simple cosmetic technique that involves applying a semi-permanent dye to the brow hairs. This process not only darkens lighter hairs but also catches fine, fair vellus hairs, making the entire brow appear fuller, thicker, and more structured. When done correctly, the result is a beautifully defined shape that looks effortless and saves time during your daily beauty routine. The key to a successful home application lies in precision, preparation, and selecting the appropriate products designed specifically for the delicate eye area.
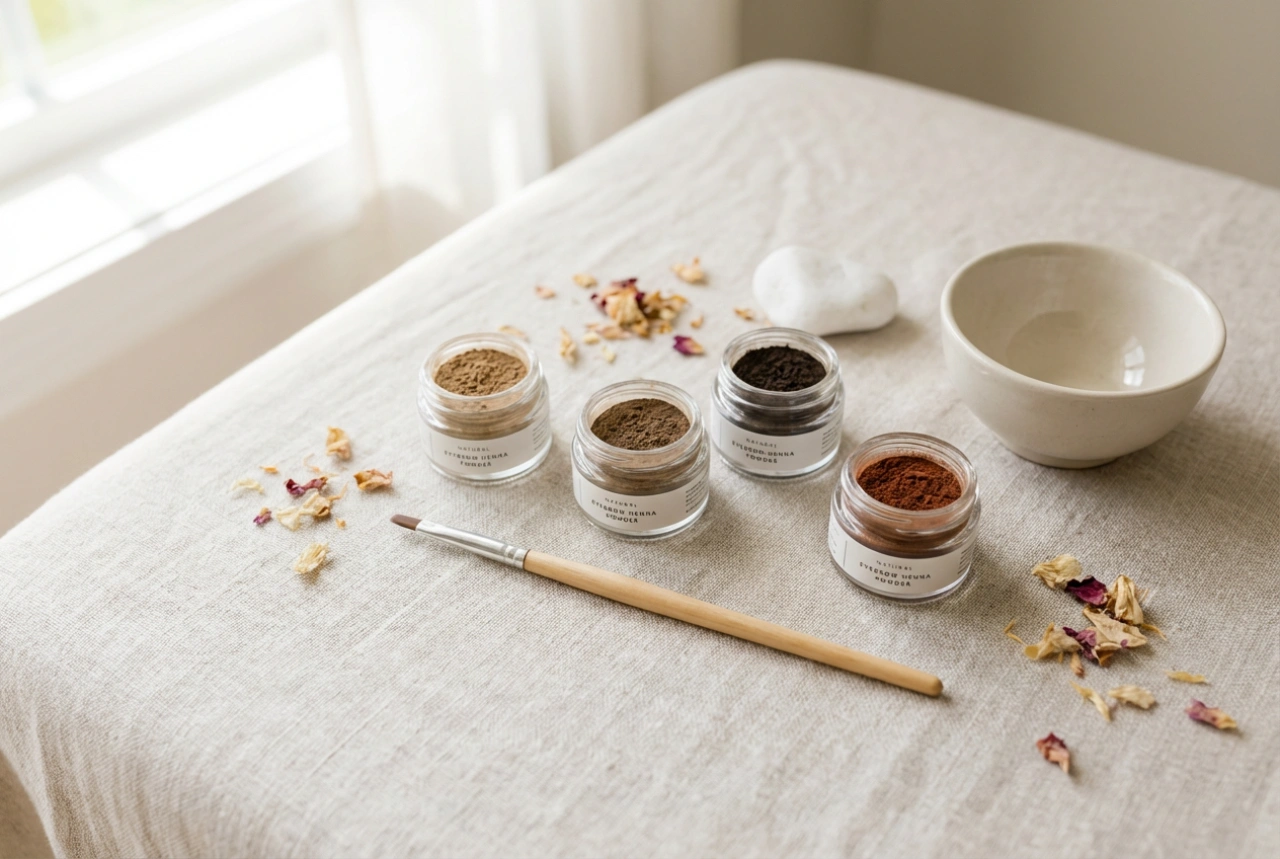
Selecting the Ideal Colour for a Natural Look
The most common mistake in brow tinting is choosing a shade that is too dark, which can create a heavy, unnatural look. To achieve a soft and sophisticated finish, aim for a colour that harmonises with your natural hair colour and skin undertones. As a general rule, those with fair hair should select a tint that is one to two shades darker than their hair, while those with dark hair should opt for a shade that matches or is one shade lighter than their natural locks.
- Blondes: Soft taupes, light browns, or honey hues work beautifully to add definition without looking harsh.
- Brunettes: Medium to dark brown shades with neutral or cool undertones prevent the brows from turning too red or orange.
- Redheads: Warm auburn or soft brown tones complement the natural warmth of red hair perfectly.
- Black Hair: Dark brown or soft black tones provide excellent definition; avoid pure, deep black unless you want an exceptionally dramatic contrast.
Preparing Your Brows for Tinting
Before applying any product, proper preparation of the skin and hair is crucial for achieving an even, long-lasting colour. Any oils, makeup residue, or dead skin cells can act as a barrier, preventing the tint from adhering properly and resulting in patchy colouration.
Begin by cleansing the area thoroughly with an oil-free makeup remover or a gentle facial cleanser. Gently pat the brows dry with a clean towel. To protect the surrounding skin from unwanted staining, you can apply a thin layer of a barrier cream, such as petroleum jelly or a rich moisturiser, around the perimeter of the brows. Be careful not to get any of this barrier cream on the brow hairs themselves, as this will block the tint from developing.
The Step-by-Step Application Guide
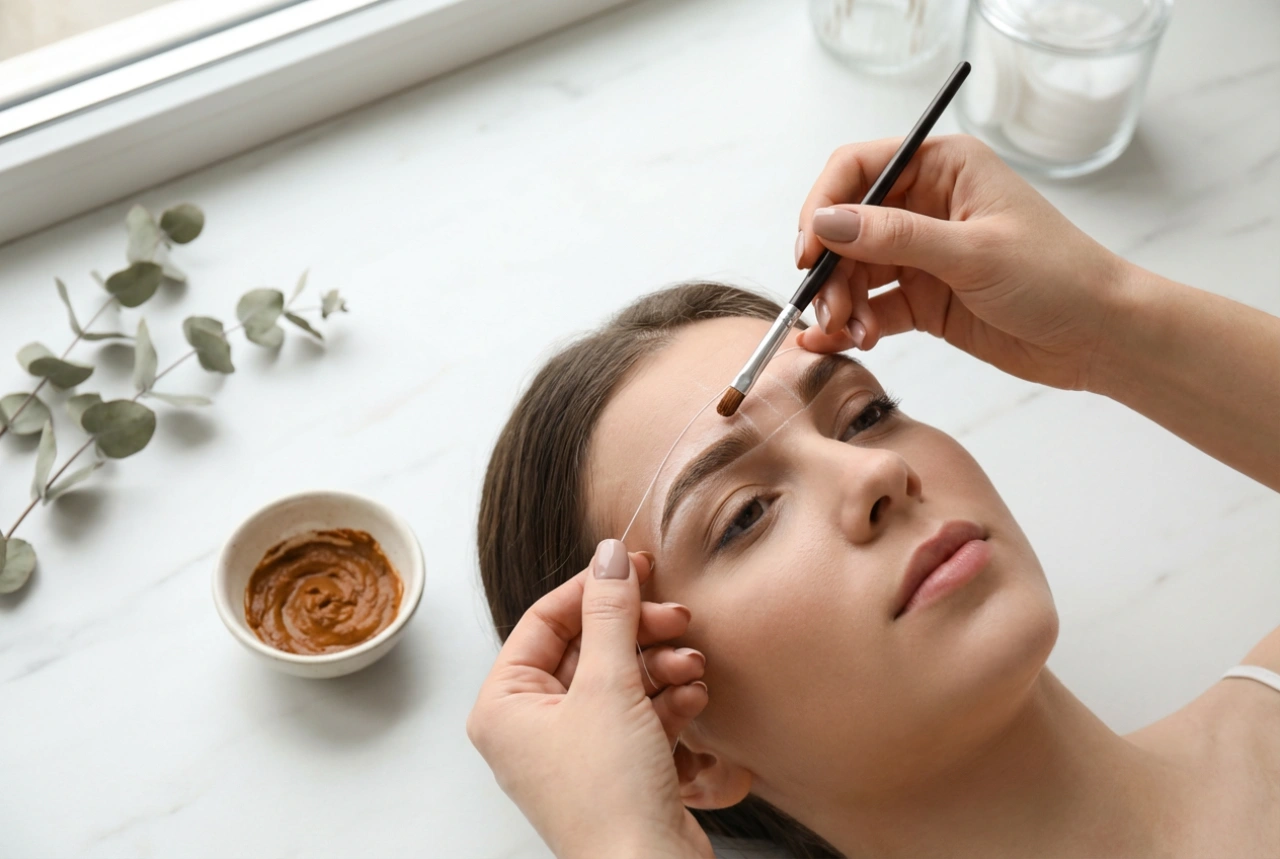
For a flawless application, use a high-quality, angled brush with firm bristles. This allows for maximum control and ensures clean, precise lines during the process.
Step 1: Mixing the Formula
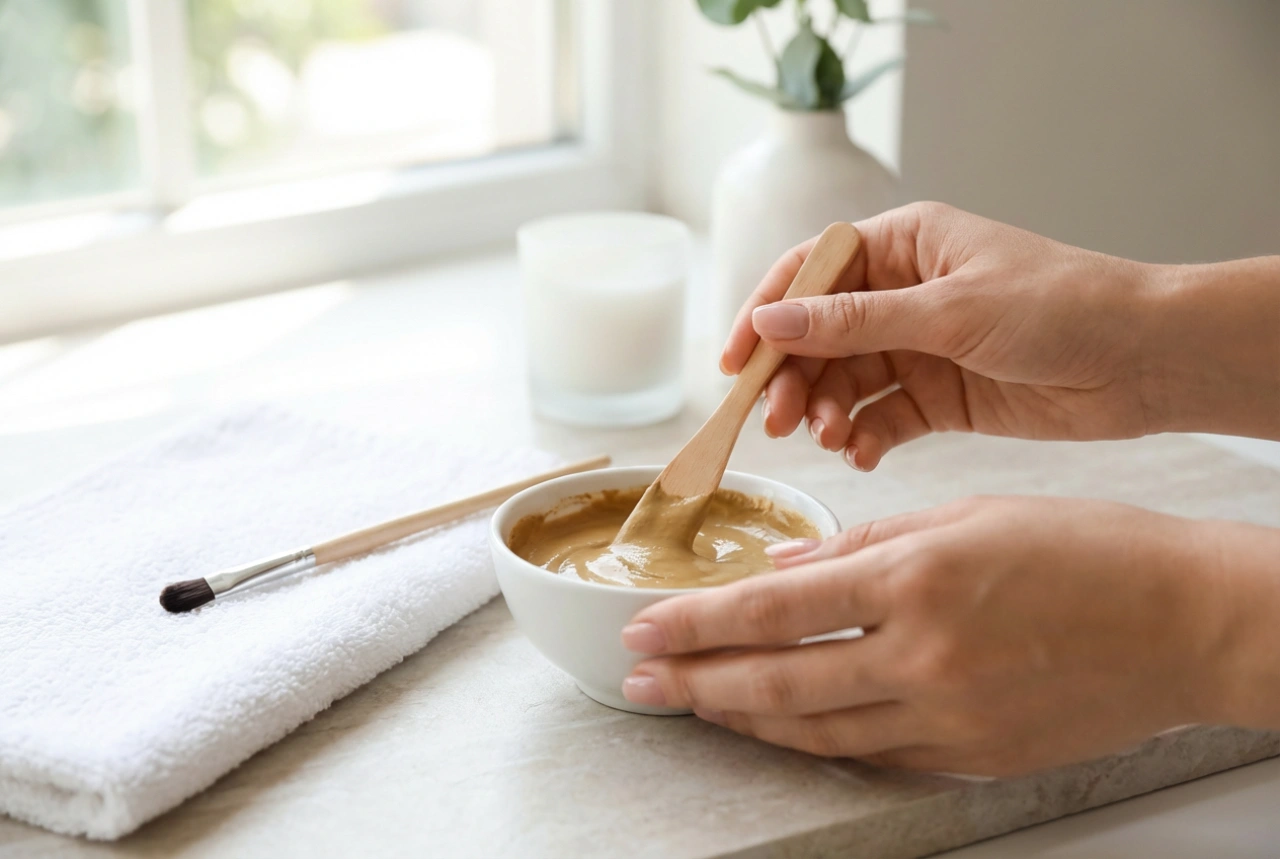
Follow the manufacturer's guidelines carefully to mix the tint and activator. Ensure the consistency is smooth and creamy, making it easy to spread without dripping.
Step 2: Defining the Tail and Body
Always begin applying the tint where your brows are naturally the sparsest or where you desire the most definition. For most people, this is the tail of the brow and the lower arch. Press the product gently into the hairs, ensuring you coat them from root to tip. Use the tip of your angled brush to create a sharp, clean tail.
Step 3: Softening the Front
The inner corners of the brows should always be lighter and softer than the tails to maintain a natural, gradient look. Apply the remaining tint on your brush to the front of the brows using light, upward strokes. This mimics the natural growth of the hair and prevents a blocky, artificial appearance.
Step 4: Clean-up and Timing
Immediately wipe away any stray tint that has gotten onto the skin outside your desired contour using a damp cotton swab. Let the tint develop according to the recommended time on the packaging. Keep in mind that it is always better to rinse the tint off slightly early, as you can always reapply it if you desire a deeper shade.
Post-Tint Care and Maintenance
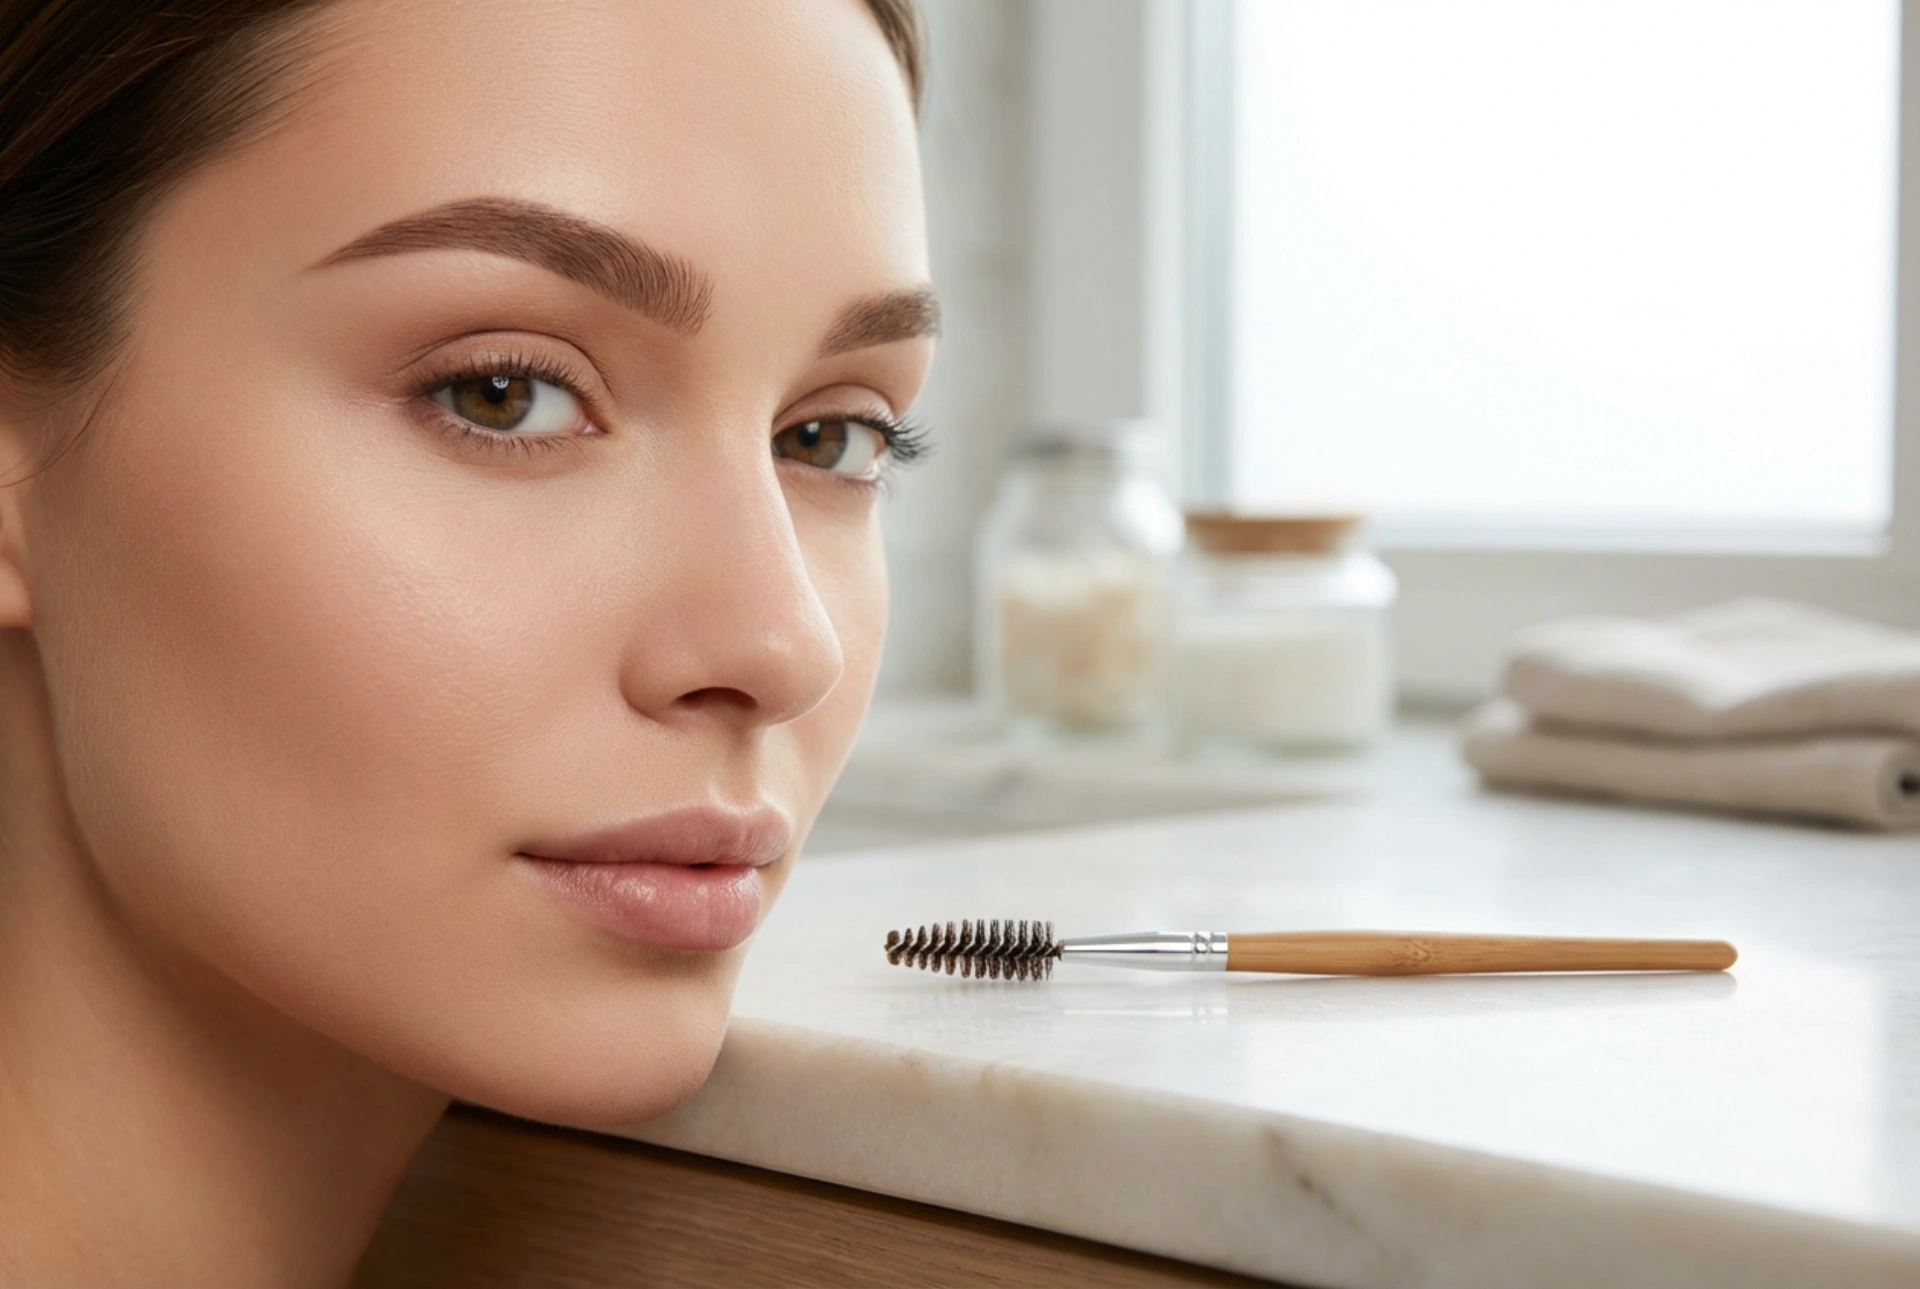
Once you have removed the tint with a damp cotton pad, your brows will look fresh and defined. To prolong the results and keep the skin beneath healthy, avoid using harsh exfoliating scrubs or active skincare ingredients, such as retinoids and alpha hydroxy acids, directly on the brow area. When washing your face, use a gentle cleanser and pat the area dry. Applying a drop of natural oil, such as castor oil or argan oil, can keep the brow hairs conditioned, glossy, and beautifully styled every day.