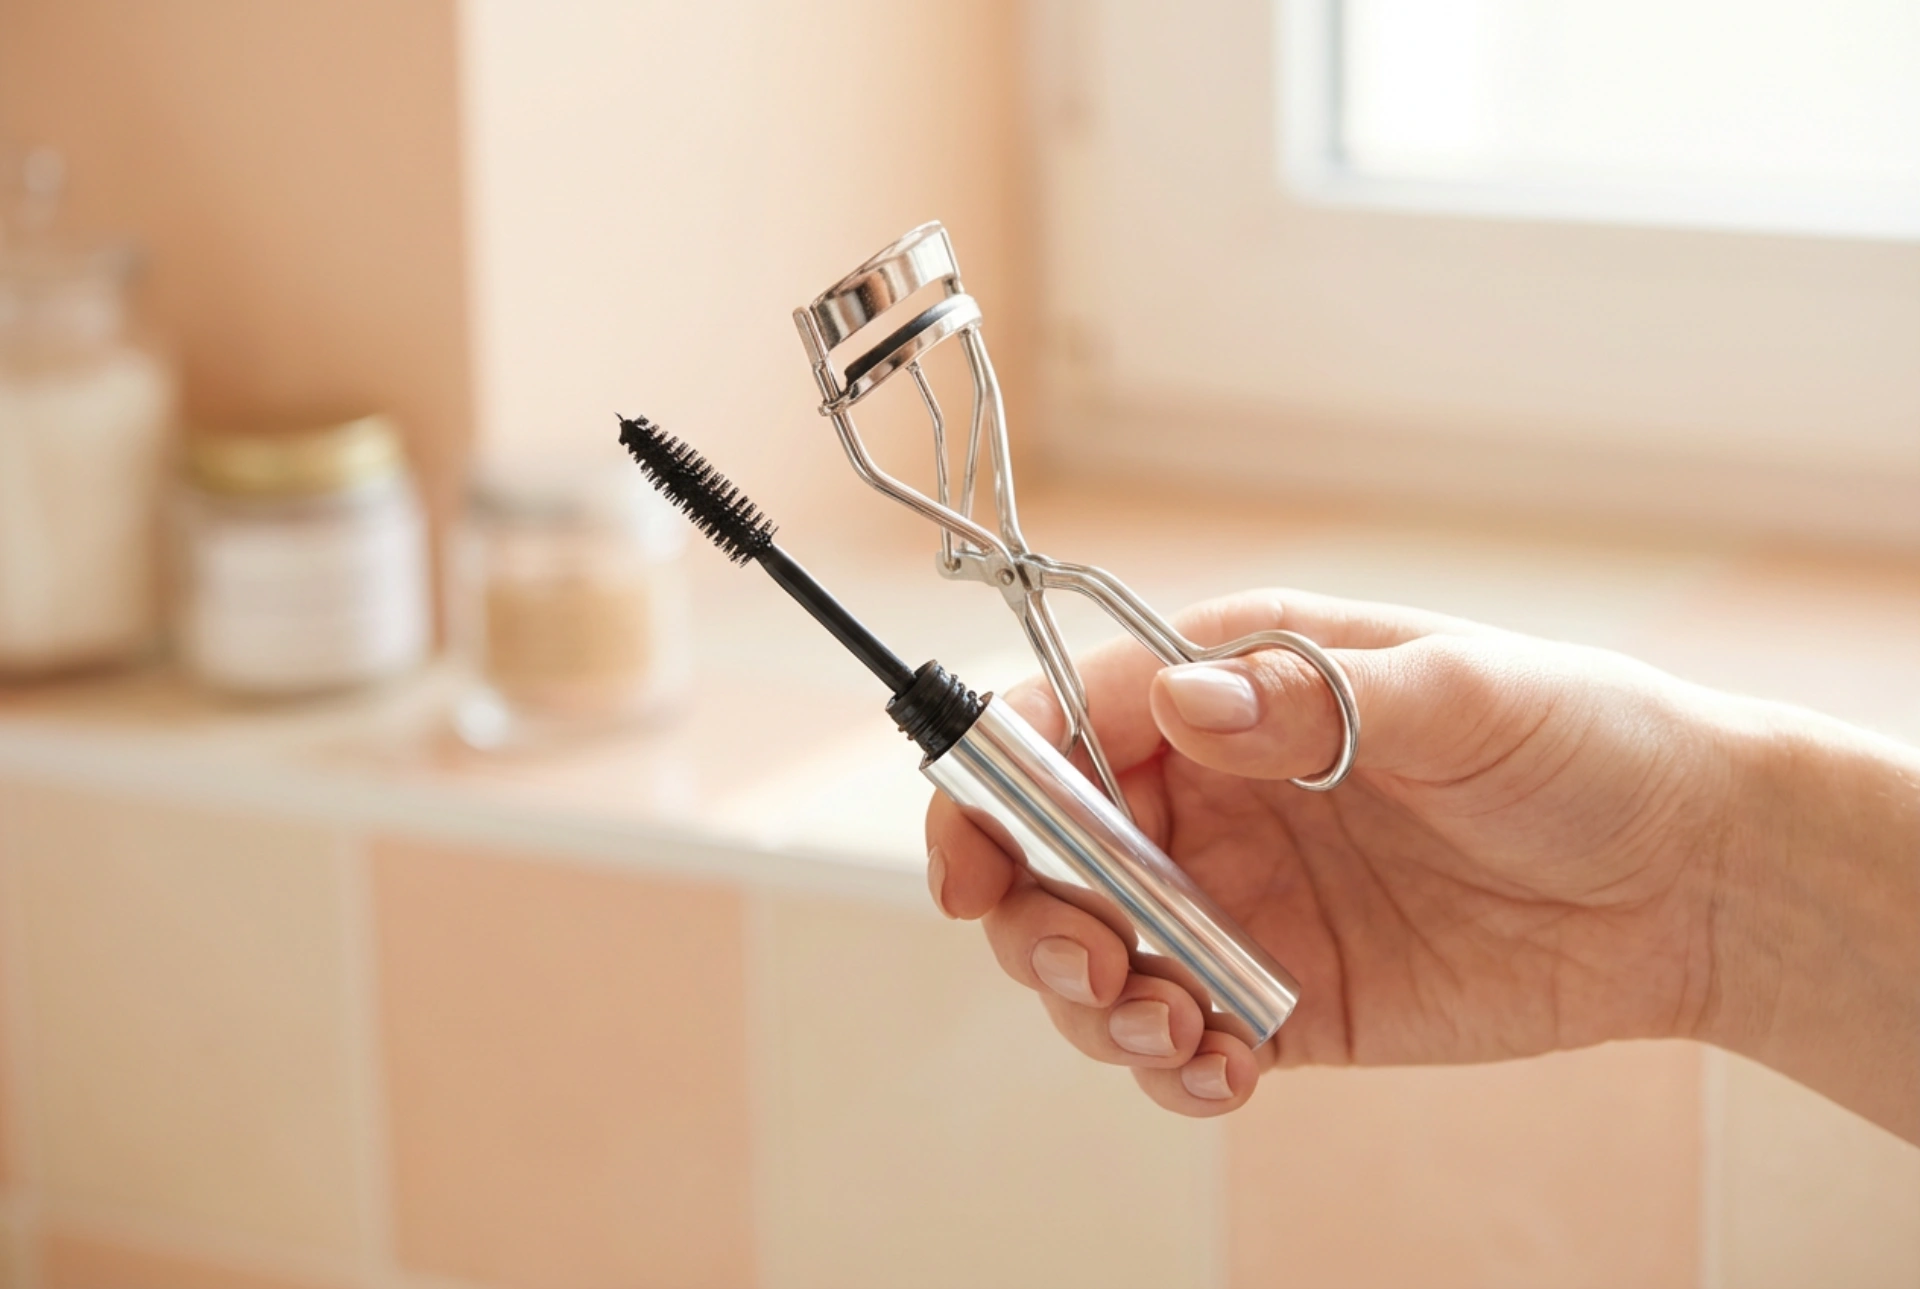


Achieving beautifully curled lashes that frame the eyes and create an open, bright look is a staple of any clean beauty routine. The simple elegance of using a classic silver eyelash curler alongside a perfectly formulated curling mascara can transform your everyday appearance with minimal effort. While the process may seem straightforward, mastering the precise order, techniques, and safety aspects is essential to achieving a long-lasting lift without damaging the delicate structure of your eyelashes.
The Ultimate Sequence: Curler First or Mascara First?
One of the most common questions in eye makeup application is whether to use the eyelash curler before or after applying mascara. The definitive answer from beauty experts is always to curl your eyelashes before applying any mascara. Understanding the science behind this sequence is crucial for preserving the health of your lashes.
When lashes are clean and bare, they are flexible and resilient. Placing a clean curler at the base of bare lashes allows you to gently shape them without any friction. Conversely, once mascara is applied, it dries and hardens to lock the lashes into place. If you attempt to use an eyelash curler on coated lashes, the dry mascara can cause the lashes to stick to the silicone pad of the curler. When you release or pull the tool away, this sticky bond can lead to severe breakage, pulling out individual lashes from the root, or causing them to snap mid-shaft. Always start with clean, dry, and product-free lashes to ensure safety and comfort.
Mastering the Eyelash Curler: Step-by-Step Technique
Using a manual eyelash curler requires a gentle hand and a precise method to avoid unnatural, crimped angles. To achieve a smooth, natural-looking C-curl rather than a sharp L-shape, follow these essential steps:
- Positioning: Look slightly downwards into a mirror. Place the open curler at the very base of your upper lash line, ensuring that all lashes are positioned between the metal frame and the soft silicone pad. Be careful not to pinch the delicate skin of your eyelid.
- The Three-Step Squeeze: Instead of pressing hard once, employ a progressive squeezing technique. Start at the root, gently squeeze and hold for three to five seconds. Next, move the curler slightly outward to the middle of the lash length and squeeze gently again for a couple of seconds. Finally, move towards the tips for one last light squeeze. This creates a beautifully graduated, natural curve.
- Gentle Pressure: Avoid applying excessive force. The silicone pad is designed to cushion the lashes, so a firm yet gentle pressure is all that is required to shape them.
An advanced home tip for stubborn or straight lashes is to slightly warm the eyelash curler before use. You can do this by holding the metal curler in your hand for a minute or using a hairdryer on a low, warm setting for a few seconds. Always test the temperature on the back of your hand first to ensure it is warm, not hot, to prevent burning the sensitive eyelid skin.
Selecting and Applying Curling Mascara
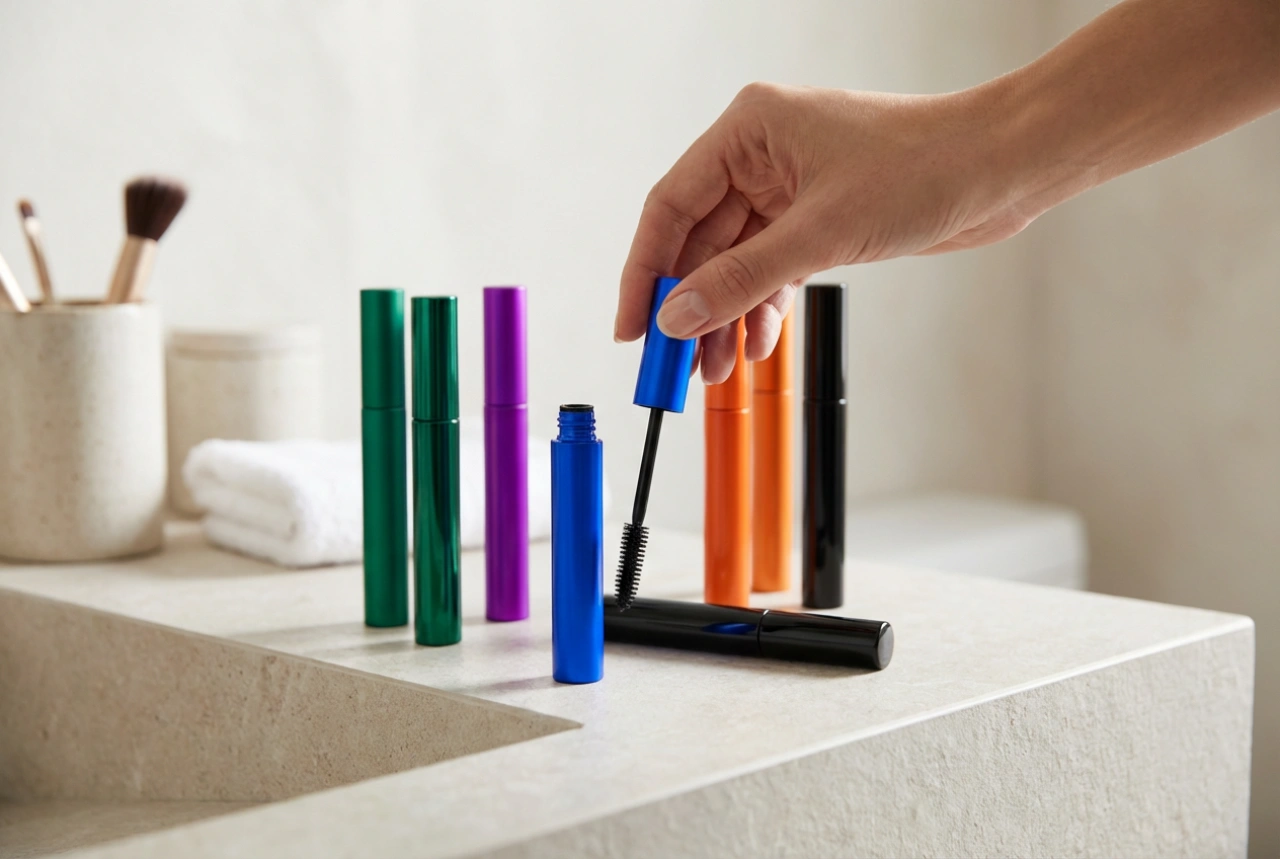
Once your lashes are beautifully lifted, the next step is to lock that shape in place with a curling mascara. The formulation and the brush design play equal roles in maintaining the height and curve of your eyelashes throughout the day.
Curling mascaras often feature lightweight, quick-drying formulas containing specific polymers that shrink slightly as they dry, pulling the lashes upward. The brushes are typically curved, designed to hug the natural contour of the lash line and deposit more product at the roots to support the lift. To apply it effectively:
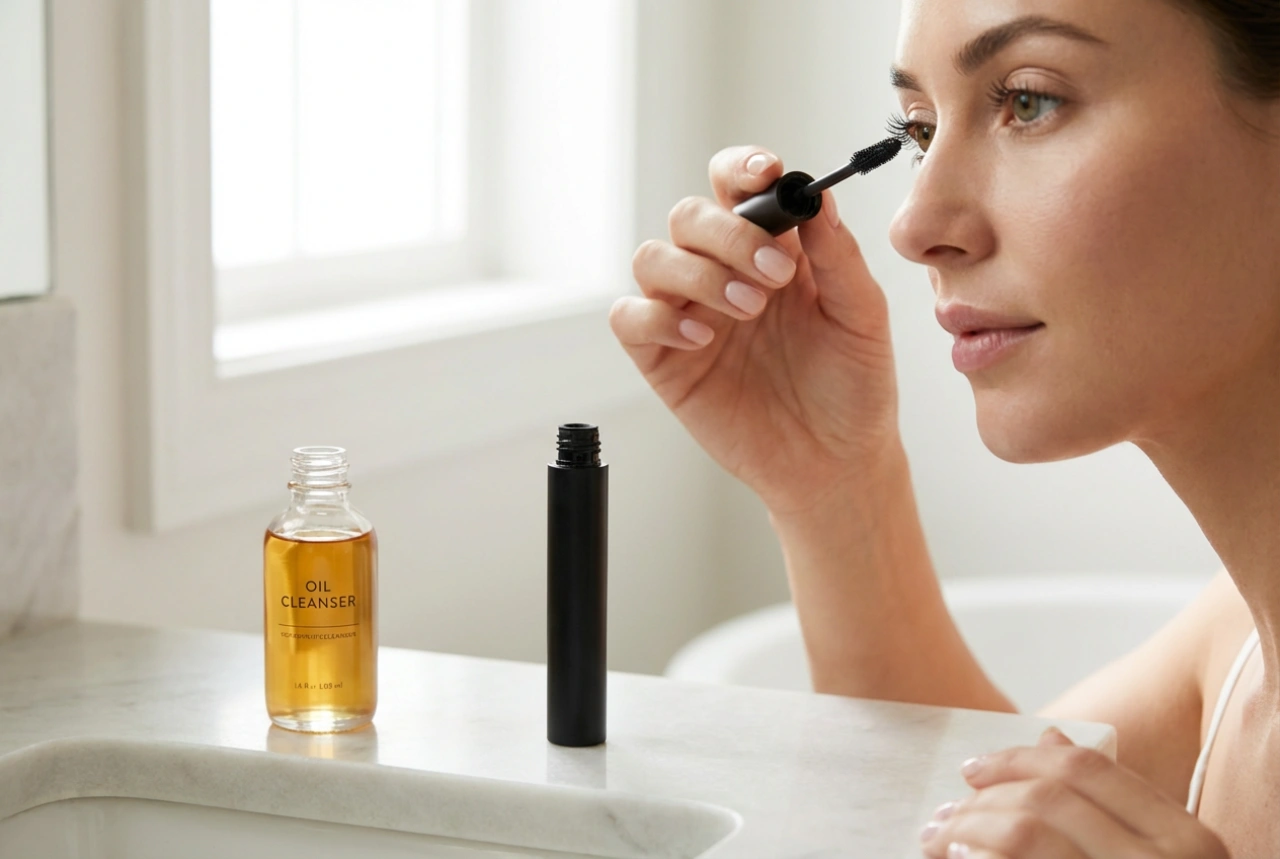
- Root-to-Tip Zig-Zag: Place the mascara wand at the absolute base of your lashes. Wiggle the brush horizontally in a zig-zag motion to deposit the bulk of the product at the roots. This creates a strong foundation that holds the curl upward.
- Sweep Upward: Gently sweep the brush through to the tips. Avoid putting too much product on the tips, as heavy formula at the ends can weigh the lashes down, causing the curl to sag over time.
- Layering with Moderation: Apply a second coat while the first is still slightly damp if you desire more volume, but avoid excessive coats that could clump or add unnecessary weight to your lifted lashes.
Ensuring Longevity: How to Make the Curl Last All Day
For those with naturally straight or thick lashes that tend to lose their curl quickly, maintaining the lift throughout the day can be a challenge. Incorporating a few simple adjustments into your beauty routine can dramatically improve longevity.
One highly effective method is using a waterproof curling mascara as your base coat. Waterproof formulas contain less water and are often wax- or oil-based, meaning they dry faster and form a stiffer barrier that locks the curl in place, much like hairspray works on a hairstyle. If you prefer not to use waterproof formulas daily due to the removal process, you can apply a single thin coat of waterproof mascara first to seal the curl, followed by your preferred regular mascara for volume or length.
Additionally, ensure your lashes are completely dry before you begin. Any residual oils, eye creams, or water from your morning skincare routine can soften the hair shaft, making it impossible for the curl to hold. Gently pat the eye area dry or lightly dust your lashes with a tiny amount of translucent setting powder before using the curler to absorb excess moisture.
Care and Hygiene for Your Tools
To guarantee the safety of your eyes and the effectiveness of your routine, maintaining your tools is just as important as the technique itself. Eyelash curlers accumulate dead skin cells, natural oils, and residual makeup over time, which can create a breeding ground for bacteria.
Wipe the metal frame and the silicone pad of your curler with a cotton pad soaked in rubbing alcohol or a gentle makeup remover weekly. Furthermore, keep a close eye on the condition of the silicone pad. Over time, the pad will develop a groove from repeated use, or it may begin to split. A split pad can trap and cut your lashes. Replace the silicone pad every three to six months, or as soon as you notice any signs of wear, to ensure a smooth, safe curl every single time.