

Well-groomed eyebrows frame the face and highlight natural beauty, offering structure and expression to our features. Achieving a perfectly defined arch with a rich, warm tone does not always require daily makeup applications. Eyebrow tinting has become a highly popular home beauty ritual, allowing individuals to enjoy long-lasting colour and a beautifully shaped arch with minimal effort. By using a gentle tinting formula and a precise application brush, you can create a subtle, natural-looking shadow that enhances the brows whilst maintaining a soft, elegant finish.
The Benefits of Eyebrow Tinting
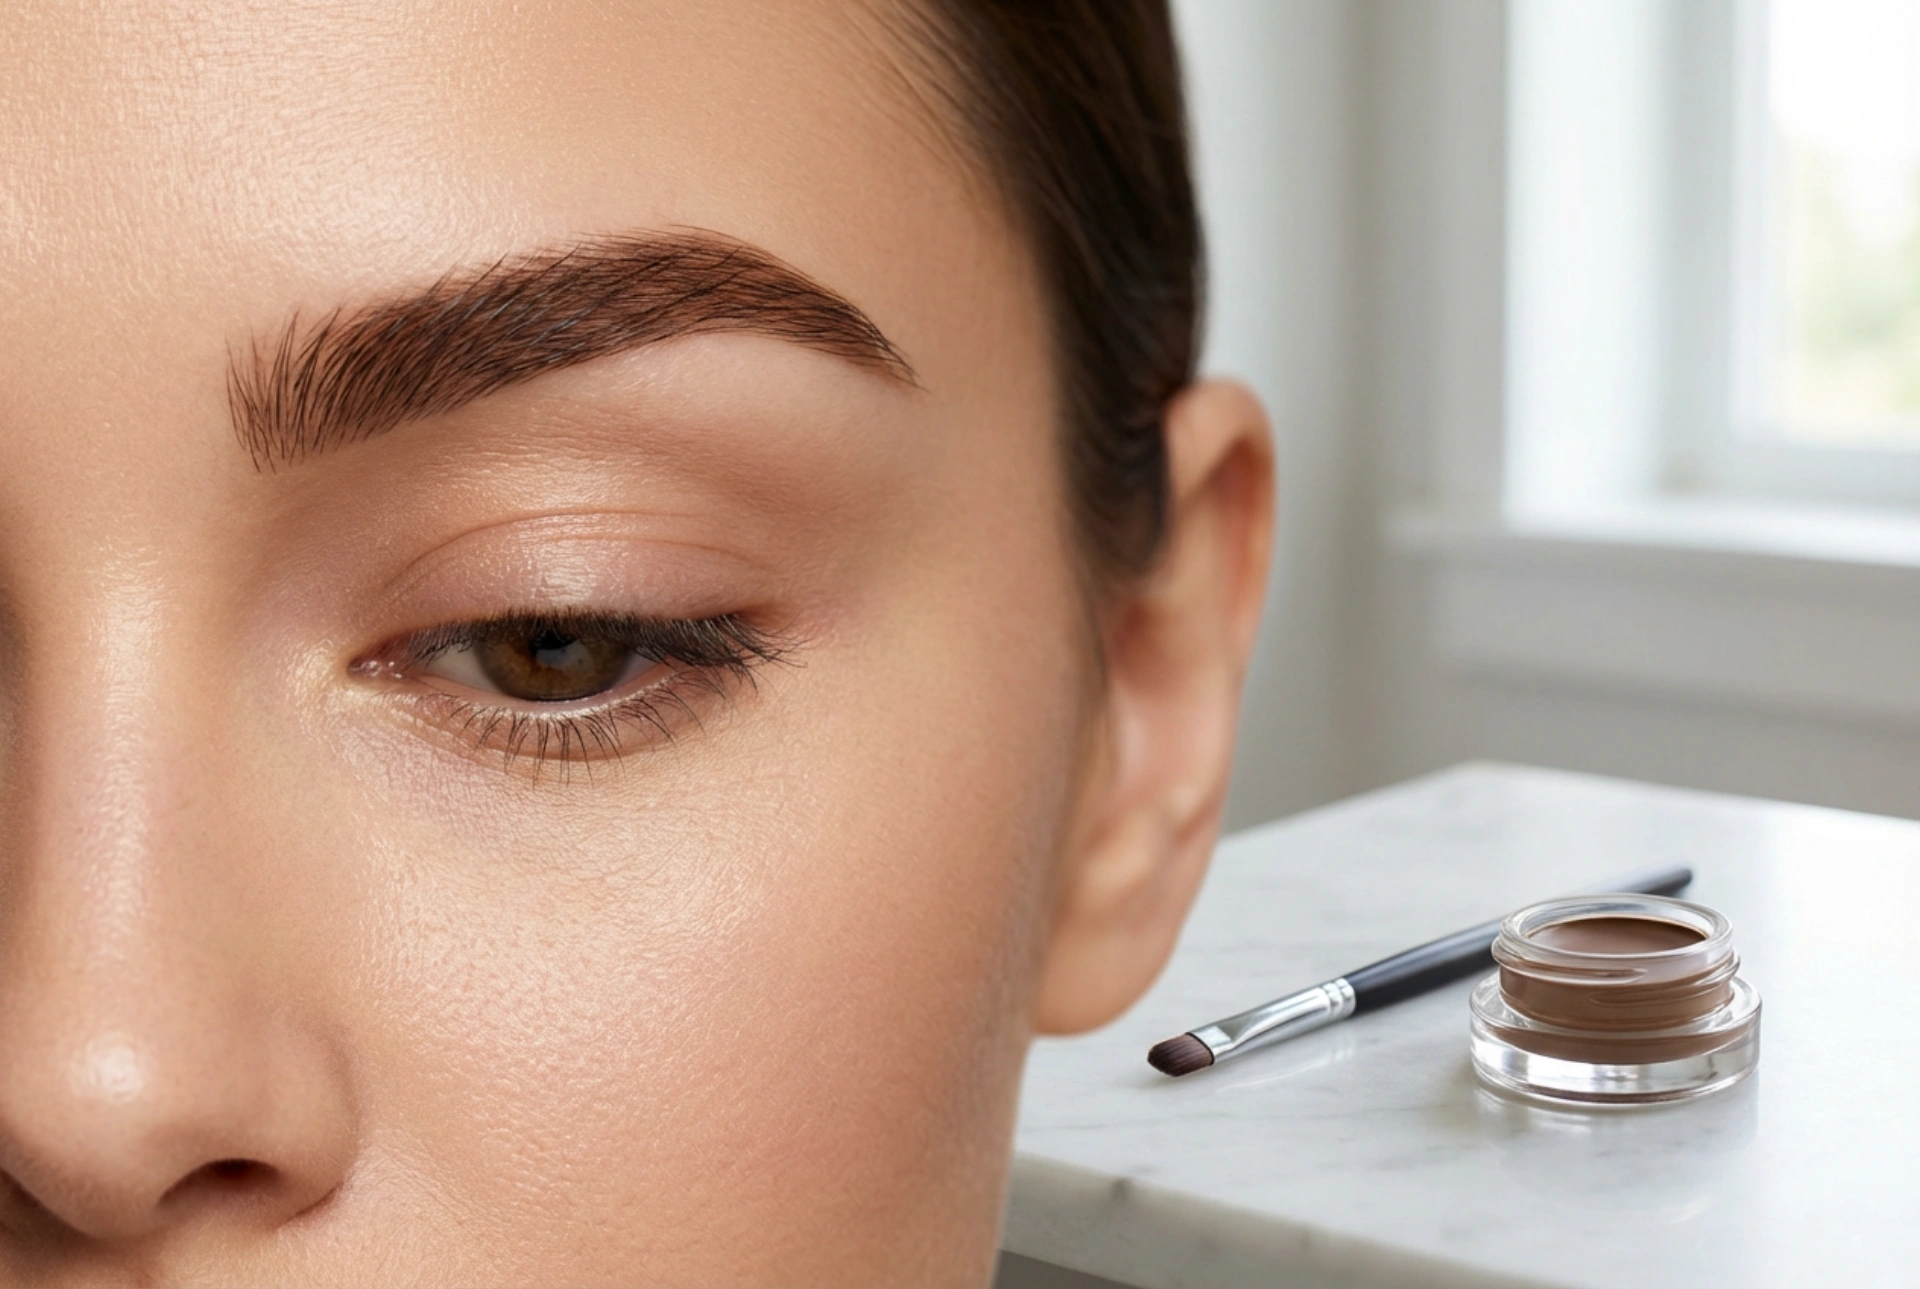
Unlike standard brow pencils or powders that need to be applied every morning, eyebrow tinting provides a semi-permanent solution that lasts for several weeks. This method is particularly beneficial for those with fair or sparse brow hairs, as the tint darkens even the finest hairs, making the entire brow look fuller and more defined. Additionally, tinting helps to establish a clear, structured shape, which simplifies your daily beauty routine. The results are waterproof and smudge-proof, making it an ideal choice for active lifestyles or holidays where low-maintenance beauty is preferred.
Essential Preparation for a Perfect Arch
To ensure an even application and a professional finish, proper preparation of the skin and brow area is essential. The tint needs a clean canvas to adhere correctly to both the hairs and the skin beneath them.
- Cleansing: Thoroughly wash the brow area to remove all traces of oil, makeup, and skincare products. Use a gentle, oil-free cleanser, as oily residues can act as a barrier and prevent the tint from developing evenly.
- Exfoliation: Gently exfoliating the skin around the eyebrows a day before tinting helps remove dead skin cells. This step prevents the tint from clinging to dry patches, ensuring a smoother, more uniform colour distribution.
- Mapping the Shape: Before applying any product, define the natural arch of your brows. You can use a clean spoolie brush to comb the hairs upward and outward, revealing the natural shape. If necessary, outline the desired boundaries with a white cosmetic pencil to act as a guide.
Step-by-Step Eyebrow Tint Application
Creating a beautiful, symmetrical arch requires patience and a steady hand. Following a structured step-by-step process ensures a safe and aesthetically pleasing result.
Step 1: Mixing the Tint
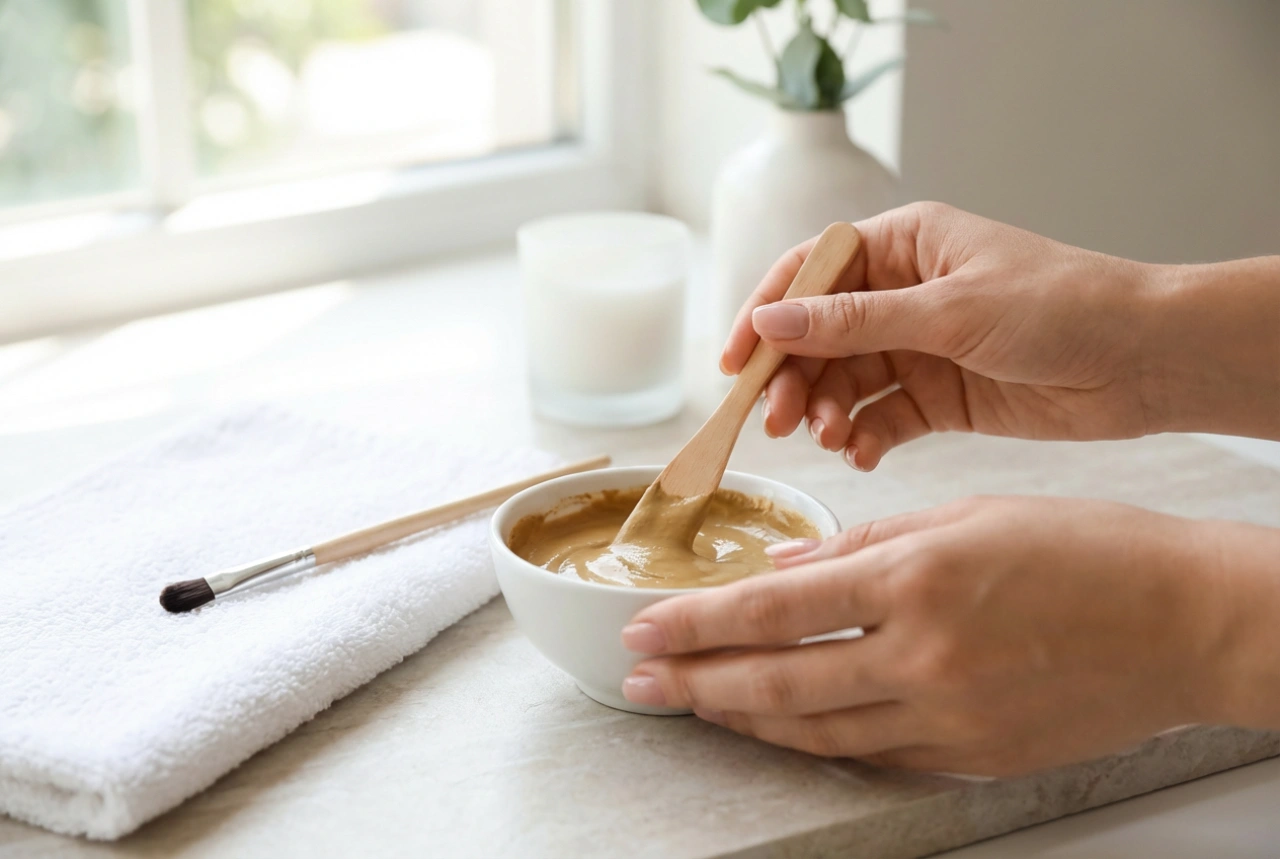
In a small, clean pot, mix the tinting product according to the manufacturer's instructions. Ensure the consistency is smooth and creamy—neither too runny nor too thick. Select a shade that complements your natural hair colour; a warm brown or a soft taupe is generally suitable for a natural, soft-focus appearance.
Step 2: Precise Application
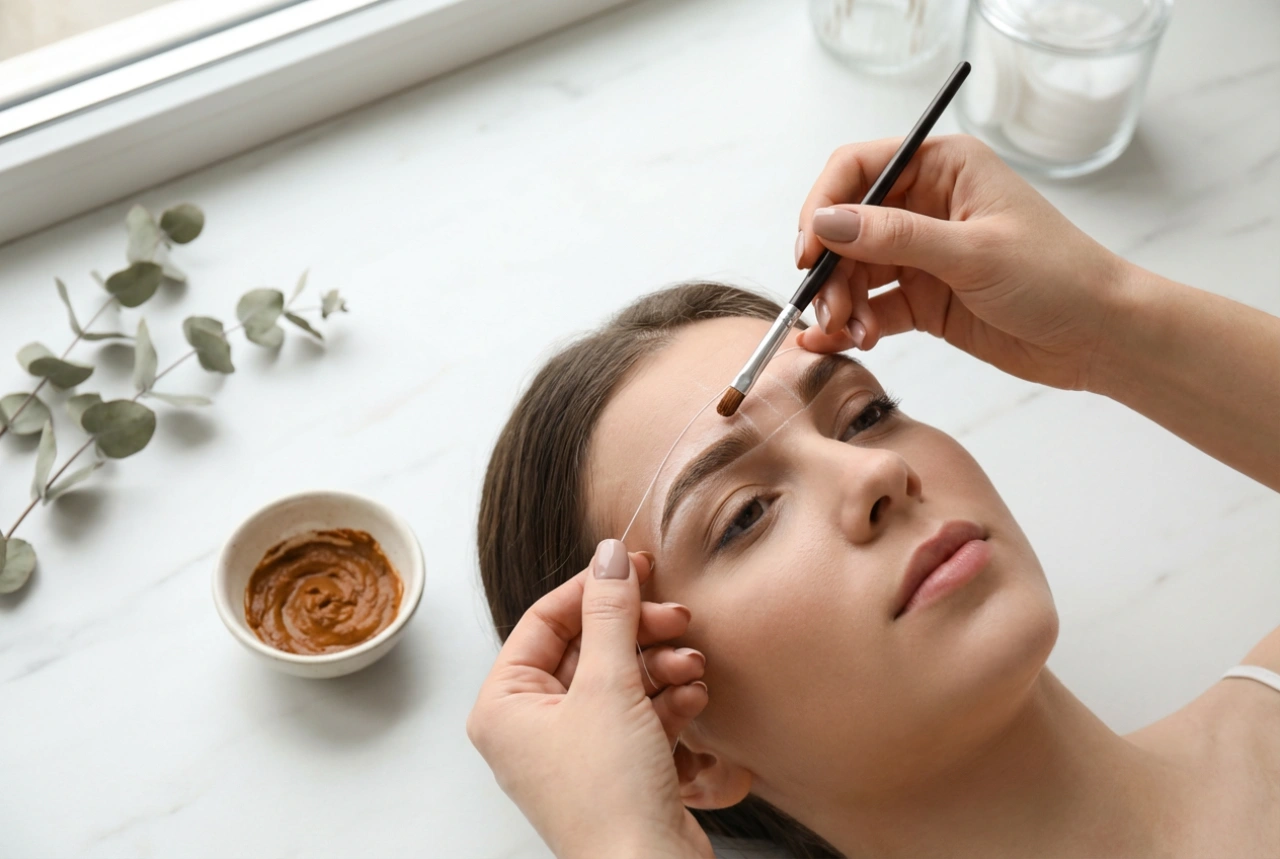
Using a small, angled brush, begin applying the tint from the middle of the brow towards the outer tail. The tail of the eyebrow should be the darkest and most defined part. Once the tail is covered, use the remaining product on the brush to fill in the front of the brow. Keep the inner corners soft and light to avoid a harsh, boxy look.
Step 3: Clean Up and Timing
If any product gets outside your mapped line, clean it up immediately using a cotton bud dampened with water. Allow the tint to develop for the recommended time, usually between five and ten minutes. If you prefer a lighter, more natural effect, reduce the developing time for your first attempt.
Step 4: Gentle Removal
Once the development time has passed, remove the tint using a damp cotton pad. Wipe gently in the direction of hair growth. Avoid rubbing the skin forcefully, as this can cause temporary redness or irritation.
Choosing the Right Colour and Safety Precautions
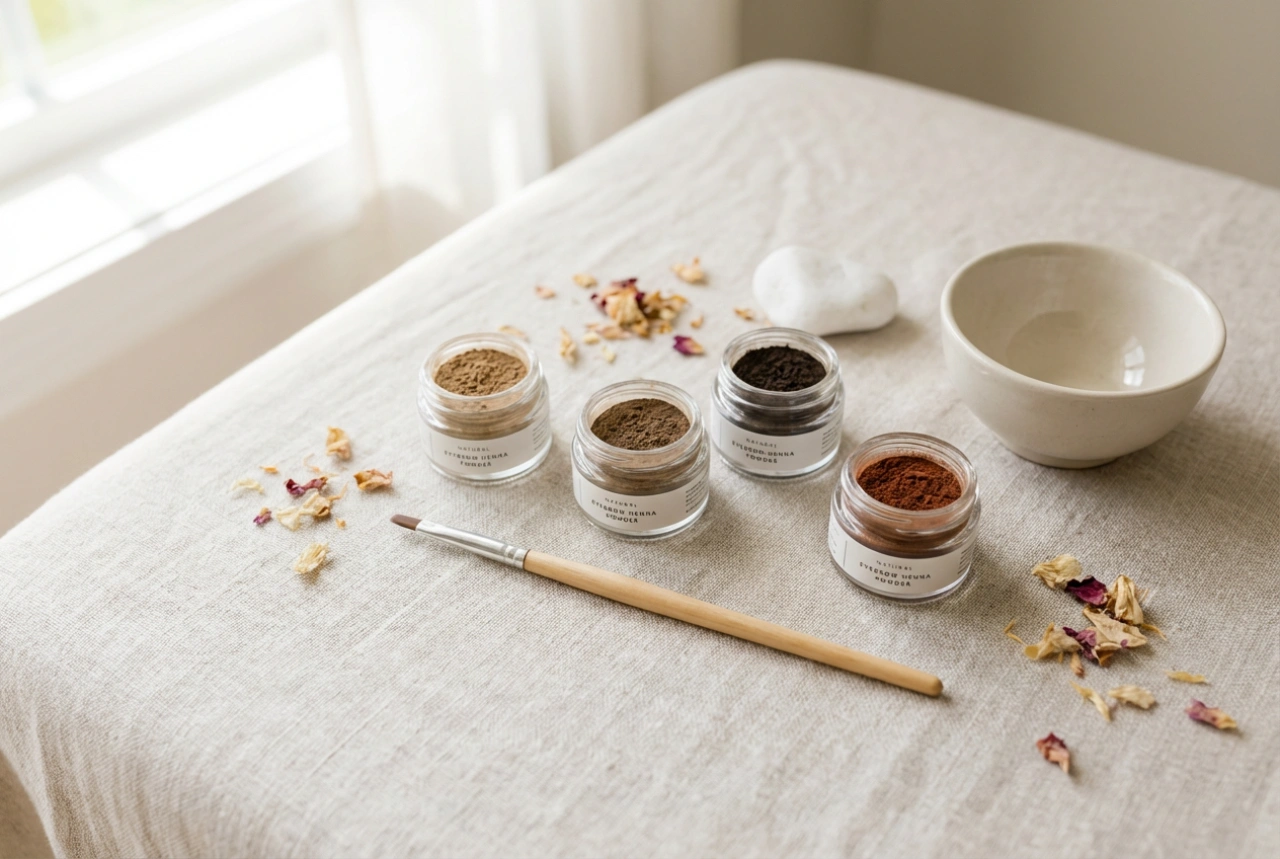
Selecting the correct shade is crucial for achieving a harmonious look. As a general rule, aim for a colour that is one to two shades darker than your natural hair if you have fair hair, or a shade that matches the undertone of your hair if you have dark locks. Cool undertones benefit from ash-toned pigments, whilst warm complexions are beautifully enhanced by rich brown and chestnut tones. Before proceeding with the full application, always perform a patch test on a small, discreet area of skin, such as behind the ear or inside the elbow, forty-eight hours prior to styling. This simple step ensures your skin responds comfortably to the product, keeping your beauty routine safe and enjoyable.
Post-Treatment Care and Maintenance
To maximise the longevity of your newly tinted eyebrows, simple post-care habits should be integrated into your beauty routine. During the first twenty-four hours after application, avoid getting the brow area wet and steer clear of steam, saunas, and intense workouts. When washing your face, avoid applying strong exfoliants, retinoids, or oil-based cleansers directly onto the eyebrows, as these can accelerate the fading of the tint. To keep the brow hairs healthy, soft, and glossy, you can apply a tiny drop of natural nourishing oil, such as castor oil or argan oil, to the brows before bedtime.