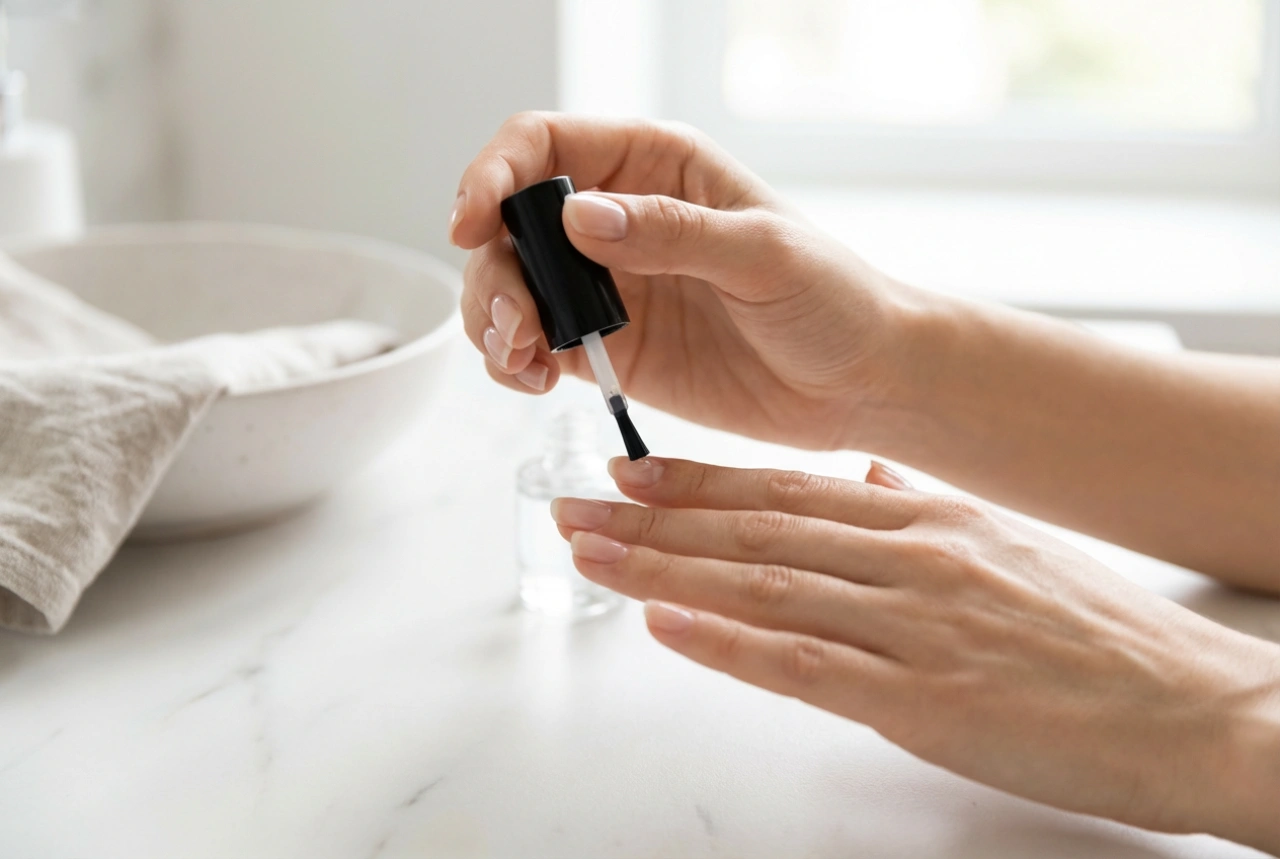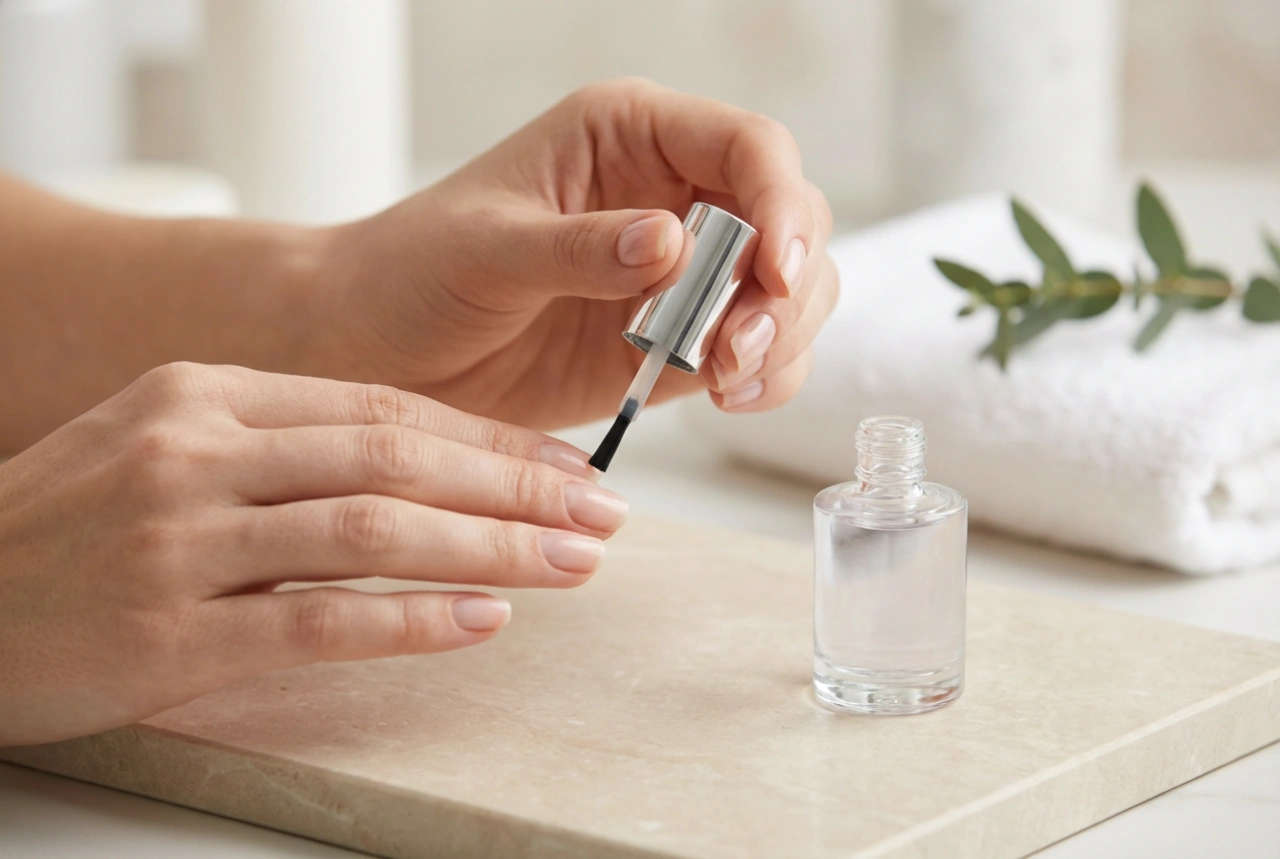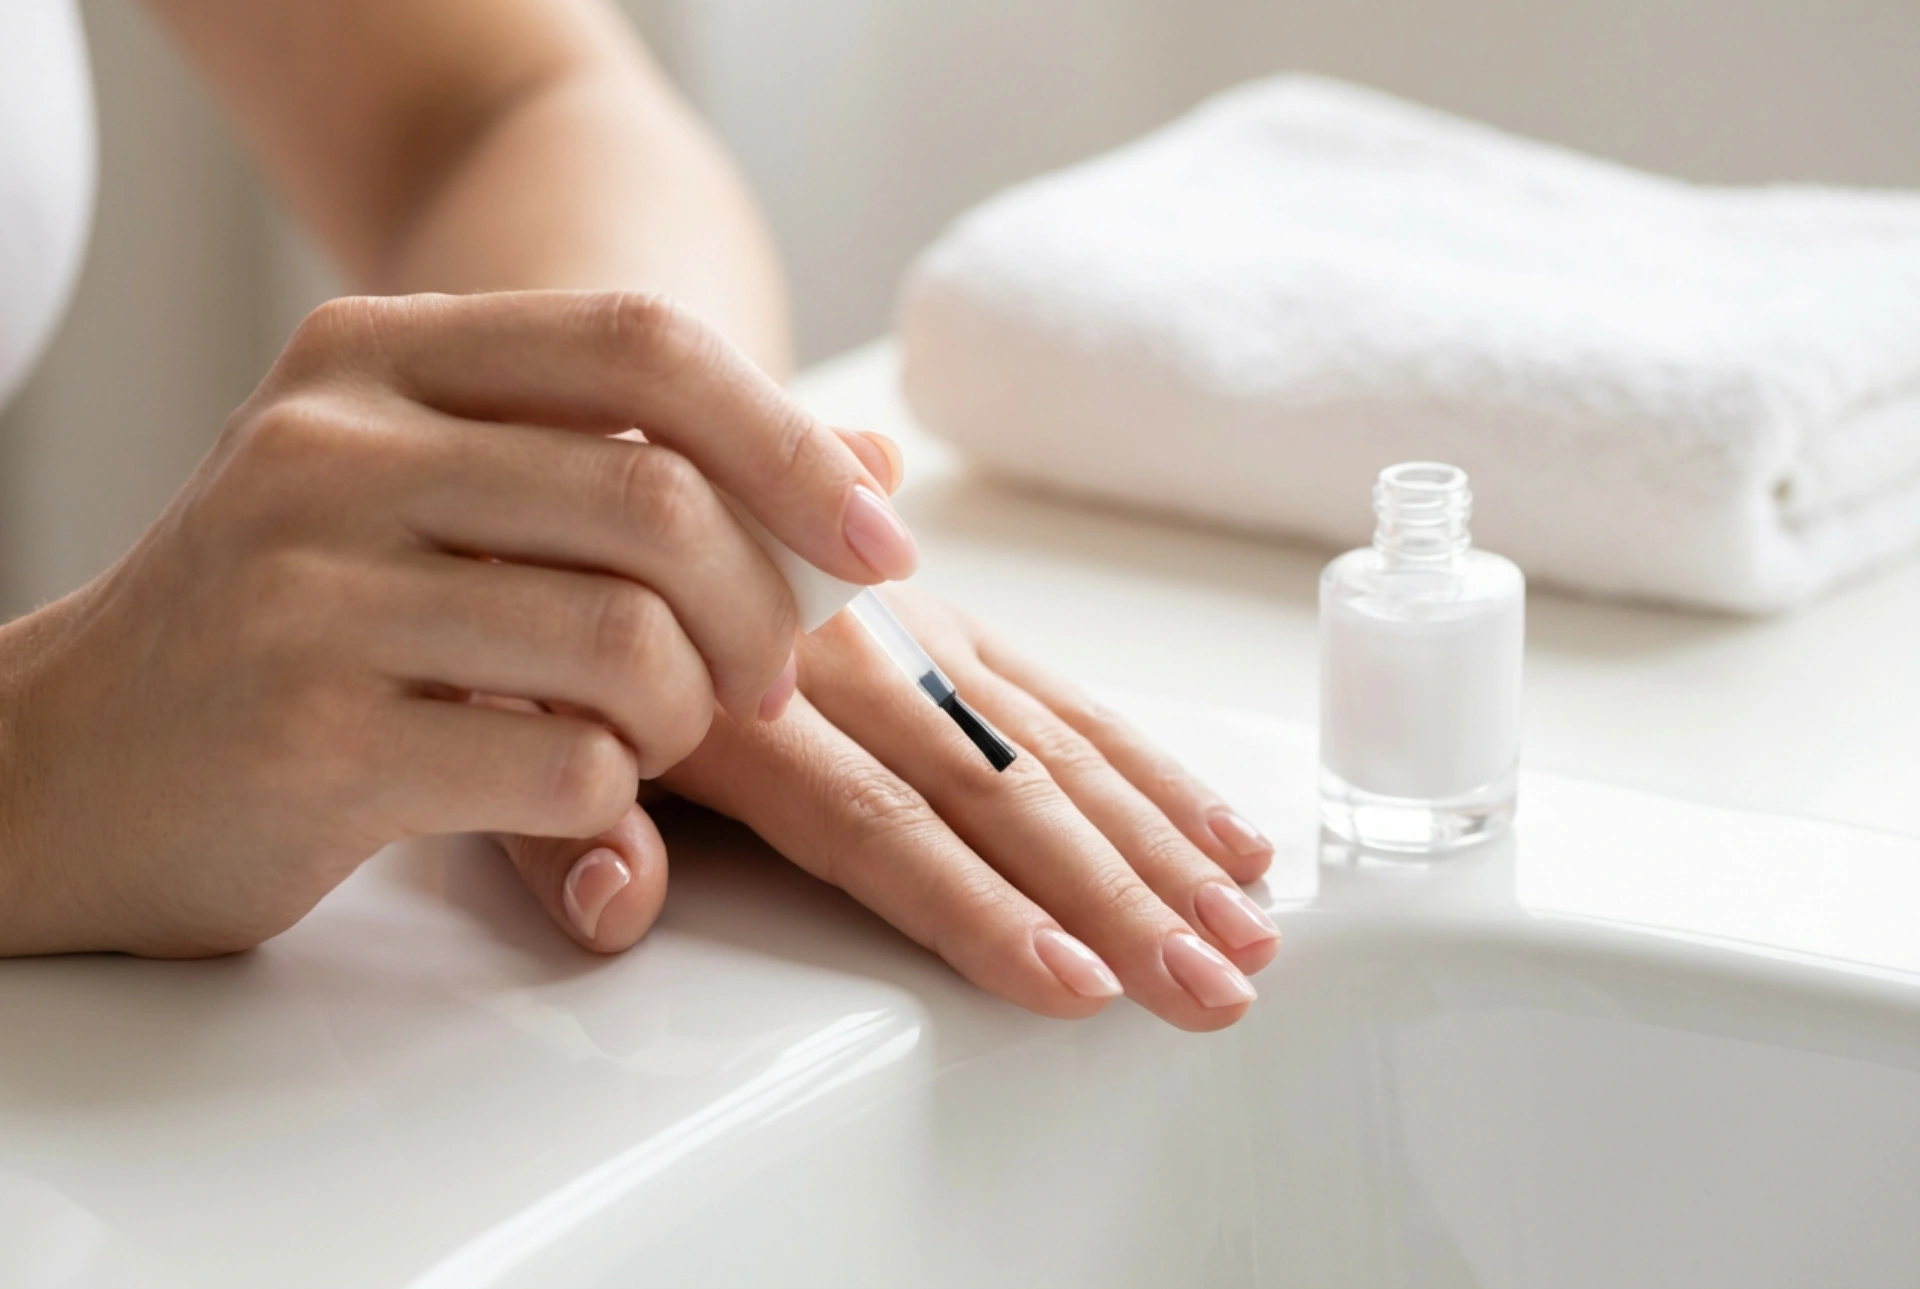


A beautifully executed manicure is one of the simplest ways to add a touch of elegance to your daily look. There is a unique satisfaction in seeing perfectly polished nails, painted in a soft, natural pink and sealed with a glossy top coat, resting gently on a clean surface in the soft glow of daylight. However, many of us face the same frustrating issue: a manicure that looks flawless on day one begins to chip and peel within forty-eight hours. Fortunately, achieving a long-lasting finish at home does not require professional salon equipment. By understanding the science of nail preparation and mastering a few simple application techniques, you can enjoy a durable, glossy manicure that stands the test of time.
The Importance of Proper Nail Preparation
The secret to a durable manicure lies not just in the polish itself, but in how you prepare your nails before the first drop of colour touches them. Applying nail polish to an unprepared nail is like painting over a dusty wall; the product simply cannot adhere properly. To begin, ensure that your nails are completely free of any old polish, moisture, or natural oils.
- De-grease the nail plate: Even if you do not have old polish to remove, swipe each nail with a gentle, acetone-free remover. This crucial step eliminates natural oils and hand cream residues that prevent polish from sticking.
- Shape and smooth: Use a fine-grit file to shape your nails. Always file in one direction rather than sawing back and forth, which can cause micro-splits in the nail plate, leading to premature chipping.
- Care for the cuticles: Gently push back your cuticles using a wooden stick. Avoid cutting them, as this can lead to irritation. Ensuring the nail plate is completely clear of cuticle overgrowth allows the polish to sit flat.
The Three-Step Application Method
When it comes to applying polish, patience and precision are your greatest allies. Applying a single thick layer of polish is one of the most common mistakes; thick layers trap solvent underneath, preventing the polish from drying thoroughly and making it highly prone to smudging and peeling.
1. Never Skip the Base Coat
A high-quality base coat serves a dual purpose. Firstly, it acts as a protective barrier, preventing dark or highly pigmented polishes from staining your natural nails. Secondly, it provides a slightly tacky surface that grips the colour polish, significantly extending the lifespan of your manicure.
2. Apply Thin, Even Layers
When applying your chosen colour, less is always more. Wipe the excess polish off the brush on the rim of the bottle so you only have enough for one thin layer. Use three simple strokes: one down the middle of the nail, and one on each side. Wait at least two to three minutes between coats to allow the solvent to evaporate. Two thin coats will always look smoother and last longer than one thick coat.
3. Cap the Free Edge
This is perhaps the most overlooked step in home manicures. When applying both your colour and your top coat, run the brush lightly along the very tip of your nail (the free edge). This "caps" the nail, sealing the polish and protecting the tip from the daily friction of typing, cleaning, and washing.
The Final Seal: The Role of the Top Coat
Just as a painting needs a varnish, a manicure needs a top coat. A clear top coat protects the colour from environmental wear, adds a brilliant high-shine finish, and prevents chipping. Gently applying a clear top coat over a soft pink or nude base completes the look with professional precision.
To maintain your manicure's longevity, consider reapplying a thin layer of top coat every two to three days. This simple routine reinforces the protective barrier and restores any lost shine, keeping your nails looking freshly done for up to a week.
Daily Habits to Protect Your Manicure
How you treat your hands after your manicure is dry plays an equally important role in its longevity. Gentle care and a few adjustments to your daily routine can make a dramatic difference in how long your polish remains flawless.
- Wear protective gloves: When doing household chores, washing dishes, or gardening, always wear rubber gloves. Water and harsh household detergents dry out the nails, causing them to expand and contract, which inevitably cracks the polish.
- Moisturise regularly: Keep your cuticles and hands hydrated with a nourishing hand cream or natural oil. Well-hydrated nails are more flexible and less likely to break or split.
- Avoid using nails as tools: It can be tempting to use your nails to open cans, peel stickers, or scrape surfaces. This direct pressure causes the polish to lift from the nail tip immediately. Use actual tools instead to preserve your hard work.