

Beautifully arched eyebrows can frame the face, highlighting one's natural features and bringing a sense of balance and refinement to the overall appearance. Achieving this perfect symmetry with a pair of sleek, minimalist tweezers requires precision, patience, and a delicate touch. While many associate home grooming with discomfort, adopting the right approach can transform your routine into a soothing, controlled ritual of self-care. By understanding the fundamentals of hair growth and facial structure, you can easily shape your brows comfortably from the comfort of your own home, ensuring professional-looking results every single time.
Preparing the Skin for Comfort and Ease
The key to reducing the pain associated with tweezing lies in the preparation of your skin. Before you even touch your tweezers, it is essential to prepare the delicate skin around your eyes to make the hair removal process as smooth and painless as possible. One of the most effective methods is to pluck your eyebrows immediately after a warm bath or shower. The warmth and steam work naturally to open up the pores and soften the hair follicles, allowing the hairs to slide out with minimal resistance.
If a shower is not an option, you can achieve a similar effect by using a warm compress. Simply soak a soft, clean washcloth in warm water, wring out the excess, and gently press it against your brow area for two to three minutes. This simple step not only relaxes the skin but also helps to soothe the sensory nerves in the area, reducing the initial pinch of hair removal. Additionally, ensure your skin is completely clean by removing any traces of makeup, oils, or creams with a gentle, alcohol-free cleanser. Clean skin prevents the tweezers from slipping and reduces the risk of dirt entering the open follicles.
The Art of Eyebrow Mapping for Perfect Symmetry
Achieving symmetrical eyebrows is often considered the most challenging part of home grooming. However, by using a technique known as brow mapping, you can easily determine the ideal start, arch, and end points tailored specifically to your unique facial structure. To begin, you will need a long, straight object, such as the handle of your makeup brush or the edge of your tweezers.
- The Starting Point: Hold your tool vertically against the side of your nose, pointing straight up towards your brow. The point where the tool intersects with your brow line is where your eyebrow should ideally begin. Plucking beyond this line towards the centre of your face can make your eyes look too far apart.
- The Highest Arch: To find the peak of your arch, look straight ahead into a mirror. Place the tool at the outer edge of your nostril and angle it diagonally so that it passes directly through the outer edge of your pupil. The spot where the tool crosses your brow is the natural place for your arch to peak.
- The Tail Point: Finally, keep the bottom of the tool at the side of your nose and align the top with the outer corner of your eye. The point where the tool touches the outer brow area marks where your eyebrow should gracefully taper off and end.
Once you have identified these three reference points, you can use a nude or white eyeliner pencil to lightly mark them on your skin. Connecting these dots with a soft line creates a helpful boundary, showing you exactly which hairs to remove and which ones to keep. This visual guide prevents the common mistake of over-plucking and ensures that both brows look balanced and harmonious.
Tweezing Techniques to Minimise Pain and Prevent Damage
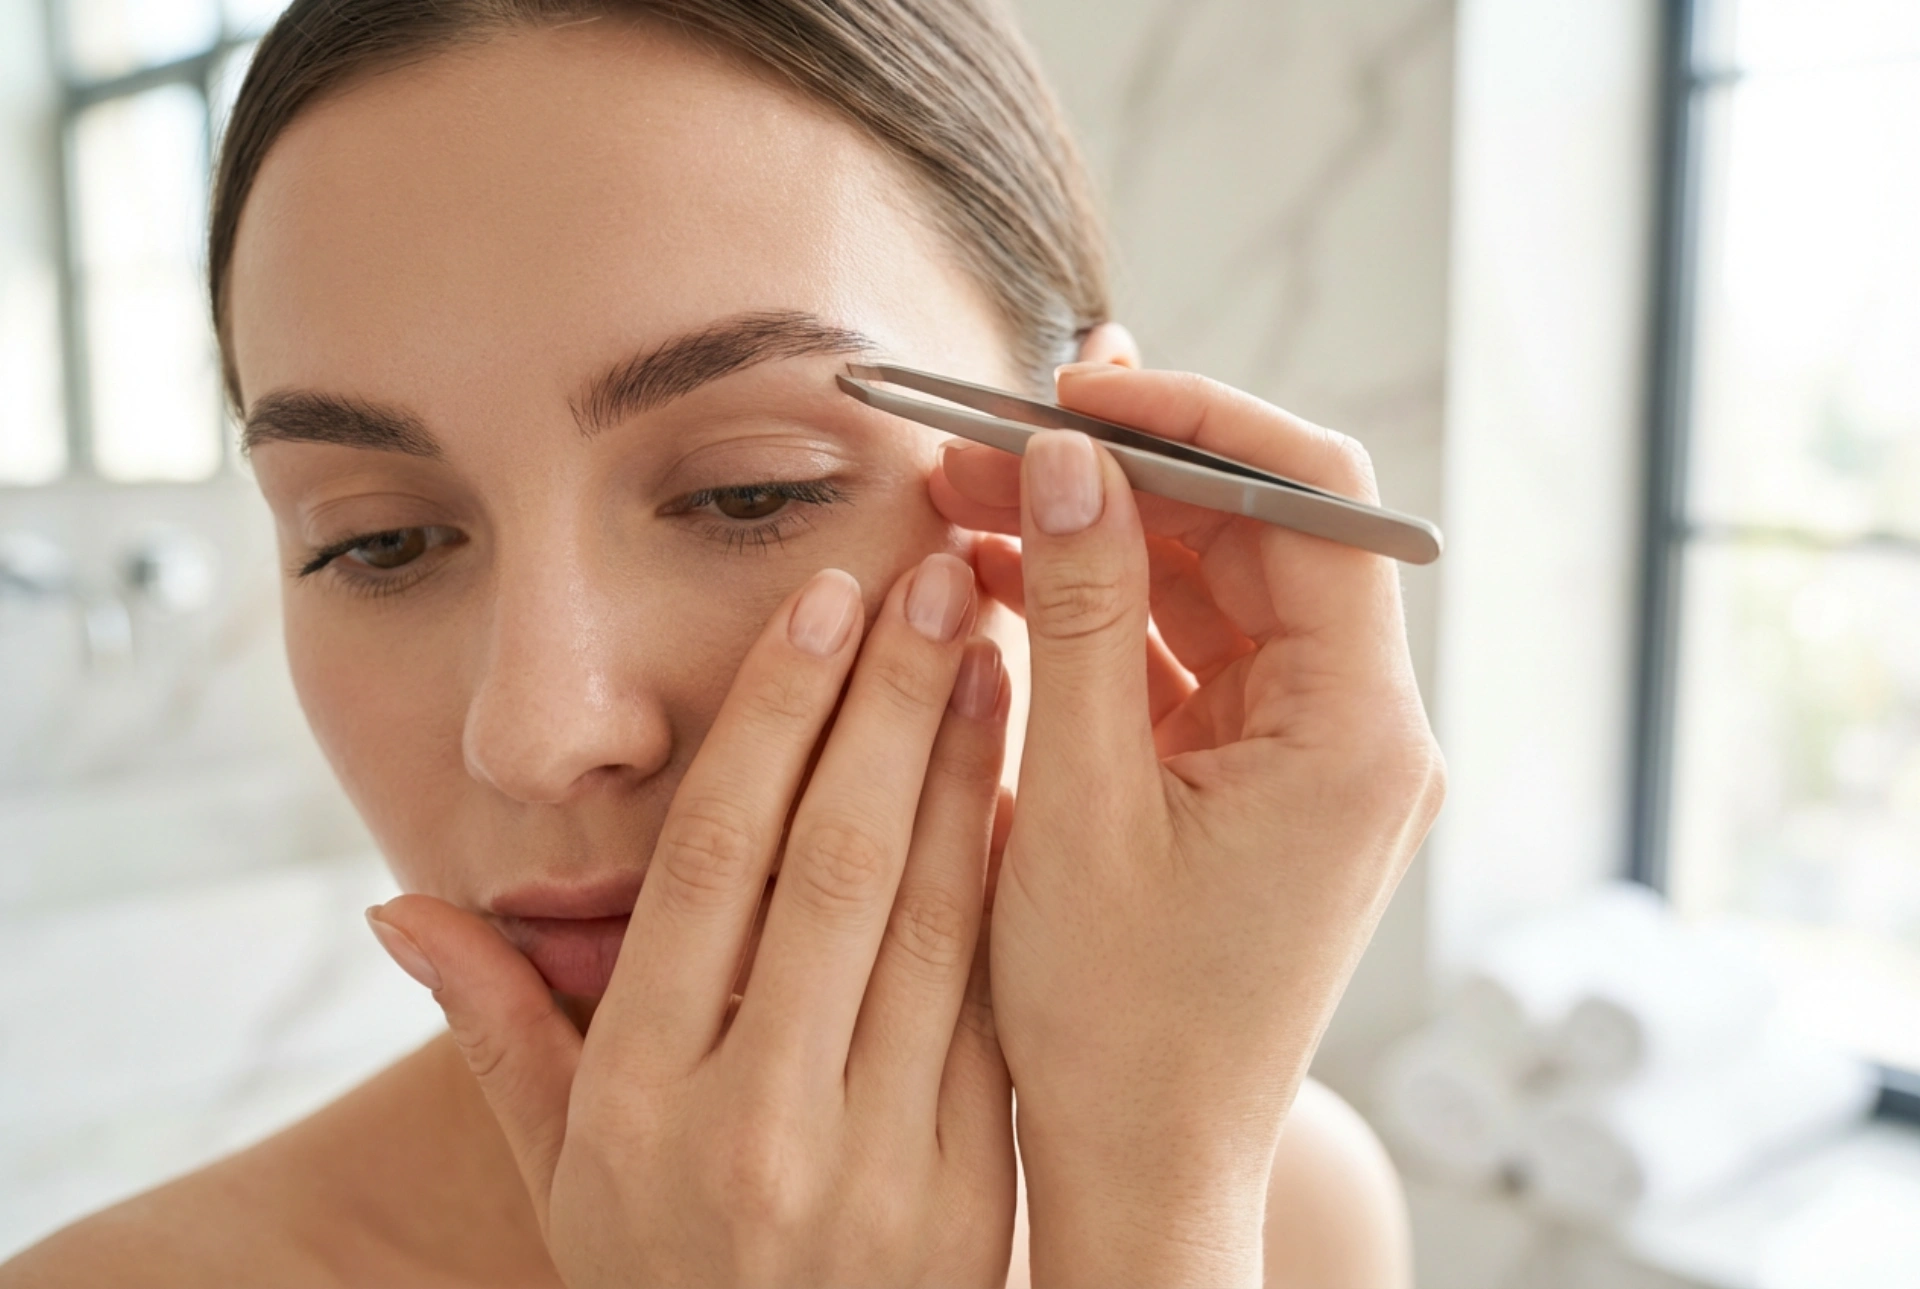
How you use your tweezers makes a significant difference in both the level of discomfort you experience and the health of your brow hairs. Investing in a high-quality pair of tweezers with a slanted tip is crucial, as they offer the best grip and control. To begin, always work in a well-lit room with plenty of natural light, and use a standard mirror rather than a magnifying mirror. Magnifying mirrors can distort your perspective, often leading to over-plucking because you lose sight of how the eyebrows look in relation to your entire face.
When you are ready to pluck, use the index and middle fingers of your non-dominant hand to gently stretch the skin around the target hair taut. Holding the skin firm reduces the movement of the nerve endings, which significantly dulls the sensation of the pluck. Grip the hair as close to the base as possible with your tweezers and pull swiftly in the single direction of hair growth. Pulling against the direction of growth or pulling at an angle can cause the hair to snap off at the surface rather than being removed from the root, which can lead to uneven regrowth and ingrown hairs.
Always pluck one hair at a time, and resist the temptation to grab multiple hairs at once. After removing a few hairs, take a step back from the mirror to assess your progress. This allows you to view your face as a whole, helping you maintain symmetry and prevent the accidental removal of essential hairs that contribute to the natural volume of your brows.
Soothing Post-Plucking Care for Your Skin
Once you have finished shaping your brows, it is entirely normal for the surrounding skin to appear slightly pink or feel warm to the touch. This mild redness is a natural response to the physical extraction of hair. To calm the skin and reduce any lingering sensitivity, you can apply a cold compress or a clean ice cube wrapped in a soft cloth to the area for a minute or two. The cold temperature helps to constrict the blood vessels and reduce swelling quickly.
Follow this by applying a small amount of a soothing, natural moisturiser. Ingredients such as pure aloe vera gel, cucumber extract, or chamomile are excellent choices, as they calm irritation without blocking the newly opened pores. Avoid using heavy, fragranced creams or applying makeup to the brow area for at least a few hours after plucking. Giving your skin a short break allows the pores to close naturally and helps to prevent any unwanted breakouts or irritation, leaving you with beautifully shaped, clean, and perfectly balanced brows.