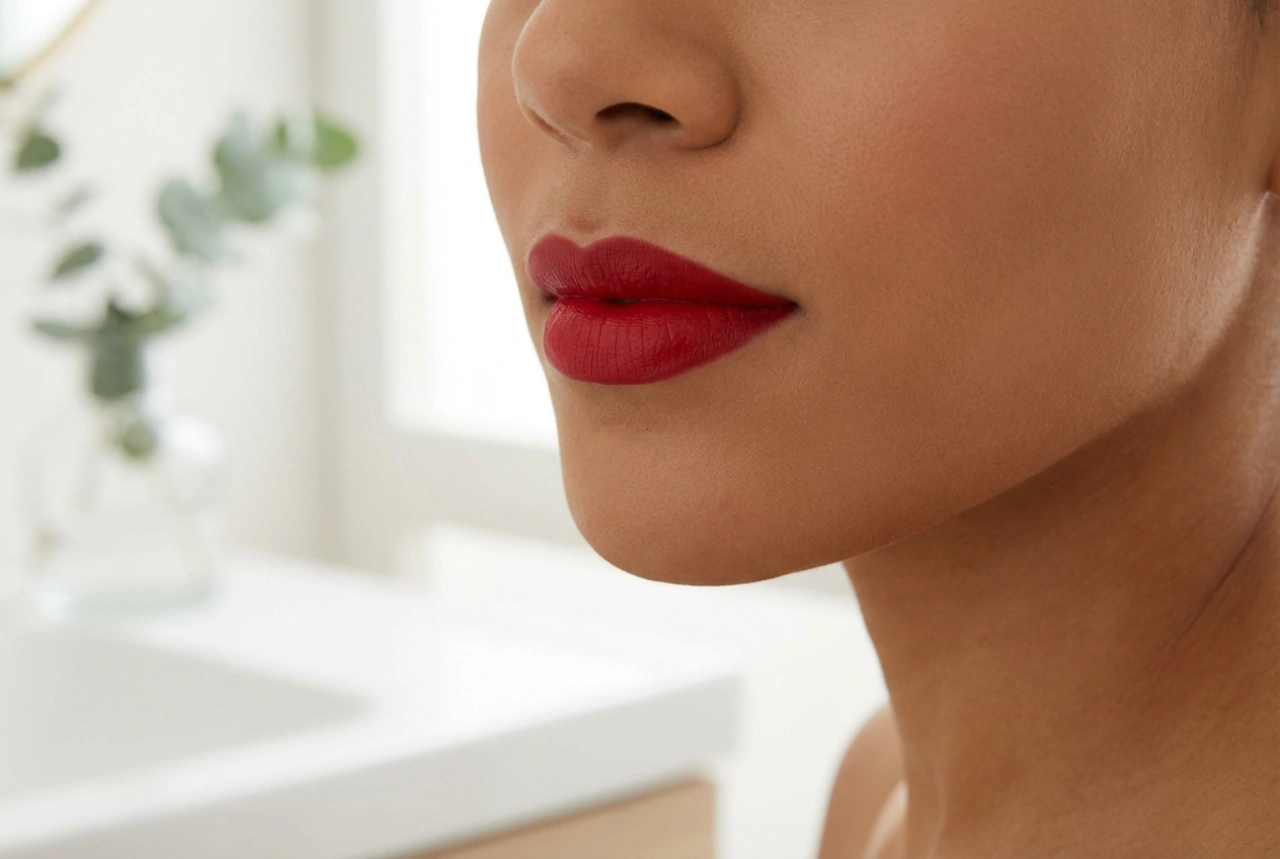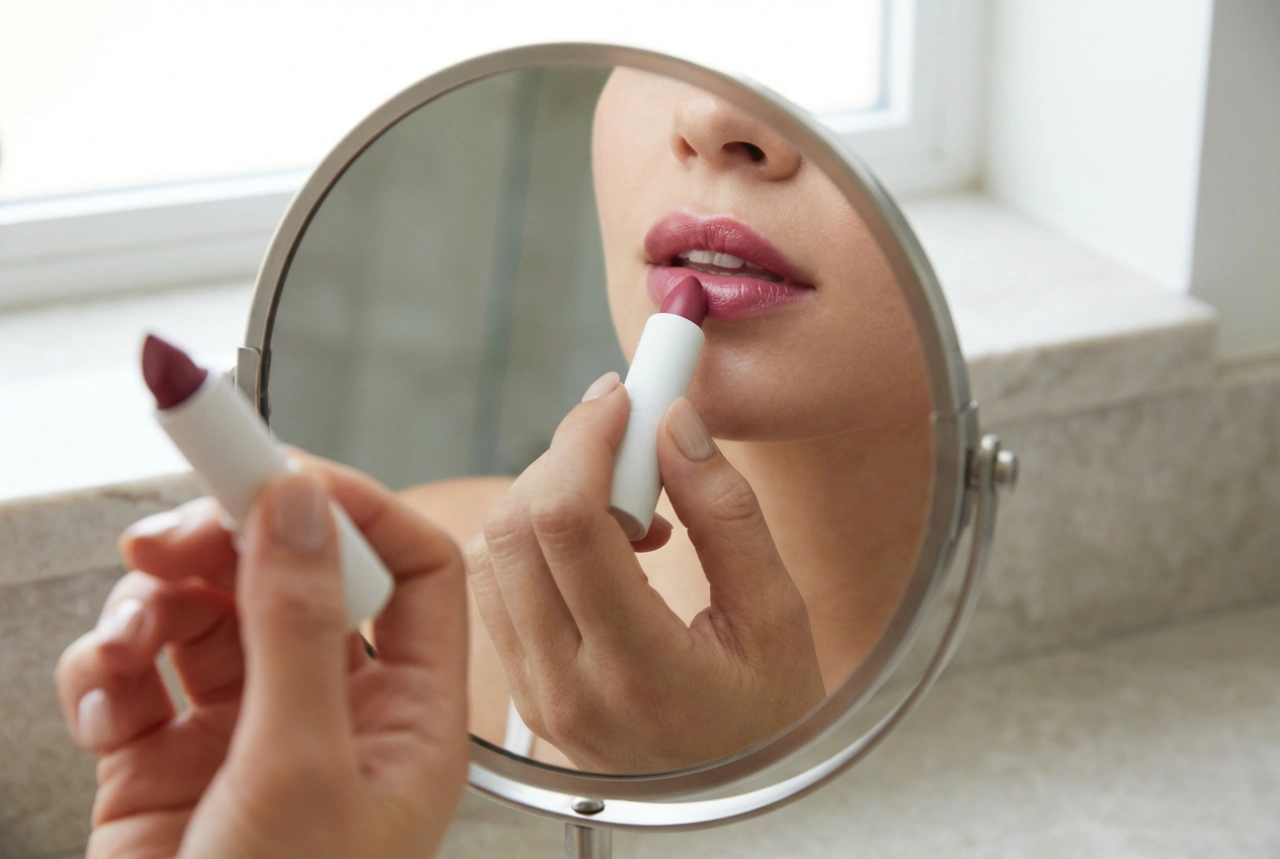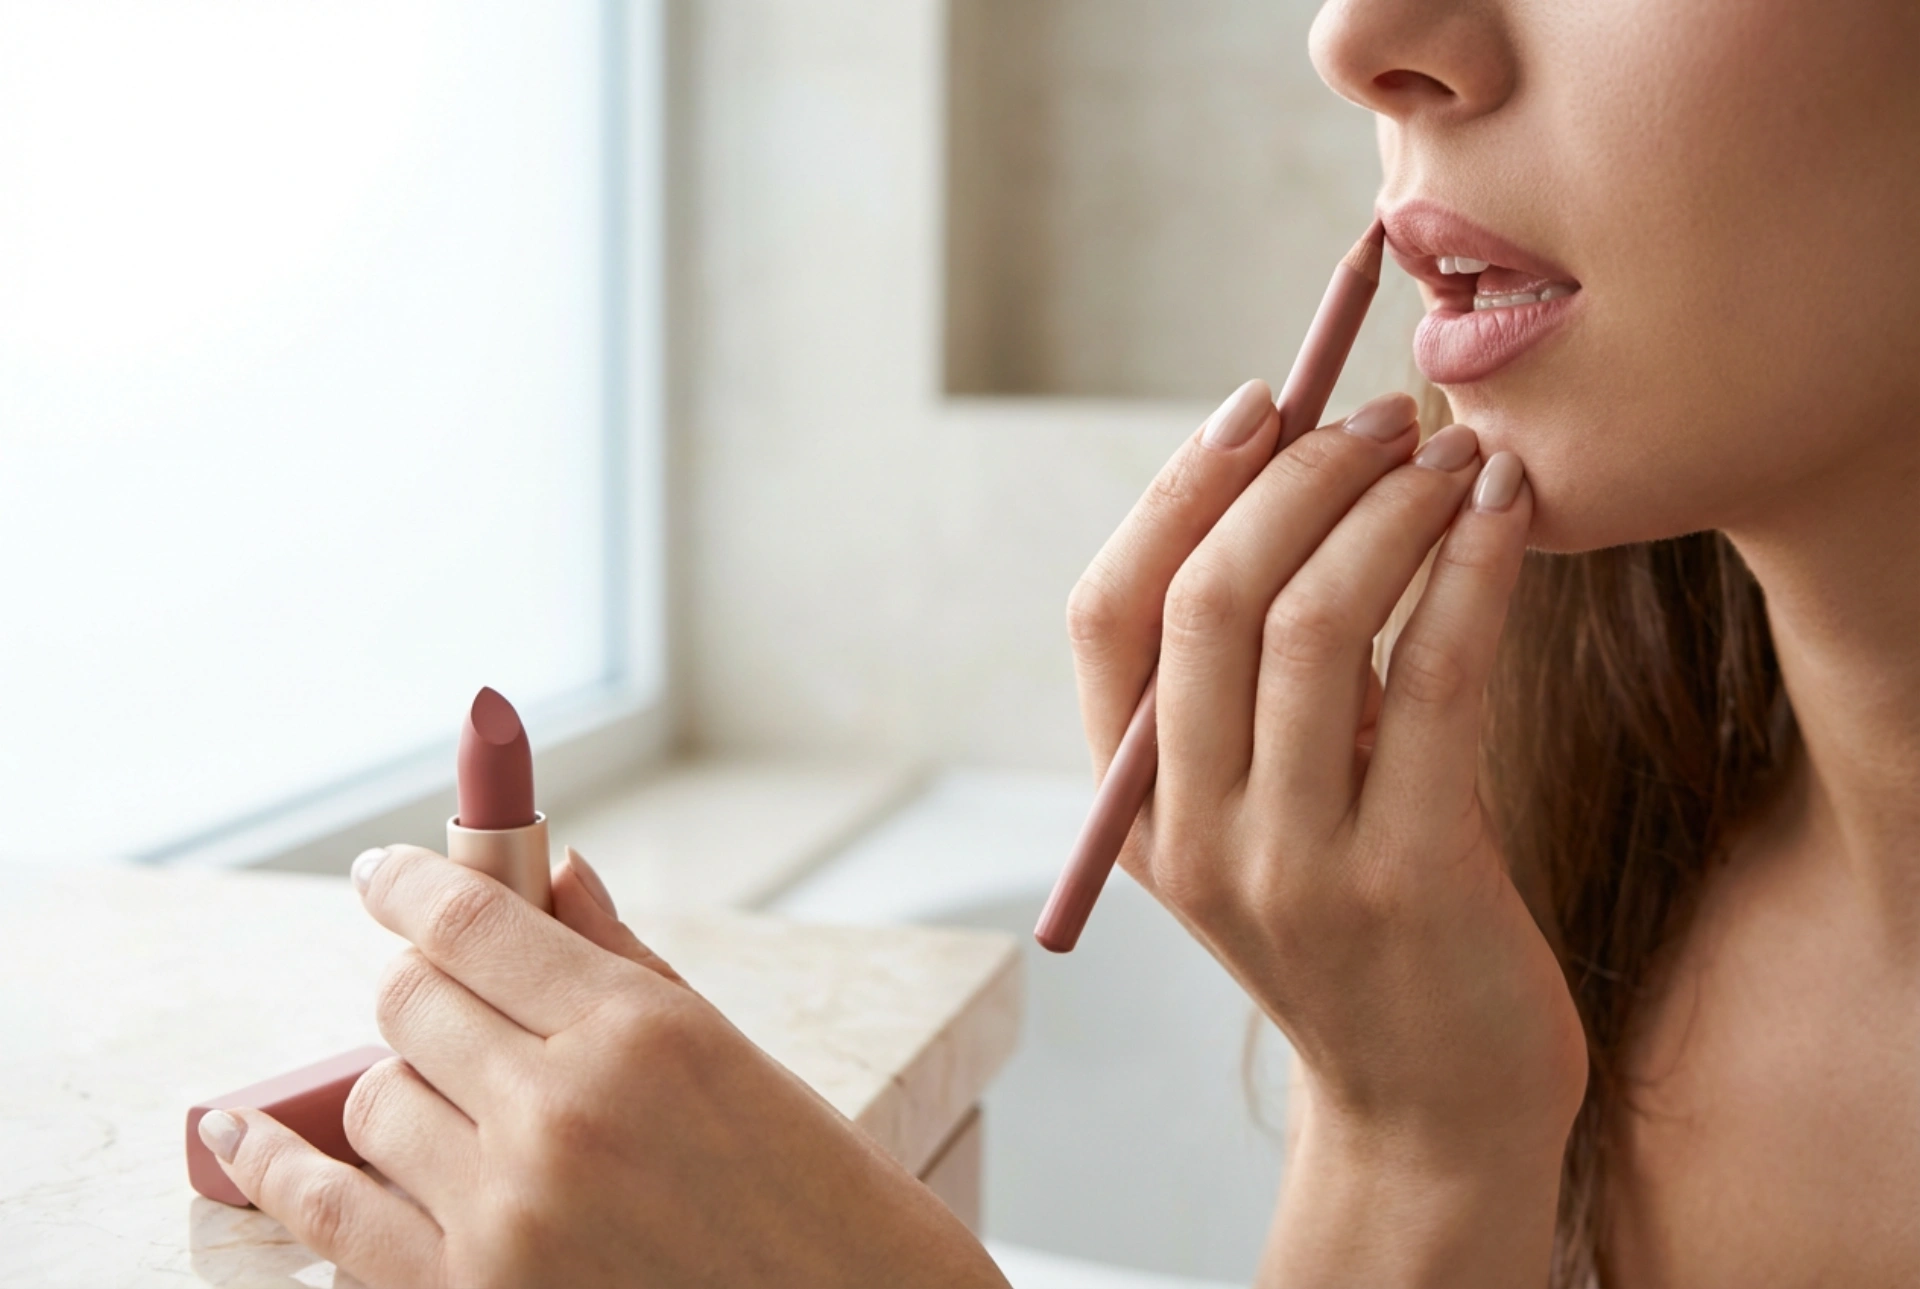


Achieving a perfectly defined, elegant lip look is an art form that elevates any beauty routine. When we observe the meticulous application of a lip liner under soft, natural light, we appreciate the precision required to create a flawless finish. A beautifully executed lip makeup not only enhances one's natural features but also boosts confidence throughout the day. Whether you prefer a subtle, everyday look or a more sophisticated appearance, mastering the steps of contouring, filling, and securing your lip colour is essential for a polished and long-lasting result.
Preparing the Canvas: Exfoliation and Hydration
Before applying any colour, it is crucial to prepare the delicate skin of the lips. Unlike the rest of the face, the lips do not contain oil glands, making them highly susceptible to dryness, flaking, and chapping. Applying lipstick directly onto dry or uneven skin will only highlight these imperfections, preventing a smooth and uniform finish. Therefore, a proper preparation routine is the first step towards achieving professional results at home.
Begin with a gentle exfoliation. You can use a mild, sugar-based lip scrub once or twice a week to delicately slough away dead skin cells. Circular motions with your fingertips will stimulate blood circulation, naturally enhancing the plumpness and natural colour of your lips. After exfoliating, immediately apply a hydrating lip balm. Allow the balm to absorb fully for a few minutes while you work on the rest of your makeup. Right before you begin your lip application, gently blot away any excess balm with a tissue to ensure that the lip liner and lipstick can adhere properly to the skin.
Defining the Perfect Shape with Lip Liner
The next step is defining the contours. A lip liner is a versatile tool that serves multiple purposes: it prevents the lipstick from feathering or bleeding into the fine lines around the mouth, corrects minor asymmetrical areas, and provides a guide for even lipstick application. For a natural and cohesive look, select a liner that matches your chosen lipstick shade or is slightly darker for subtle definition.
The Art of Symmetrical Contouring
Start by defining the Cupid's bow—the double curve of your upper lip. Carefully draw an 'X' shape starting from the highest points of the bow down to the base of the upper lip. This establishes symmetry from the very beginning. Next, move to the lower lip, drawing a short, horizontal line in the very centre of the bottom lip line to anchor the shape. From there, work your way from the outer corners of the mouth inwards, connecting the lines to the centre. This technique ensures a fuller, more natural shape rather than drawing a single, continuous line which can often appear even.
Blending for a Seamless Transition
To avoid a harsh, dated contrast between your liner and lipstick, use a small, clean lip brush or your fingertip to gently blend the inner edges of the line towards the centre of the lips. This softens the transition and creates a beautiful, gradient effect that makes the lips appear naturally fuller and more dimensional.
Filling with Colour: Choosing and Applying Lipstick
Once the perimeter is securely defined, it is time to fill in the lips. The choice of formula depends on your desired finish, but matte and satin options are highly favoured for their sophistication and staying power. Applying the product with precision ensures that the texture sits comfortably and evenly across the entire surface.
For the most precise application, use a dedicated lip brush to pick up the colour and apply it within the contoured lines. Start from the centre of the lips and blend outwards. Applying lipstick directly from the bullet is also effective, but a brush allows you to control the amount of product and push it into the natural creases of the lips for a more uniform appearance. If you are using a liquid lipstick, ensure you apply a thin, even layer, as thick layers are prone to cracking and peeling as they dry down.
Securing a Lasting and Flawless Finish
To ensure your lip makeup survives the day without frequent touch-ups, incorporating a few simple setting techniques can make a significant difference. These steps lock the colour in place and maintain a fresh, just-applied look for hours.
The Blotting Technique
After your first layer of lipstick is applied, take a single ply of a clean tissue and press it gently between your lips. This absorbs excess oils and waxes from the product while leaving the pigment intact. You can then apply a second, thin layer of lipstick. This layering technique builds depth of colour and significantly increases the longevity of the makeup.
Setting with Powder
For an ultra-durability finish, place a single ply of tissue over your lips after the final application. Using a fluffy makeup brush, lightly dust a small amount of translucent setting powder over the tissue. The powder will filter through the tissue, absorbing remaining moisture and setting the lipstick without dulling its vibrant colour or altering its texture. This step is particularly effective for satin or cream formulas that tend to transfer easily.
Maintaining Lip Health and Radiance
Beautiful lip makeup is always built on a healthy foundation. Beyond the immediate makeup steps, daily hydration is key. Ensure you drink plenty of water throughout the day to keep your skin hydrated from within. Additionally, incorporating a nourishing lip mask into your evening skincare routine can work wonders overnight, repairing the skin barrier so you wake up with soft, supple lips ready for the next day's application. By combining consistent care with precise application techniques, you can enjoy a refined, elegant look every day.