

Achieving beautifully defined eyebrows does not always require a trip to a professional salon. With the right technique and a little patience, you can master the art of applying brow henna in the comfort of your own home. Using a fine-tipped brush to carefully apply natural henna paste allows for a precise, rewarding beauty ritual that enhances your facial features and simplifies your morning routine. This comprehensive guide will walk you through the entire process, ensuring a clean application while helping you avoid unwanted skin staining.
Understanding Brow Henna and Its Benefits
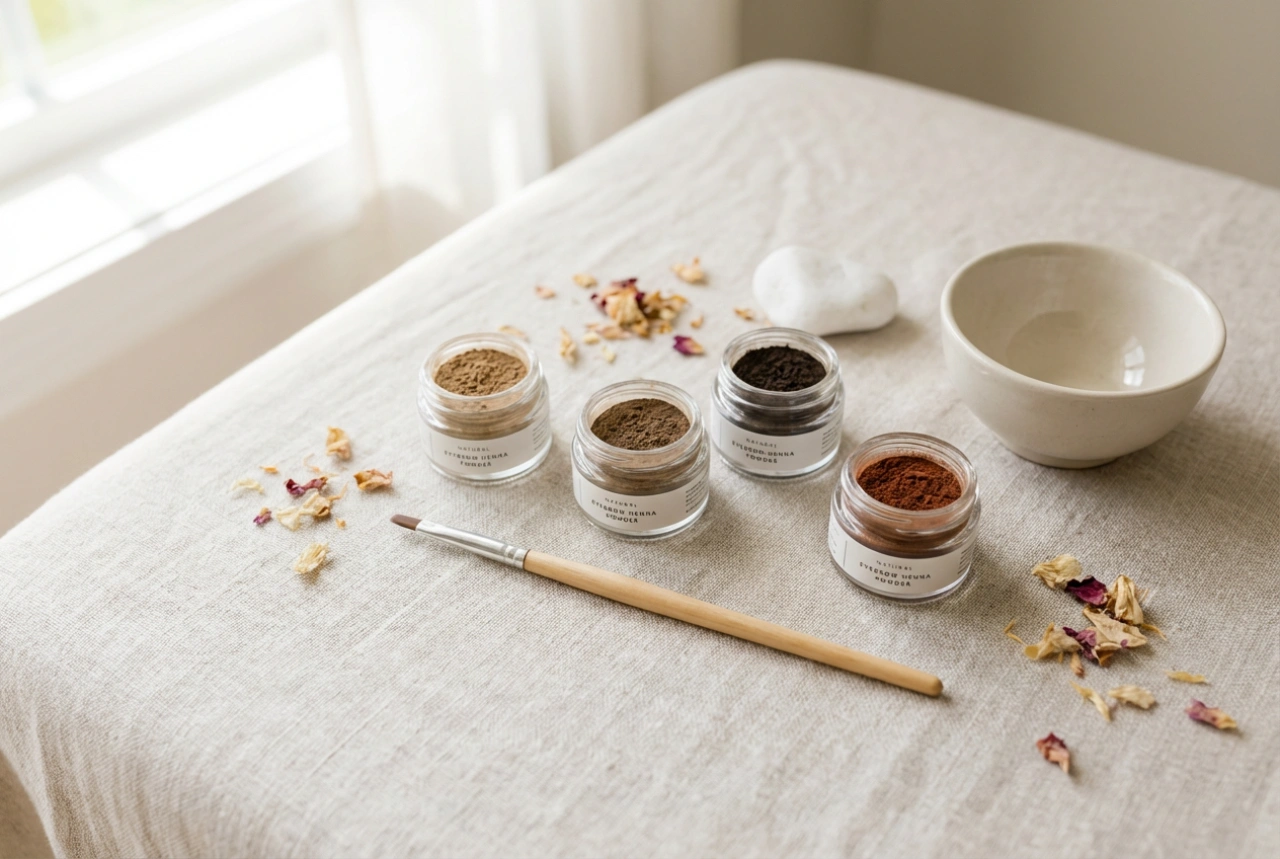
Brow henna is a natural dye derived from the leaves of the Lawsonia inermis plant. Unlike traditional chemical tints, henna coats the hair shaft and gently stains the underlying skin, creating a fuller, shaded effect that resembles powder makeup. This dual action makes it an excellent choice for filling in sparse areas and defining the overall shape of the brows. The results typically last for several weeks on the hair and up to a fortnight on the skin, depending on your skin type and aftercare routine.
Step 1: Preparation and Skin Patch Test
Before you begin the application, preparation is key to ensuring an even colour and preventing adverse reactions. Always perform a patch test 48 hours prior to your first application by placing a small amount of mixed henna on your inner elbow or behind your ear. If no irritation occurs, you are safe to proceed.
Preparing the Brow Area
For the henna to adhere properly, the skin around and under your eyebrows must be completely free of oils, makeup, and dead skin cells. Follow these steps for the perfect canvas:
- Cleanse the area thoroughly with an oil-free facial cleanser.
- Gently exfoliate the brows using a mild scrub to remove dry skin, allowing the dye to stain the skin evenly.
- Wipe the area with a gentle toner or saline solution to remove any remaining residue.
- Ensure the eyebrows are completely dry before applying any product.
Step 2: Mapping and Protecting the Skin
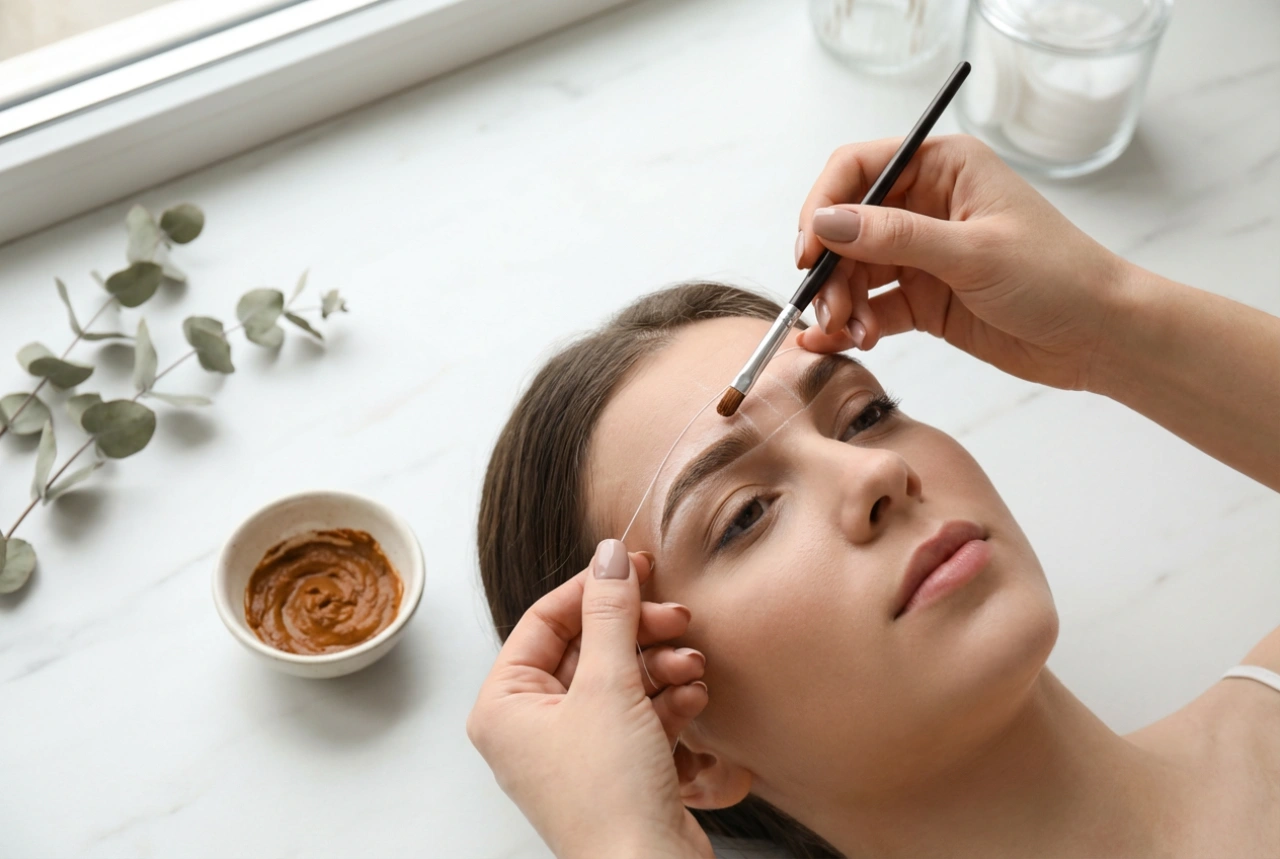
One of the most common challenges of at-home henna application is avoiding accidental staining outside the desired brow shape. To protect the surrounding skin, use a barrier cream such as white paste, petroleum jelly, or a thick moisturiser. Apply this protective layer carefully around the perimeter of your mapped brow shape using a cotton bud. Be careful not to get any cream on the brow hairs themselves, as this will block the henna from developing.
Step 3: Mixing and Applying the Henna
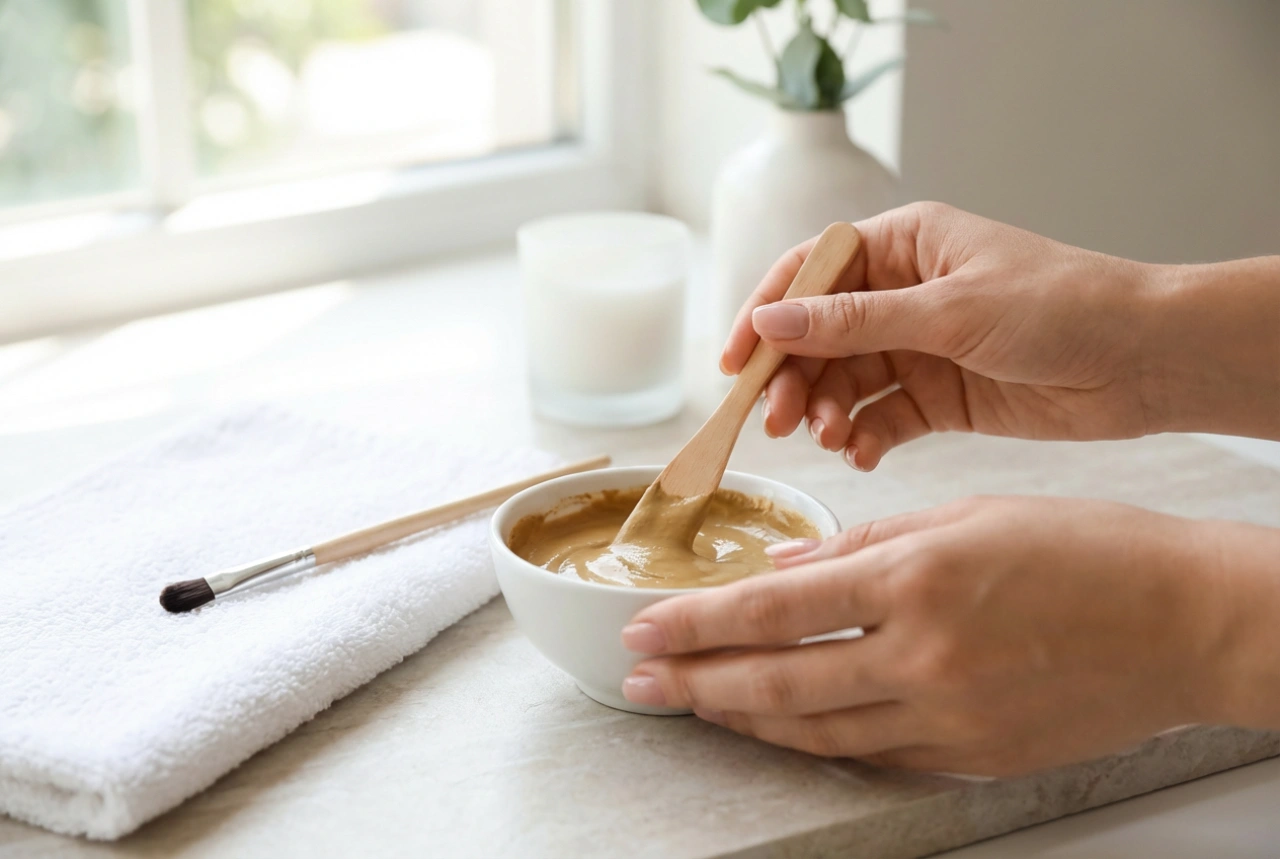
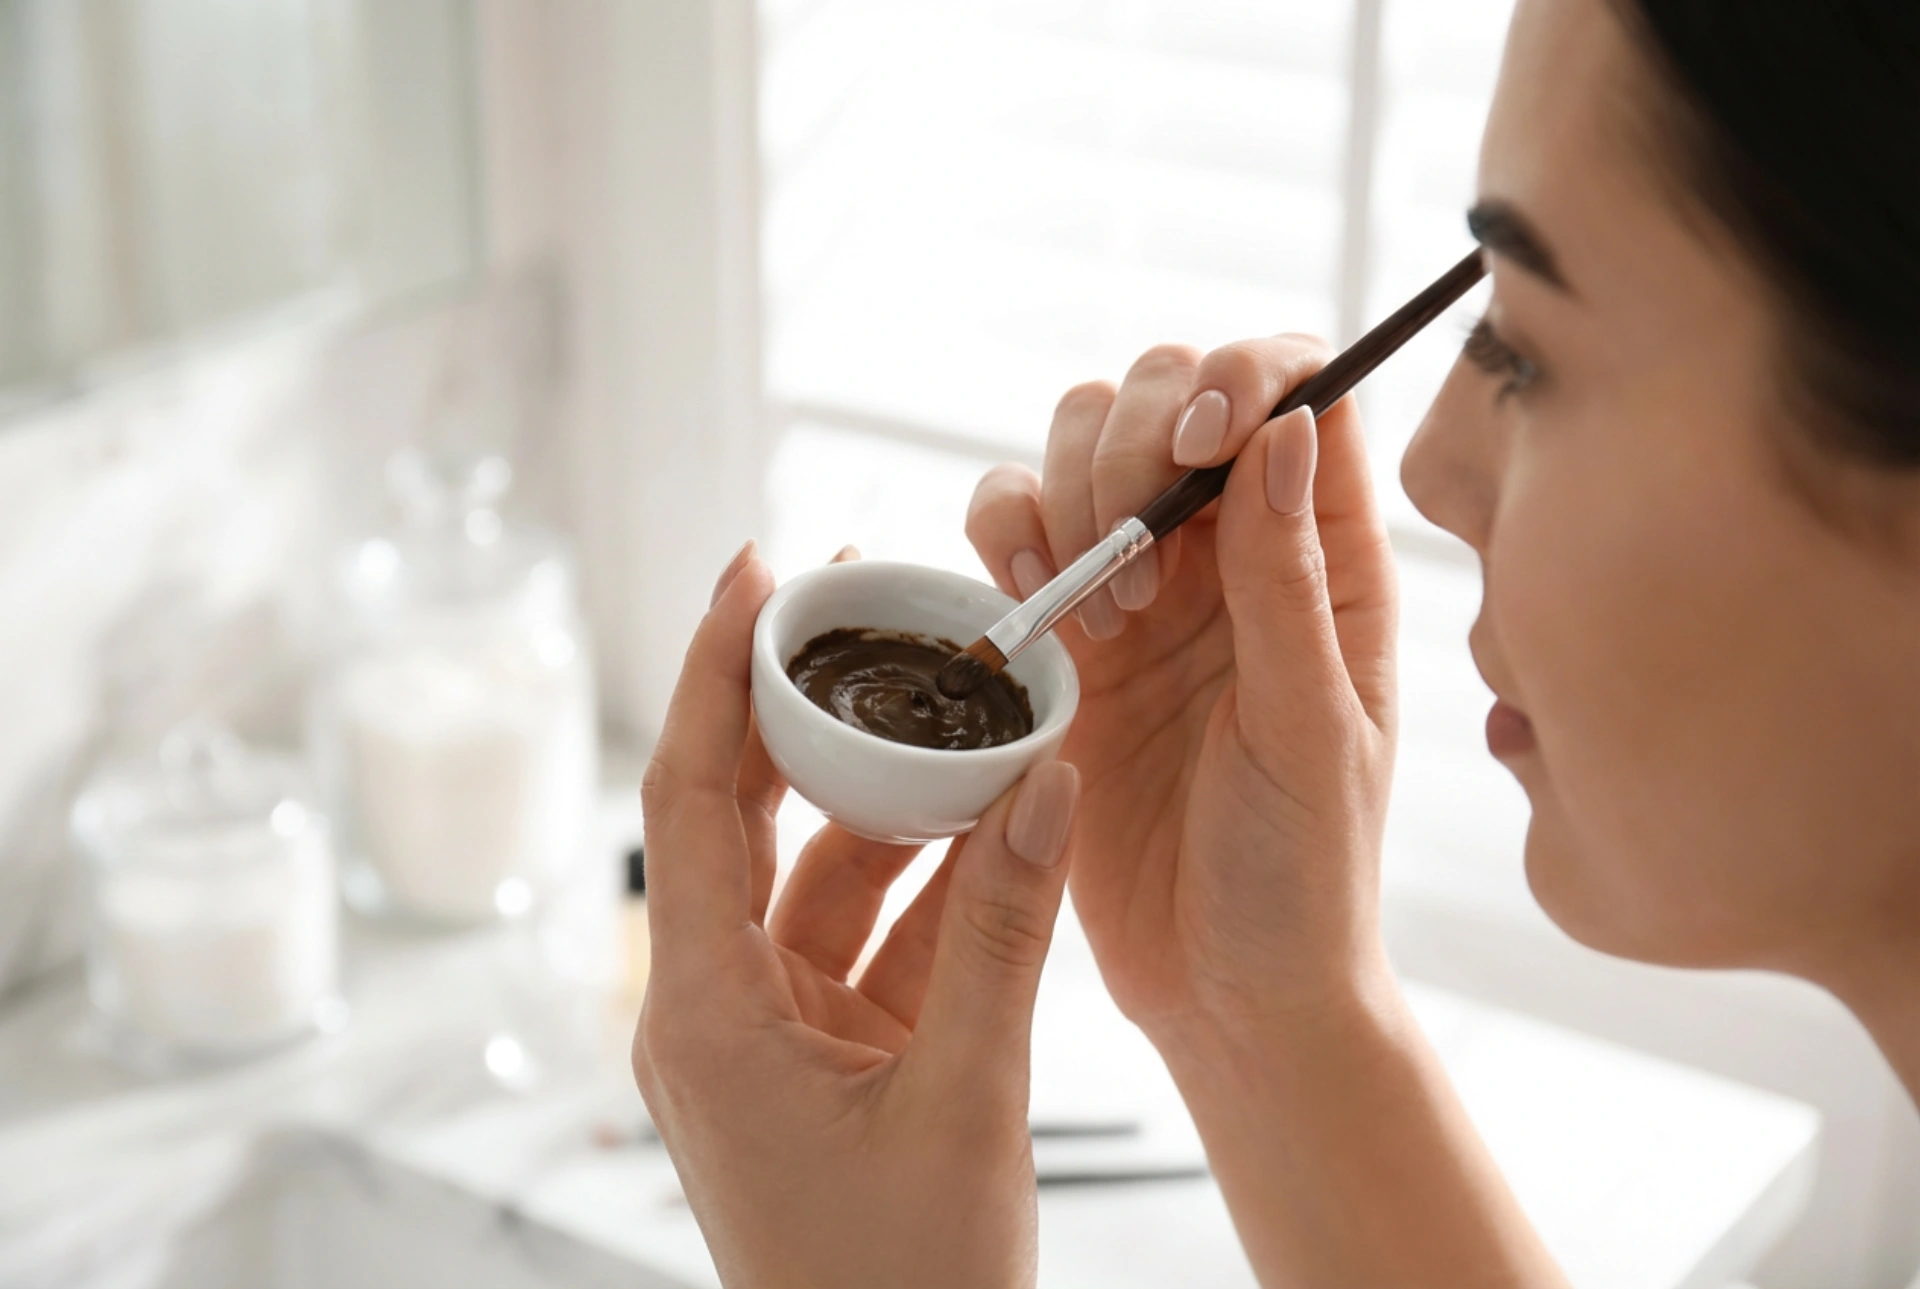
Mix the henna powder according to the manufacturer's guidelines, typically using a few drops of purified water to create a smooth, paste-like consistency. It should resemble thick melted chocolate; if it is too runny, it may drip and cause stains, whereas if it is too thick, it will be difficult to apply evenly.
The Application Process
Using an angled, fine-tipped brush, begin applying the henna paste to the brows:
- Start at the tail of the brow, where you generally want the deepest concentration of colour.
- Work your way forward to the middle body of the brow, pressing the paste firmly into the skin beneath the hairs.
- Apply the remaining, lighter amount of product to the inner corners of the brows to achieve a natural, gradient finish.
- Use a damp cotton bud immediately to clean up any minor mistakes or uneven edges before the henna begins to stain.
Step 4: Timing and Removal
Allow the henna to dry and process according to the instructions, usually between 10 to 20 minutes. If you prefer a softer look at the front of your brows, you can remove the product from the inner corners a few minutes earlier than the tails. Once the development time is complete, moisten a cotton pad with lukewarm water and gently press it against the brow to soften the dried paste. Wipe away the henna gently, repeating with fresh pads until all product is removed. Avoid rubbing harshly, as this can irritate the skin and fade the colour prematurely.
Essential Aftercare for Long-Lasting Results
To maintain your fresh brow henna and prevent early fading, follow these simple post-treatment tips:
- Keep your eyebrows dry for the first 24 hours after application.
- Avoid oil-based cleansers, exfoliants, and active skincare ingredients around the brow area.
- Protect your brows from prolonged sun exposure and avoid swimming pools or steam rooms for the first couple of days.