

Perfectly shaped eyebrows have the power to frame the face, enhance the eyes, and bring balance to your natural features. Achieving a clean, well-defined brow line is not about following fleeting trends, but rather about understanding the unique anatomy of your own face. Precision styling begins long before any hair removal takes place, starting with careful planning and ending with the delicate application of holding products. By mastering the sequence of mapping, shaping, and styling, you can achieve professional-looking results from the comfort of your own home, ensuring a natural, polished appearance that lasts throughout the day.
The Foundation of Great Brows: Mapping
Brow mapping is a simple geometric method used to identify the ideal start, arch, and tail of your eyebrows based on your unique facial structure. This step is essential because it prevents over-plucking and ensures symmetry between both sides. To begin, you will need a thin, straight tool, such as a makeup brush handle, and an eyebrow pencil to mark your key guide points.
Finding the Start Point
Hold the brush vertically against the side of your nose, pointing straight up toward your forehead. The point where the brush crosses the inner corner of your eye is where your eyebrow should ideally begin. Mark this spot lightly with your pencil. Starting too far apart can make the nose appear wider, while starting too close together can create a harsh expression.
Locating the Arch
To find the highest point of your brow, look straight ahead into a mirror. Place the brush at the outer corner of your nose and angle it so that it passes directly through the centre of your pupil. Where the brush intersects the brow bone is your natural arch. Marking this point helps you know where to lift the shape to create an elegant, open-eyed look.
Defining the Tail
Finally, line up the brush from the side of your nose to the outer corner of your eye. The extension of this line indicates where your brow tail should end. A tail that is too short can make the eyes look smaller, while a tail that drops too low can make the eyes appear tired. Once you have marked these three points, connect them with soft lines to visualise your ideal brow boundary before removing any hair.
Precise Hair Removal and Tweezing Techniques
With your mapped outline in place, you can confidently proceed to hair removal. Plucking is the most precise method for home maintenance, as it allows you to control every single hair. For a comfortable and safe experience, always work in a well-lit area, preferably using natural light, and use a high-quality pair of slant-tip tweezers.
- Preparation: Cleanse your skin thoroughly with warm water to open up the pores and soften the hair follicles, which makes tweezing much easier.
- Plucking with Care: Hold the skin taut with one hand and grip the hair close to the root with the tweezers. Always pull in the direction of hair growth to prevent breakage and avoid ingrown hairs.
- Focus on the Under-Arch: Only remove hairs that fall outside your mapped lines. It is generally safer to pluck from underneath the brow rather than above, as removing too many hairs from the top can flatten your natural arch.
- Step Back Regularly: It is easy to lose perspective when looking closely in a mirror. Step back after every few plucks to evaluate the symmetry of both brows together.
If you have particularly long hairs that disrupt the neatness of your shape, consider trimming them. Brush the brow hairs straight up with a clean spoolie and carefully snip only the tips of the hairs that exceed the natural top boundary. Repeat the process by brushing the hairs downward and trimming any excess length at the bottom.
Filling and Defining for Natural Fullness
Once the shape is clean, you can use makeup to fill in any sparse areas and create a uniform appearance. The goal is to mimic the look of natural hairs rather than creating a block of solid colour. Depending on your preference, you can use a fine-tip pencil, a soft brow powder, or a brow pomade.
Start by selecting a shade that matches your natural hair colour or is one shade lighter for a softer look. Using light, flicking motions, draw fine, hair-like strokes in the direction of your hair growth. Concentrate the product on the arch and tail of the brow, keeping the inner corners soft and diffused. This gradient effect creates a youthful and modern aesthetic.
The Final Touch: Setting and Styling
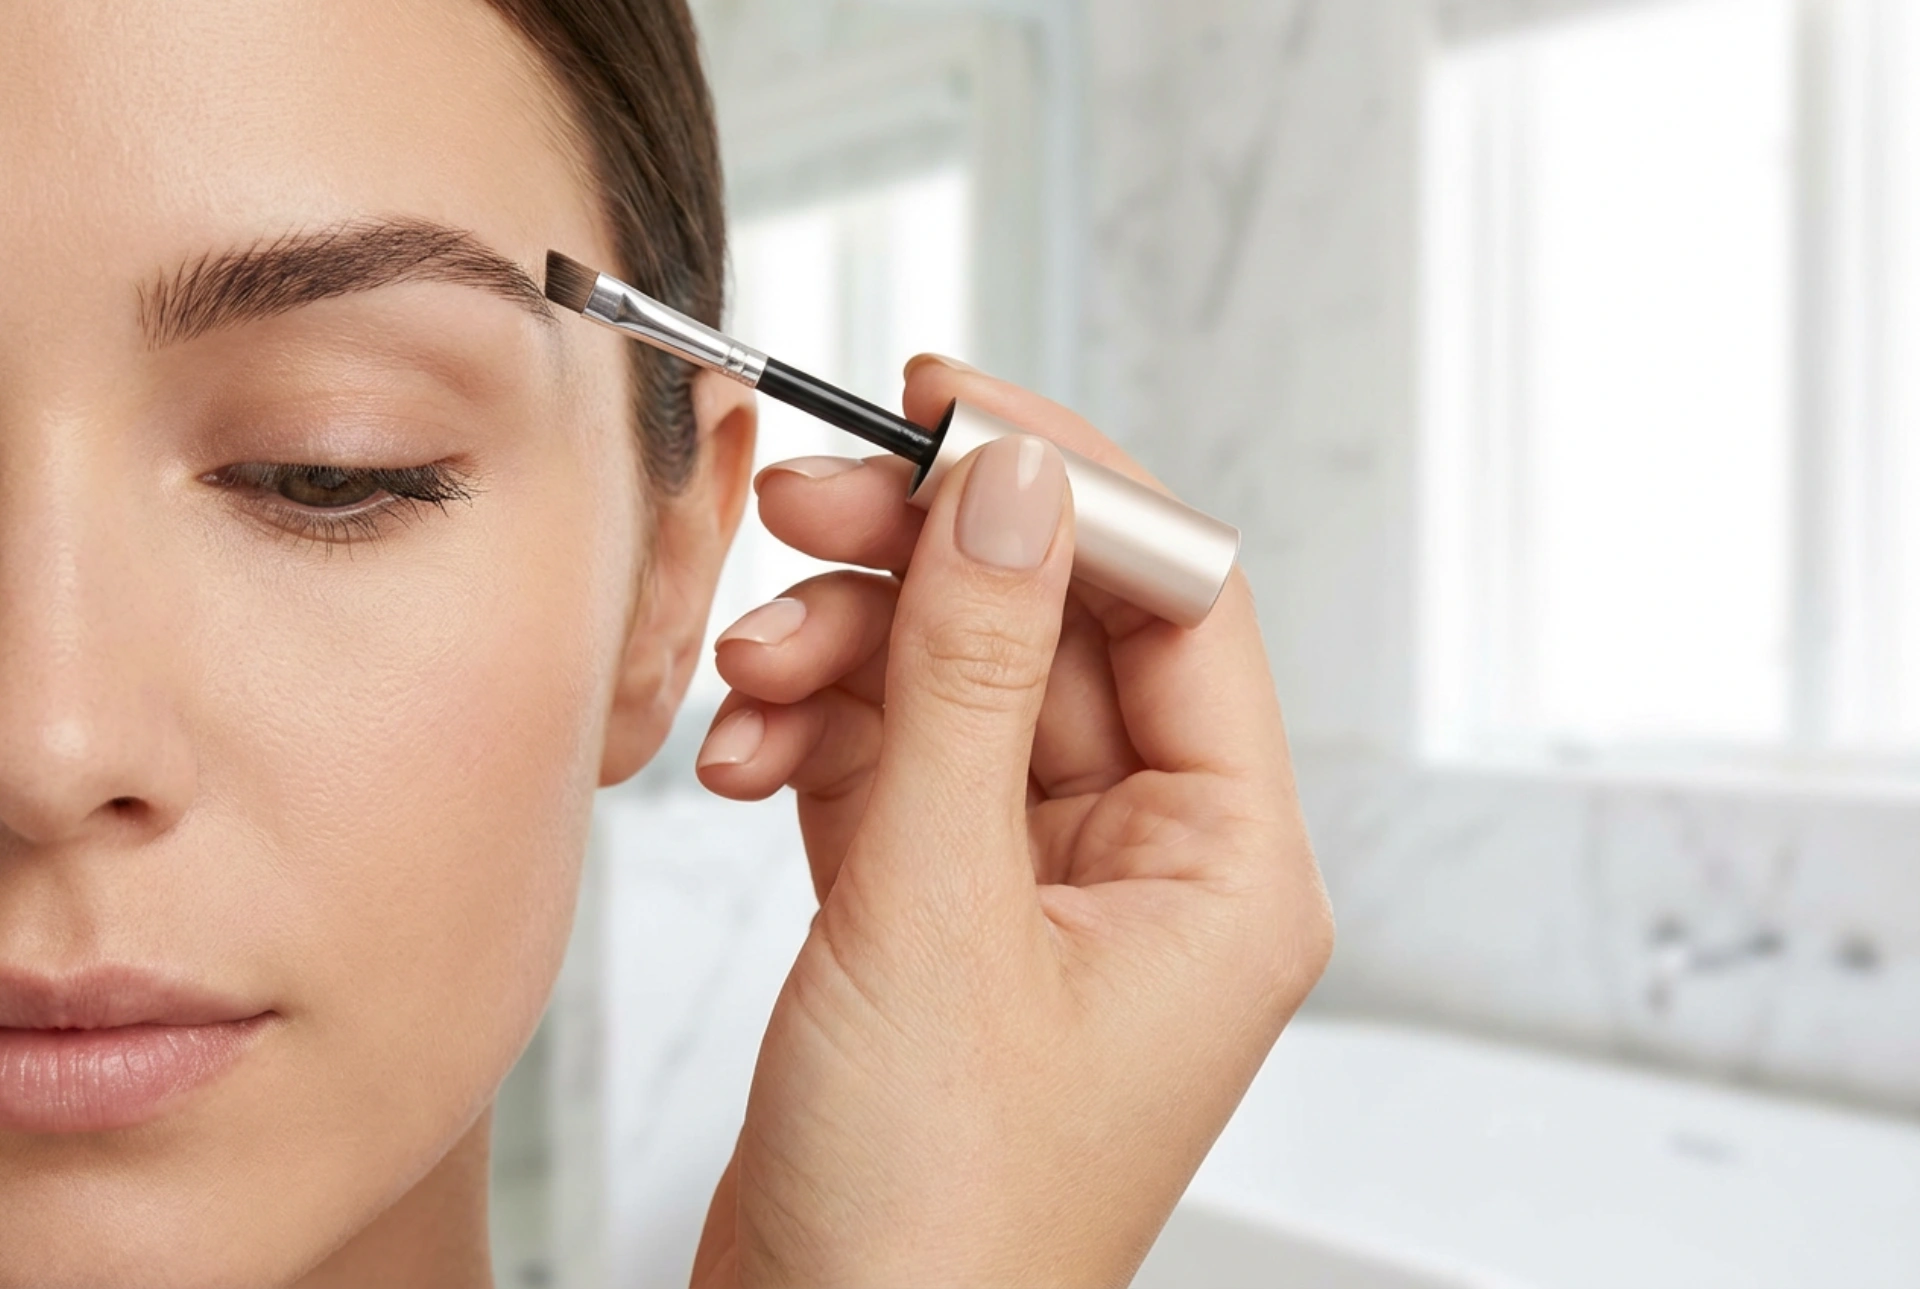
The final step in your routine is setting the hairs in place to ensure your hard work lasts all day. A clear or tinted brow gel is the perfect tool for this step. Using a spoolie brush or an angled applicator, delicately sweep the gel upward and outward through the brow hairs.
This technique not only locks the shape in place but also adds texture, volume, and a healthy sheen to each individual hair. If you prefer a laminated, feathered look, a styling wax or cosmetic soap can be used to lay the hairs flat against the skin, giving the appearance of fuller, brushed-up brows. This finishing touch ensures that your eyebrows remain perfectly styled and groomed from morning to night.
Soothe and Protect Your Skin
After shaping, the skin around your brows may appear slightly pink or sensitive. To calm any irritation, apply a small amount of pure aloe vera gel or a light, fragrance-free moisturiser to the area. Avoid applying heavy makeup, active skincare products, or physical scrubs immediately after tweezing, as the hair follicles remain open for a short time. Keeping the area clean and hydrated will ensure your skin looks just as flawless as your newly shaped brows.