

Beautifully defined eyebrows can completely transform the face, framing your features and adding natural elegance to your overall look. In the soft light of a quiet morning, taking a few mindful moments at your vanity to groom and style your brows can be a therapeutic beauty ritual. While professional treatments are popular, achieving a soft, natural-looking ombre effect is entirely possible in the comfort of your own home. Using powder henna is one of the most effective and gentle methods to achieve beautifully shaded brows that look full, soft, and professionally styled without the need for daily makeup application.
Understanding Powder Henna and the Ombre Trend
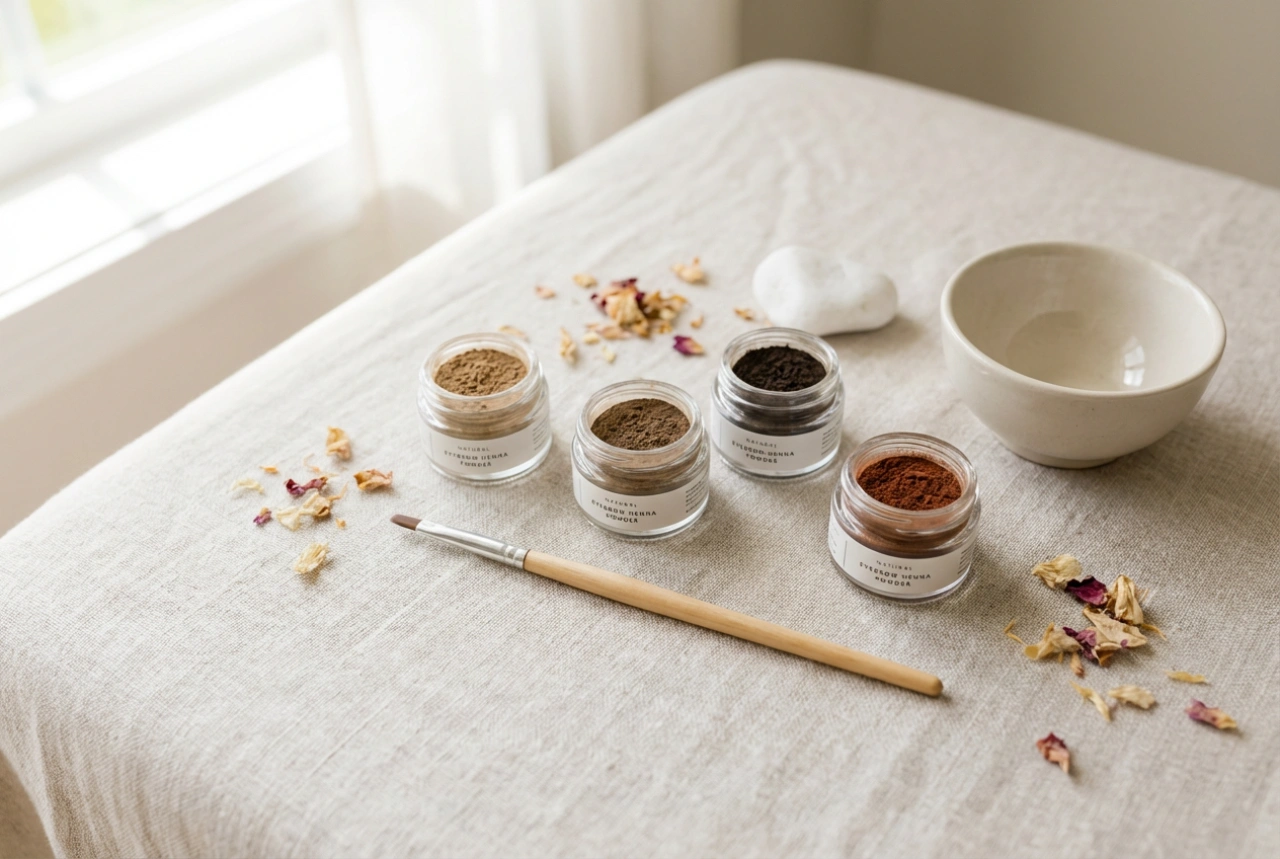
Powder henna is a natural dye derived from the leaves of the Lawsonia inermis plant. Unlike traditional chemical tints, powder henna coats the hair shaft and gently stains the skin underneath, creating a fuller and more structured appearance. This makes it an exceptional choice for those looking to fill in sparse areas or define their brow shape naturally. The dye is typically mixed with water or a mild botanical solution, making it a gentle alternative for regular home beauty routines.
The ombre brow technique has gained immense popularity because it mimics the natural growth pattern of eyebrows. Naturally, brows are sparser and lighter at the inner corners (the head) and gradually become denser and darker towards the arch and the tail. A uniform block of colour can look harsh and unnatural. By mastering the ombre technique with powder henna at home, you can create a soft gradient that transitions beautifully from a subtle, airy shadow at the front to a defined, elegant tail.
Essential Tools for Your Home Brow Styling Ritual
Before you begin the application process, it is important to gather your tools and set up a clean, quiet workspace. Having everything within reach ensures a precise application and a relaxed experience. To achieve a flawless ombre finish, you will need the following items:
- High-quality powder henna: Choose a shade that matches your natural hair colour or is one shade lighter for a softer look.
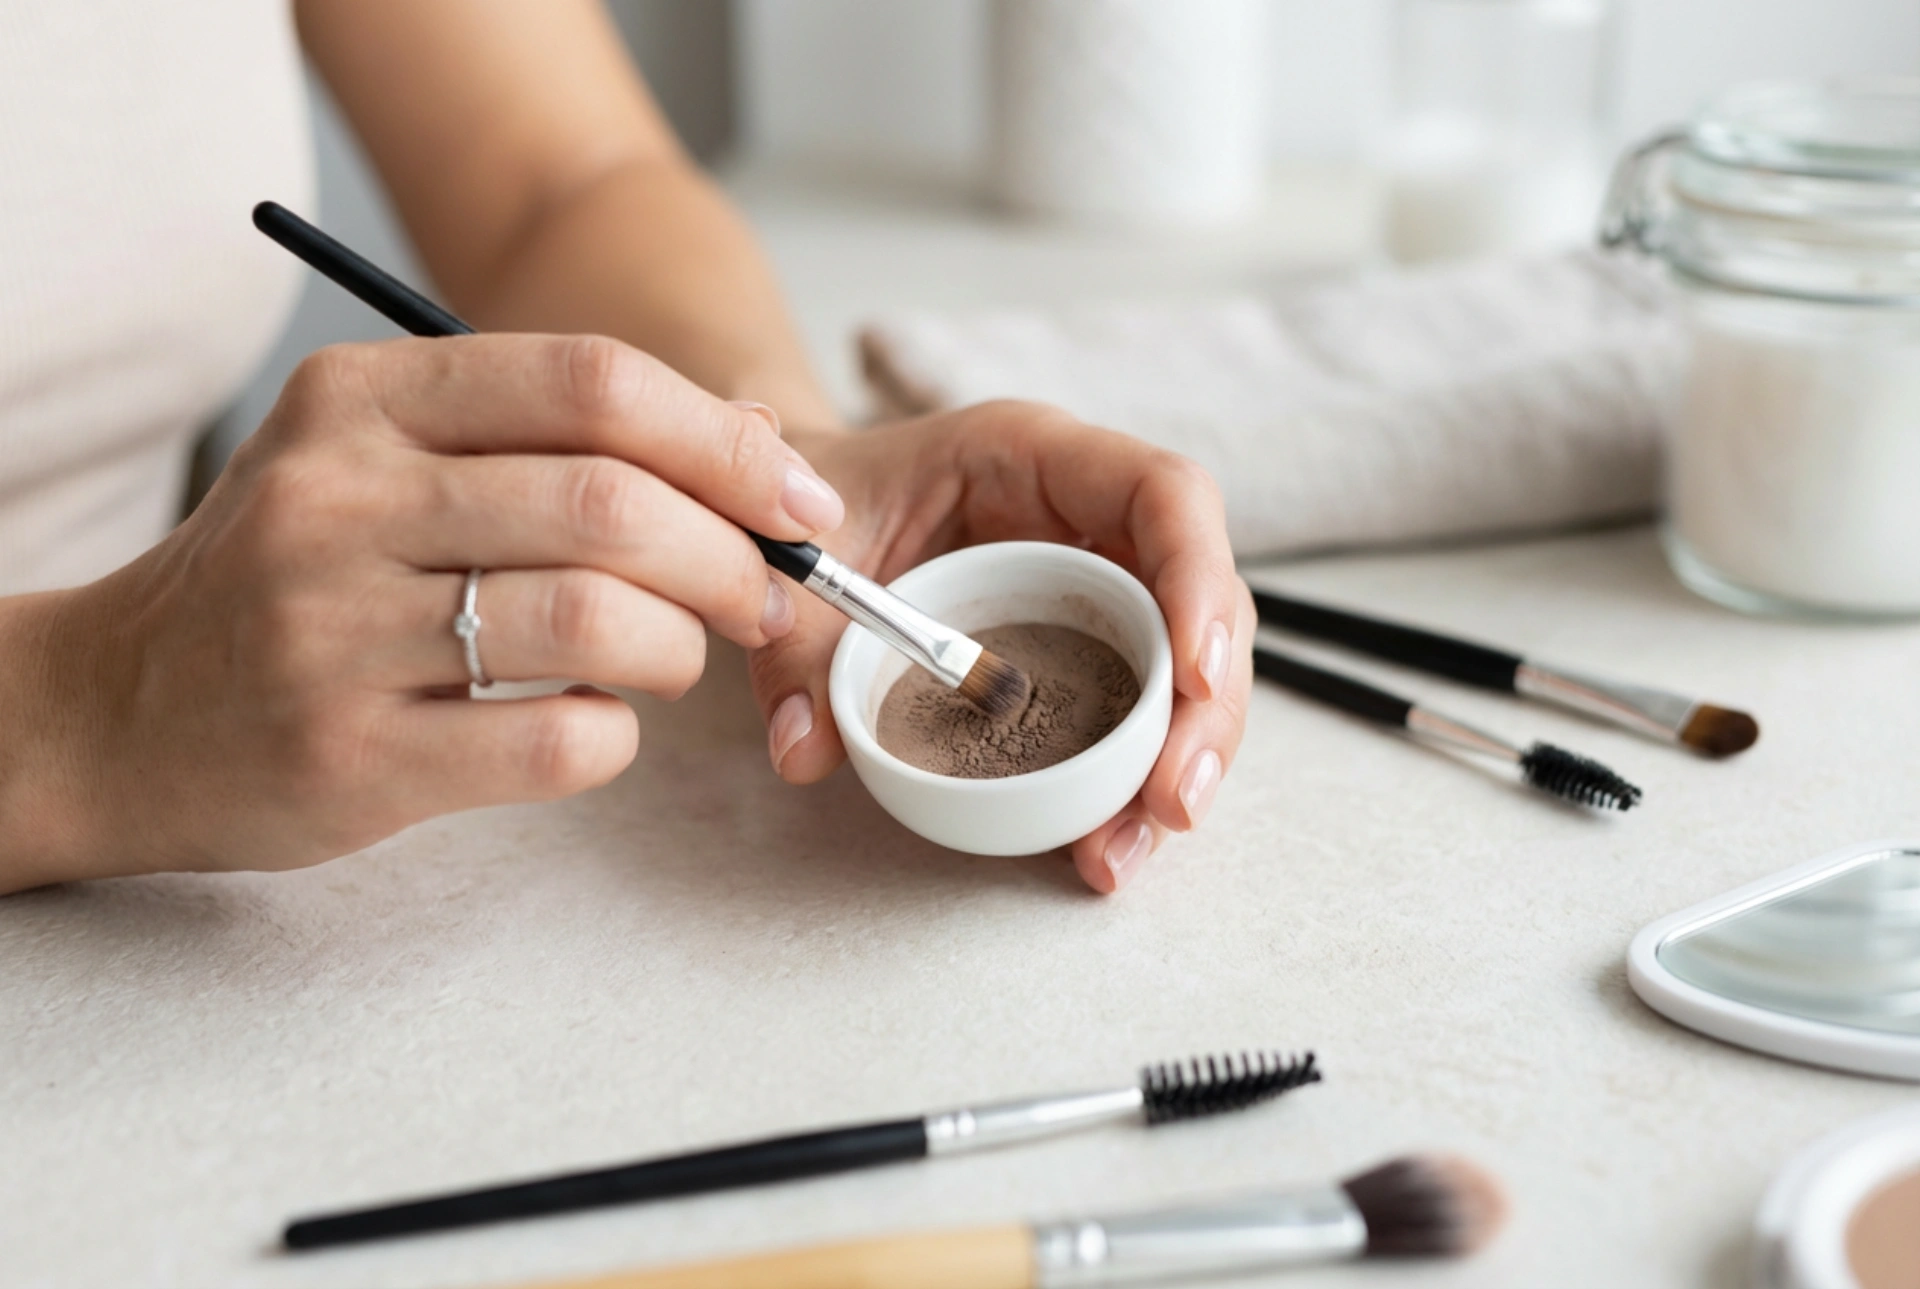
- An angled precision brush: A firm, thin, angled brush is crucial for creating clean lines and applying the mixture accurately.
- A small mixing bowl: A tiny ceramic or glass dish is perfect for blending the powder into a smooth paste.
- Measuring tool or pipette: For adding water precisely, drop by drop, to achieve the correct consistency.
- Cotton swabs and pads: Essential for quickly cleaning up any mistakes and shaping the edges of the henna.
- A gentle skin barrier: A small amount of petroleum jelly or a rich natural oil to protect the skin around your brow shape from unwanted staining.
Step-by-Step Guide to Achieving the Ombre Effect
Preparation is the key to any successful beauty treatment. Start by thoroughly cleansing your brow area to remove all traces of oil, makeup, and dead skin. A gentle, oil-free cleanser or a mild scrub will ensure the henna adheres evenly to both the skin and the hairs. Once your brows are completely dry, you can begin the process.
1. Mapping and Protecting the Shape
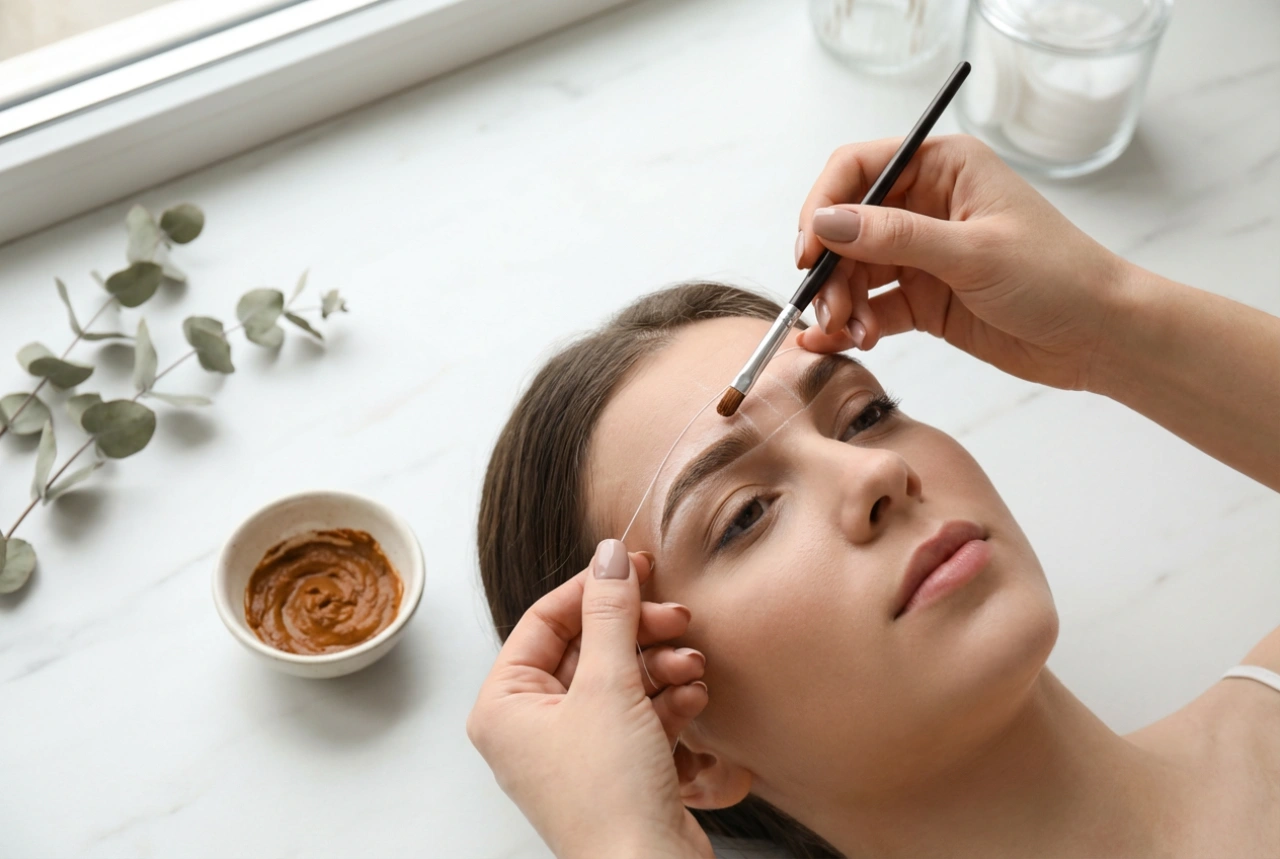
Use a clean spoolie brush to brush your brow hairs into their natural direction. To ensure symmetry, you can lightly map out your desired shape using a light-coloured brow pencil. Once you are happy with the outline, apply a thin layer of your skin barrier cream just outside the drawn lines. This prevents the henna from staining any areas outside your desired shape, keeping the final look clean and sharp.
2. Mixing the Henna Paste
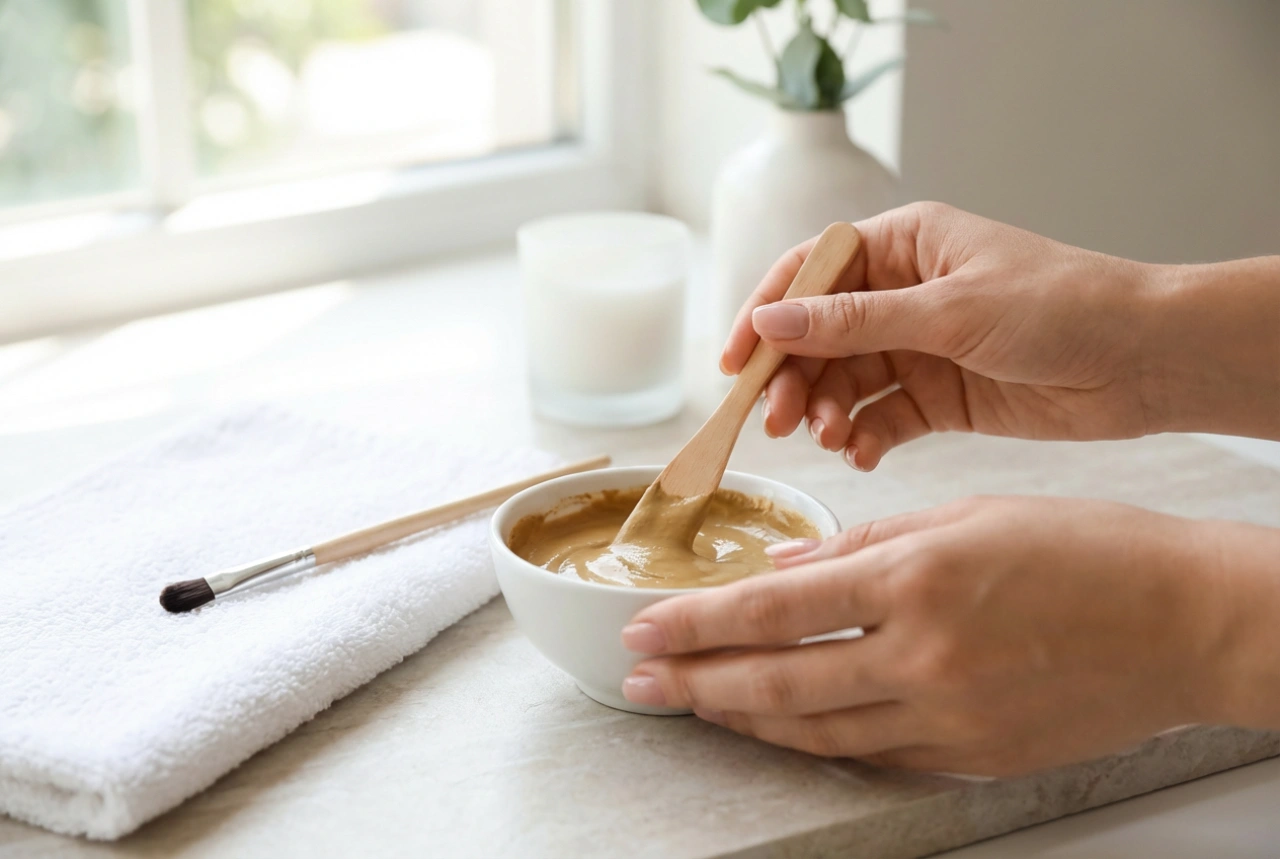
In your small ceramic bowl, mix a small amount of henna powder with warm water. The ideal consistency should be similar to melted chocolate or thick soy sauce. If the mixture is too runny, it may bleed past your lines; if it is too thick, it will be difficult to apply smoothly. Let the mixture sit for a couple of minutes to activate fully before starting the application.
3. Strategic Application for the Gradient
To achieve the classic ombre gradient, the application must be done in stages, starting from the darkest area to the lightest. Dip your angled brush into the paste, removing any excess.
Begin applying the henna at the tail of the brow, where you want the deepest colour payoff. Work your way along the lower border of the brow towards the arch, pressing the mixture firmly onto the skin beneath the hairs. The lower line of the brow should be clean and well-defined.
Once the tail and middle section are covered, use the remaining, very light amount of henna on your brush to gently pat onto the front section of the brow. Keep the application here very soft and feathered. Let the henna dry according to the instructions, usually between ten to twenty minutes depending on how intense you want the final shade to be.
4. Creating the Soft Transition
The secret to a perfect ombre transition lies in the removal timing. After about five minutes of total application time, take a damp cotton swab and gently wipe away the henna from the very front of your brows. This ensures that this area only receives a very light stain. A few minutes later, remove the henna from the middle section. Finally, leave the henna on the tail for the full duration before wiping it all off with a damp cotton pad.
Post-Treatment Care for Long-Lasting Results
To maintain your beautiful ombre brows and ensure the colour lasts as long as possible, proper aftercare is essential. Avoid getting your brows wet for the first twenty-four hours after application. This allows the stain to set completely into the skin and hair. Skip harsh exfoliators, oil-based cleansers, and active skincare ingredients like retinoids or acids around the brow area, as these can accelerate the fading process. Instead, keep the skin hydrated with a gentle, light moisturiser to maintain a healthy glow and preserve the delicate gradient effect.