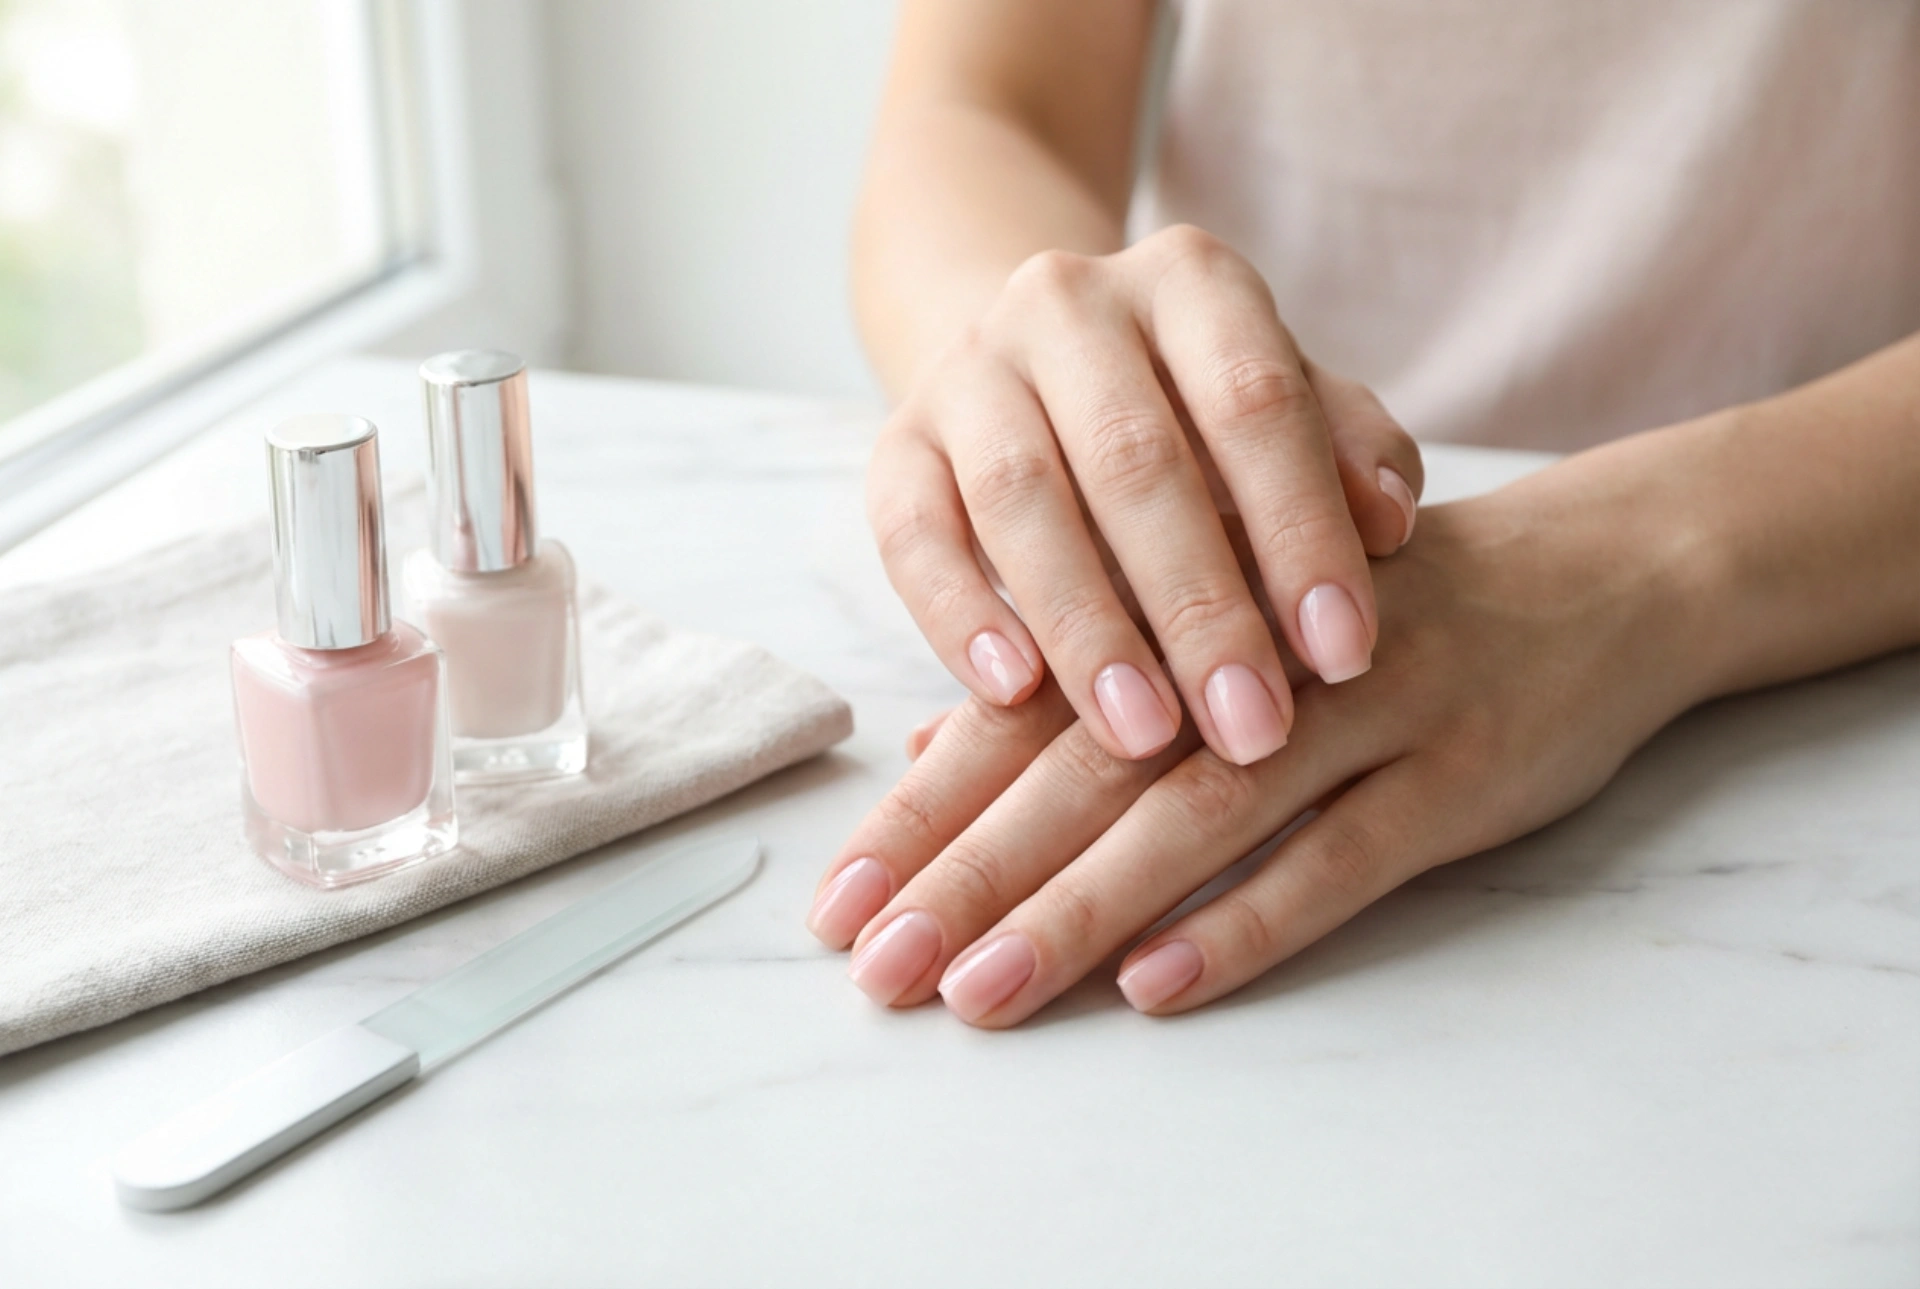


A fresh, glossy manicure can be a wonderful confidence booster, but the frustration is real when it chips within a day or two. The dream of a flawless, long-lasting finish often feels out of reach without a trip to the salon. However, with the right techniques and a little patience, you can achieve a durable, chip-free manicure at home that looks pristine for days on end. It all comes down to preparation, precise application, and proper aftercare.
The Foundation: Preparing Your Nails Correctly
A long-lasting manicure begins long before you open a bottle of colour. Proper nail preparation is the most critical step for ensuring your polish adheres well and resists chipping.
Start with a Clean Slate
Begin by removing any old polish completely. Wash your hands with a gentle soap and water, then dry them thoroughly. Any oils, lotions, or residues left on the nail surface will prevent the polish from bonding properly.
Shape and Smooth
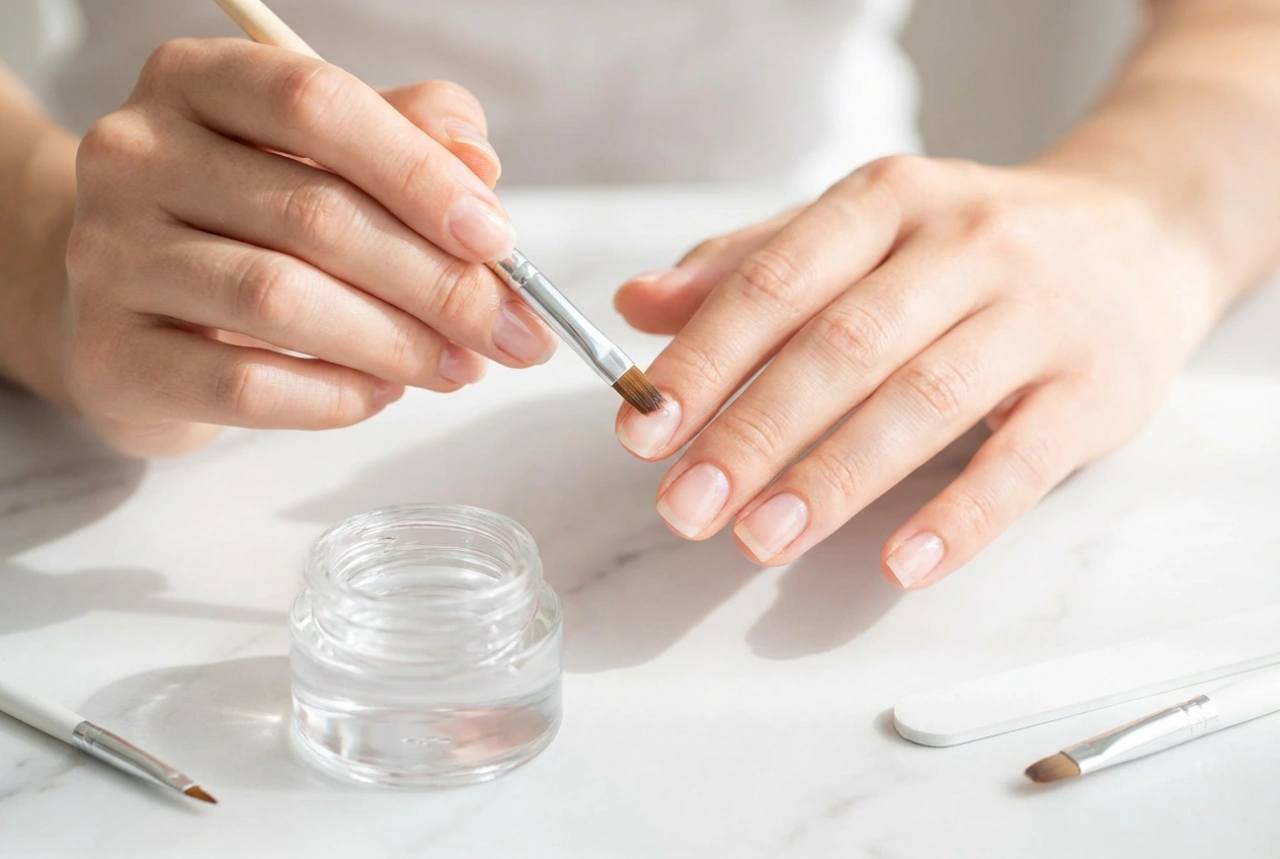
Next, shape your nails. It is best to file nails when they are dry to prevent splitting. Use a soft file, such as a glass or crystal one, and file in one direction rather than sawing back and forth. This creates a smoother edge that is less prone to snagging and peeling. After shaping, lightly buff the surface of your nails. This is not about thinning the nail, but about creating a slightly textured surface that gives the base coat something to grip onto.
Gentle Cuticle Care
Healthy cuticles are key, but aggressive trimming can cause problems. Instead of cutting, apply a cuticle remover and gently push them back with an orangewood stick or a soft-tipped pusher. This creates a clean canvas for your polish without risking damage. Once done, make sure to remove all traces of the cuticle remover.
The Final Prep
Just before you apply your first coat, wipe each nail with a cotton pad soaked in rubbing alcohol or a specialised nail dehydrator. This final step removes any remaining natural oils from the nail plate, ensuring maximum adhesion for your base coat.
The Art of Application: A Step-by-Step Guide
How you apply the polish is just as important as the prep work. Patience and thin layers are your best friends here. Start by rolling the polish bottle between your hands instead of shaking it. Shaking creates air bubbles that can ruin the smooth finish and cause chipping.
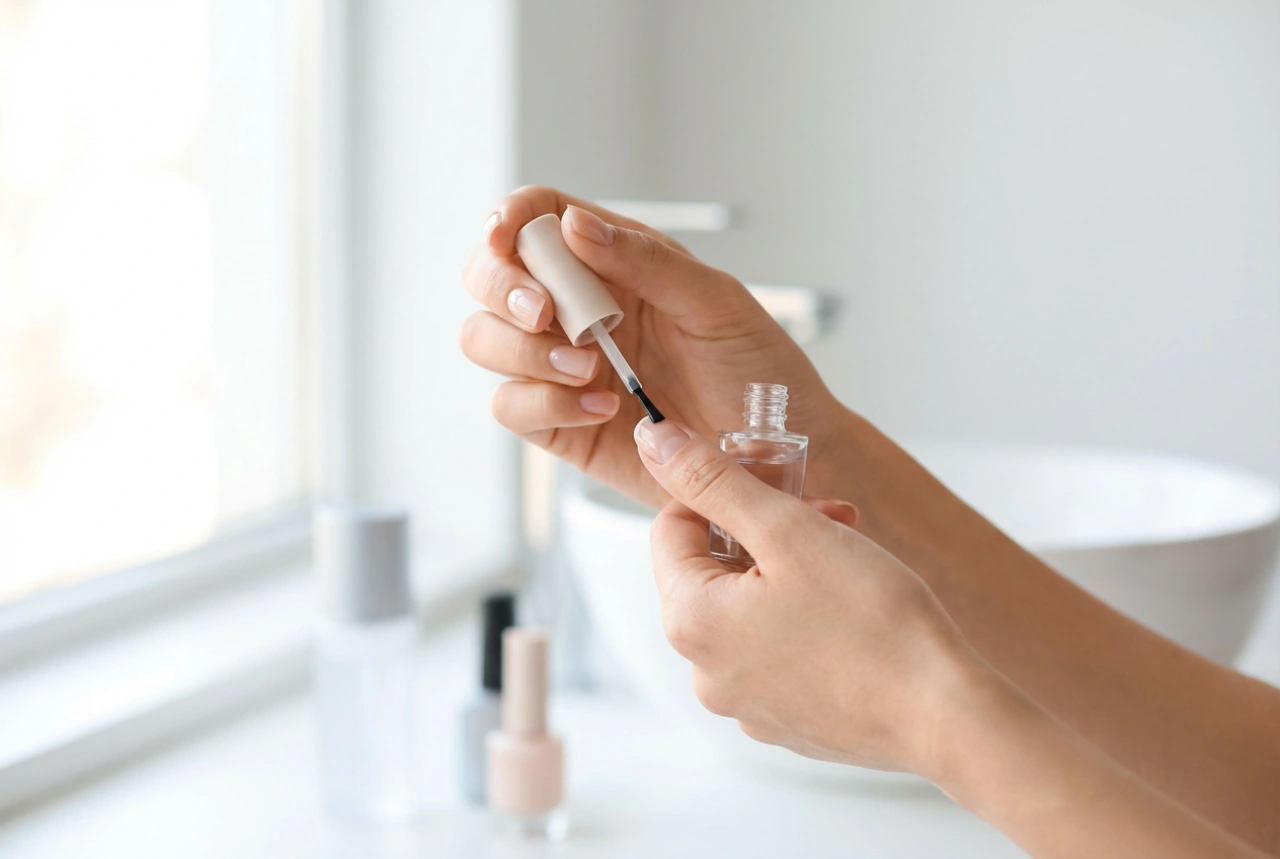
- Never Skip the Base Coat: A quality base coat is non-negotiable. It protects your nails from staining, fills in ridges for a smoother surface, and creates a sticky foundation for the colour to adhere to. Apply one thin, even layer and let it dry for a minute or two.
- Apply Thin Coats of Colour: The secret to a durable manicure is applying two to three very thin coats of colour, rather than one or two thick ones. Thick coats take much longer to dry fully and are far more likely to smudge and peel. For each coat, use the three-stroke method: one stroke down the centre of the nail, followed by one on each side.
- Cap the Free Edge: This is a game-changing professional technique. After painting each coat (including base and top coat), lightly swipe the brush along the very tip of your nail. This seals the edge, which is the area most vulnerable to chipping from daily activities like typing or opening cans.
- Finish with a Protective Top Coat: A top coat is the armour for your manicure. It provides a hard, protective shield against knocks and scratches, adds brilliant shine, and seals in the colour. Just like the colour coats, apply a thin layer and remember to cap the free edge.
- Allow Ample Drying Time: Your nails might feel dry to the touch in 10-15 minutes, but the polish can take several hours to cure and harden completely. Be patient and avoid any activities that could cause smudges. To speed things up, you can use quick-dry drops, but avoid blasting nails with heat, as this can prevent the inner layers from curing properly.
How to Extend the Life of Your Manicure
Once your manicure is complete and dry, a few simple habits can help it last even longer. The first 12-24 hours are crucial. Try to avoid prolonged exposure to hot water, such as long, steamy showers or washing dishes, as this can cause the nail bed to expand and the polish to lift.
On a daily basis, protect your hands. Wear rubber gloves when doing household chores involving water and cleaning products. These chemicals are harsh on both your skin and your polish. Also, be mindful not to use your nails as tools to scrape things or open containers.
Hydration is key for flexibility. Apply a nourishing cuticle oil daily. This keeps your cuticles and the surrounding skin soft, and it also helps keep your nails flexible, making them less likely to break and cause the polish to chip.
For an extra layer of defence, reapply a thin layer of your top coat every two to three days. This simple step can restore the high-gloss shine and add fresh protection, significantly extending the life of your colour.
Common Manicure Mistakes to Avoid
Sometimes, knowing what not to do is just as important. Avoid these common pitfalls for a better, longer-lasting manicure:
- Applying polish to unprepared nails: Skipping the cleaning and buffing steps means the polish has nothing to adhere to.
- Painting over cuticles: When polish is applied to the skin, it will lift as it dries, taking the rest of the polish on the nail with it.
- Using old, gloopy polish: As polish ages, it thickens. Thick polish is difficult to apply in thin layers and will never dry properly.
- Forgetting to cap the free edge: This leaves the most vulnerable part of your nail exposed and prone to immediate chipping.
- Being impatient: Rushing the drying process is the fastest way to ruin a perfectly good manicure with smudges and dents.