

Short hair is incredibly chic, modern, and versatile, offering a fresh canvas for elegant styling on special occasions. When preparing for a celebratory event like a wedding, many believe that elaborate updos are the only option, but textured waves and soft curls on shorter lengths can look exceptionally sophisticated. A beautifully styled bob or pixie cut adorned with gentle, natural-looking curls exudes modern elegance and effortlessness. To achieve this look at home, all you need are a few basic styling tools, the right techniques, and a touch of patience to define each wave perfectly.
Preparing Short Hair for Elegant Styling
The key to any long-lasting hairstyle, particularly when working with shorter lengths, lies in the preparation phase. Because short hair has less weight to pull it down, it can hold curls beautifully, provided the hair is not weighed down by heavy products. Begin by washing your hair with a gentle, volumising shampoo that thoroughly cleanses the scalp and roots. Avoid heavy, oil-rich conditioners on the roots; instead, apply a lightweight, hydrating conditioner only to the mid-lengths and ends to keep the strands supple and shiny.
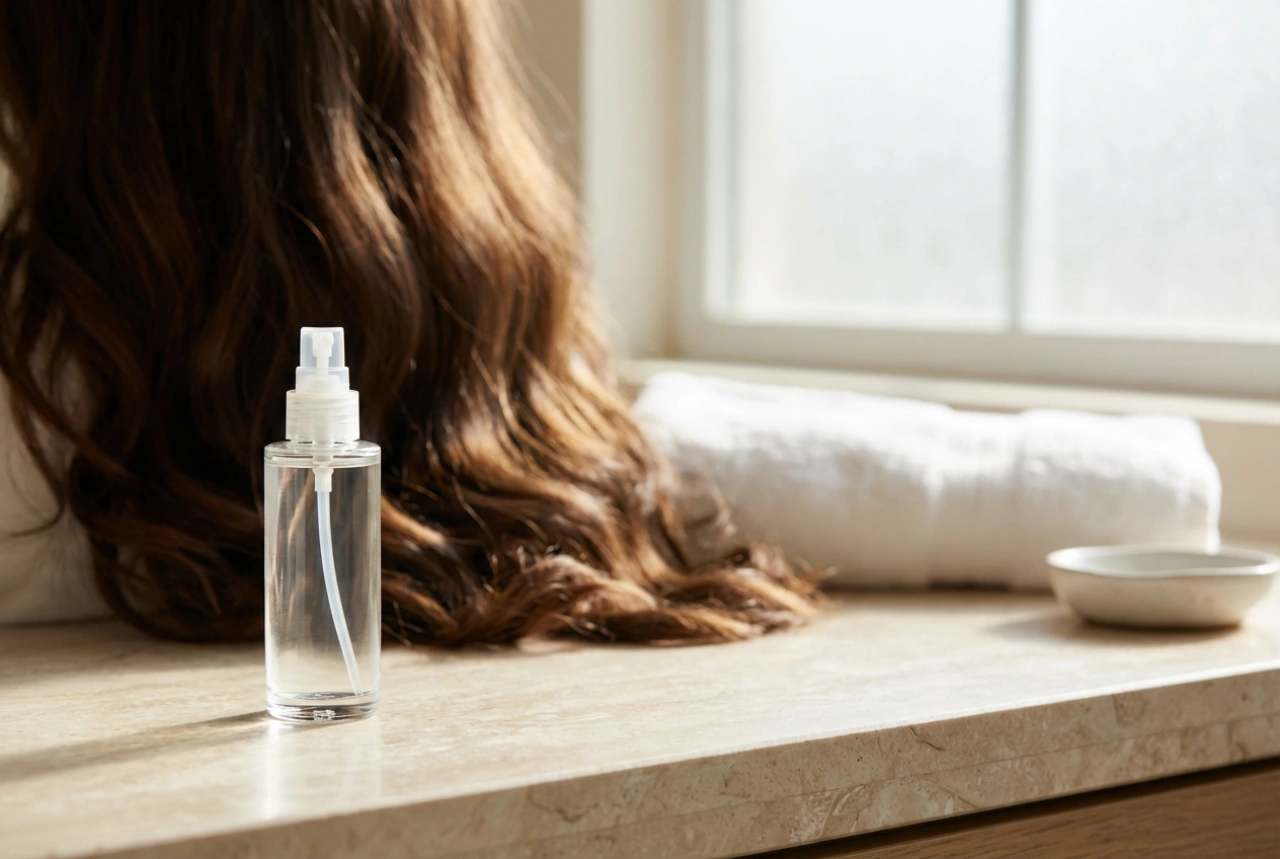
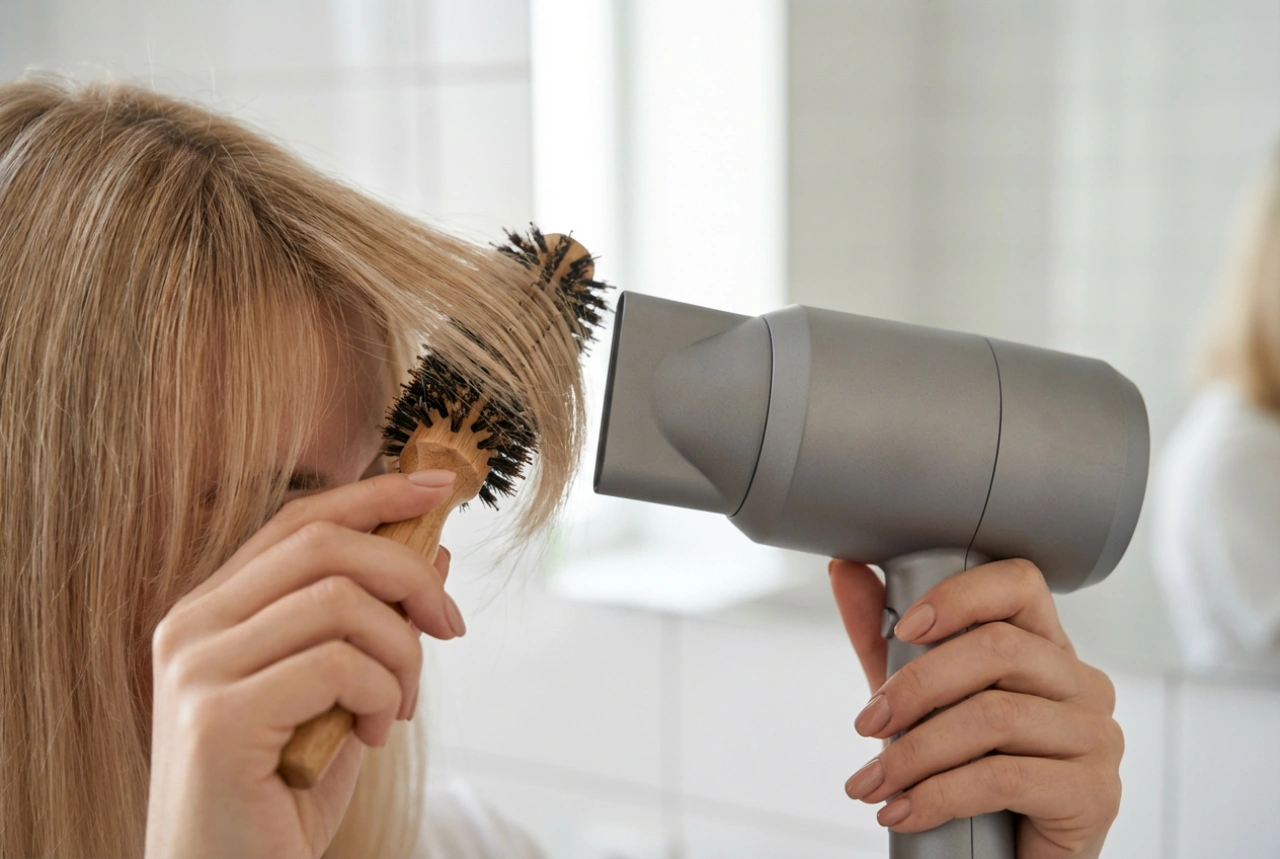
Once washed, gently squeeze out excess water with a soft microfibre towel to prevent friction and frizz. Before introducing any heat, it is absolutely essential to apply a high-quality heat protection spray or cream. This creates an invisible barrier over the hair shaft, shielding it from high temperatures and preserving its natural moisture. Gently comb the product through with a wide-tooth comb to ensure even distribution, then blow-dry the hair, lifting the roots with your fingers or a vent brush to build natural volume from the base.
Step-by-Step Guide to Creating Soft Curls on Short Hair
Styling short hair requires precision, as the sections are smaller and require careful handling to avoid an overly tight, coiled appearance. For a modern wedding look, the goal is to create soft, natural-looking waves with textured movement rather than stiff, uniform ringlets.
Step 1: Sectioning the Hair
Divide your dried hair into manageable sections. If your hair is very short, you may only need to separate the top section from the bottom. Secure the top sections with small hair clips, leaving the lower section at the nape of your neck free. Working in smaller, controlled sections ensures that every strand is styled evenly and that the heat is distributed safely.
Step 2: Choosing and Using the Right Styling Tool
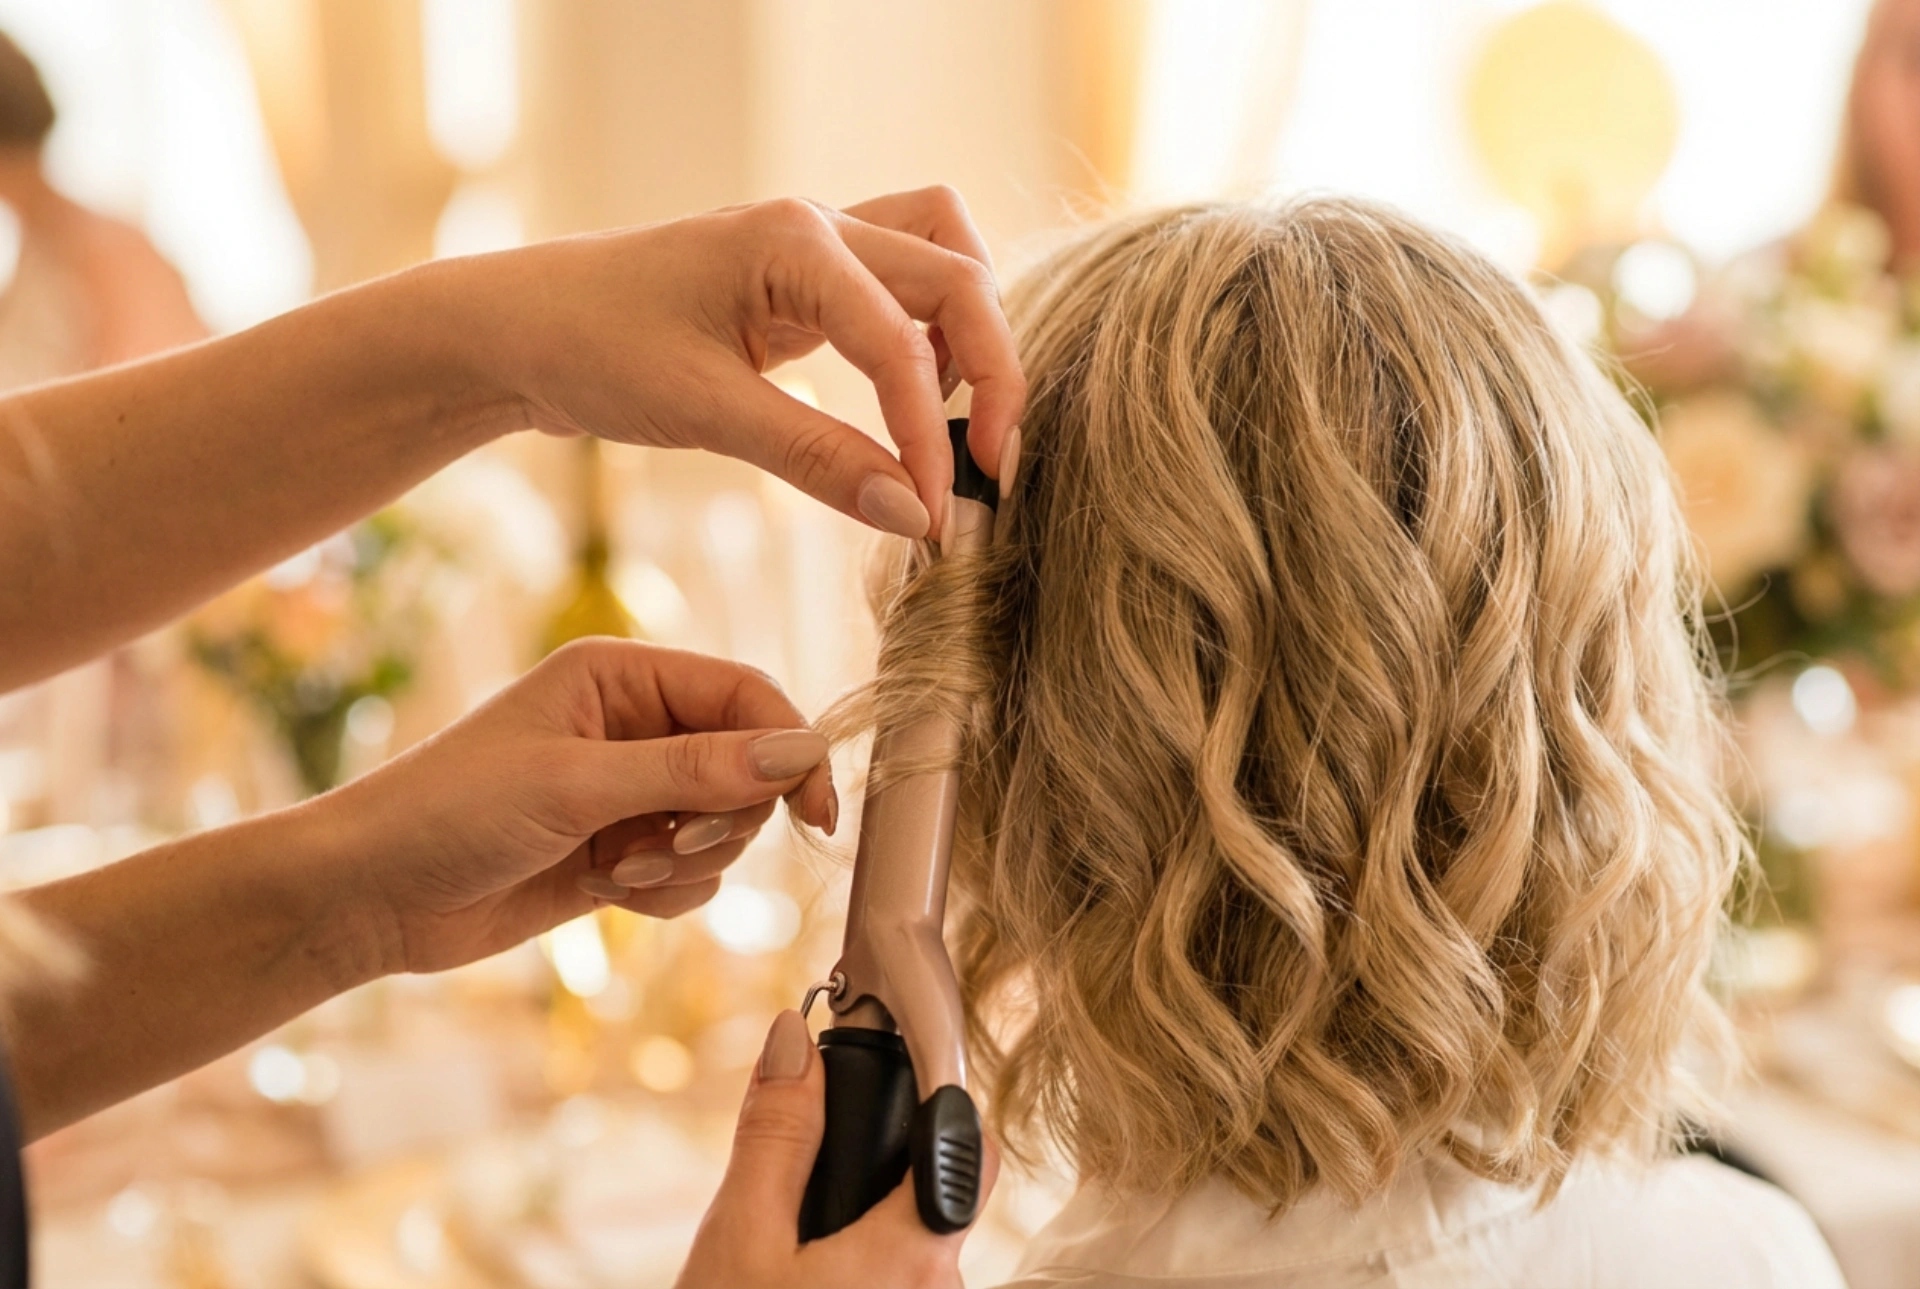
A slim hair straightener with rounded edges or a narrow curling wand (around 19mm to 25mm in diameter) works best for shorter lengths. Take a small vertical section of hair, approximately two centimetres wide. Clamp the styler near the root, gently rotate it half a turn away from your face, and glide it smoothly down to the ends. By curling away from the face, you open up your features and create a flattering, sophisticated frame.
Step 3: Alternating the Direction of the Curls
To achieve a natural, effortless texture, alternate the direction of the curls as you move around your head. Curl one section away from your face, and the next section towards it. This technique prevents the curls from clumping together into one solid wave, giving your hairstyle more volume, movement, and depth, which looks stunning in photographs under warm, celebratory lighting.
Defining and Texturising the Waves
Once the heat styling is complete, resist the temptation to touch the curls immediately. Allowing the hair to cool completely is crucial because the hair bonds reset as they cool, locking the curl shape into place. Touching hot hair will quickly flatten the waves and cause the style to lose its bounce prematurely.
After a few minutes, when the hair is cool to the touch, use your fingertips to gently break up the curls. Delicately run your fingertips through the roots and mid-lengths, shaking the waves out into a softer, more organic shape. Avoid using a fine-tooth brush, as this can create unwanted frizz; instead, rely on your fingers or a wide-tooth comb to maintain the defined texture of the waves.
If you desire extra volume at the crown, you can gently backcomb the roots of the top section using a styling brush. Smooth the top layer of hair over the backcombed section to ensure a seamless, elegant finish that looks polished from every angle.
Finishing Touches for a Long-Lasting Look
To ensure your beautiful curls withstand hours of dancing, dining, and celebrating, a proper finishing routine is essential. You want to lock the style in place without making the hair feel stiff, crunchy, or unnatural to the touch.
- Texturising Spray: Apply a lightweight texturising spray or dry shampoo to the roots and mid-lengths. This adds a modern, matte grip and prevents the curls from slipping or losing their shape throughout the day.
- Hair Oil or Serum: Rub a tiny drop of nourishing hair oil or serum between your palms and gently smooth it over the ends of your curls. This tames any stray flyaways and adds a healthy, glossy shine that catches the light beautifully.
- Flexible-Hold Hairspray: Finish with a mist of flexible-hold hairspray. Spray from a distance of about thirty centimetres to ensure an even, lightweight distribution. This keeps the hair touchably soft yet resilient enough to hold its shape until the end of the night.
By choosing a hairstyle that embraces your short length and enhances it with soft, textured curls, you create a look that is both timeless and contemporary. With proper preparation, precise heat styling, and a delicate touch when defining the waves, your short hair will be the ultimate elegant accessory for any special occasion.