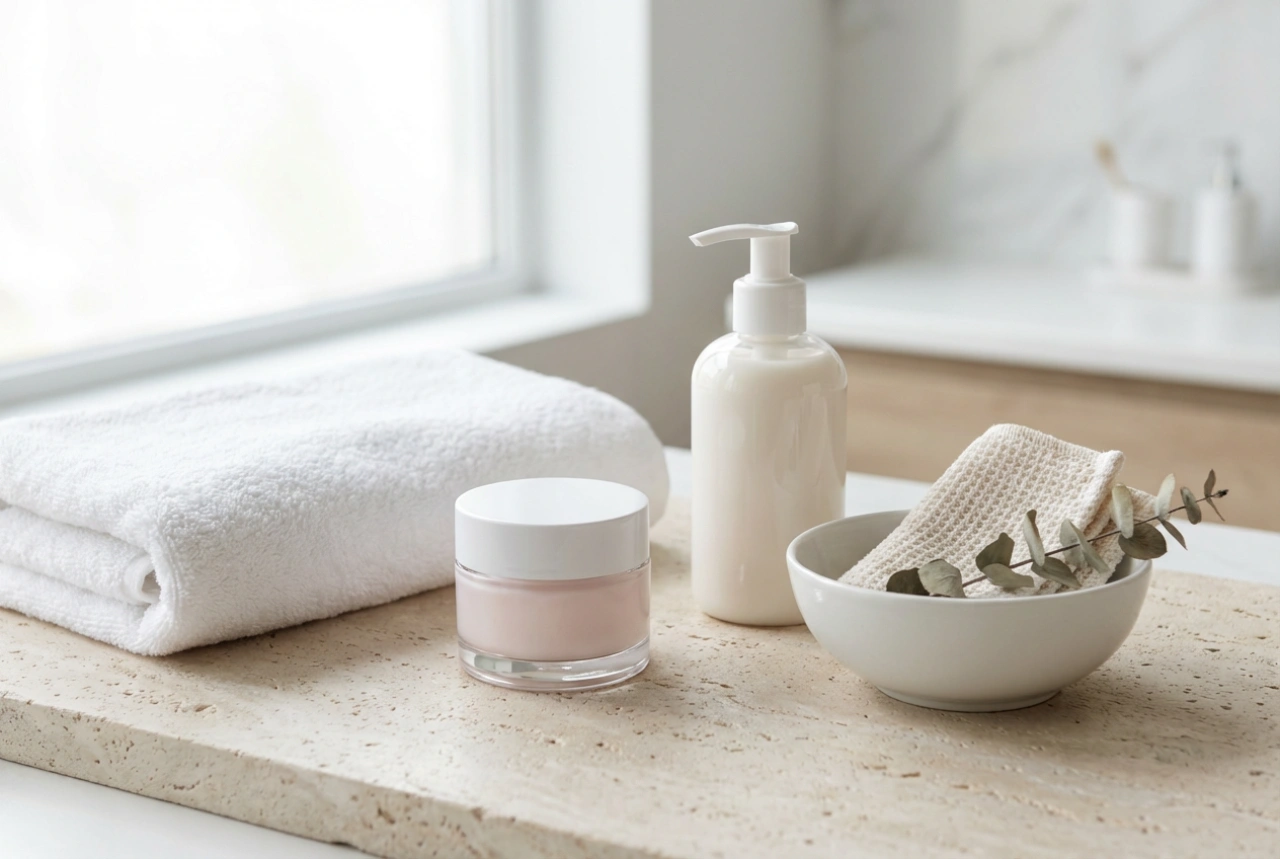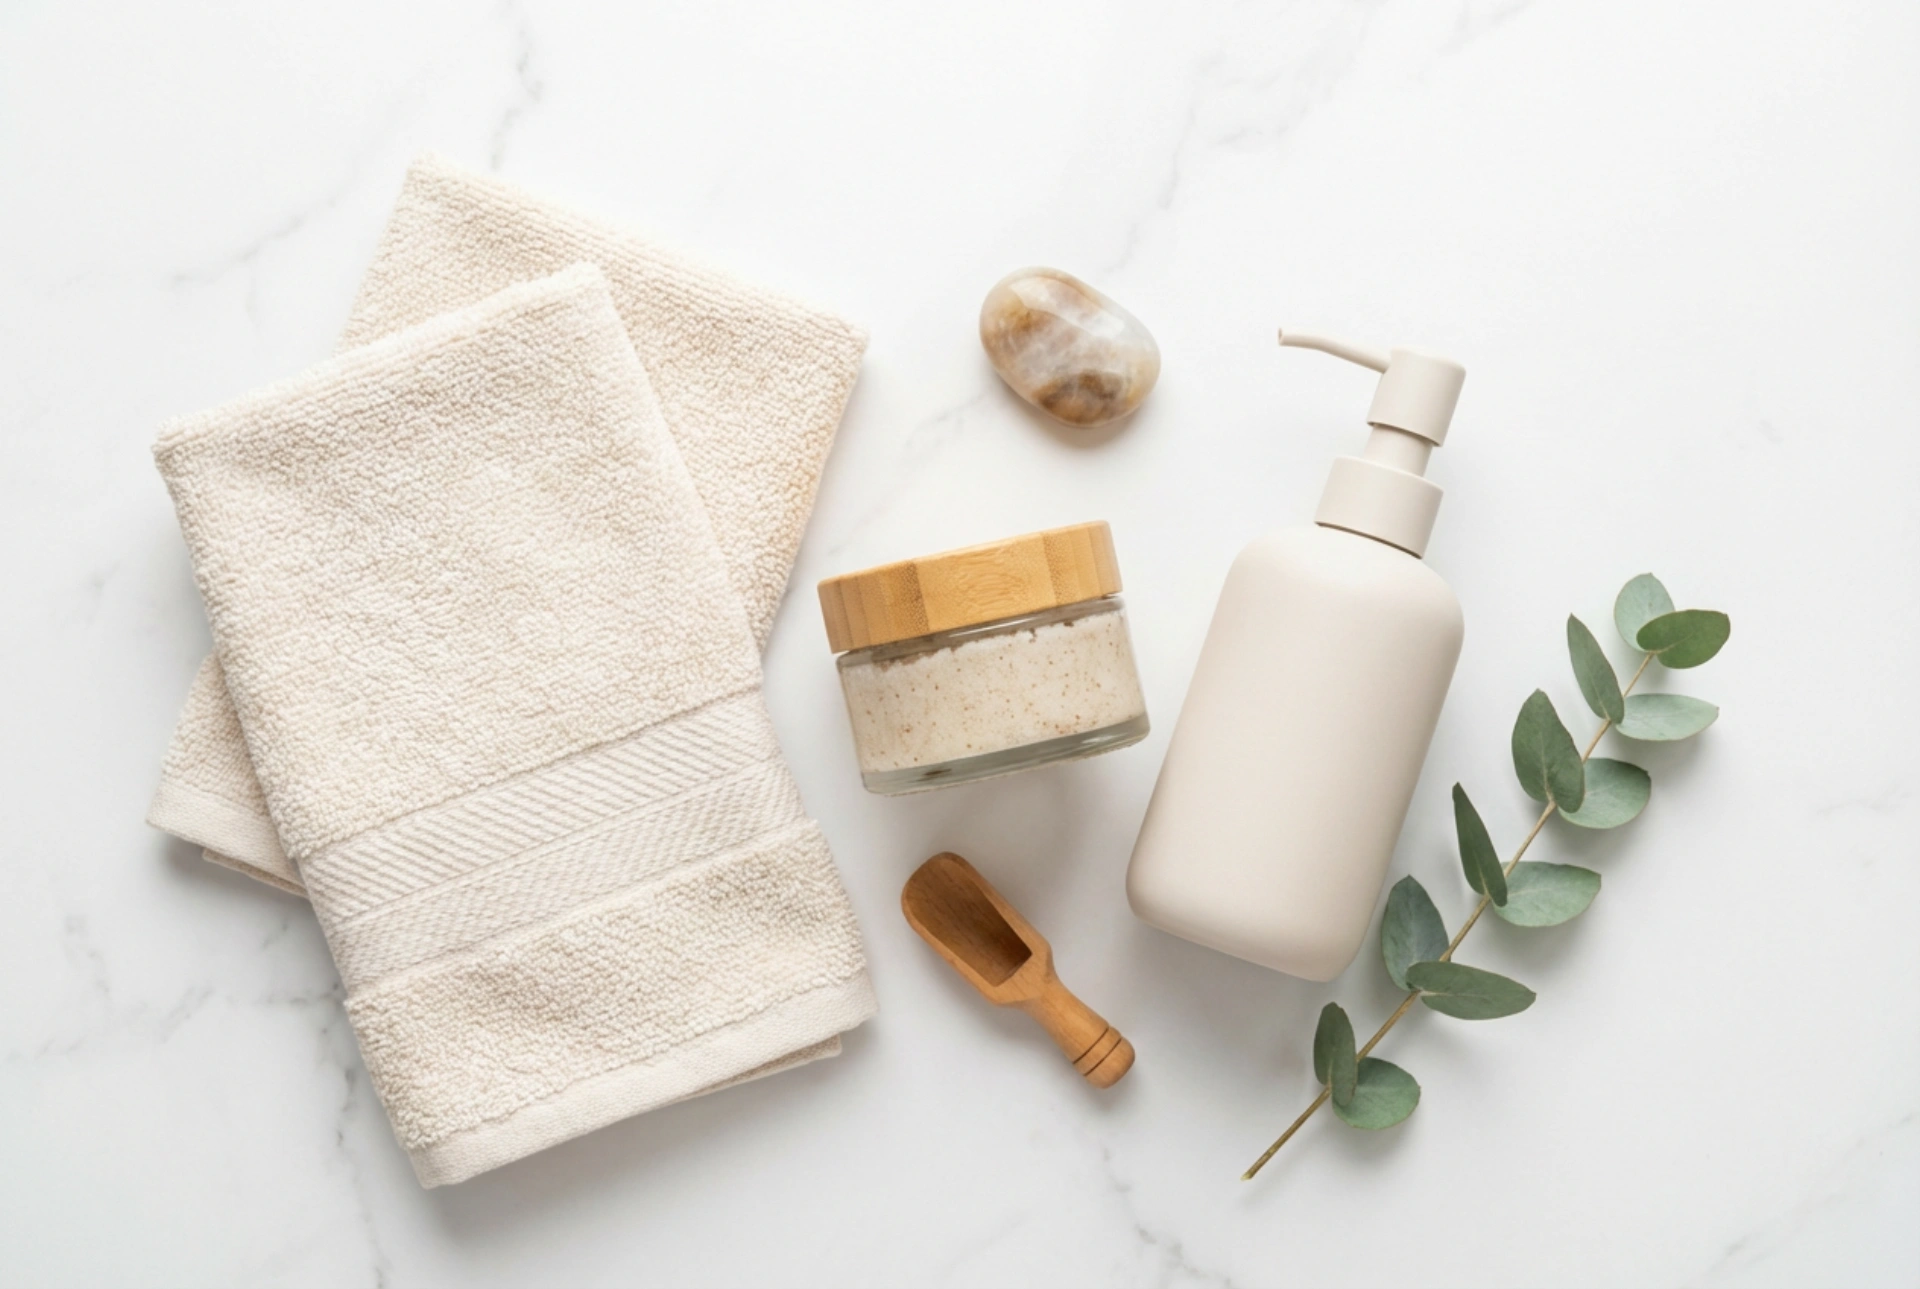


Setting up a calm, inviting space is the first step towards a successful home beauty routine. Imagine a pristine marble surface, a soft, clean hand towel, a nourishing body scrub, and a soothing lotion neatly arranged. This aesthetic preparation is not just for visual pleasure; it sets a serene tone for intimate hair removal, turning what could be a stressful chore into a focused, comfortable self-care ritual. Performing an at-home Brazilian wax requires careful preparation, patience, and the correct technique to achieve beautifully smooth results while protecting the delicate skin barrier.
The Foundations of At-Home Waxing
Before beginning the process, it is essential to understand the tools required and the physiological aspects of hair removal. For sensitive areas, hot peelable wax—frequently referred to as hard wax—is highly recommended over traditional strip wax. Hard wax is designed to shrink-wrap around the hair rather than adhering to the skin itself. This significantly minimises discomfort and reduces the risk of unnecessary skin irritation. Creating a clean, hygienic environment is absolutely paramount. Ensure you have gathered all your essentials beforehand: a reliable wax heater, wooden spatulas, a soothing post-wax oil to dissolve any sticky residue, and a mild, fragrance-free lotion. Thoroughly washing your hands and cleansing the target area with a gentle, alcohol-free cleanser sets a safe foundation for the entire process.
Essential Preparation Steps for a Smooth Experience
Adequate preparation is the secret to avoiding ingrown hairs and securing an even, long-lasting finish. Here are the key steps to follow in the days leading up to your session:
- Gentle Exfoliation: Approximately twenty-four to forty-eight hours before waxing, gently exfoliate the skin using a mild, non-abrasive body scrub. This lifts dead skin cells and coaxes trapped hairs to the surface, allowing the wax to grip them more effectively.
- Optimal Hair Length: Ensure the hair is the correct length—ideally about six millimetres or a quarter of an inch. If the hair is too short, the wax cannot grip it; if it is too long, the removal process can be unnecessarily uncomfortable. You can carefully trim the hair if needed.
- Keep Skin Clean and Dry: On the day of your waxing session, avoid applying any heavy creams, oils, or body lotions to the area. Clean, completely dry skin is vital for the wax to adhere properly. You can apply a tiny amount of unscented talc-free powder to absorb any excess moisture.
Step-by-Step Application Technique
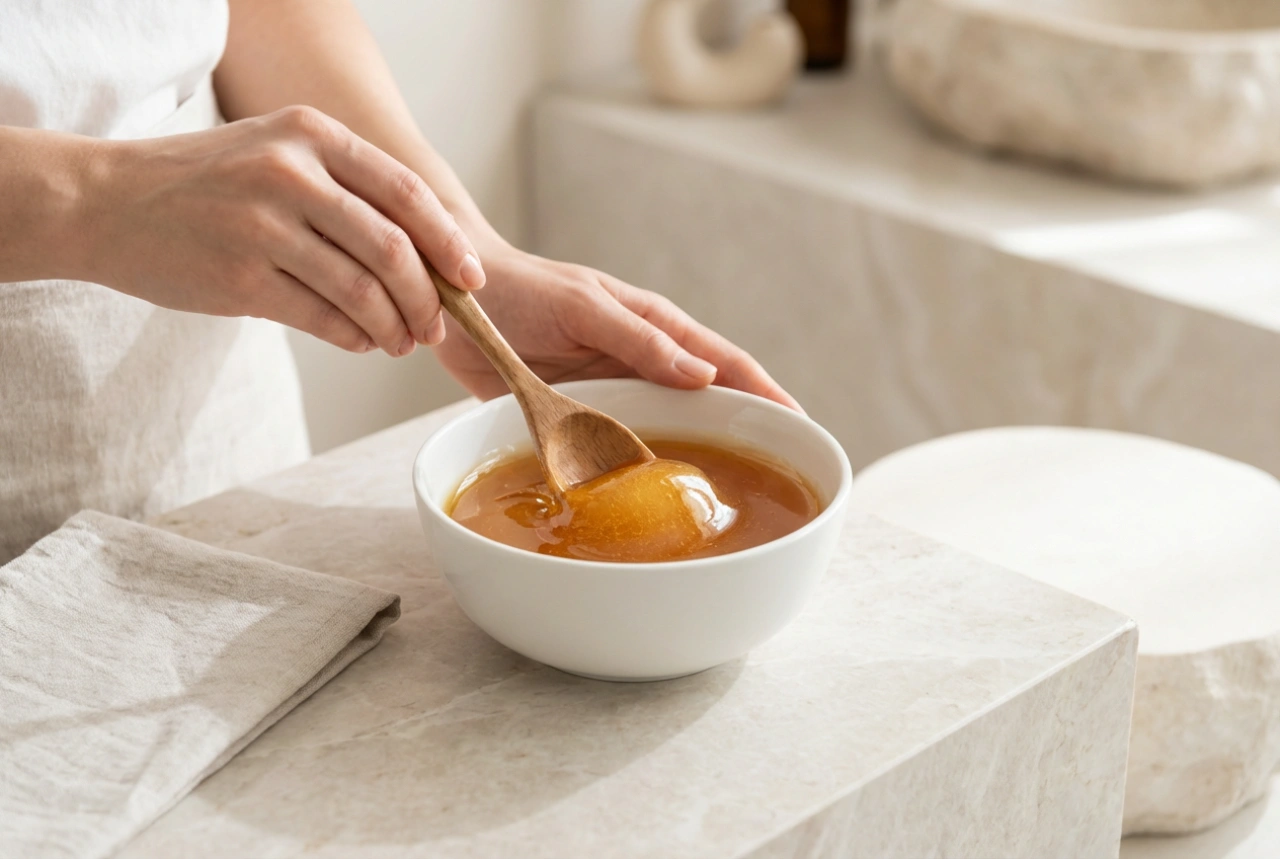
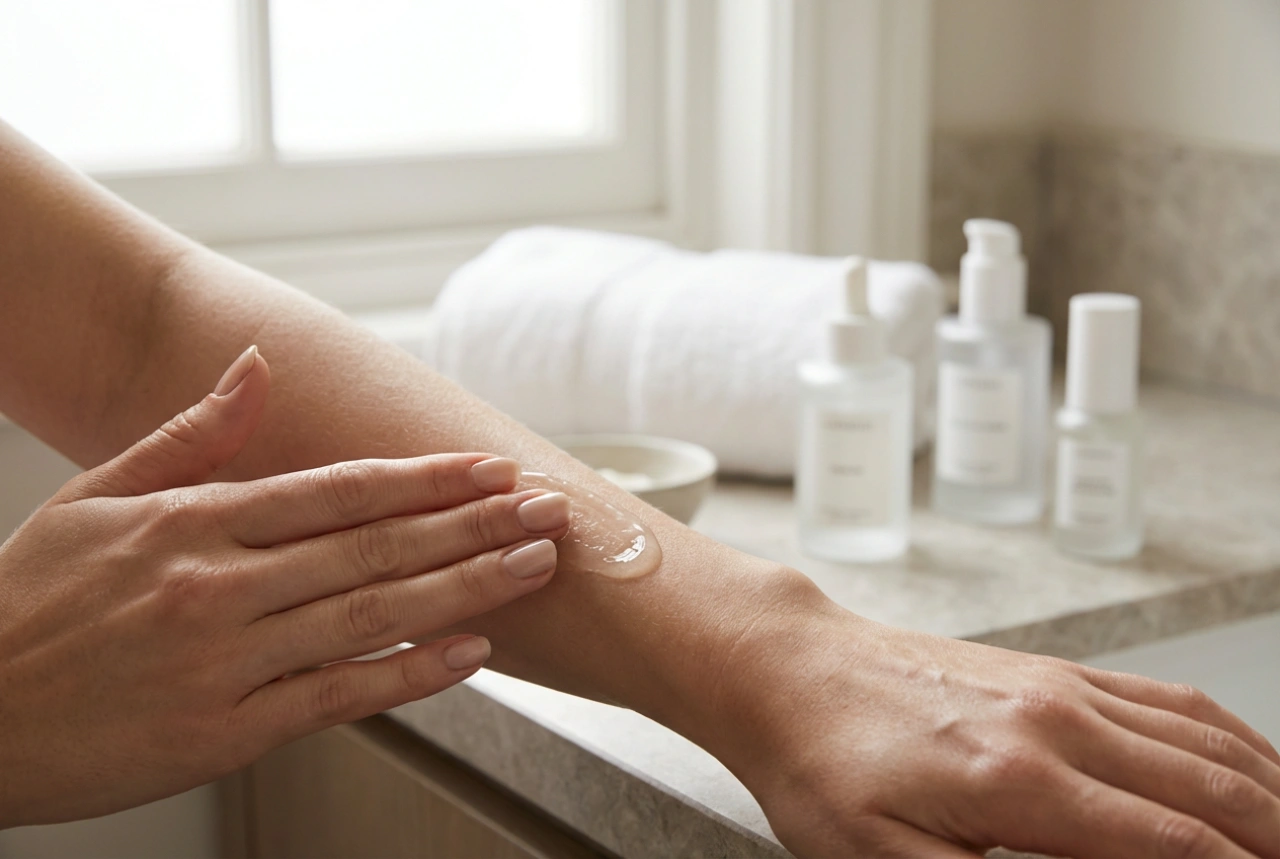
Once your skin is prepared and your workspace is clean, you can begin the application process. Patience and precision are your best allies here. Always test the temperature of the melted wax on the inside of your wrist first to ensure it is comfortably warm, not hot. It is best to work in small, manageable sections, starting from the outer areas and moving inwards. Using a wooden spatula, apply a thick layer of wax in the direction of hair growth, pressing firmly to ensure the wax wraps securely around the hair shafts. Leave a slightly thicker edge at the end of the strip to give you a firm grip for removal.
Allow the wax to cool and solidify for a few seconds until it feels pliable and no longer sticky to the touch. When you are ready to remove the strip, take a deep breath. Hold the surrounding skin extremely taut with one hand—this is the most crucial step to prevent bruising and minimise discomfort. With your other hand, firmly grip the thicker edge of the wax and pull it off in one quick, fluid motion. Always pull the strip back parallel to the skin and in the opposite direction of hair growth. Never pull the wax upwards, as this can tear the skin, cause bruising, or snap the hairs at the surface rather than removing them from the root. Immediately apply firm pressure with your fingers to the newly waxed area to soothe the nerve endings.
Common Mistakes to Avoid
To protect your skin and ensure a pleasant outcome, there are several widespread mistakes that you should actively avoid during an at-home waxing session:
- Waxing Damaged Skin: Never apply hot wax to broken, irritated, sunburned, or highly sensitive skin. If the area is compromised, postpone your session until the skin has fully recovered.
- Repeated Applications: Avoid applying wax to the exact same spot more than once or twice in a single session. Over-waxing can strip away the protective outer layers of the skin, leading to raw patches and increased sensitivity. If a few stray hairs remain, remove them gently with clean tweezers instead.
- Rushing the Process: Speed often leads to mistakes, spills, or uneven applications. Dedicate a quiet, uninterrupted hour to your routine so you can proceed calmly and safely.
Post-Waxing Care and Skin Recovery
The care you provide after waxing is just as vital as the preparation. Immediately following hair removal, apply a soothing, fragrance-free lotion or a specialised post-wax oil to remove any residual wax and calm the skin. For the next twenty-four to forty-eight hours, wear loose, breathable cotton clothing to prevent friction and allow the skin to heal. It is highly advisable to avoid hot baths, steam rooms, swimming pools, and intense physical workouts during this recovery window, as sweat and environmental moisture can introduce bacteria to the open hair follicles. Stick to cool or lukewarm showers and gentle, hydrating skincare products. After three days, you can resume gentle exfoliation twice a week to keep the hair follicles clear and ensure that new hair grows back smoothly without becoming trapped beneath the skin.