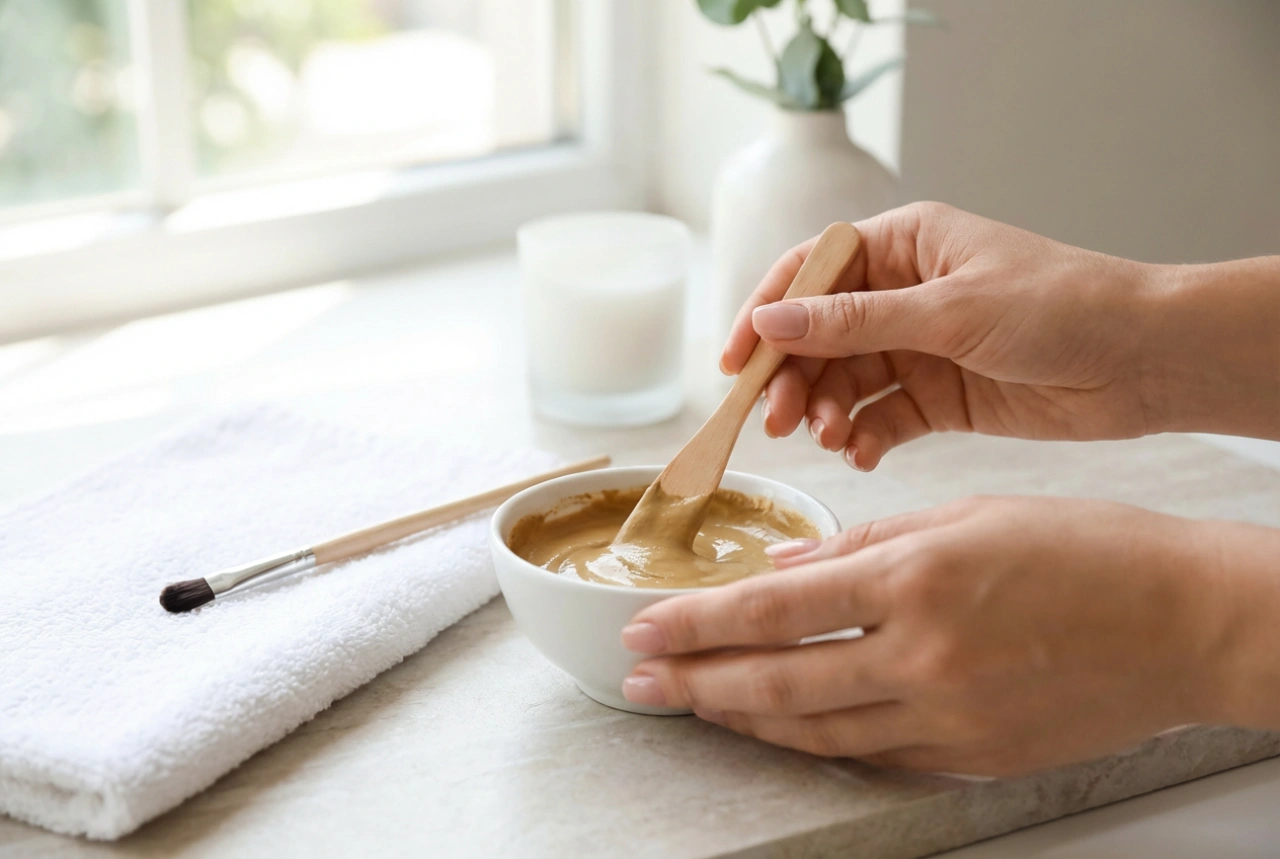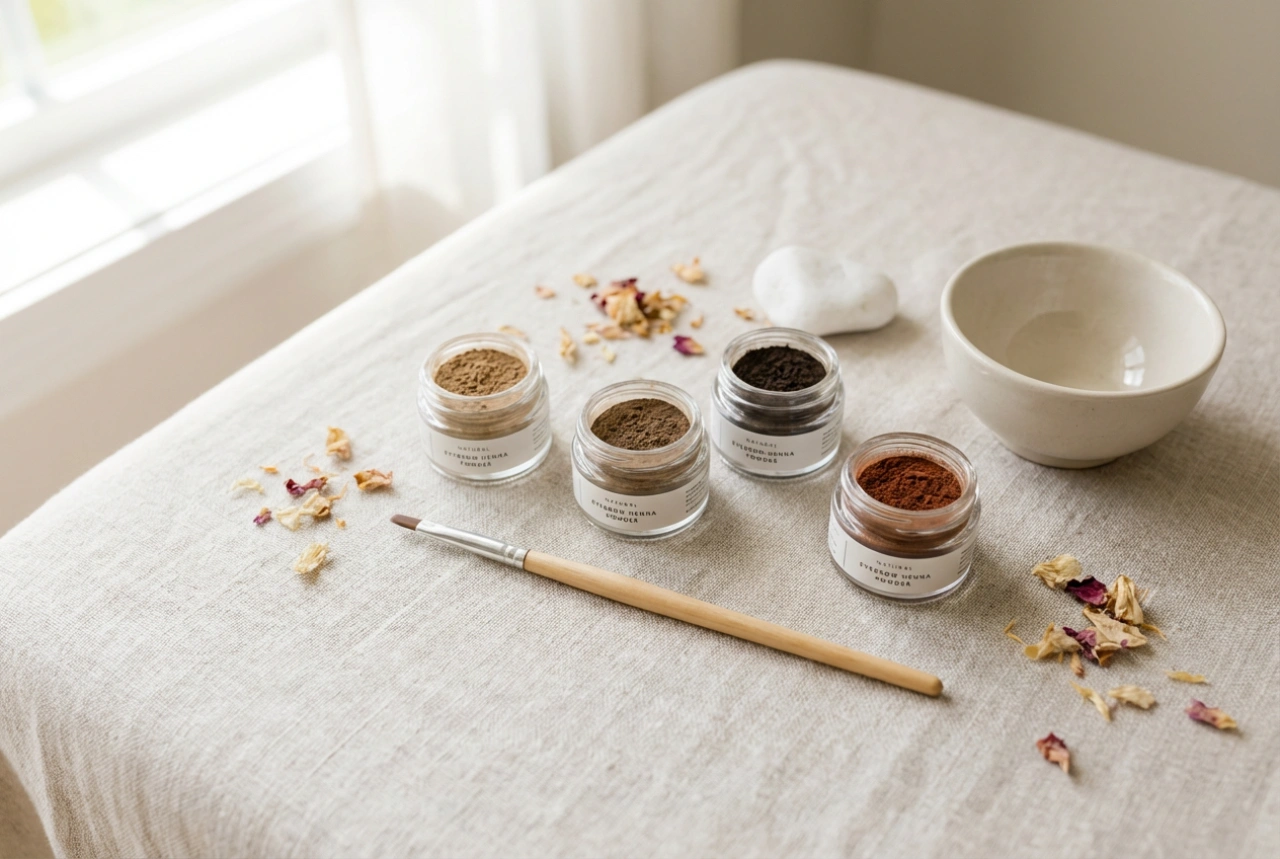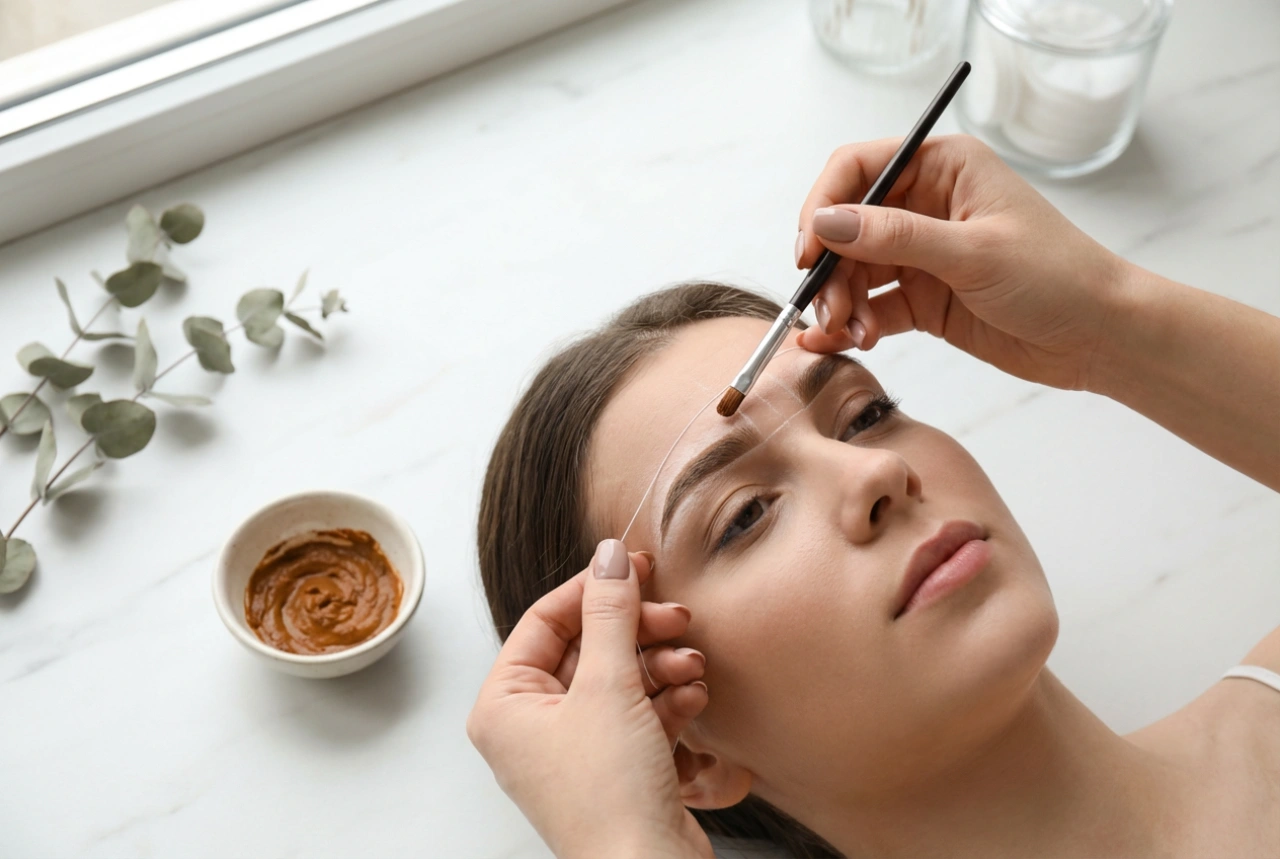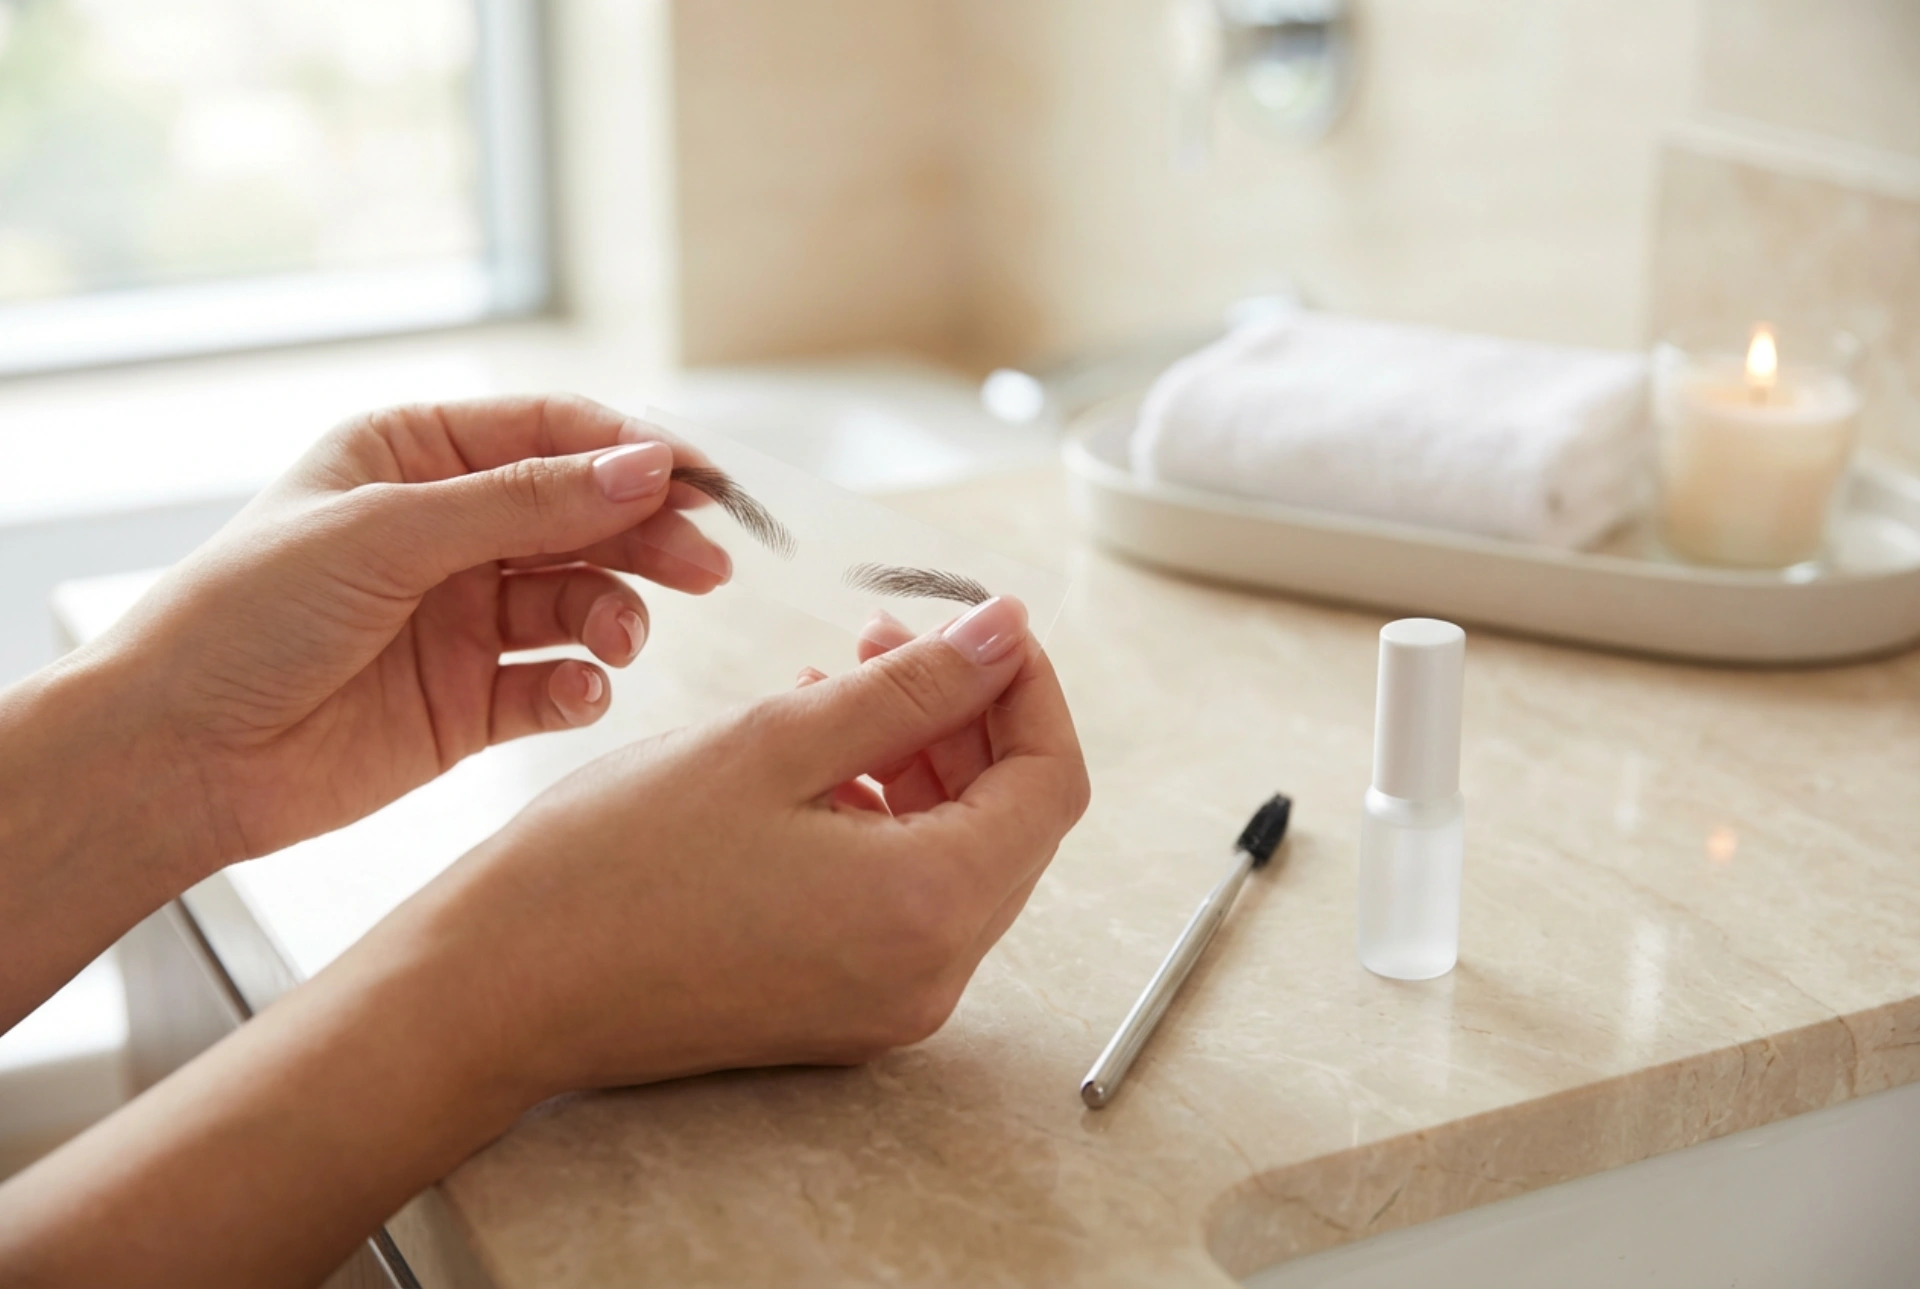


Achieving perfectly defined eyebrows is a key element of many modern beauty routines. While temporary powders and pencils have long been the standard, stick-on eyebrows have emerged as a highly effective, natural-looking alternative. Imagine sitting at a clean, sunlit vanity, gently holding a delicate sheet of temporary brow transfers alongside a fine brush and a small bottle of skin-safe adhesive. This simple setup can transform your daily ritual, offering a symmetrical and beautifully shaped arch in just a few minutes. Whether you are looking to experiment with a new style or simply want to save time in the morning, mastering the art of stick-on eyebrows can elevate your makeup routine with professional-looking results.
What Are Stick-On Eyebrows?
Stick-on eyebrows, often available as water-transfer temporary tattoos or delicate fiber-based patches, are cosmetic innovations designed to mimic the appearance of real brow hairs. They offer a highly realistic three-dimensional effect that flat drawings or powders sometimes fail to achieve. Because they are designed for temporary wear, they provide the freedom to experiment with different trends without any permanent changes. These beauty products are ideal for anyone seeking a convenient, symmetric, and time-saving solution to daily brow styling.
Choosing the Perfect Brow Shape and Colour
Before application, it is essential to select a shape and colour that harmonise with your natural facial features. The goal is to enhance your facial symmetry and complement your eyes. Here is a quick guide to matching brow shapes with different face shapes:
- Oval Faces: This balanced shape works well with a soft, classic arch that follows the natural brow bone gently.
- Round Faces: To create a lifting effect, opt for a slightly higher, more defined arch that adds structure to the face.
- Square Faces: A softer, rounded brow shape helps to balance and soften strong jawlines.
- Heart-Shaped Faces: A low, natural-looking arch keeps the focus on the eyes and avoids overwhelming the forehead.
When it comes to colour, look for a shade that matches the undertone of your hair. For a natural look, blondes should choose soft taupe or light brown shades, while those with dark brown or black hair should opt for cool-toned dark brown rather than harsh black. The right depth of colour ensures that the stick-on brows blend seamlessly with your skin tone.
Step-by-Step Guide to Flawless Application
Applying stick-on eyebrows requires a steady hand and a bit of preparation, but the process quickly becomes second nature with practice. Follow these steps for a secure, beautiful finish:
1. Prepare the Skin
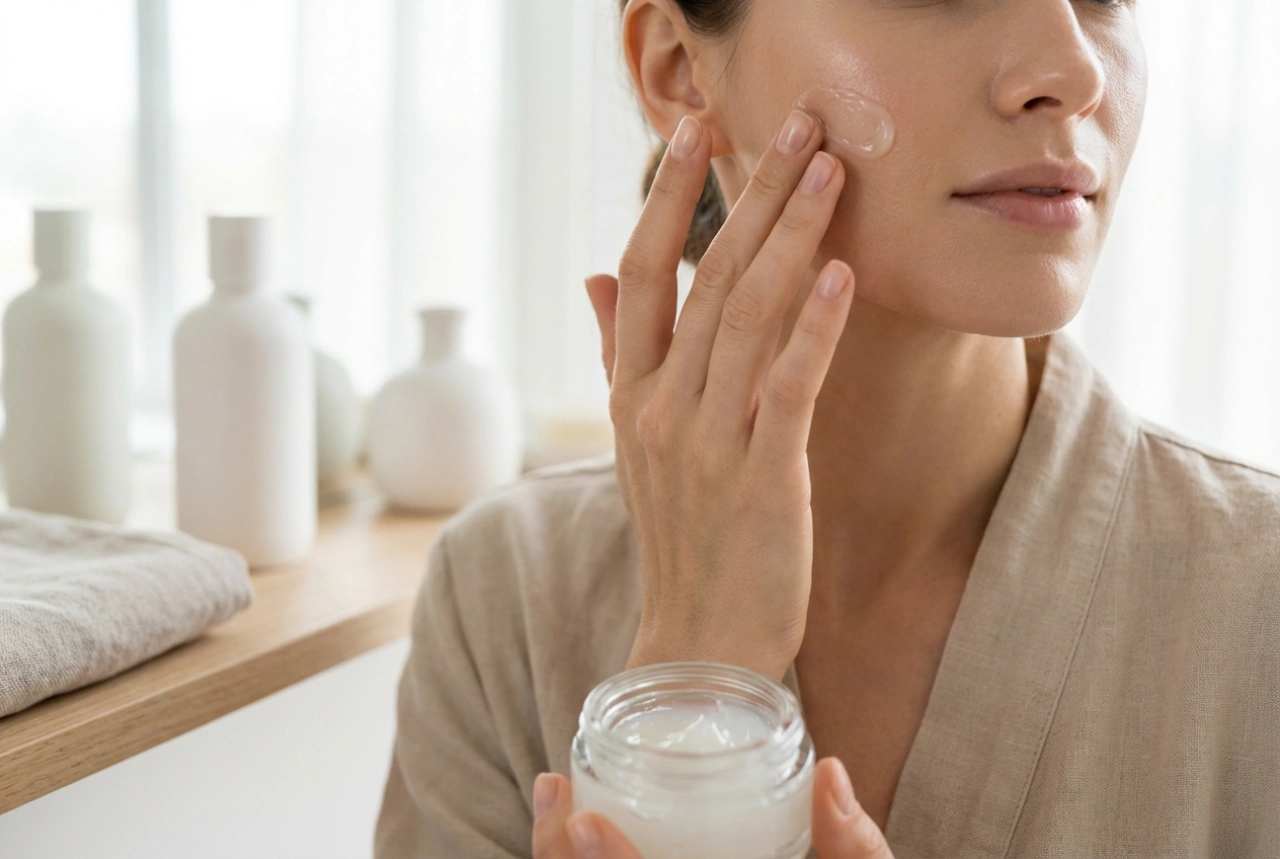
For the best adhesion, the skin around your brow bone must be completely clean, dry, and free of oils or heavy moisturisers. Use a gentle, oil-free cleanser or a toner to prep the area. Any excess oil on the skin can prevent the adhesive from bonding correctly, reducing the lifespan of your temporary brows.
2. Position and Map
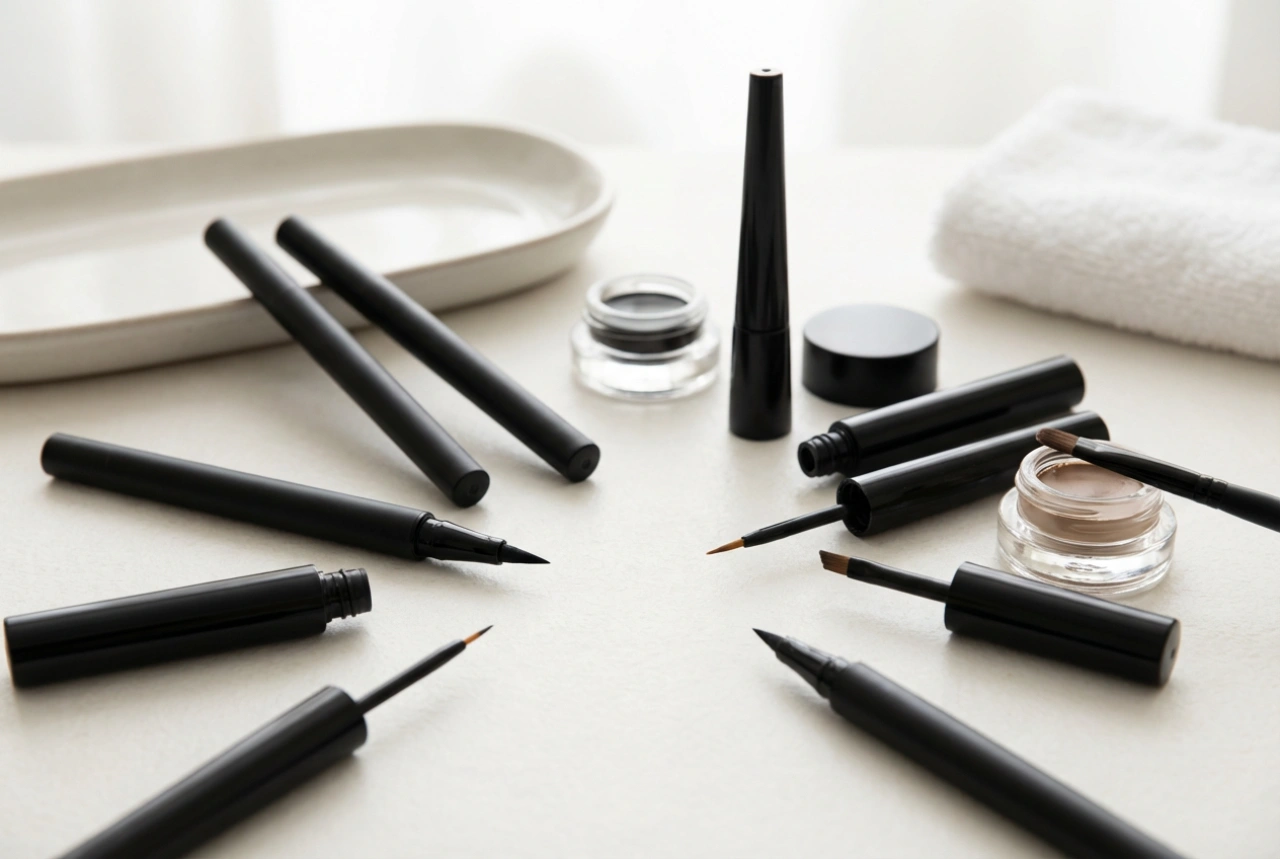
Carefully cut out the chosen brow pair from the sheet. Hold them up to your brow bone to determine the ideal placement. You can mark the starting point, the arch, and the tail with a light eyeliner pencil. Ensure both sides are aligned and symmetrical before proceeding to the actual transfer.
3. Transfer or Apply Adhesive
If you are using water-transfer tattoo brows, place the paper backing facing outward, press a damp sponge or cloth against the backing for about thirty seconds, and then gently peel the paper away. If you are using fiber-based brows that require a separate cosmetic adhesive, apply a thin, even layer of the glue to the back of the brow piece. Use a generic fine brush to spread the adhesive evenly, allowing it to become slightly tacky for a few seconds before pressing it onto the skin.
4. Secure and Press
Gently press the brow down with a dry cloth or your fingertip, starting from the inner corner near the nose and moving outward to the tail. This ensures that no air bubbles are trapped underneath and that the edges adhere firmly to the skin.
How to Ensure a Long-Lasting and Natural Look
Once the brows are applied, you can take a few extra steps to make them look incredibly realistic and ensure they stay in place throughout the day. Often, temporary transfers can have a slight shine immediately after application. To eliminate this and mimic the matte texture of real skin and hair, lightly dust the area with a small amount of translucent setting powder using a fluffy brush. This simple trick removes any artificial glare and sets the brows beautifully.
Additionally, avoid applying heavy oil-based skincare products, face oils, or rich creams directly on or around the eyebrows, as oils naturally break down cosmetic adhesives. When washing your face, gently cleanse around the brow area rather than scrubbing directly over it.
Gentle Removal and Skin Care
Removing stick-on eyebrows should always be a gentle process to protect the delicate skin around your eyes. Never peel or scrub the brows off forcefully. Instead, saturate a cotton pad with an oil-based makeup remover, baby oil, or a gentle cleansing oil. Hold the damp pad over the eyebrow for a minute to allow the oil to dissolve the adhesive bonds. Gently wipe the brow away in an outward motion. Once removed, wash your face as usual and apply a nourishing moisturiser to keep the skin hydrated and soft.